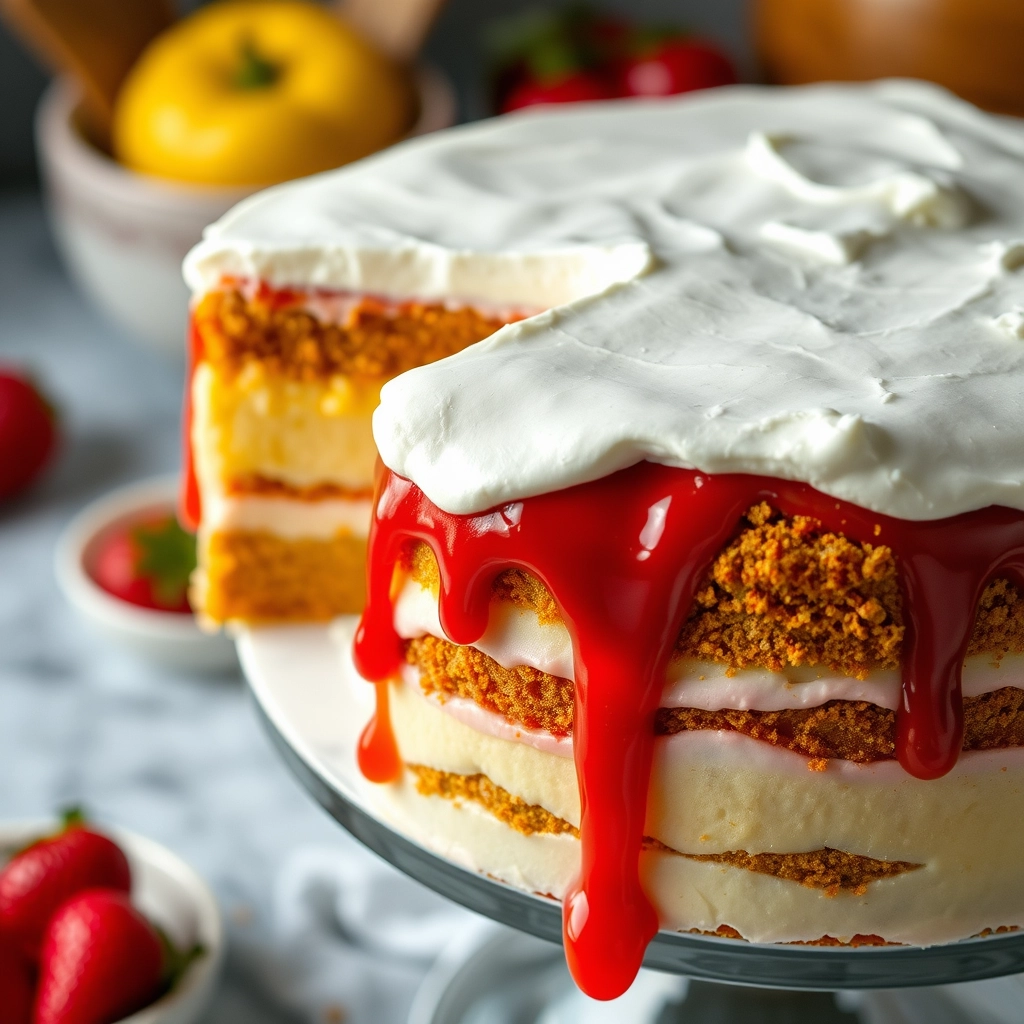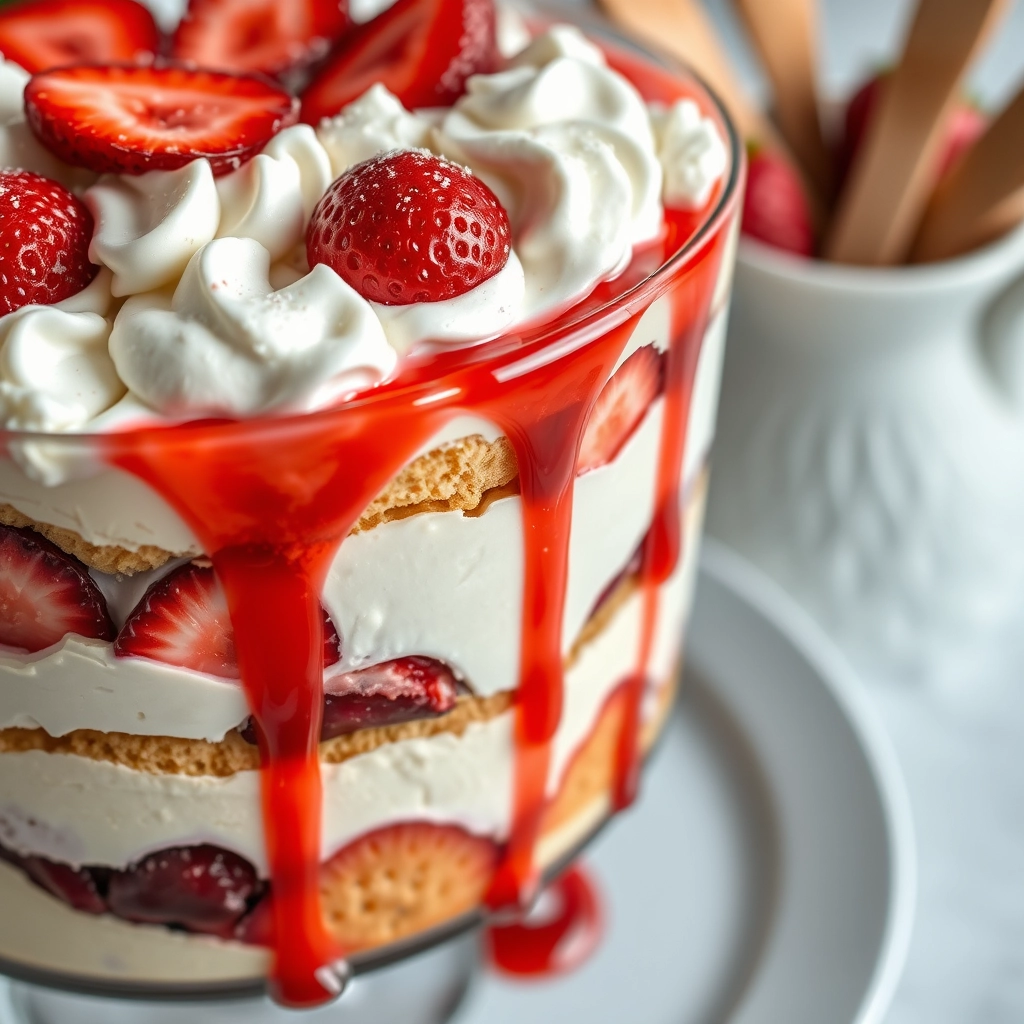
The Best Strawberry Shortcake Trifle – A Dessert That Feels Like a Hug
There’s something about strawberry shortcake that feels like summer in a bowl. Maybe it’s the way the juicy berries glisten under a dollop of whipped cream, or how the tender cake soaks up all those sweet, ruby-red juices. I’ll never forget the first time I made this trifle for a backyard gathering—my friend’s little girl, sticky-fingered and grinning, declared it “the fanciest dessert ever” before diving in for seconds. That’s the magic of this recipe: it looks impressive but comes together with such ease, like you’ve been keeping a secret pastry chef in your back pocket.
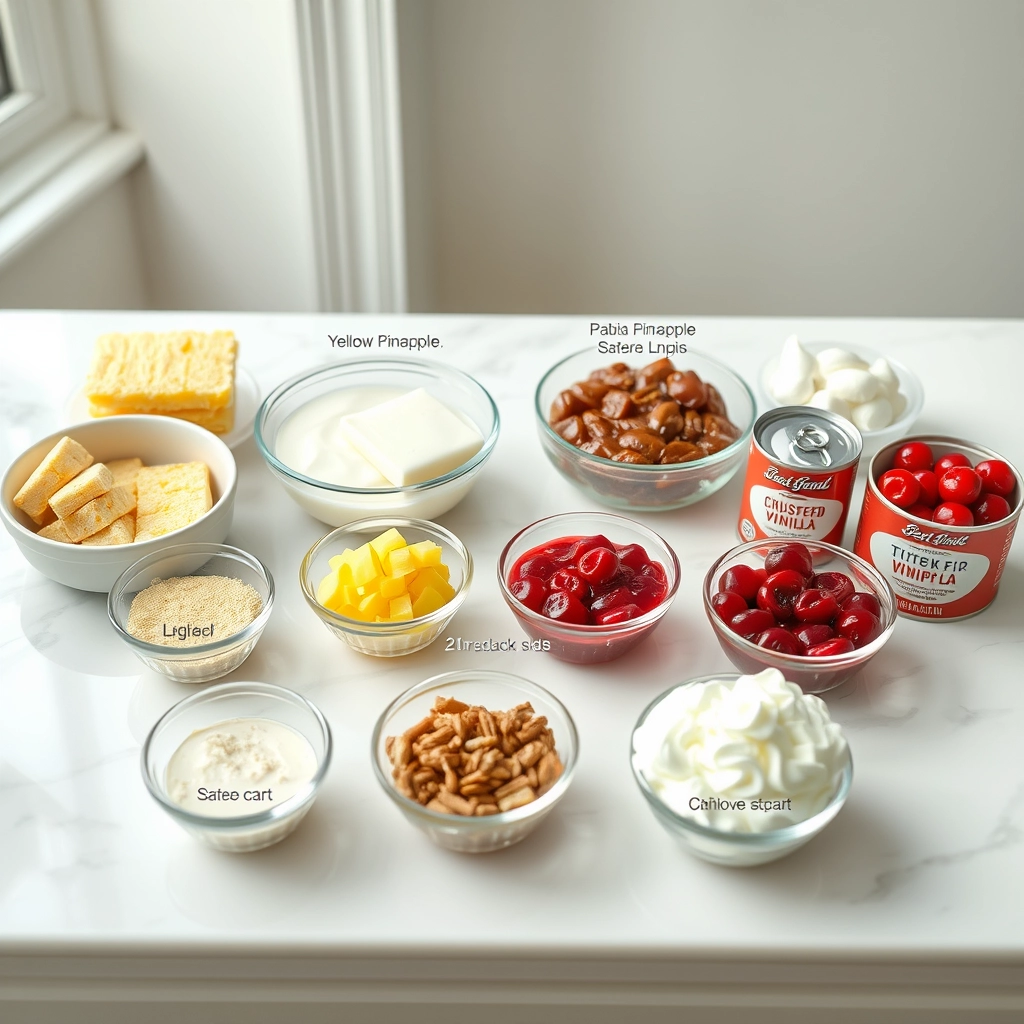
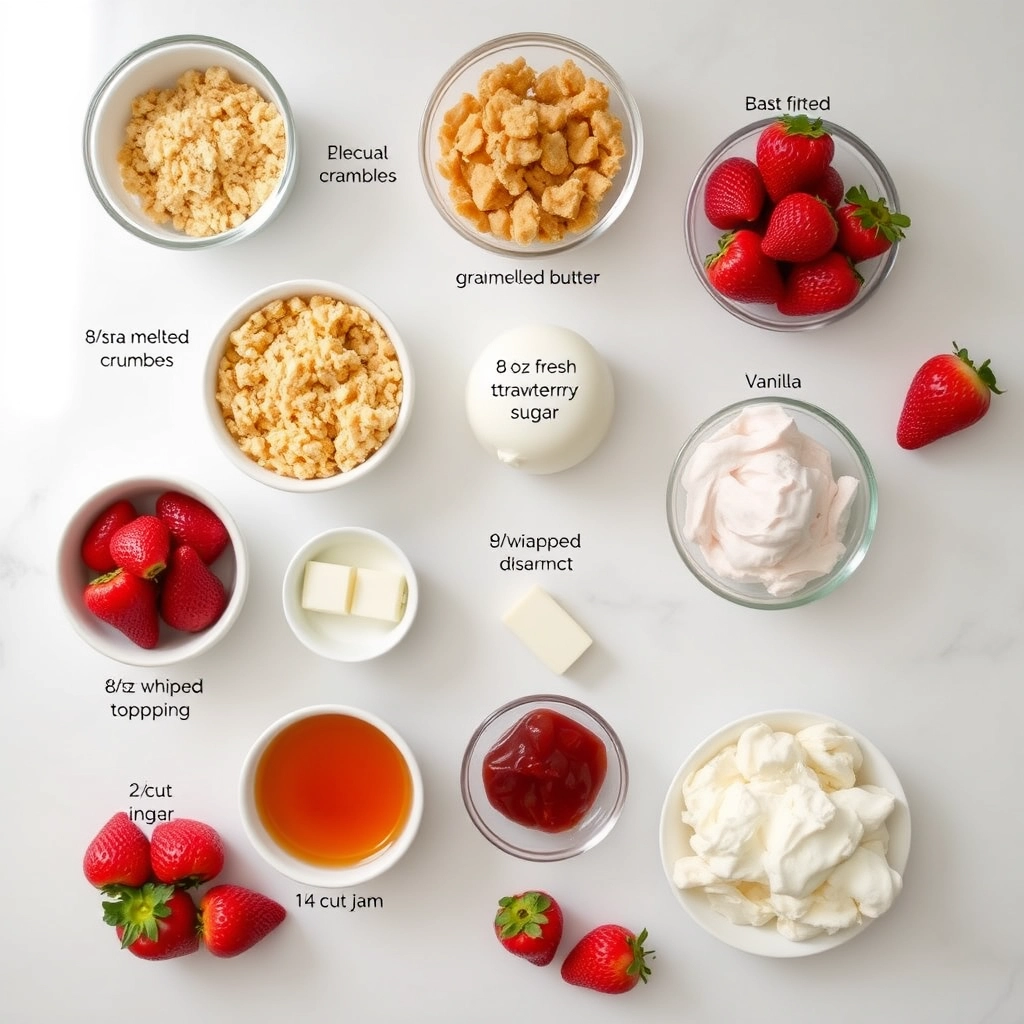
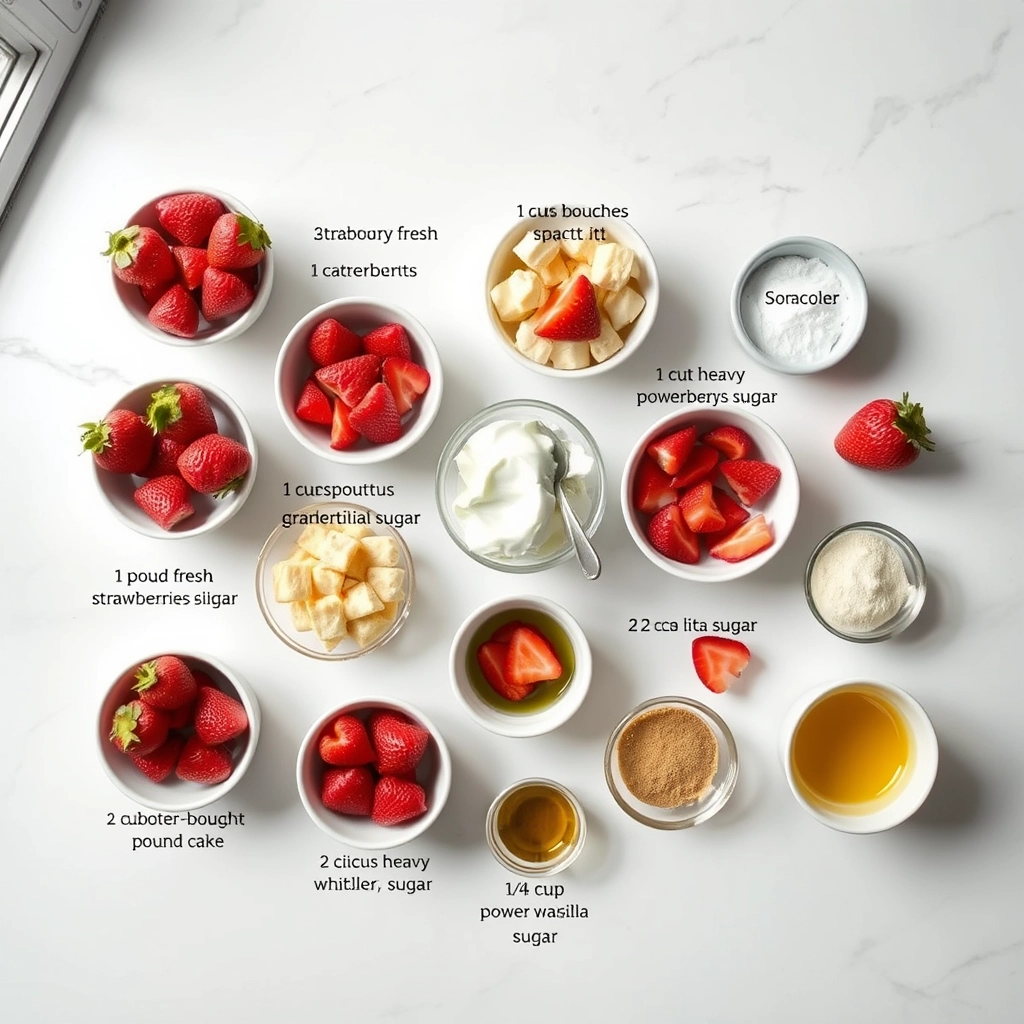
Ingredients You’ll Need (and Why They Matter)
- 1 pound fresh strawberries – Look for berries that are fragrant and deeply red; they’ll mash into the most vibrant compote.
- 1/4 cup granulated sugar – Just enough to coax out the strawberries’ natural sweetness without overpowering them.
- 1 teaspoon vanilla extract – A warm, floral note that makes the berries sing.
- 1 store-bought pound cake (or homemade, if you’re feeling ambitious!) – The trifle’s sturdy yet tender backbone. I won’t judge if you grab one from the bakery aisle—this is about ease and joy.
- 2 cups heavy whipping cream – The billowy crown of this dessert. Cold cream whips up fluffiest, so chill your bowl and beaters too.
- 1/4 cup powdered sugar – Dissolves seamlessly into the cream for just the right sweetness.
- Fresh mint leaves (optional) – A whisper of green makes it feel like a garden party.
Let’s Build Some Sweet Layers
Step 1: Macerate the strawberries
Slice half the strawberries and mash the other half with a fork—this gives you a chunky compote with pockets of whole berry goodness. Toss them with granulated sugar and vanilla, then let them sit for at least 15 minutes. As they rest, they’ll release the most glorious syrup. (Pro tip: If your berries aren’t super ripe, add a squeeze of lemon juice to brighten them up.)
Step 2: Whip the cream to cloud-like perfection
Pour your chilled heavy cream into a cold mixing bowl and beat on medium-high until soft peaks form. Sift in the powdered sugar (this prevents lumps!) and continue whipping just until the cream holds its shape when you lift the beaters. Overwhipping leads to butter—a happy accident, but not what we’re after today.
Step 3: Cube the pound cake
Cut the cake into 1-inch pieces—rustic is charming here. If you’re prepping ahead, lightly toast the cubes at 300°F for 5 minutes to help them hold up against the juicy berries. (But if you’re serving immediately, untoasted is wonderfully soft and nostalgic.)
Pro Tips, Variations, and Substitutions
This strawberry shortcake trifle is wonderfully forgiving, so don’t be afraid to make it your own! Here are some ways to customize it:
- Swap the fruit: Use raspberries, blueberries, or a mix of berries for a different flavor twist.
- Make it boozy: Add a splash of Grand Marnier or Chambord to the whipped cream for an adult-friendly version.
- Go gluten-free: Use gluten-free pound cake or angel food cake to keep it celiac-friendly.
- Lighter option: Substitute Greek yogurt for half the whipped cream for a tangy, protein-packed twist.
What to Serve With Strawberry Shortcake Trifle
This dessert is a showstopper on its own, but if you’re serving it for a special occasion, pair it with:
- A hot cup of coffee or tea to balance the sweetness.
- Sparkling rosé or Prosecco for a festive touch.
- A scoop of vanilla ice cream for an extra-indulgent treat.
Storage and Reheating Tips
This trifle is best enjoyed fresh, but if you have leftovers, here’s how to keep them tasting great:
- Refrigerate: Cover tightly with plastic wrap and store in the fridge for up to 2 days.
- Freezing: While the texture may change slightly, you can freeze individual portions for up to a month. Thaw in the fridge before serving.
- Revive leftovers: If the cake gets a little soggy, a quick sprinkle of fresh berries and whipped cream can freshen it up.
Frequently Asked Questions
Can I make this ahead of time?
Yes! Assemble it up to 4 hours before serving and keep it chilled. For best texture, add the final whipped cream layer just before serving.
Can I use frozen strawberries?
Absolutely—just thaw and drain them well to avoid excess liquid. You may want to toss them with a little extra sugar to enhance their flavor.
What’s the best dish to use for layering?
A glass trifle bowl is ideal for showing off the pretty layers, but a deep serving dish or even individual mason jars work beautifully too.
Can I use store-bought pound cake?
Definitely! A good-quality bakery pound cake or even angel food cake from the store works perfectly in a pinch.
Final Thoughts
There’s something truly magical about a strawberry shortcake trifle—layers of tender cake, juicy berries, and billowy whipped cream coming together in every spoonful. Whether you’re serving it at a summer picnic, a holiday gathering, or just because, this dessert is sure to bring smiles. It’s the kind of recipe that feels fancy but is secretly easy, making it perfect for both special occasions and lazy Sunday treats. So grab a spoon, dig in, and savor every bite of this luscious, berry-filled delight!
Print
Strawberry Shortcake Trifle
Description
A delicious layered dessert with fresh strawberries, whipped cream, and pound cake.
Ingredients
For the Crust:
- 1 pound fresh strawberries, sliced
- 1/4 cup granulated sugar
- 1 store-bought pound cake, cubed
- 2 cups heavy whipping cream
- 1/4 cup powdered sugar
- 1 teaspoon vanilla extract
Instructions
1. Prepare the Crust:
- In a bowl, mix sliced strawberries with granulated sugar and let sit for 15 minutes to macerate.
- In a separate bowl, whip the heavy cream, powdered sugar, and vanilla extract until stiff peaks form.
- In a trifle dish or large glass bowl, layer half the pound cake cubes, half the strawberries, and half the whipped cream. Repeat the layers.
- Refrigerate for at least 1 hour before serving to allow flavors to meld.
Notes
You can customize the seasonings to taste.