
Strawberry Cheesecake Cinnabon Rolls Recipe
Description
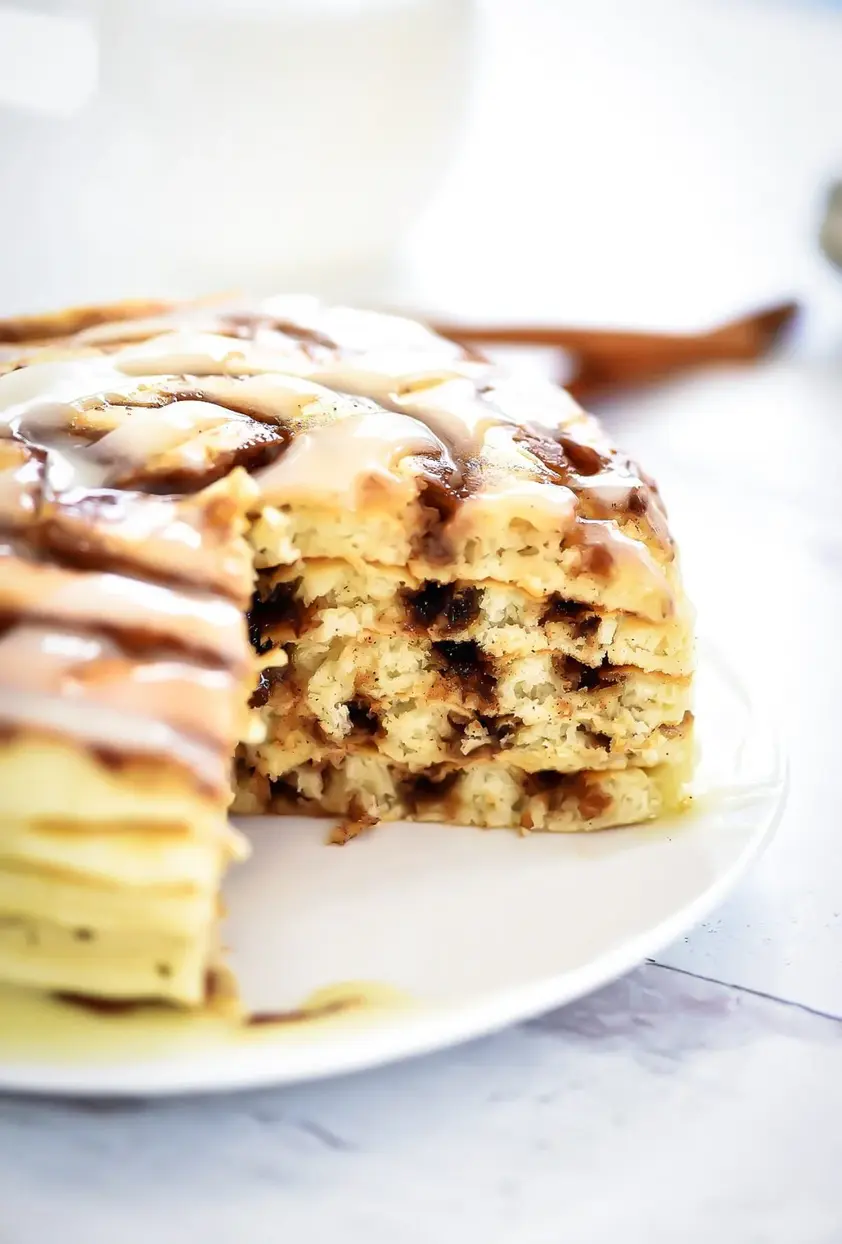
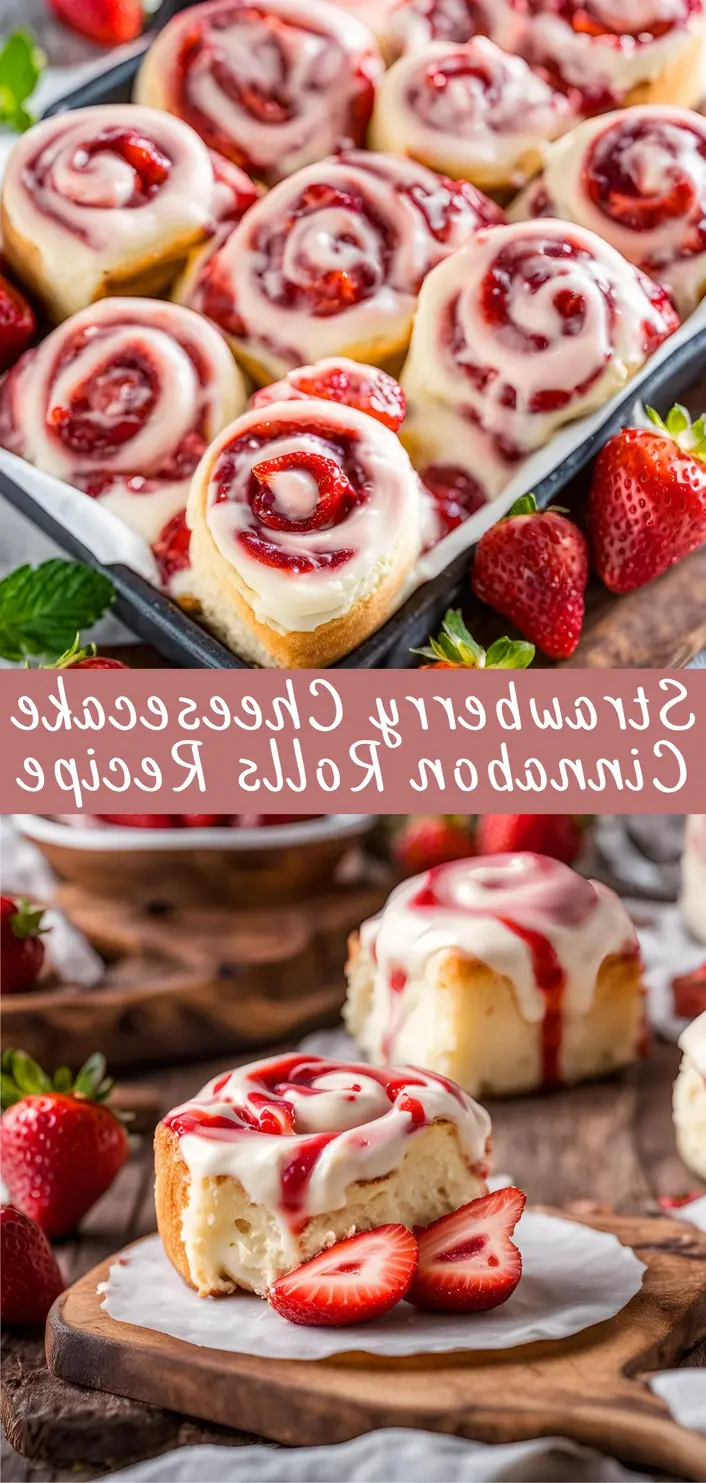
Strawberry Cheesecake Cinnabon Rolls combine several beloved treats into one deliciously indulgent dessert or breakfast. By blending the soft, buttery texture of a cinnamon roll with the rich and creamy tang of cheesecake and the freshness of strawberries, this recipe takes traditional cinnamon rolls to a whole new level.
Ingredients
- For the Dough:
- The dough is the base of your rolls and needs to be soft, fluffy, and slightly sweet. For this, youll need:
- 2 cups (240g) all-purpose flour
- 1/2 cup (120ml) whole milk, lukewarm
- 2 1/4 teaspoons (7g) active dry yeast
- 1/4 cup (50g) granulated sugar
- 1/4 cup (60g) unsalted butter, softened
- 1 large egg
- 1/2 teaspoon vanilla extract
- 1/2 teaspoon salt
- For the Cheesecake Filling:
- This will add the creamy, tangy element to your rolls, making them irresistibly indulgent:
- 8 oz (225g) cream cheese, softened
- 1/4 cup (50g) granulated sugar
- 1 teaspoon vanilla extract
- 1 tablespoon all-purpose flour
- 1/2 cup (120ml) sour cream or Greek yogurt
- For the Cinnamon Sugar Filling:
- The classic cinnamon sugar filling gives these rolls that familiar Cinnabon flavor, but well enhance it with the cheesecake filling and strawberries:
- 1/2 cup (100g) packed brown sugar
- 2 tablespoons ground cinnamon
- 1/4 teaspoon salt
- 1/4 cup (60g) unsalted butter, softened
- For the Strawberry Topping:
- Fresh strawberries add a burst of flavor and color to the rolls, creating a lovely contrast with the rich cheesecake filling:
- 1 cup (150g) fresh strawberries, hulled and sliced
- 1 tablespoon sugar (optional, for extra sweetness)
- For the Cream Cheese Icing:
- A creamy, tangy icing that complements the rich, sweet rolls:
- 4 oz (115g) cream cheese, softened
- 1/2 cup (60g) powdered sugar
- 1/4 teaspoon vanilla extract
- 1–2 tablespoons whole milk, as needed for consistency
- Pinch of salt
Instructions
- Step 1: Preparing the Dough: Activate the YeastIn a small bowl, combine the lukewarm milk and the yeast. Stir to dissolve, then let it sit for 5-10 minutes until it becomes frothy. This indicates that the yeast is active and ready to use.
- Step 1: Preparing the Dough: Mix the DoughIn a large mixing bowl, combine the flour, sugar, and salt. Create a well in the center and add the yeast mixture, the softened butter, egg, and vanilla extract. Mix until a dough starts to form. You can use a wooden spoon or your hands at this stage.
- Step 1: Preparing the Dough: Knead the DoughOnce the dough comes together, transfer it to a lightly floured surface. Knead the dough for about 8-10 minutes, until it becomes smooth and elastic. If it’s too sticky, you can add a little more flour, but be careful not to add too much as you want a soft, tender dough.
- Step 1: Preparing the Dough: Let the Dough RiseForm the dough into a ball and place it in a lightly greased bowl. Cover it with a clean towel or plastic wrap and let it rise in a warm place for about 1-1.5 hours, or until it has doubled in size.
- Step 2: Making the Cheesecake Filling: Blend the Cream CheeseWhile the dough is rising, prepare the cheesecake filling. In a medium-sized bowl, beat the softened cream cheese with an electric mixer on medium speed until it’s smooth and creamy.
- Step 2: Making the Cheesecake Filling: Add the Other IngredientsAdd the granulated sugar, vanilla extract, flour, and sour cream (or Greek yogurt). Beat everything together until fully combined and smooth. Set aside for assembly.
- Step 3: Preparing the Cinnamon Sugar Filling: Make the Cinnamon Sugar MixtureIn a small bowl, mix the brown sugar, cinnamon, and salt. Set this aside, ready for the roll assembly.
- Step 3: Preparing the Cinnamon Sugar Filling: Prepare the ButterSoften the butter (you can microwave it for a few seconds or let it sit at room temperature) until it’s spreadable, but not melted.
- Step 4: Assembling the Rolls: Roll Out the DoughAfter the dough has risen, punch it down gently to release any air bubbles. Turn the dough out onto a floured surface and roll it into a large rectangle, about 16 inches by 12 inches (40 cm x 30 cm).
- Step 4: Assembling the Rolls: Spread the ButterUsing a pastry brush or the back of a spoon, spread the softened butter evenly over the dough, leaving a small border around the edges.
- Step 4: Assembling the Rolls: Add the Cheesecake FillingSpoon the cheesecake mixture over the buttered dough, spreading it out evenly with a spatula or the back of a spoon. Be careful not to go all the way to the edges to prevent it from spilling out during baking.
- Step 4: Assembling the Rolls: Sprinkle the Cinnamon SugarEvenly sprinkle the cinnamon-sugar mixture over the cheesecake layer.
- Step 4: Assembling the Rolls: Roll Up the DoughStarting from the long edge, carefully roll the dough into a tight log. Once you have the full roll, pinch the seam to seal it.
- Step 4: Assembling the Rolls: Cut the RollsUse a sharp knife or dental floss to cut the dough into 12 equal rolls. Place the rolls in a greased 9×13-inch baking dish or a similar-sized dish, ensuring they’re close but not touching.
- Step 4: Assembling the Rolls: Let the Rolls RiseCover the rolls loosely with plastic wrap or a clean towel and let them rise for about 30-45 minutes, or until they’re puffed up and touching each other.
- Step 5: Baking the Rolls: Preheat the OvenPreheat your oven to 350°F (175°C) while the rolls are rising.
- Step 5: Baking the Rolls: BakeOnce the rolls have risen, bake them in the preheated oven for 25-30 minutes, or until they’re golden brown and cooked through. If they start to brown too quickly, cover them loosely with aluminum foil.
- Step 5: Baking the Rolls: Cool SlightlyRemove the rolls from the oven and allow them to cool for about 10 minutes before adding the icing and strawberry topping.
- Step 6: Preparing the Cream Cheese Icing: Mix the IcingIn a medium-sized bowl, beat the softened cream cheese, powdered sugar, vanilla extract, and a pinch of salt. Gradually add the milk until you reach a smooth, spreadable consistency.
- Step 6: Preparing the Cream Cheese Icing: Drizzle or SpreadOnce the rolls have cooled slightly, drizzle or spread the icing over the warm rolls. The warmth of the rolls will help the icing melt slightly, creating a luscious, creamy topping.
- Step 7: Preparing the Strawberry Topping: Slice the StrawberriesSlice the fresh strawberries thinly, then toss them with a tablespoon of sugar if you like them extra sweet.
- Step 7: Preparing the Strawberry Topping: Top the RollsGently arrange the sliced strawberries on top of the rolls. The sweetness of the strawberries balances the richness of the cheesecake and cinnamon filling, creating a perfect flavor combination.
Notes
Dough Rising Time: The first rise for the dough typically takes about 1 to 1.5 hours, depending on the temperature of your kitchen. Make sure your dough is kept in a warm, draft-free spot to rise efficiently.
Yeast Activation: Ensure your yeast is fresh. If your yeast doesnt foam after 5-10 minutes when mixed with warm milk, it may be expired and youll need to use fresh yeast for the recipe.
Softening Ingredients: For the best results, make sure the cream cheese, butter, and sour cream are softened before mixing them into the filling or icing. Cold ingredients will lead to lumps in the filling or icing.
Freezing the Rolls: If you’d like to make these ahead of time, you can freeze the unbaked rolls after assembling them. Simply freeze them on a baking sheet until firm, then transfer them to a freezer-safe bag. When youre ready to bake, let them thaw in the refrigerator overnight and then allow for a final rise before baking.
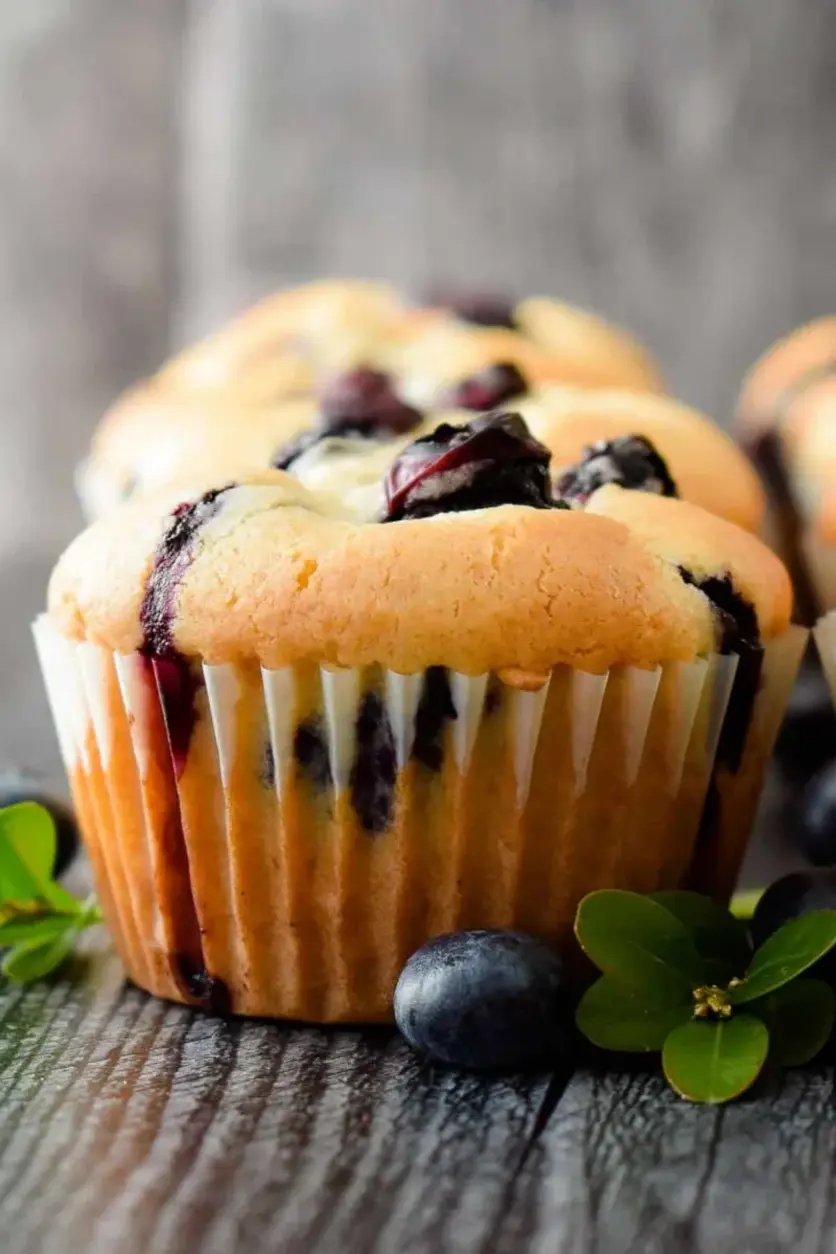
Customization: Feel free to switch out the strawberries for other fruits like blueberries, raspberries, or peaches. You can also experiment with different flavorings, like lemon zest or cinnamon, to make the rolls uniquely yours!
Cinnamon Sugar Variation: If you want an extra kick of cinnamon flavor, you can increase the amount of cinnamon in the filling or sprinkle some on top of the rolls before baking.
Icing Consistency: If your icing is too thick, add milk a teaspoon at a time until it reaches a drizzle-able consistency. If it’s too thin, add a bit more powdered sugar to thicken it up.
Dont Skip the Second Rise: The second rise is important for the rolls to puff up and achieve that light, fluffy texture. Make sure you allow for this step, even if you’re in a rushtrust us, its worth the wait!