Introduction
There’s something magical about the first bite of a dish that wraps you in warmth and nostalgia. If you crave a meal that feels like a cozy hug, this Creamy Pumpkin Alfredo Pasta Delight is your answer. Perfect for crisp autumn evenings or anytime you want a touch of comfort, this recipe blends rich, velvety flavors with a hint of seasonal charm. Whether you’re a pumpkin enthusiast or just looking for a twist on classic pasta, this dish promises to delight your taste buds and soothe your soul.
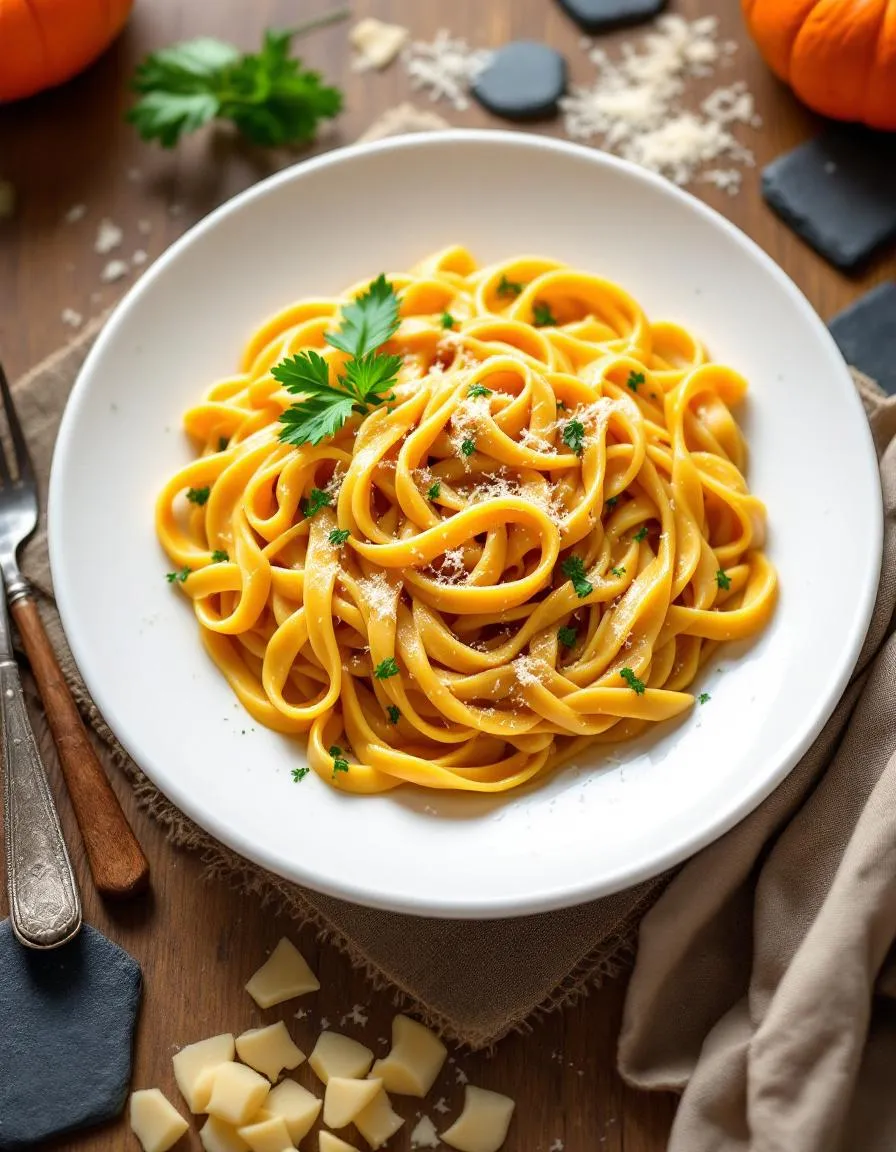
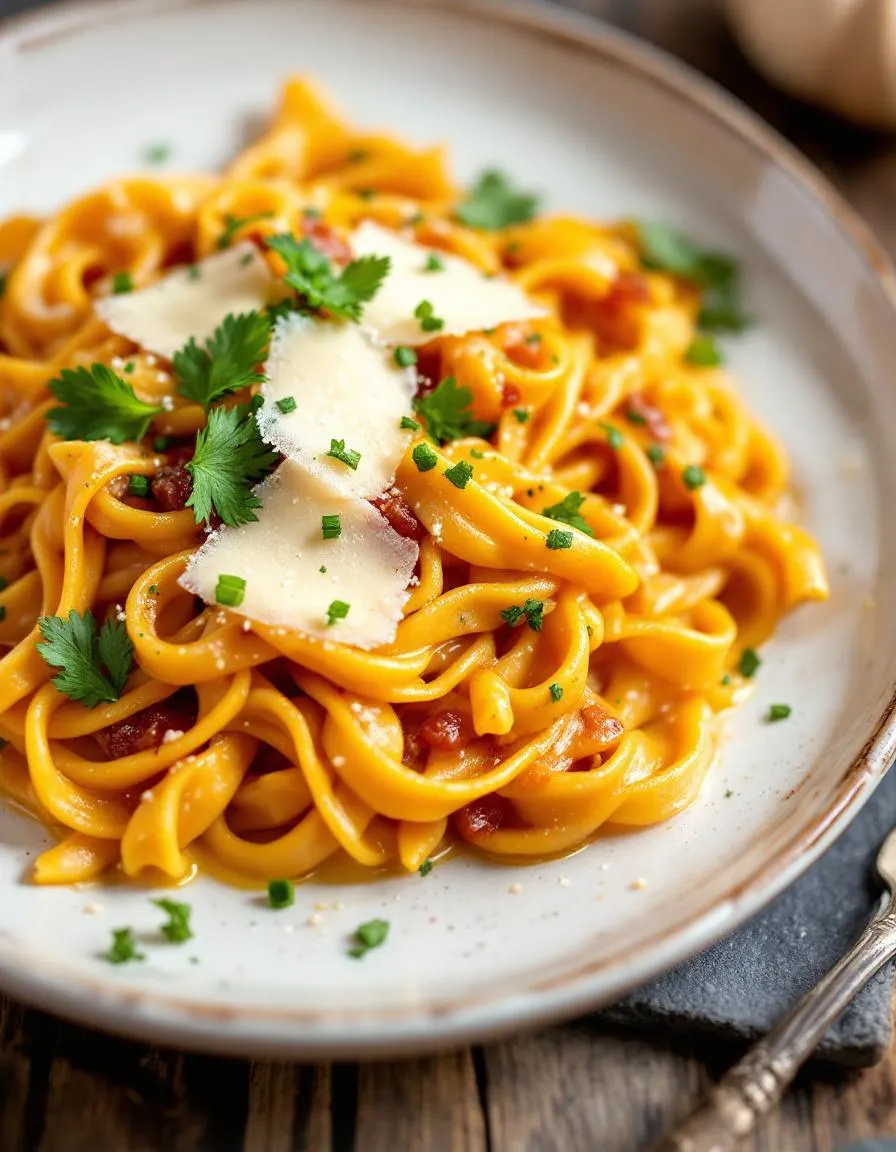
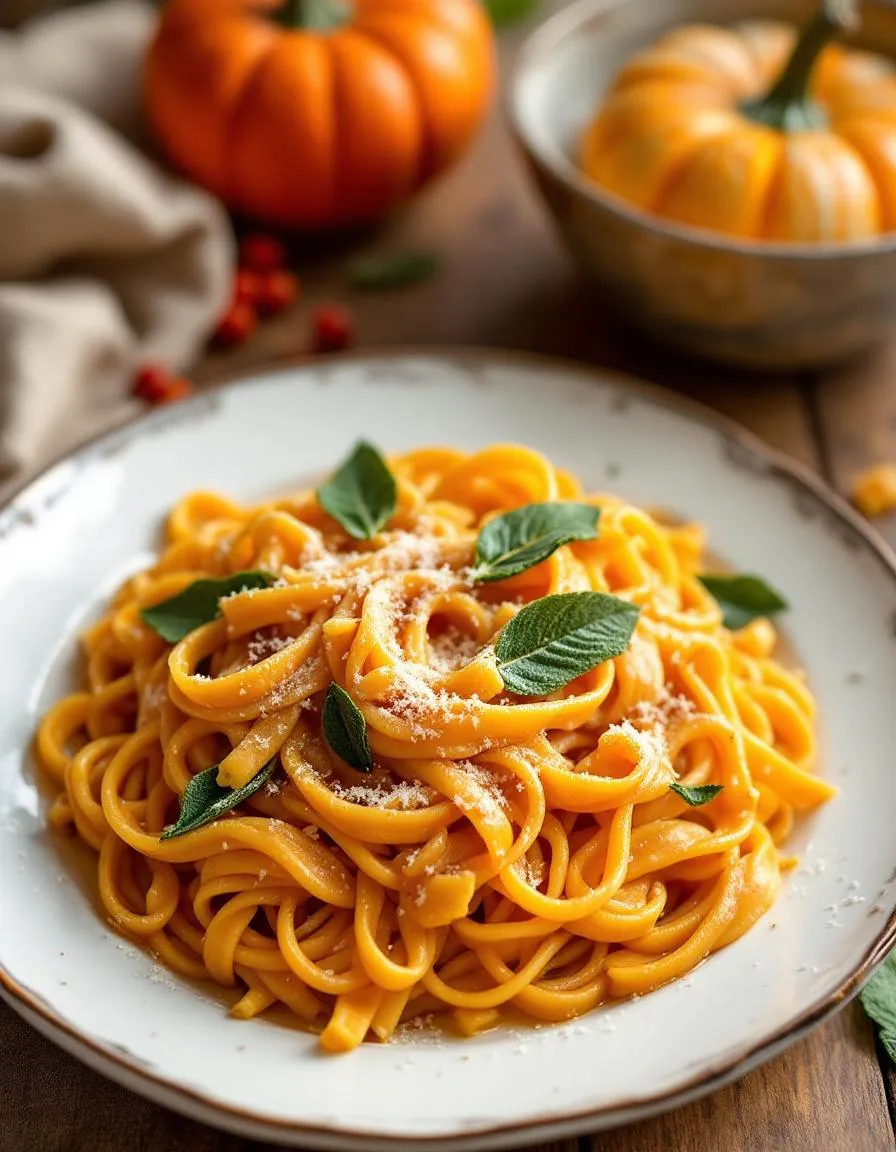
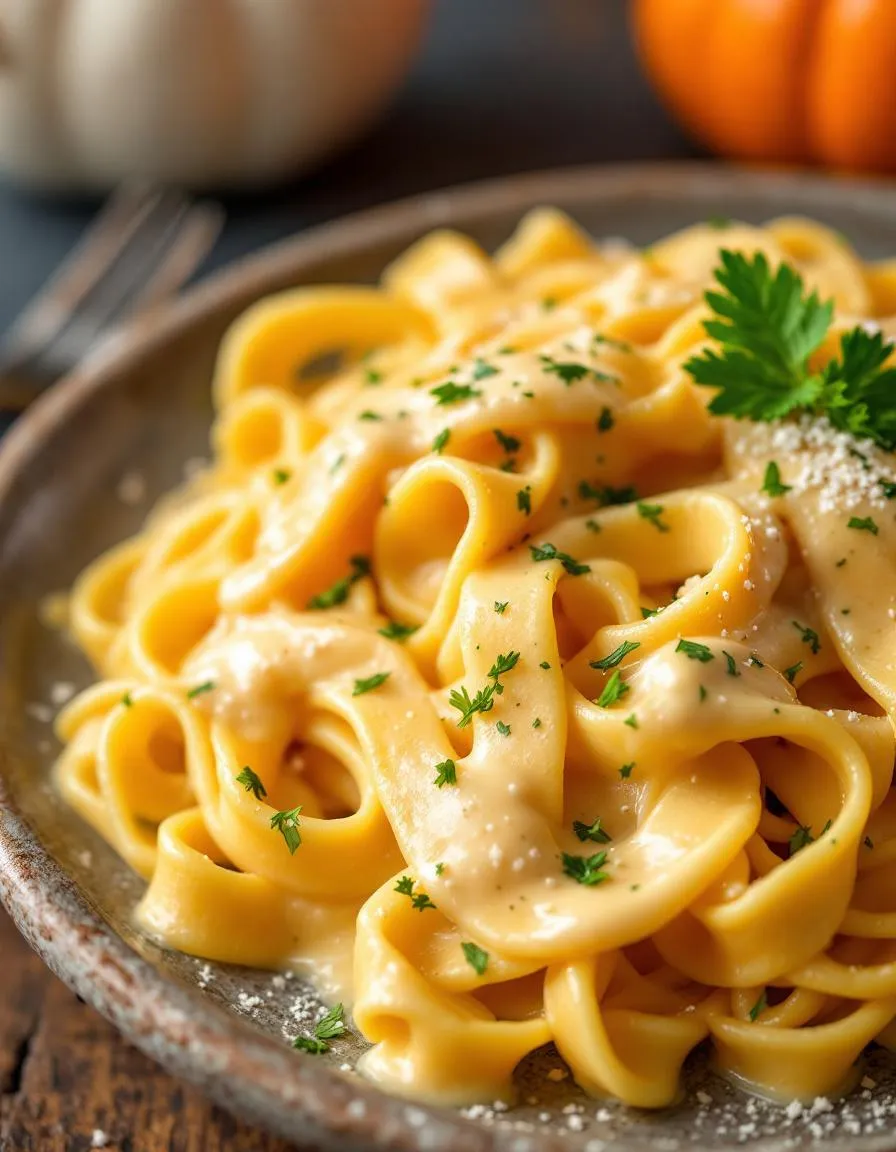
Creamy Pumpkin Alfredo Pasta Delight is a luxurious yet approachable dish that combines tender pasta with a silky sauce made from pumpkin puree, garlic, cream, and Parmesan. Unlike traditional Alfredo, this version adds a subtle sweetness and earthy depth, making it a standout for fall gatherings or weeknight dinners. What makes it special is its versatility. You can easily customize it with roasted vegetables, crispy bacon, or a sprinkle of nutmeg for extra warmth. Plus, it’s a fantastic way to sneak in nutrients, as pumpkin packs vitamins and fiber.
This recipe fits perfectly with our blog’s mission to bring joy to everyday cooking. Just like our Garlic Herb Roasted Chicken, it’s simple enough for beginners but impressive enough for special occasions. And if you love seasonal twists, you’ll adore how it pairs with our Cinnamon Apple Crisp for a full autumn-inspired meal. Whether you’re cooking for family or treating yourself, this dish delivers comfort and flavor in every forkful.
Why I Love This Recipe
This Creamy Pumpkin Alfredo Pasta Delight holds a special place in my heart because it reminds me of my grandmother’s kitchen. She always believed the best meals were the ones that brought people together, and this dish does exactly that. The first time I made it, the aroma of garlic and pumpkin filled my home, instantly transporting me back to her cozy dinners. Now, I love sharing it with friends, who always ask for seconds. It’s more than just a recipe. It’s a delicious way to create new memories while honoring old ones.
Health and Nutrition
Why it’s good for your body
Creamy Pumpkin Alfredo Pasta Delight packs a nutritious punch while satisfying your taste buds. First, pumpkin delivers a hefty dose of vitamin A, which supports vision and immune health. Additionally, the fiber in pumpkin aids digestion and keeps you feeling full longer. Meanwhile, the alfredo sauce, when made with wholesome ingredients, provides calcium and healthy fats for sustained energy.
Moreover, this dish balances indulgence with nourishment. Unlike heavy traditional alfredo dishes, Creamy Pumpkin Alfredo Pasta Delight incorporates lighter elements like garlic and herbs, which offer anti-inflammatory benefits. The pasta, especially if whole-grain, adds complex carbs for steady energy. Together, these ingredients create a meal that fuels your body without weighing you down.
Finally, pumpkin’s natural sweetness reduces the need for excess sugar. As a result, Creamy Pumpkin Alfredo Pasta Delight satisfies cravings while keeping added sugars low. Whether you seek comfort or nutrition, this dish delivers both in every bite.
How it fits in a healthy lifestyle
Creamy Pumpkin Alfredo Pasta Delight fits seamlessly into balanced eating habits. For those watching gluten intake, simply swap regular pasta for a gluten-free alternative. The dish also pairs well with lean proteins like grilled chicken or shrimp, making it a versatile option for muscle recovery. If you’re meal prepping, it stores beautifully for quick, wholesome lunches.
This recipe aligns with heart-healthy goals, too. Pumpkin’s potassium helps regulate blood pressure, while olive oil in the sauce promotes good cholesterol. For more ways to incorporate nutrient-rich meals, explore our healthy dinner ideas. And if you love seasonal ingredients, check out our fall recipes for more inspiration. Creamy Pumpkin Alfredo Pasta Delight proves that delicious and nutritious can go hand in hand.
Print
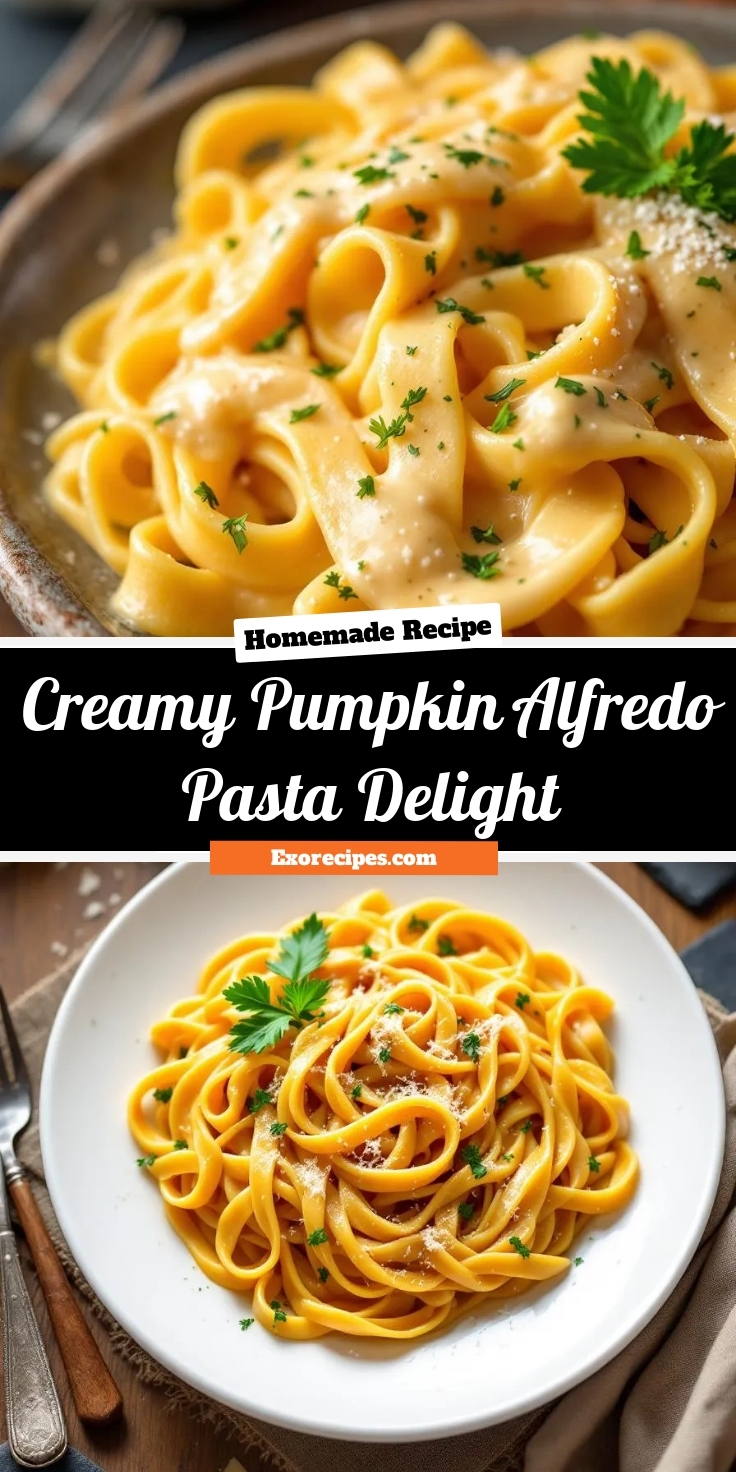
Creamy Pumpkin Alfredo Pasta Delight
Description
A rich and creamy pumpkin-infused Alfredo pasta that’s perfect for fall.
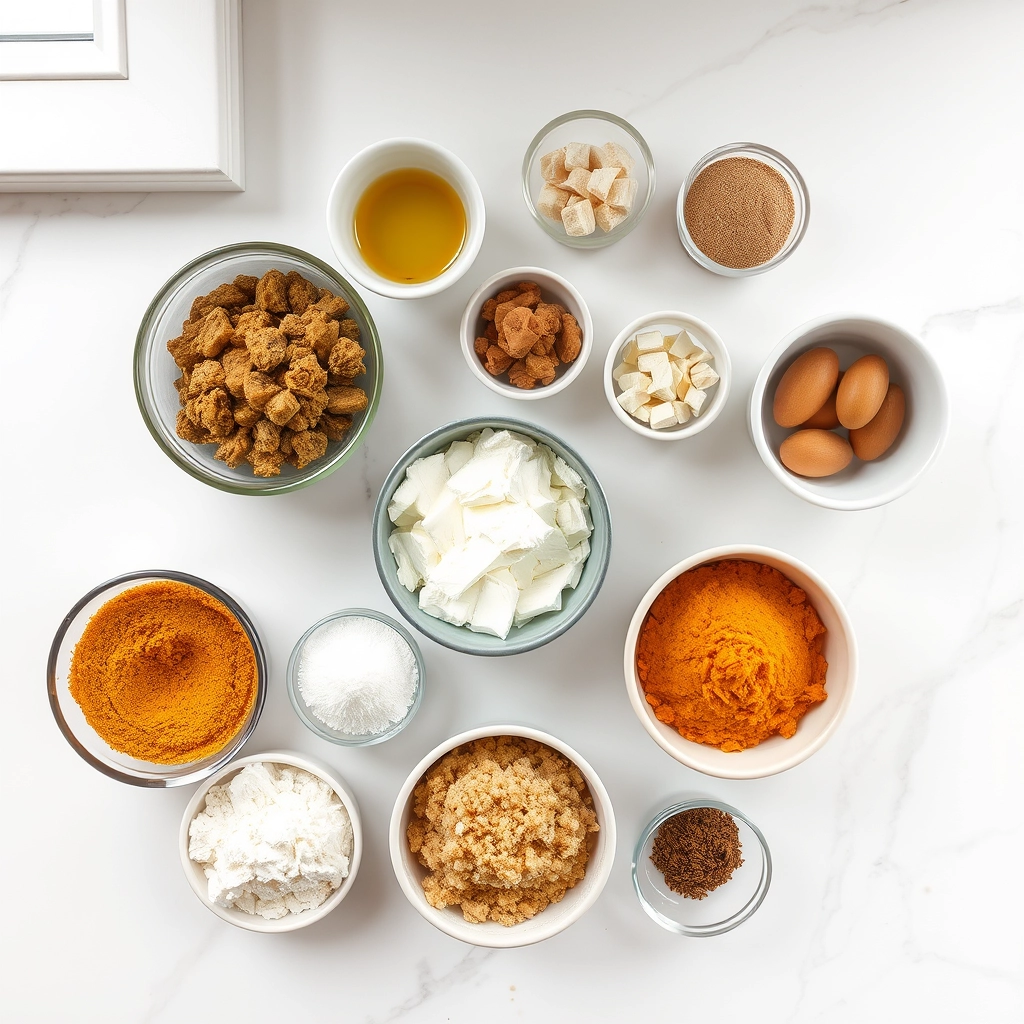
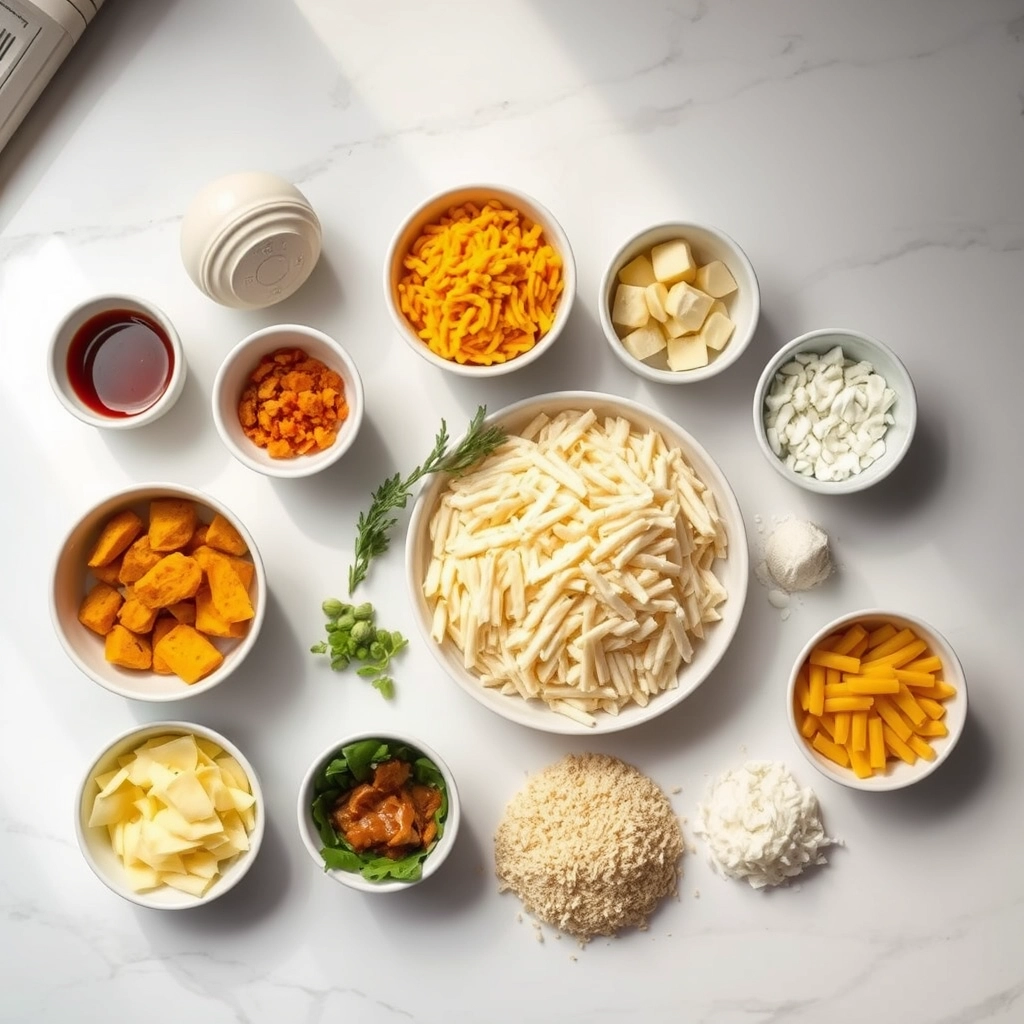
Ingredients
For the Crust:
- 12 oz fettuccine pasta
- 1 cup pumpkin puree
- 1 cup heavy cream
- 1/2 cup grated Parmesan cheese
- 2 cloves garlic, minced
- 2 tbsp unsalted butter
- 1/2 tsp nutmeg
- 1/2 tsp salt
- 1/4 tsp black pepper
- Fresh parsley for garnish
Instructions
1. Prepare the Crust:
- Cook the fettuccine pasta according to package instructions until al dente. Drain and set aside.
- In a large skillet, melt butter over medium heat. Add minced garlic and sauté until fragrant, about 1 minute.
- Stir in pumpkin puree, heavy cream, nutmeg, salt, and black pepper. Simmer for 5 minutes, stirring occasionally.
- Add Parmesan cheese and stir until the sauce is smooth and creamy.
- Toss the cooked pasta in the sauce until well coated. Garnish with fresh parsley before serving.
Notes
You can customize the seasonings to taste.
“`html
How to Prepare This Dish
Steps and time-saving tips
Start by boiling your pasta in salted water until al dente, then drain and set it aside. Meanwhile, heat a large skillet over medium heat and melt butter before adding minced garlic for a quick sauté. Stir in pumpkin puree, heavy cream, and grated Parmesan cheese, whisking until the sauce turns smooth and velvety. For extra flavor, sprinkle in nutmeg and black pepper, then fold the cooked pasta into the sauce until every strand is coated. If the sauce feels too thick, thin it with a splash of reserved pasta water. While the Creamy Pumpkin Alfredo Pasta Delight simmers, toast some breadcrumbs in a separate pan for a crunchy topping. Finally, garnish with fresh parsley and serve immediately. To save time, use canned pumpkin puree and pre-grated Parmesan, but avoid oversaucing the pasta—start with less and add more as needed.