Keto Banana Bread
Description
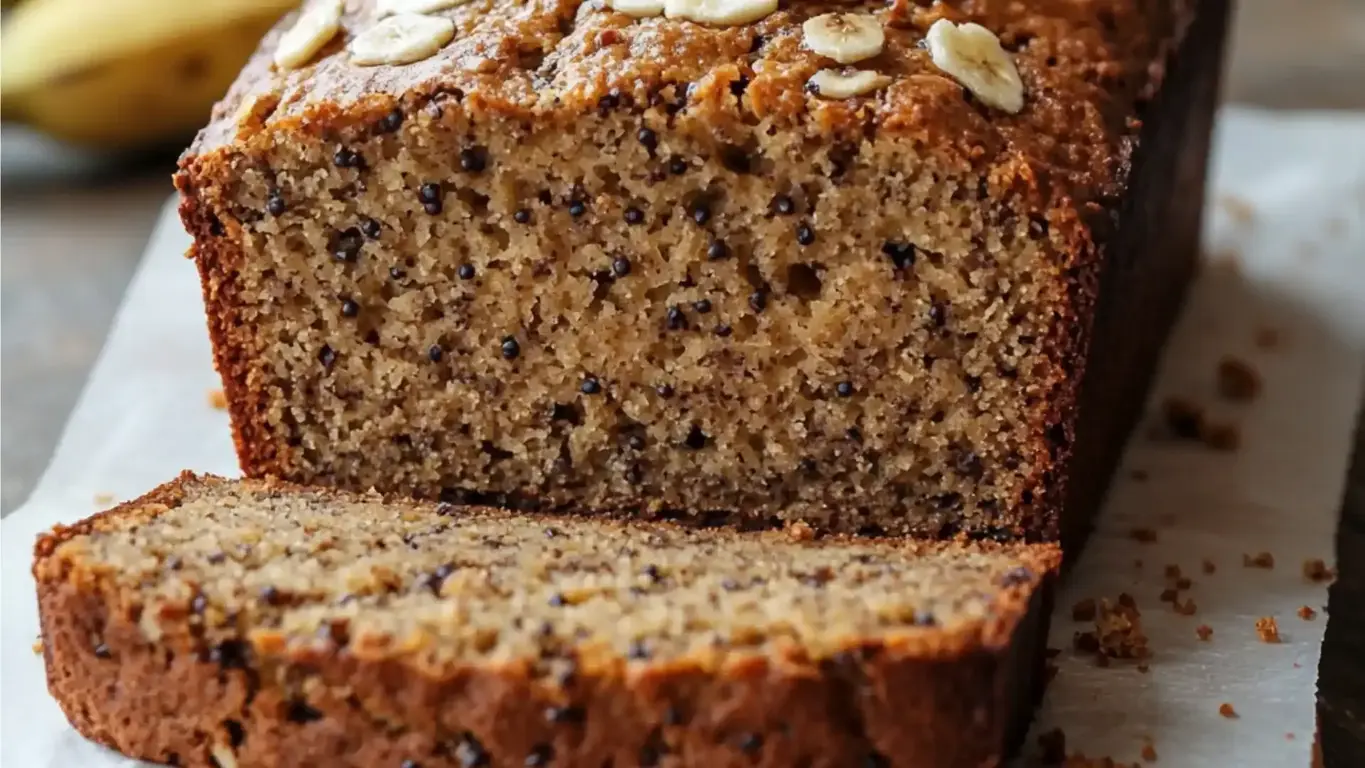
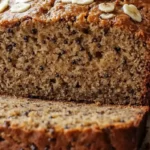
Moist and delicious, you will never guess this is a Keto Banana Bread. It tastes exactly like the original, but with no added sugar and a fraction of the carbs. This is how to make the best almond flour banana bread ever!
Ingredients
Scale
- 2 small bananas, ripe
- 2 eggs
- 60 ml (¼ cup) egg whites, replace with 1 additional whole egg
- 30 ml (2 tbsp) coconut oil, replace with melted butter or vegetable oil
- 100 grams (1 cup) almond flour
- 30 grams (¼ cup) coconut flour, replace with 50 grams (½ cup) almond flour
- 50 grams (¼ cup) keto granular sweetener, erythritol, xylitol or allulose
- 1 ½ tsp baking powder
- 1 tsp vanilla extract
- ½ tsp ground cinnamon
- a pinch of salt
- 1 ½ tsp apple cider vinegar, optional
Instructions
- Heat oven to 180 C° (350 F°) and fold a 20 cm (7.9 inches) loaf pan with parchment paper or grease with oil.
- In a large mixing bowl mash the ripe bananas with a fork until completely smooth, then stir in eggs, egg white, melted coconut oil (or butter, preferred oil), apple cider vinegar, keto sweetener, vanilla extract, ground cinnamon and a pinch of salt. Mix well until you get a smooth batter.
- Incorporate into the mixture almond flour, coconut flour and baking powder. Stir the banana bread batter until smooth, adding little milk only in case it is still too thick. If desired, mix in some chopped walnuts.
- Pour the batter into your prepared loaf pan. Bake in hot oven for 25 to 35 minutes, or until a toothpick inserted into the center of your keto banana bread comes out clean. For a moist texture, do not overbake the loaf.
- Remove the dessert from the oven and let cool in the loaf pan for about 15 minutes. Finally, take it out of the pan and let cool completely before slicing.
Nutrition
- Calories: 104.9kcal
- Sugar: 2.1g
- Protein: 3.8g