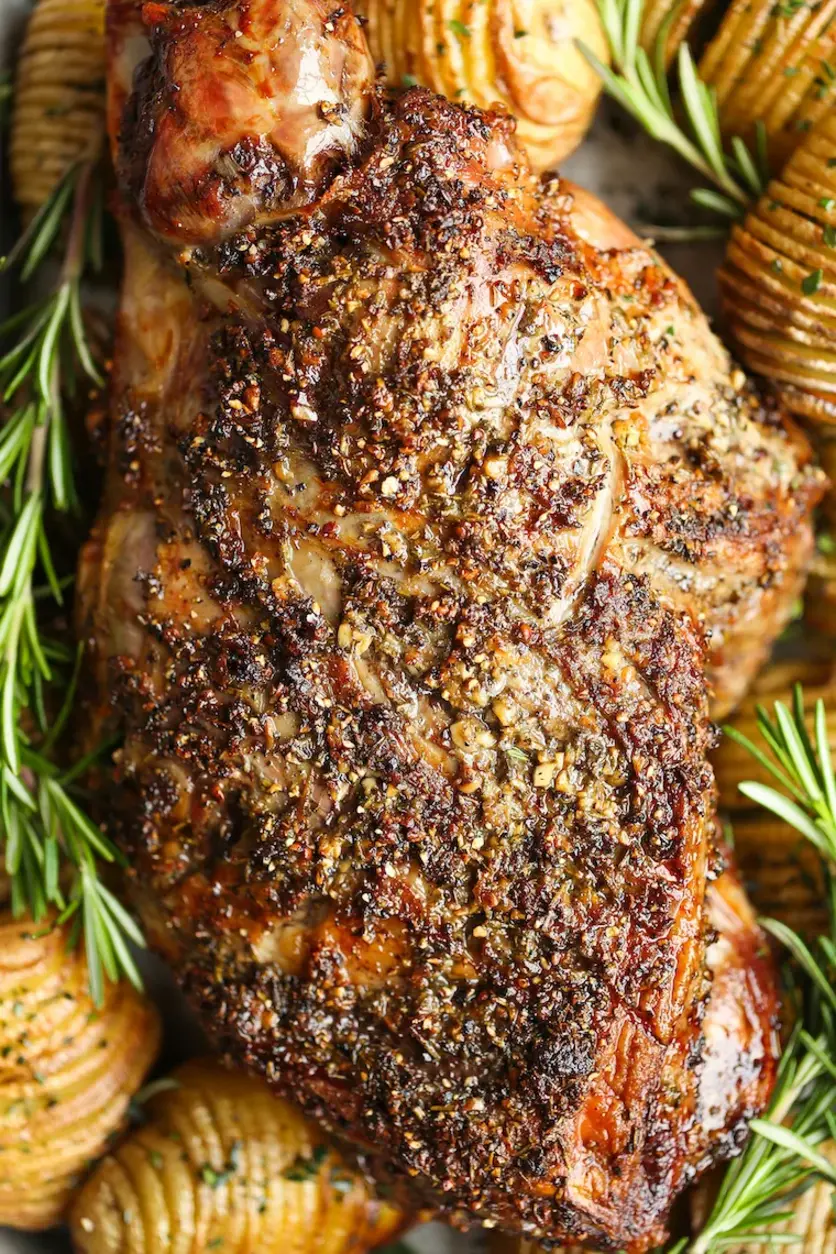
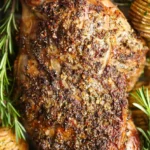
Greek Style Roasted Lamb | Olive & Mango
Print
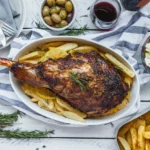
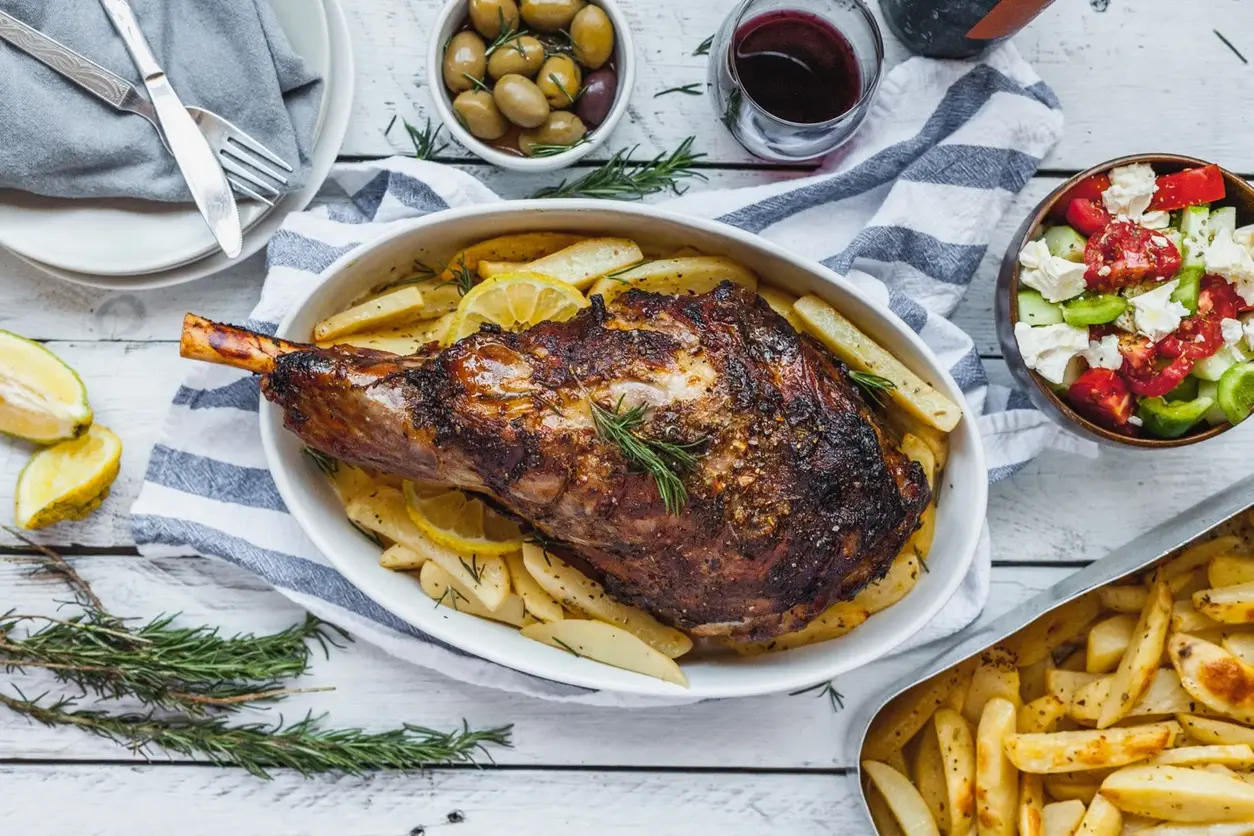
Greek Style Roasted Lamb | Olive & Mango
Print
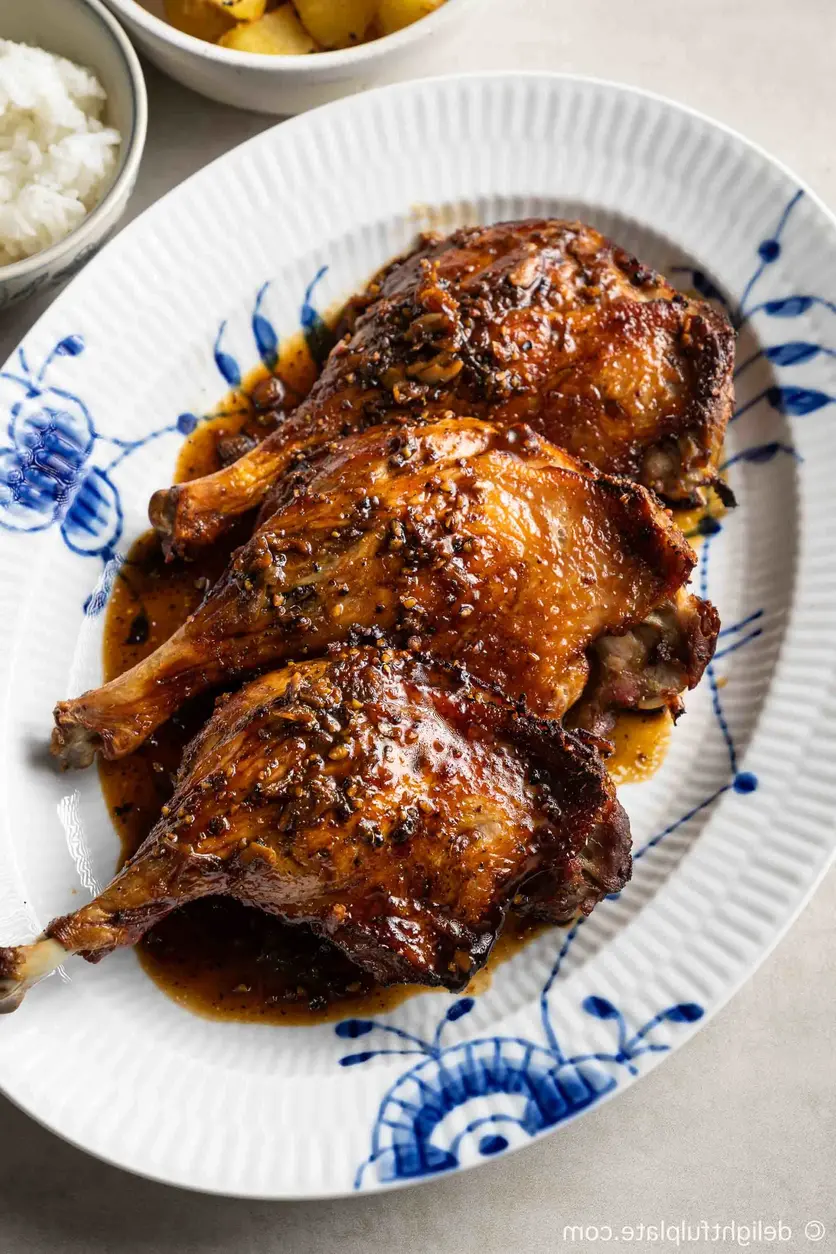
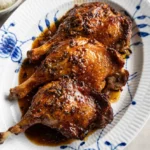
These roasted duck legs with black pepper sauce are suitable for either daily meals or special occasions. They can be put on both Asian and Western dinner tables.
If you are short on time, it is okay to skip the first two steps.
Use more or less black peppercorns depending on how hot you want the sauce to be.
You can serve these roasted duck legs with black pepper sauce and either steamed rice or roasted/boiled potatoes on the side.
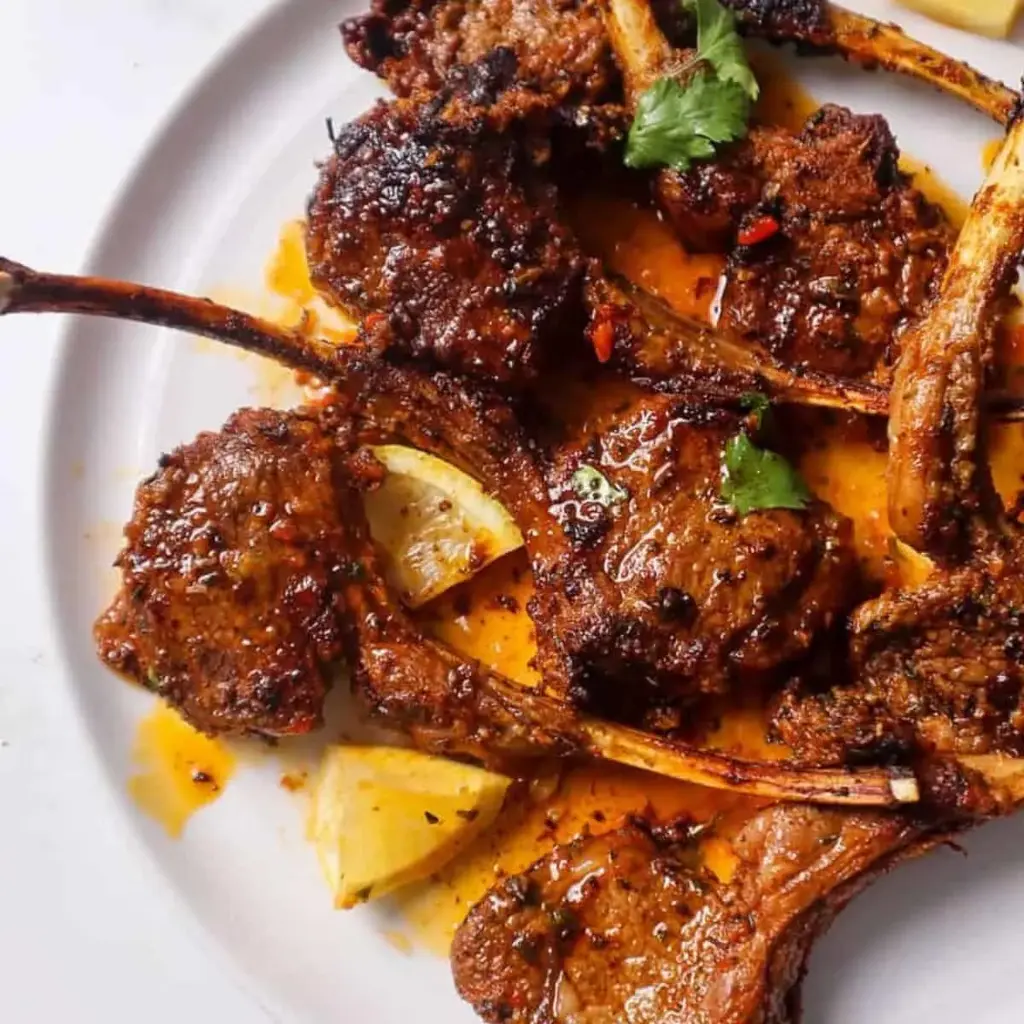
This oven-baked lamb chops recipe is the easiest and most delicious you’ll ever make! Perfectly tender and moist, it’s great for any gathering, holiday, or even a cozy movie night. Many people hesitate to cook lamb, but follow this step-by-step guide, and you’ll be a pro in no time! #LambChops #OvenBakedLamb #EasyDinner #HolidayMeals #TenderAndJuicy #HomeCooking #FlavorfulMeals
Print
This easy baked lamb chops recipe is the easiest, juiciest, and comes together in under 30 minutes. They are pan-seared for a delicious crust, then baked until tender and juicy.
Notes Make sure they are cut evenly to ensure even cooking. Can also add your favorite seasonings. The longer you marinate, the more tasty it becomes. Ensure the lamb chops reach room temperature before cooking. Do not overcrowd the pan. Avoid overlapping. Allow the baked lamb chops to rest for about 3-5 minutes. This will help them stay juicy and tender.
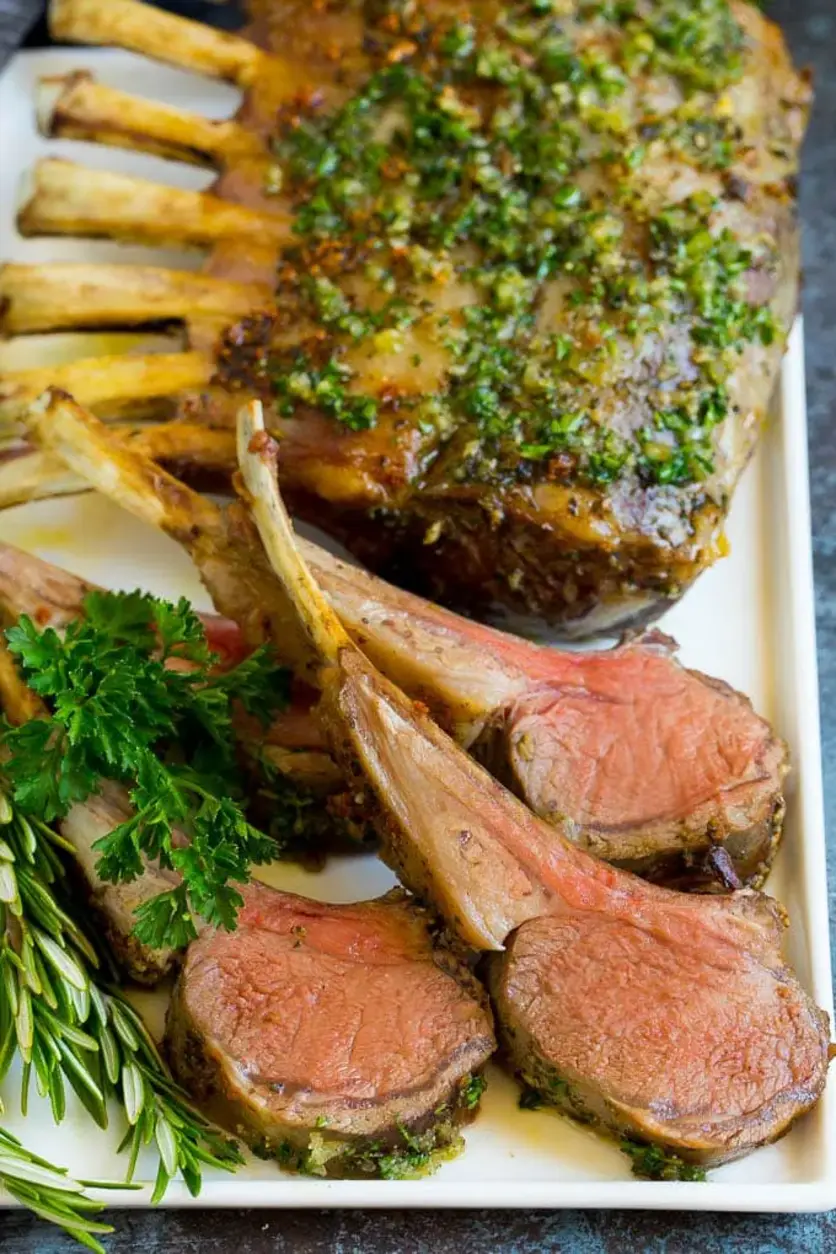
This rack of lamb is coated with garlic and fresh herbs, then roasted in the oven until tender and juicy. The perfect recipe for any special occasion that takes just minutes to put together!
Print
This rack of lamb is coated with garlic and fresh herbs, then roasted in the oven until tender and juicy. The perfect recipe for any special occasion that takes just minutes to put together!
An easy, fool-proof recipe, even for first-timers! So so tender and juicy, perfect for Easter, Christmas, and holidays!