The Best Homemade Toffee That Will Steal Your Heart
There’s something magical about the first bite of homemade toffee—the crisp snap, the buttery sweetness, the way it melts just slightly on your tongue. I still remember the first time I made it, standing in my grandmother’s kitchen, watching golden sugar bubble like liquid amber. She taught me that toffee isn’t just candy; it’s a little piece of love, wrapped in caramelized sugar and toasted almonds. And today, I’m sharing that love with you.
This recipe is foolproof, requiring just a handful of pantry staples and a little patience. Whether you’re gifting it in pretty tins or sneaking pieces straight from the tray (no judgment here!), this toffee is guaranteed to disappear fast. So tie on your apron, and let’s make something unforgettable.
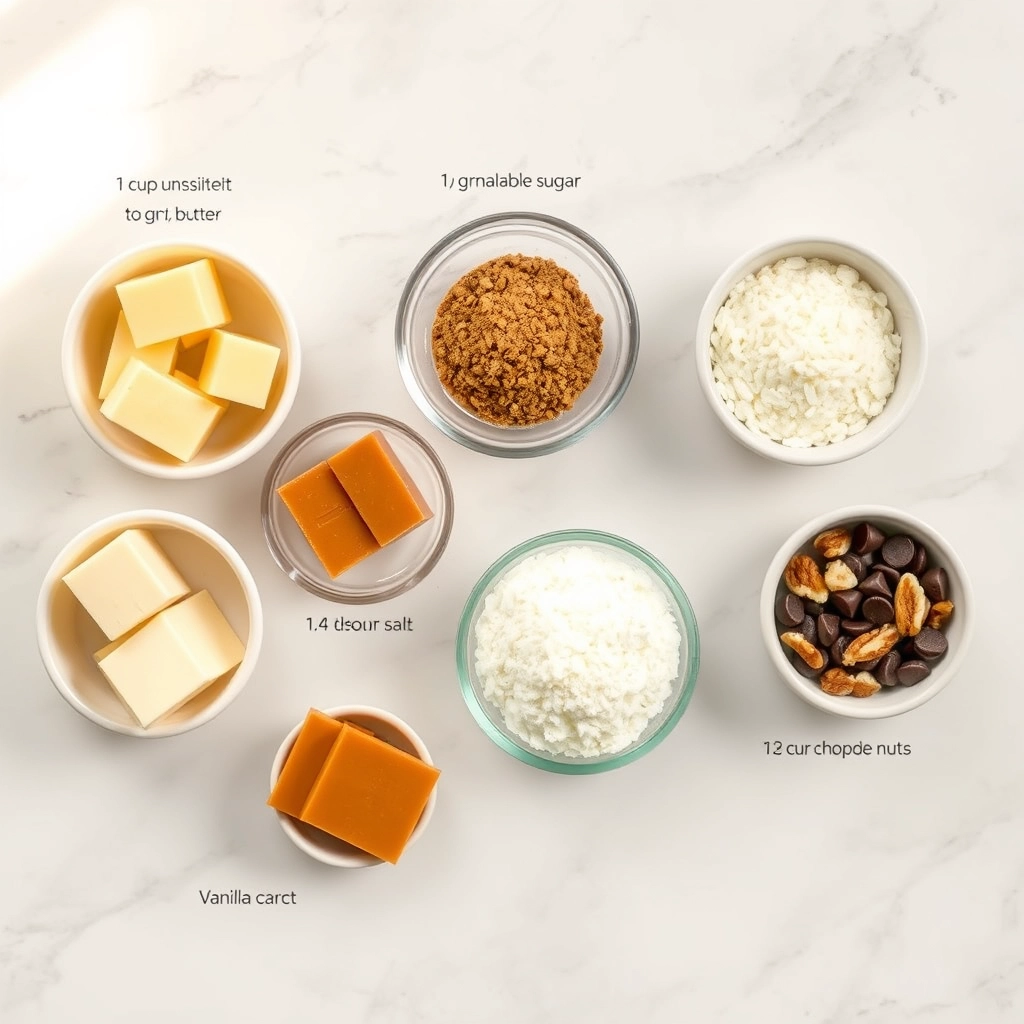
Ingredients You’ll Need
- 1 cup (2 sticks) unsalted butter – The richer, the better! European-style butter adds extra depth, but standard butter works beautifully too.
- 1 cup granulated sugar – This is the backbone of our toffee, caramelizing into that signature deep flavor.
- 1/4 cup water – Just enough to help the sugar dissolve evenly without rushing the process.
- 1/4 teaspoon salt – A pinch balances the sweetness and enhances all the flavors.
- 1 teaspoon pure vanilla extract – Stirred in at the end for a warm, aromatic finish.
- 1 cup chopped toasted almonds – Or pecans, if you prefer! Toasting them first is non-negotiable—it brings out their nutty magic.
- 1 cup semi-sweet chocolate chips – Because everything’s better with chocolate. Feel free to use dark or milk chocolate if that’s your joy.
Step-by-Step: Crafting Perfect Toffee
1. Prep Your Pan: Line a baking sheet with parchment paper and sprinkle half the toasted almonds evenly over it. This will be our toffee’s crunchy foundation.
2. Melt Butter & Sugar: In a heavy-bottomed saucepan (trust me, this prevents scorching!), combine the butter, sugar, water, and salt. Stir over medium heat until the butter melts, then let it bubble away—without stirring—until it reaches 300°F (hard crack stage) on a candy thermometer. This takes about 10-12 minutes. If you don’t have a thermometer, watch for a deep amber color and a scent like buttery caramel.
3. The Vanilla Dance: Once off the heat, stir in the vanilla. It’ll sizzle and perfume your kitchen like a hug. Pour the molten toffee immediately over the waiting almonds, tilting the pan to spread it evenly.
4. Chocolate Bliss: Scatter chocolate chips over the hot toffee. Wait 2 minutes (patience, darling!), then use an offset spatula to swirl the melted chocolate into a glossy blanket. Sprinkle the remaining almonds on top, pressing gently so they stick.
5. The Hardest Part: Let it cool completely at room temperature—no cheating with the fridge! This ensures the perfect crisp texture. Once set, break it into rustic shards with your hands or a knife. (Snack on the “imperfect” pieces—chef’s privilege!)
Pro Tips for Perfect Homemade Toffee Every Time
Making toffee at home is easier than you think, but a few expert tricks will take your batch from good to unforgettable:
- Use a candy thermometer – While the “hard crack stage” (300°F/150°C) can be tested with cold water, a thermometer removes the guesswork.
- Butter matters – Real, unsalted butter gives the richest flavor. European-style butter (higher fat content) makes it extra decadent.
- Stir constantly – Prevent burning by stirring in slow, steady motions, especially as the mixture darkens.
- Work fast after pouring – Spread quickly and add toppings before the toffee sets (it hardens in minutes!).
Delicious Variations & Substitutions
This recipe is wonderfully adaptable:
- Chocolate swaps – Try dark, milk, or white chocolate, or a mix! For dairy-free, use high-quality vegan chocolate chips.
- Nut-free option – Skip the almonds and top with crushed pretzels, toasted coconut, or a sprinkle of sea salt.
- Flavor twists – Add 1 tsp vanilla extract or espresso powder to the butter-sugar mixture for depth.
- Holiday sparkle – During the holidays, sprinkle with crushed candy canes or edible gold dust.
What to Serve with Your Homemade Toffee
While irresistible on its own, toffee makes everything better:
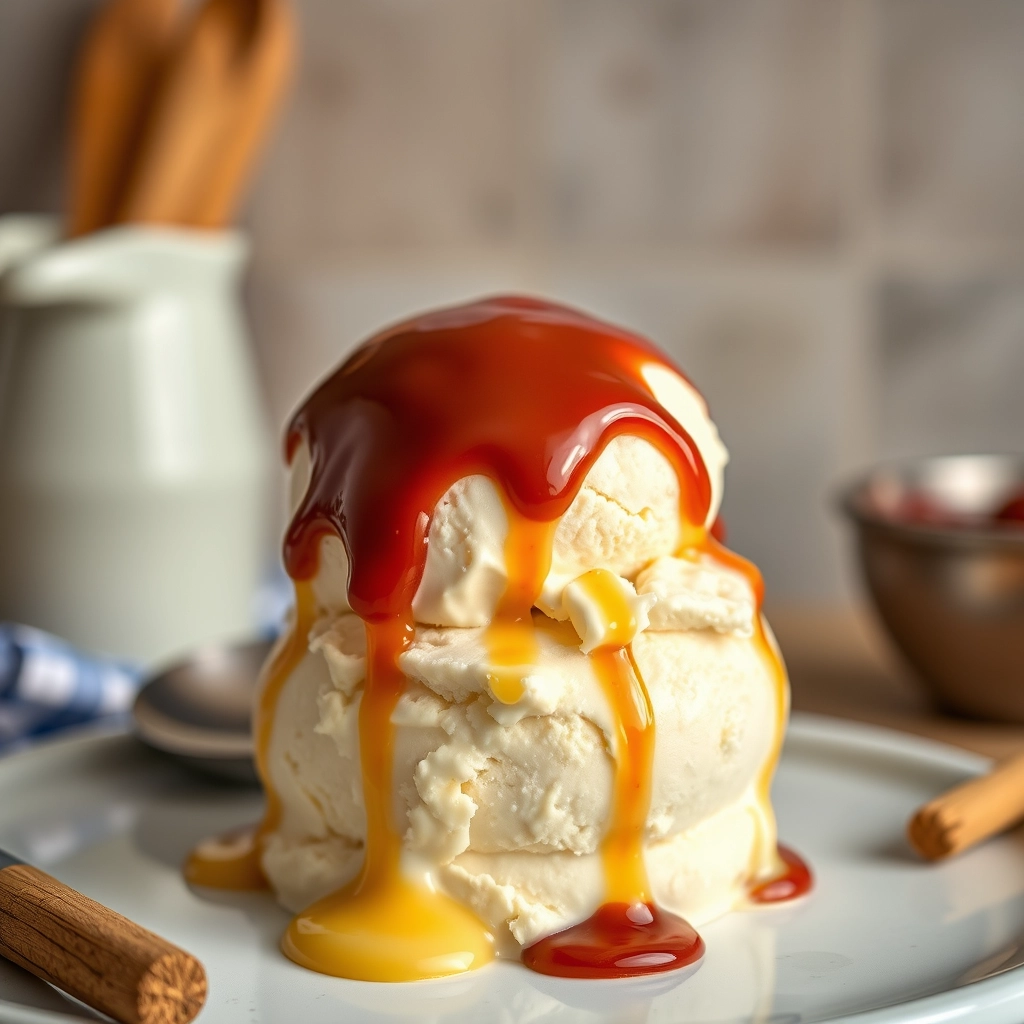
- Crumbled over vanilla ice cream or warm apple pie
- Gifted in pretty jars or boxes (add a ribbon for charm)
- Paired with coffee or dessert wines like tawny port
- As a sweet-salty snack mix with popcorn and roasted nuts
Storage & Reheating Tips
To keep your toffee fresh and crunchy:
- Room temperature – Store in an airtight container with parchment between layers (lasts 2 weeks).
- Freezing – Wrap tightly in wax paper and freeze for up to 3 months (thaw at room temp).
- Reviving softened toffee – If it loses its snap, bake at 250°F for 5 minutes to re-crisp.
Frequently Asked Questions
Why did my toffee turn out grainy?
This happens if the sugar crystallizes. Always use a clean saucepan, avoid stirring once boiling starts, and add a pinch of cream of tartar to prevent it.
Can I double the recipe?
Yes! Use a larger, heavy-bottomed pot to accommodate the extra volume, and monitor the temperature closely.
How do I clean hardened toffee from my pan?
Fill the pan with water and simmer to dissolve residue. For stubborn spots, a paste of baking soda and water works wonders.
Is toffee gluten-free?
Yes! This recipe is naturally gluten-free (just ensure any add-ins like pretzels are GF if needed).
The Joy of Homemade Toffee
There’s something magical about the scent of butter and caramel wafting through your kitchen—a promise of sweet, buttery crunch that’s made with love. Whether you’re gifting it in festive tins or sneaking a piece with your afternoon tea, this toffee is more than candy; it’s a little golden moment of happiness. Wishing you many sticky-fingered, blissful batches ahead!
Print
Best Homemade Toffee
Description
A rich, buttery toffee with a perfect crunch, coated in chocolate and nuts.
Ingredients
For the Crust:
- 1 cup unsalted butter
- 1 cup granulated sugar
- 1/4 teaspoon salt
- 1 teaspoon vanilla extract
- 1 cup semisweet chocolate chips
- 1/2 cup chopped nuts (optional)
Instructions
1. Prepare the Crust:
- Line a baking sheet with parchment paper and set aside.
- In a heavy-bottomed saucepan, melt butter over medium heat. Stir in sugar and salt.
- Cook, stirring constantly, until the mixture turns a deep amber color (about 10-15 minutes).
- Remove from heat and stir in vanilla extract. Immediately pour onto the prepared baking sheet.
- Sprinkle chocolate chips over the hot toffee and let sit for 1-2 minutes to melt. Spread evenly.
- Sprinkle chopped nuts over the melted chocolate if desired. Let cool completely before breaking into pieces.
Notes
You can customize the seasonings to taste.