A Cozy Twist on Comfort Food: Low-Carb Bacon Cheeseburger Casserole
There’s something about the sizzle of bacon and the melty embrace of cheese that feels like a warm hug on a busy weeknight. I’ll admit, I used to think low-carb meals meant sacrificing flavor—until this casserole changed my mind. It all started one rainy evening when my family was craving cheeseburgers, but I wanted something hearty without the carb-heavy bun. What emerged from the oven was pure magic: layers of savory ground beef, crispy bacon, and gooey cheese, all baked into a dish that satisfied every craving. Now, it’s a staple in our home, and I’m thrilled to share it with you.
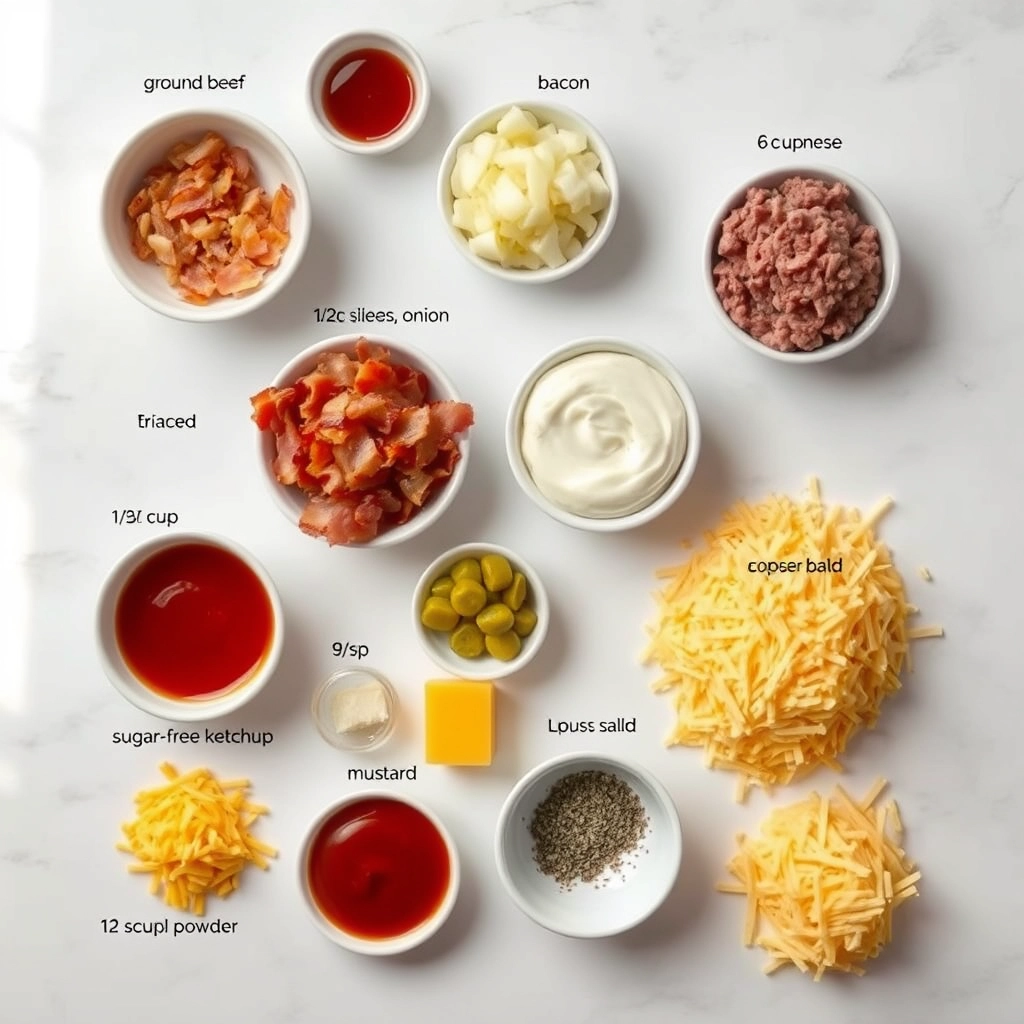
Gather Your Ingredients
This recipe is all about simple, wholesome ingredients that pack a punch of flavor. Here’s what you’ll need:
- 1 lb ground beef – I prefer 80/20 for the perfect balance of juiciness, but leaner works too.
- 6 slices of thick-cut bacon – Because everything’s better with bacon, right?
- 1 small yellow onion, diced – For that classic burger flavor.
- 1 clove garlic, minced – A little goes a long way to deepen the taste.
- 1 cup shredded cheddar cheese – Sharp cheddar adds a lovely tang.
- ½ cup shredded mozzarella – For that irresistible stretchy melt.
- ¼ cup sugar-free ketchup – Trust me, you won’t miss the sugar.
- 1 tbsp yellow mustard – A must for that authentic burger vibe.
- 1 tsp Worcestershire sauce – The secret umami booster.
- 2 large eggs – They bind everything together beautifully.
- ½ cup heavy cream – Adds richness without carbs.
- Salt and pepper to taste – Don’t skimp—season as you go!
Let’s Get Cooking
Now, let’s transform these ingredients into a dish that’ll have everyone asking for seconds. Here’s how to make it:
- Preheat your oven to 350°F (175°C) and lightly grease a 9×9-inch baking dish. A little butter or non-stick spray does the trick.
- Cook the bacon in a large skillet until crispy. Transfer to a paper towel-lined plate to drain, then crumble into bite-sized pieces. (Pro tip: Save that bacon grease—it’s gold for sautéing the onions!)
- In the same skillet, sauté the diced onion in the bacon fat until soft and translucent, about 3-4 minutes. Add the garlic and cook for another 30 seconds, just until fragrant.
- Add the ground beef to the skillet, breaking it up with a wooden spoon as it browns. Season generously with salt and pepper. Once fully cooked, drain any excess fat if needed.
- Stir in the ketchup, mustard, and Worcestershire sauce, letting the flavors meld for a minute or two. Remove from heat and set aside.
At this point, your kitchen will smell like a dreamy burger joint—resist the urge to dig in just yet! We’re only halfway there, but the best part (the cheesy, bubbly finish) is still to come.
Pro Tips, Variations, and Substitutions
This Low-Carb Bacon Cheeseburger Casserole is as versatile as it is delicious! Here are some ways to make it your own:
- Meat Swap: Ground turkey or chicken work beautifully if you’re looking for a lighter option.
- Cheese Choices: Try pepper jack for a spicy kick or Swiss for a milder flavor.
- Veggie Boost: Stir in sautéed mushrooms, bell peppers, or spinach for extra nutrients.
- Keto-Friendly: Use sugar-free ketchup and check your mustard labels to keep it ultra low-carb.
- Crispy Topping: For extra crunch, sprinkle crushed pork rinds over the cheese before baking.
What to Serve With Your Casserole
This hearty dish stands well on its own, but here are some perfect pairings:
- A crisp green salad with ranch dressing
- Roasted Brussels sprouts or green beans
- Cauliflower “potato” salad
- Dill pickle spears for that authentic burger experience
Storage and Reheating Tips
Leftovers? Lucky you! Here’s how to keep them tasting fresh:
- Refrigerator: Store in an airtight container for up to 4 days.
- Freezer: Portion and freeze for up to 3 months. Thaw overnight before reheating.
- Reheating: Warm in the oven at 350°F for about 15 minutes, or microwave individual portions for 1-2 minutes.
Frequently Asked Questions
Can I make this ahead of time?
Absolutely! Assemble the casserole up to a day in advance, cover, and refrigerate. Add 5-10 minutes to the baking time if starting cold.
What’s the best way to get crispy bacon?
For perfectly crisp bacon, bake it on a wire rack set over a baking sheet at 400°F for about 15 minutes.
Can I use frozen cauliflower rice?
Yes! Just thaw and squeeze out excess moisture with a clean kitchen towel before using.
Is this casserole kid-friendly?
Most kids love it! For picky eaters, you can reduce the onion or mix in their favorite burger toppings.
Final Thoughts
There’s something so comforting about digging into a warm, cheesy casserole that tastes just like your favorite bacon cheeseburger – minus the bun! Whether you’re serving it for a cozy family dinner or meal prepping for the week ahead, this dish is sure to satisfy those comfort food cravings while keeping things low-carb. The best part? That first bite when all the familiar flavors come together in perfect harmony. Don’t be surprised if this becomes a regular in your recipe rotation!
Print
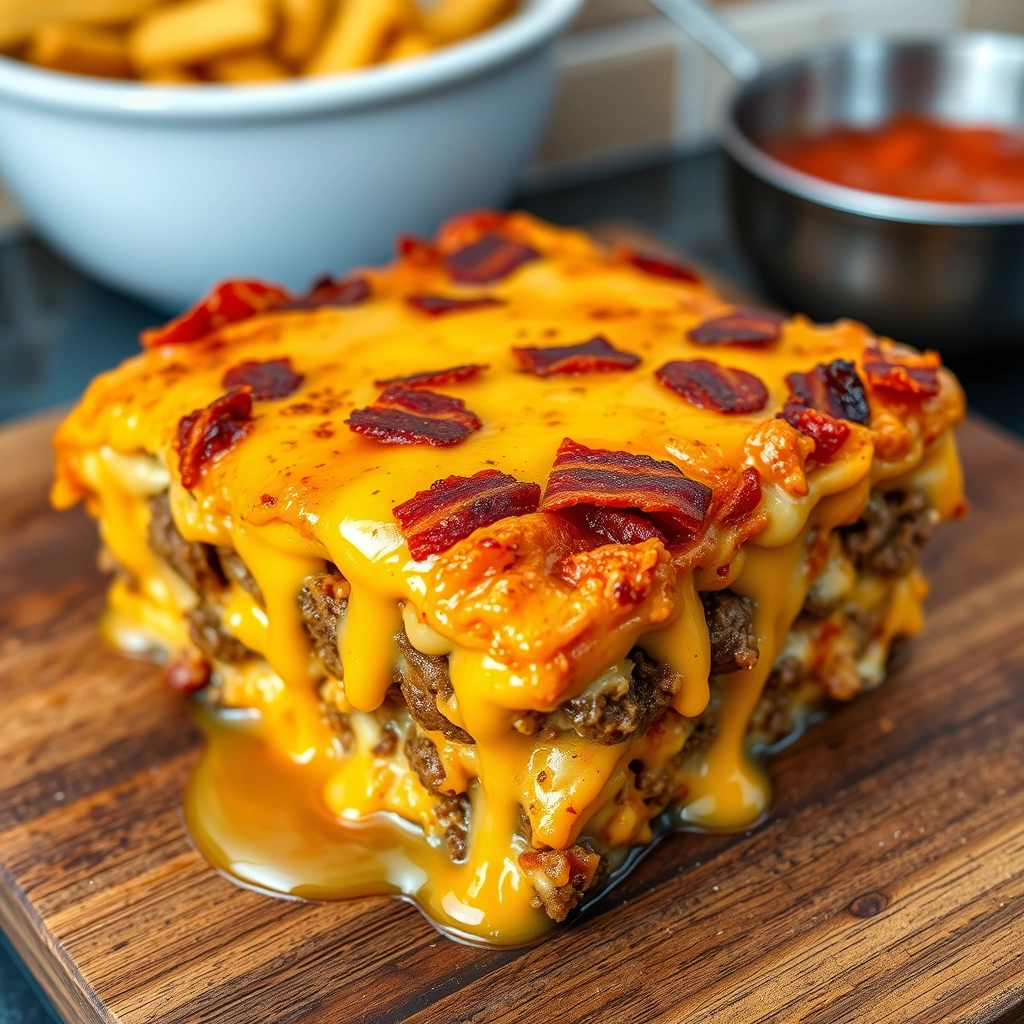
Low-Carb Bacon Cheeseburger Casserole
Description
A delicious, low-carb twist on a classic cheeseburger, packed with bacon, ground beef, and melted cheese.
Ingredients
For the Crust:
- 1 lb ground beef
- 6 slices bacon, cooked and crumbled
- 1/2 cup diced onion
- 1/2 cup diced pickles
- 1 cup shredded cheddar cheese
- 1/2 cup mayonnaise
- 1/4 cup sugar-free ketchup
- 1 tbsp mustard
- 1 tsp garlic powder
- 1/2 tsp salt
- 1/2 tsp black pepper
Instructions
1. Prepare the Crust:
- Preheat oven to 350°F (175°C).
- In a skillet, brown the ground beef over medium heat. Drain excess fat.
- Add diced onion and cook until softened, about 3 minutes.
- Stir in mayonnaise, ketchup, mustard, garlic powder, salt, and pepper. Mix well.
- Transfer the beef mixture to a baking dish. Top with crumbled bacon, diced pickles, and shredded cheese.
- Bake for 20-25 minutes, or until cheese is melted and bubbly.
- Let cool for 5 minutes before serving.
Notes
You can customize the seasonings to taste.