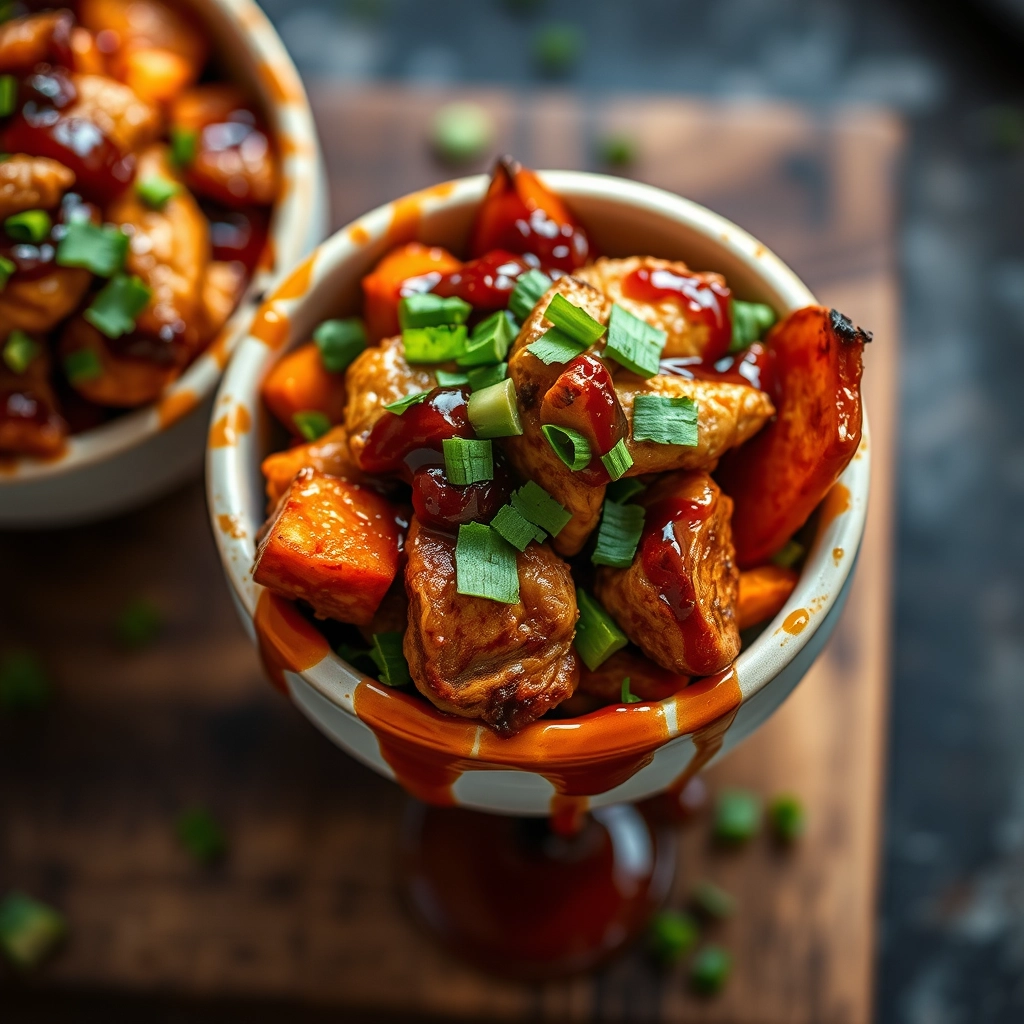
The Coziest Crock Pot Bourbon Chicken You’ll Ever Make
There’s something magical about walking into a house that smells like bourbon chicken—that sweet, smoky aroma wrapping around you like a warm hug. I first fell in love with this dish at a little food court in my hometown, where the sticky, caramelized edges of the chicken always had me licking my fingers shamelessly. Years later, I set out to recreate that nostalgic flavor at home, but with the lazy-girl twist we all crave: letting my trusty crock pot do all the heavy lifting.
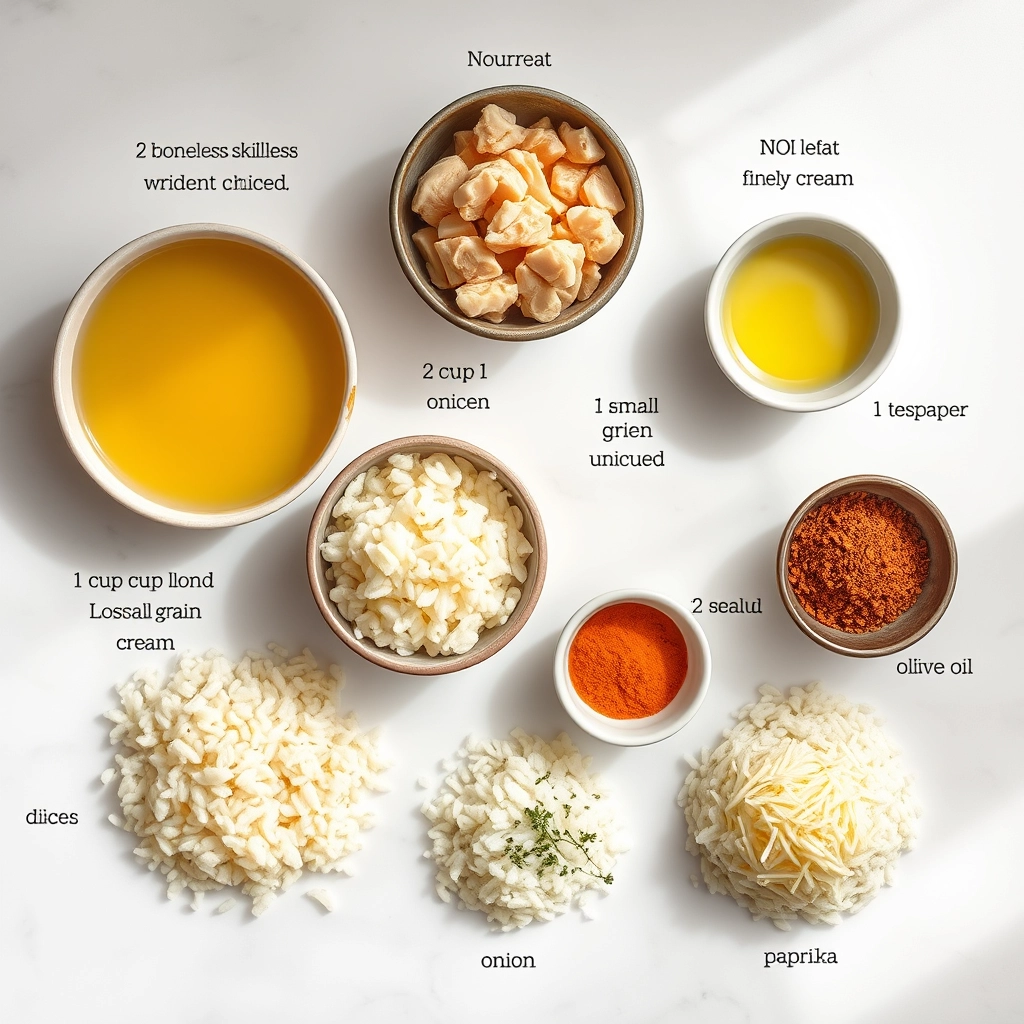
Ingredients That’ll Make Your Kitchen Smell Like Heaven
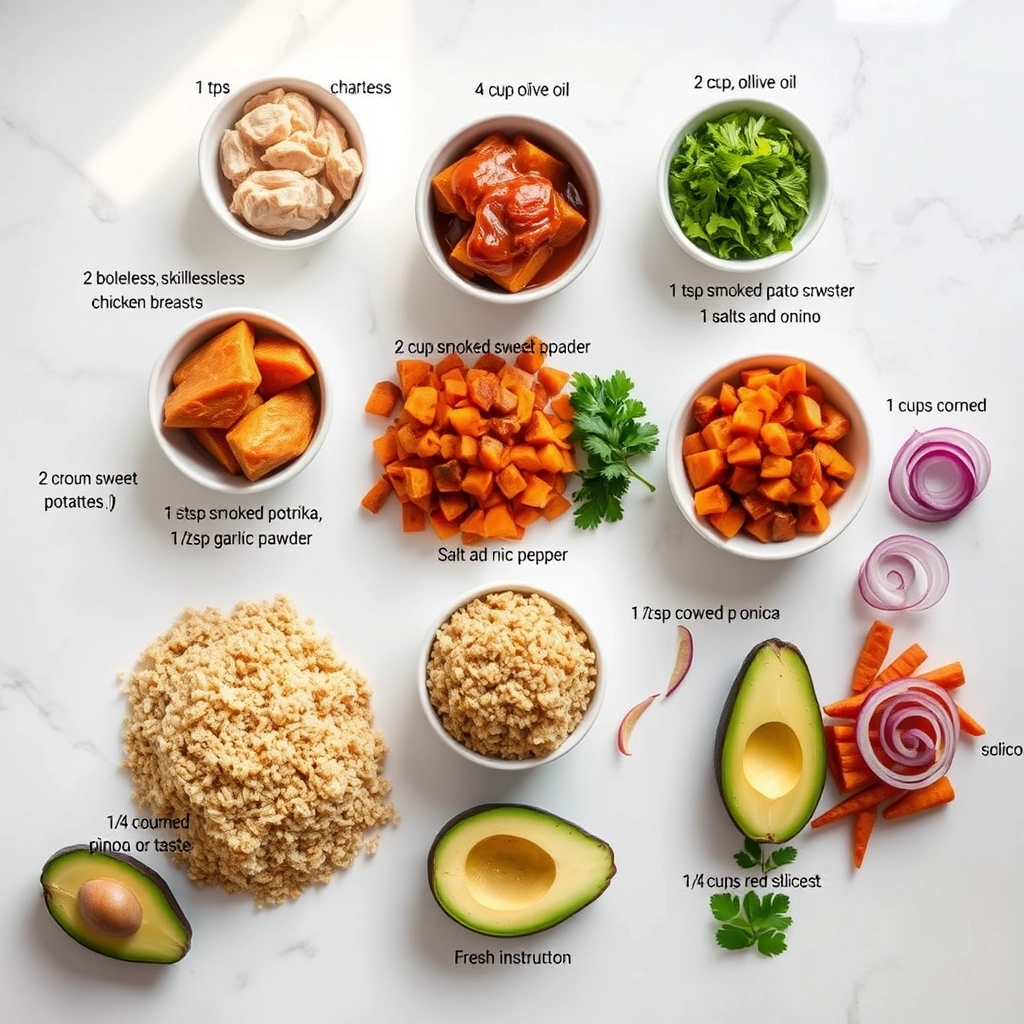
- 2 lbs boneless, skinless chicken thighs – Thighs stay juicier than breasts during slow cooking, but feel free to swap if you prefer!
- 1/3 cup bourbon – The star! Use a mid-range bourbon you’d actually drink (no cooking wine here, friends).
- 1/3 cup soy sauce – I use low-sodium to control the saltiness.
- 1/4 cup honey – For that irresistible glaze. Local honey adds lovely floral notes.
- 3 cloves garlic, minced – Because everything’s better with garlic.
- 1 tbsp fresh ginger, grated – The zingy counterpart to all that sweetness.
- 1/2 tsp crushed red pepper flakes – Just enough warmth to keep things interesting.
- 1 tbsp cornstarch + 2 tbsp water – Our magical thickening duo for the perfect sauce consistency.
- Sesame seeds & sliced green onions – For that pretty finishing touch!
Let’s Get Cozy: Step-by-Step Magic
- The Easy Prep: Place chicken thighs in your crock pot—no need to brown first! (Though if you’re feeling fancy, a quick sear adds depth.)
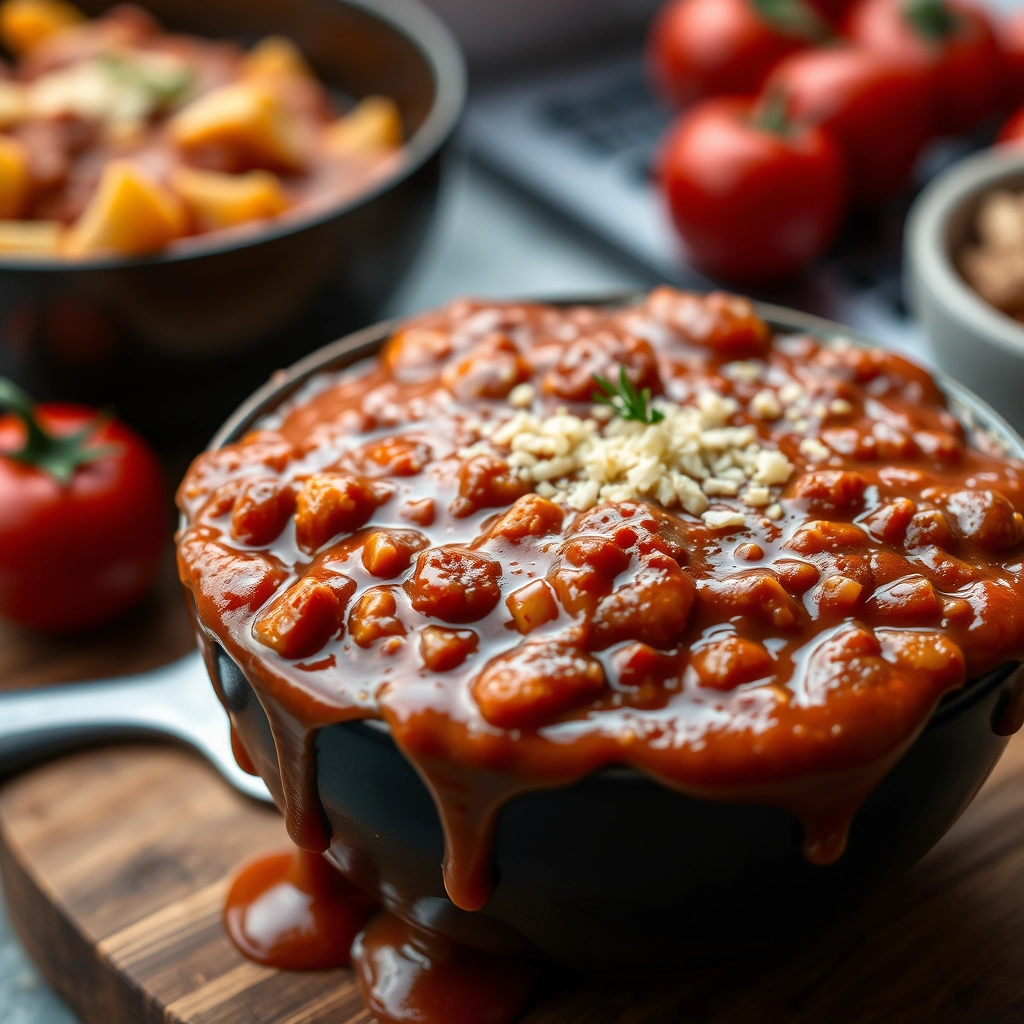
- The Flavor Bath: Whisk together bourbon, soy sauce, honey, garlic, ginger, and red pepper flakes directly in a measuring cup. Pour this liquid gold over the chicken, making sure each piece gets coated.
- The Waiting Game: Cover and cook on LOW for 5-6 hours (or HIGH for 3-4). Your house will smell like a Southern kitchen meets Chinese takeout—in the best way.
- The Grand Finale: When chicken is fall-apart tender, remove it gently with tongs. Whisk cornstarch and water, then stir into the crock pot juices. Return chicken and let everything thicken for 15 glorious minutes.
Now, here’s my favorite tip: Let it sit for 10 minutes before serving—the sauce clings better to the chicken when it’s not piping hot. And don’t you dare skip sprinkling those green onions on top! They add the perfect fresh crunch against the sticky-sweet glaze.
Pro Tips, Variations, and Substitutions
Making Crock Pot Bourbon Chicken is wonderfully forgiving, but a few extra touches can take it from good to unforgettable:
- Bourbon Substitute: No bourbon? Use apple juice + 1 tsp vanilla extract for similar depth
- Spice It Up: Add red pepper flakes or sriracha for heat lovers
- Thicker Sauce: Mix 1 tbsp cornstarch with 2 tbsp cold water, stir in during last 30 minutes
- Vegetarian Twist: Swap chicken for portobello mushrooms or tofu (reduce cooking time)
The Perfect Pairings
This saucy, flavorful chicken plays well with so many sides:
- Fluffy jasmine rice to soak up every drop of that bourbon glaze
- Roasted Brussels sprouts with a drizzle of honey
- Buttery mashed sweet potatoes for cozy contrast
- Crisp green apple slices cut through the richness beautifully
Storage & Reheating Like a Pro
Leftovers? Lucky you! Store in an airtight container for:
- Fridge: 3-4 days
- Freezer: 2-3 months (thaw overnight in fridge)
Reheating Magic: Gently warm in a saucepan over medium-low with a splash of water or broth to revive the sauce. Microwave works too (cover with damp paper towel to prevent drying).
Your Bourbon Chicken Questions Answered
Q: Can I use frozen chicken?
A: Yes! Add 1-2 hours to cooking time and check internal temp reaches 165°F.
Q: My sauce is too thin – help!
A: Remove chicken, simmer sauce uncovered for 15-20 minutes or use the cornstarch slurry trick above.
Q: What if I don’t have a slow cooker?
A: Simmer covered on stove for 45 minutes (stir occasionally) or bake at 325°F for 1 hour.
A Cozy Final Thought
There’s something magical about coming home to the sweet, boozy aroma of this bourbon chicken filling your kitchen. Whether it’s a busy weeknight or you’re feeding a crowd on game day, this recipe wraps everyone in warmth and comfort. The best part? That moment when your family scrapes their plates clean and asks, “When are you making this again?” Don’t be surprised if this becomes your new signature dish – it’s that good. Now go forth and let your slow cooker work its magic!
Print
Crock Pot Bourbon Chicken
Description
A delicious and easy slow-cooked chicken dish with a sweet and savory bourbon glaze.
Ingredients
For the Crust:
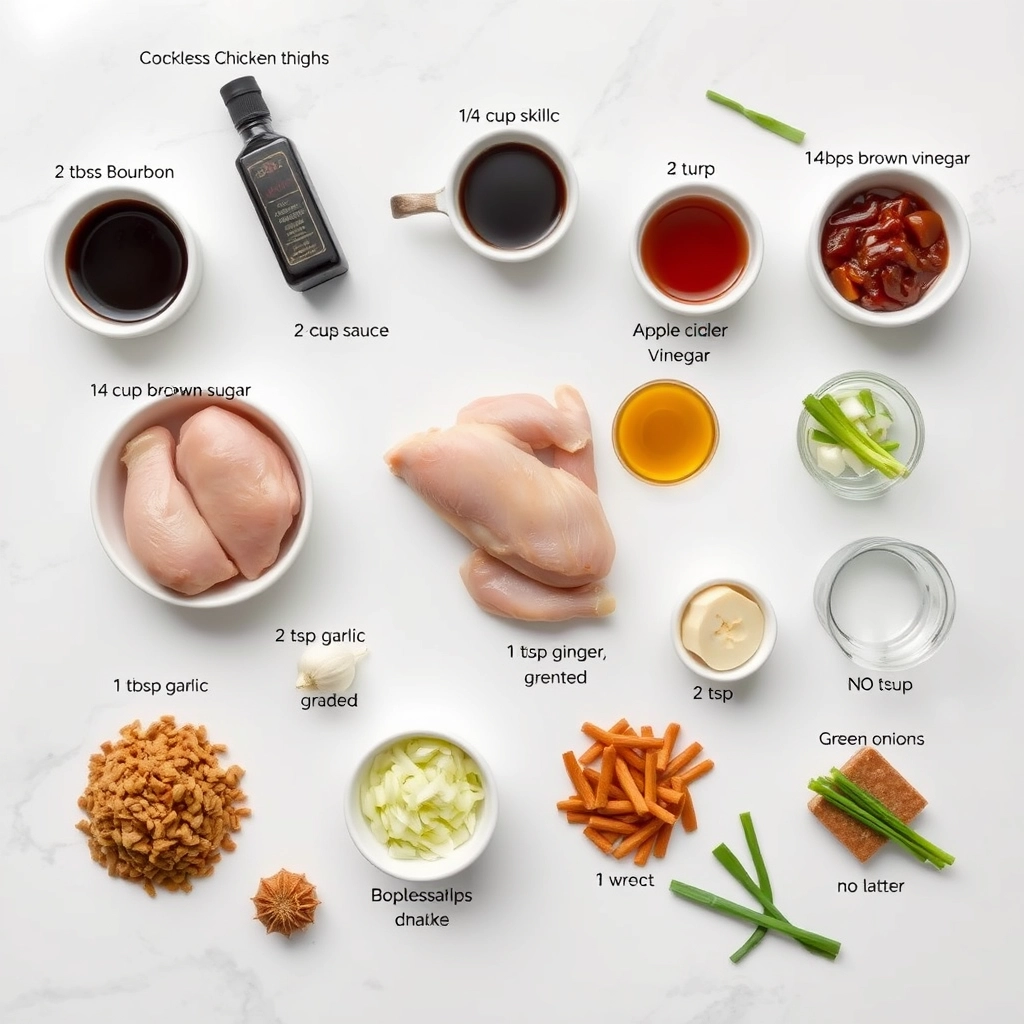
- 2 lbs boneless, skinless chicken thighs
- 1/2 cup bourbon
- 1/4 cup soy sauce
- 1/4 cup brown sugar
- 2 tbsp ketchup
- 1 tbsp apple cider vinegar
- 2 cloves garlic, minced
- 1 tsp ginger, grated
- 1/2 tsp crushed red pepper flakes
- 2 tbsp cornstarch
- 2 tbsp water
- Green onions, sliced (for garnish)
Instructions
1. Prepare the Crust:
- In a bowl, whisk together bourbon, soy sauce, brown sugar, ketchup, apple cider vinegar, garlic, ginger, and red pepper flakes.
- Place chicken thighs in the crock pot and pour the sauce over them. Stir to coat evenly.
- Cover and cook on low for 4-5 hours or on high for 2-3 hours, until chicken is tender.
- In a small bowl, mix cornstarch and water to create a slurry. Stir into the crock pot and cook for an additional 15-20 minutes until the sauce thickens.
- Garnish with sliced green onions before serving.
Notes
You can customize the seasonings to taste.