Best Creamy Smothered Chicken and Rice Recipe

best-creamy-smothered-chicken-rice

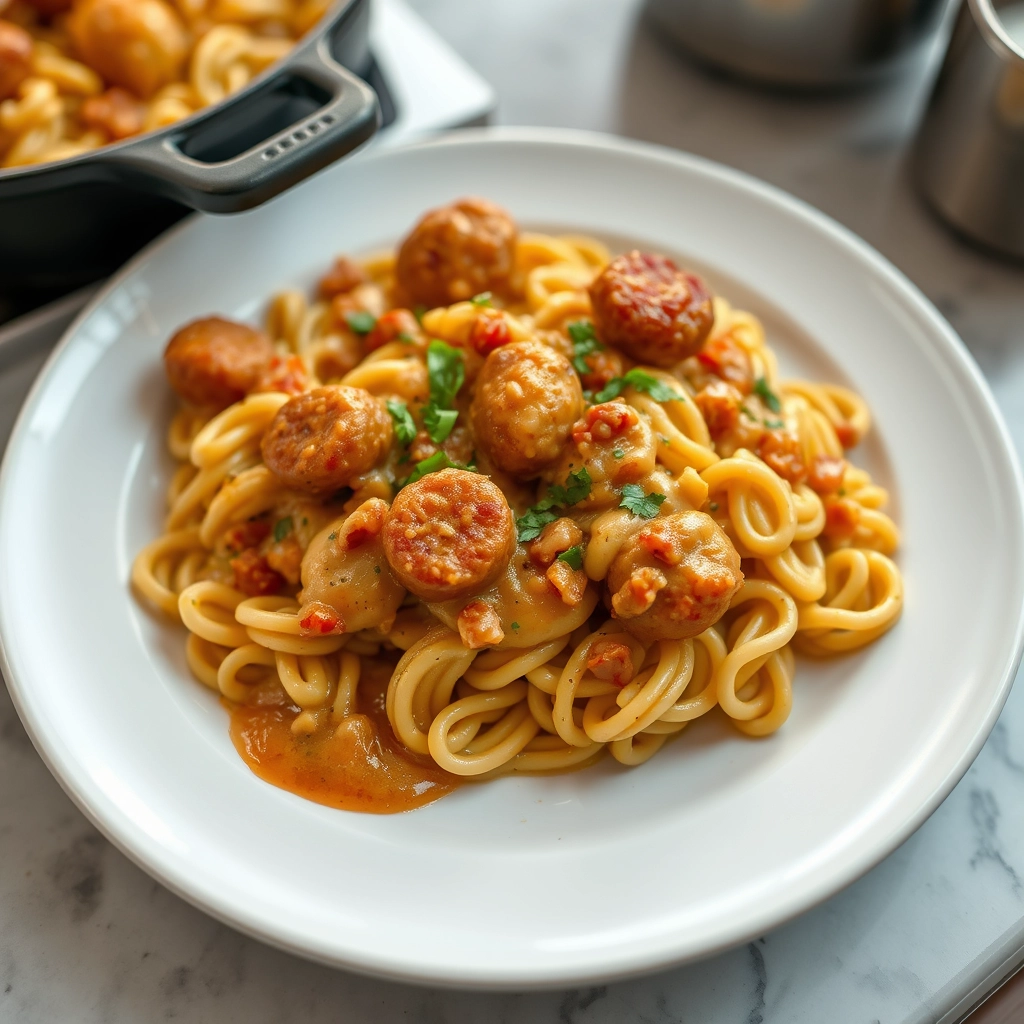
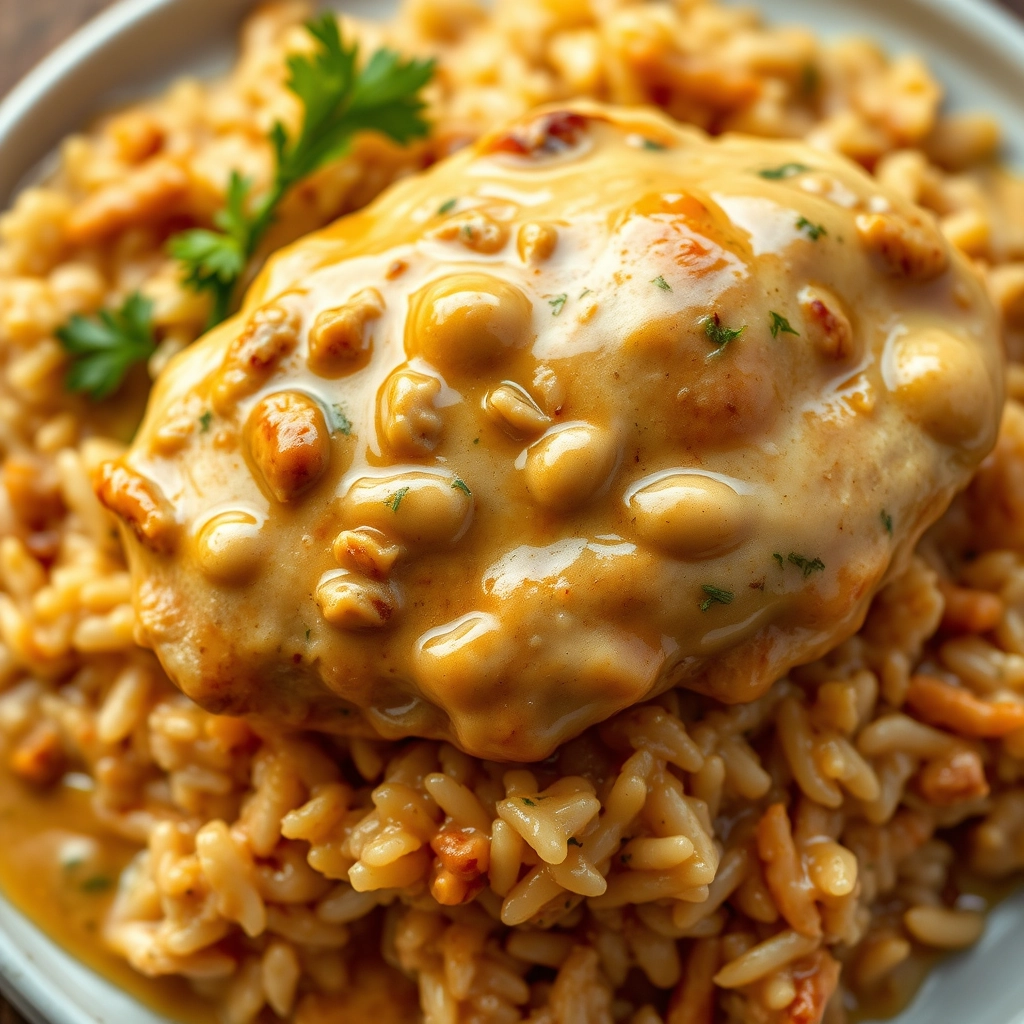
A Bowl of Comfort: My Love Affair with Smothered Chicken

There’s something magical about a dish that wraps you up like a warm hug after a long day. For me, that dish has always been creamy smothered chicken and rice—a recipe born from lazy Sunday afternoons at my grandmother’s kitchen table. She’d hum old hymns while stirring the pan, the scent of garlic and thyme curling into the air like a promise. Now, whenever I make it, I’m transported back to those golden hours, where time moved slower and love was measured in ladlefuls. Today, I’m sharing my version of this soul-soothing classic, perfected over years of tweaks and happy accidents.

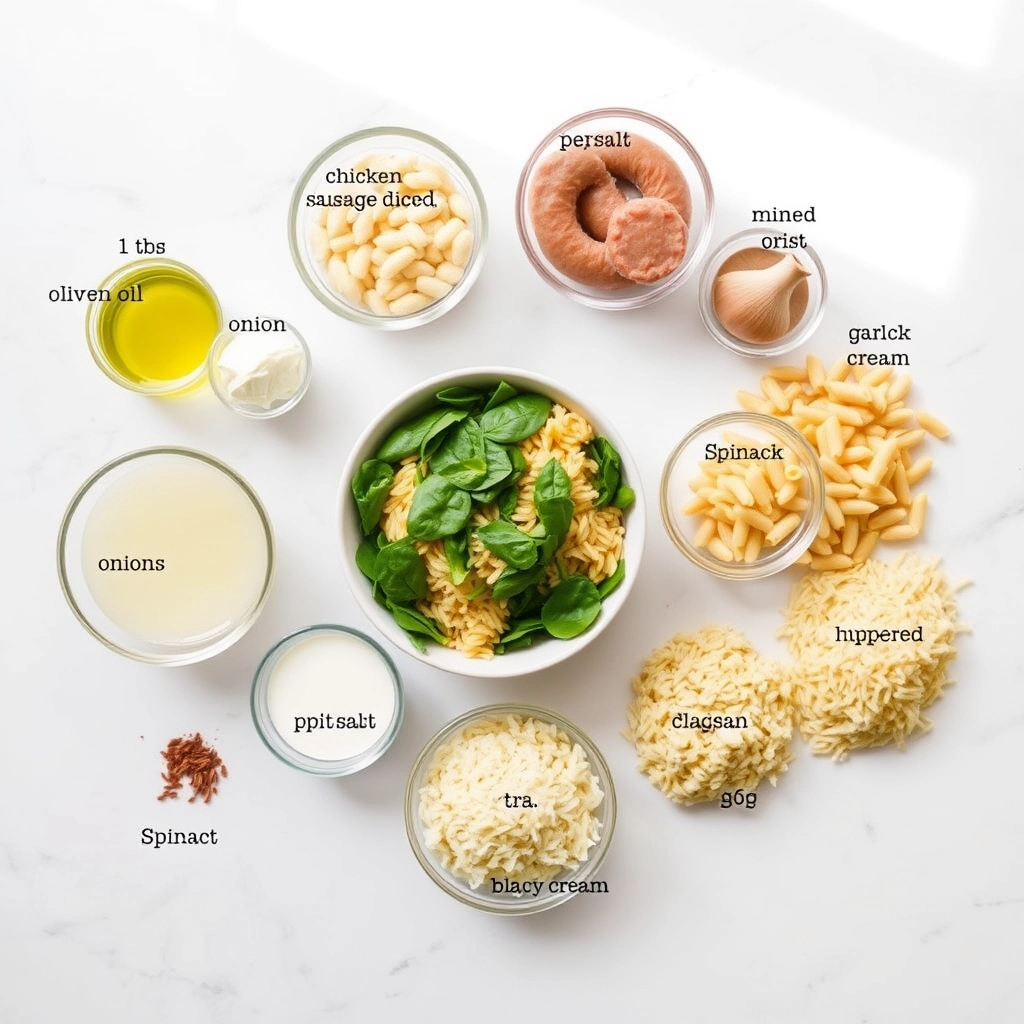
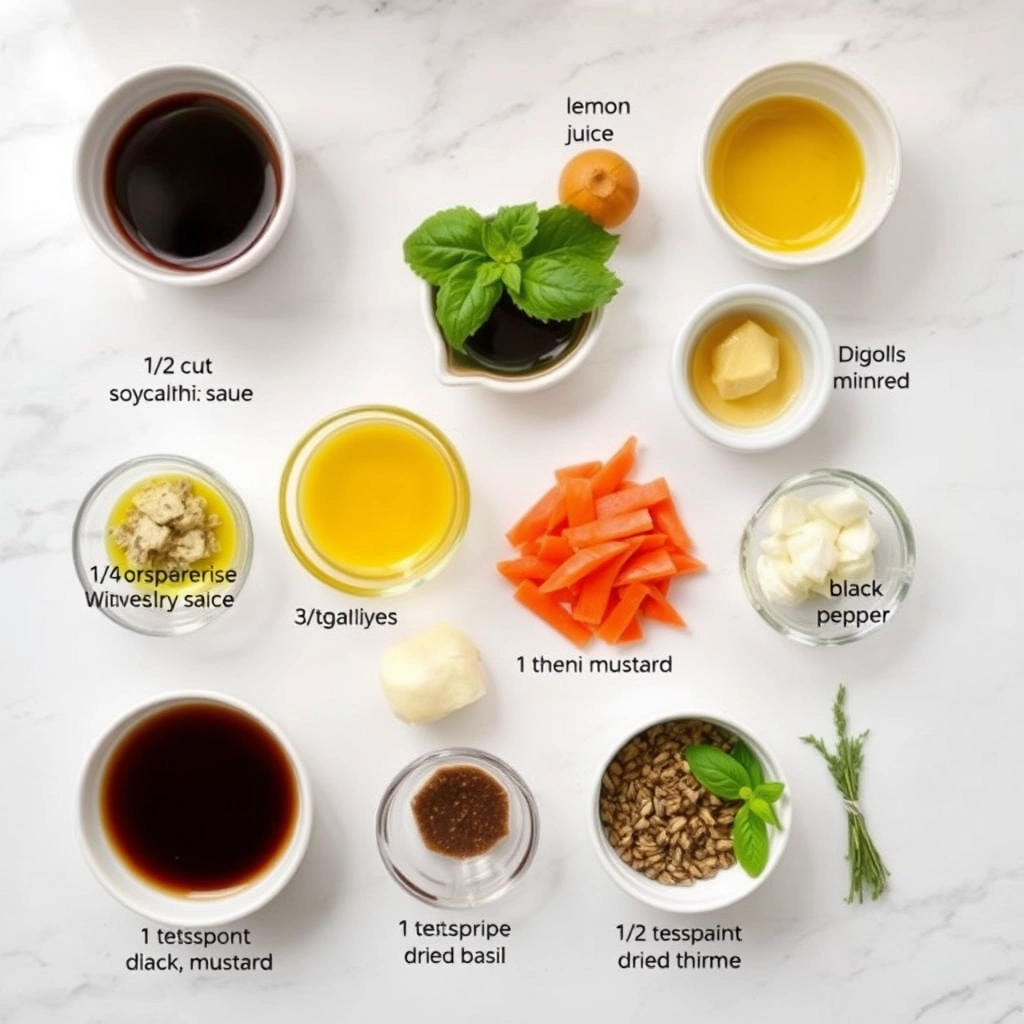
Gathering Your Ingredients: The Building Blocks of Comfort

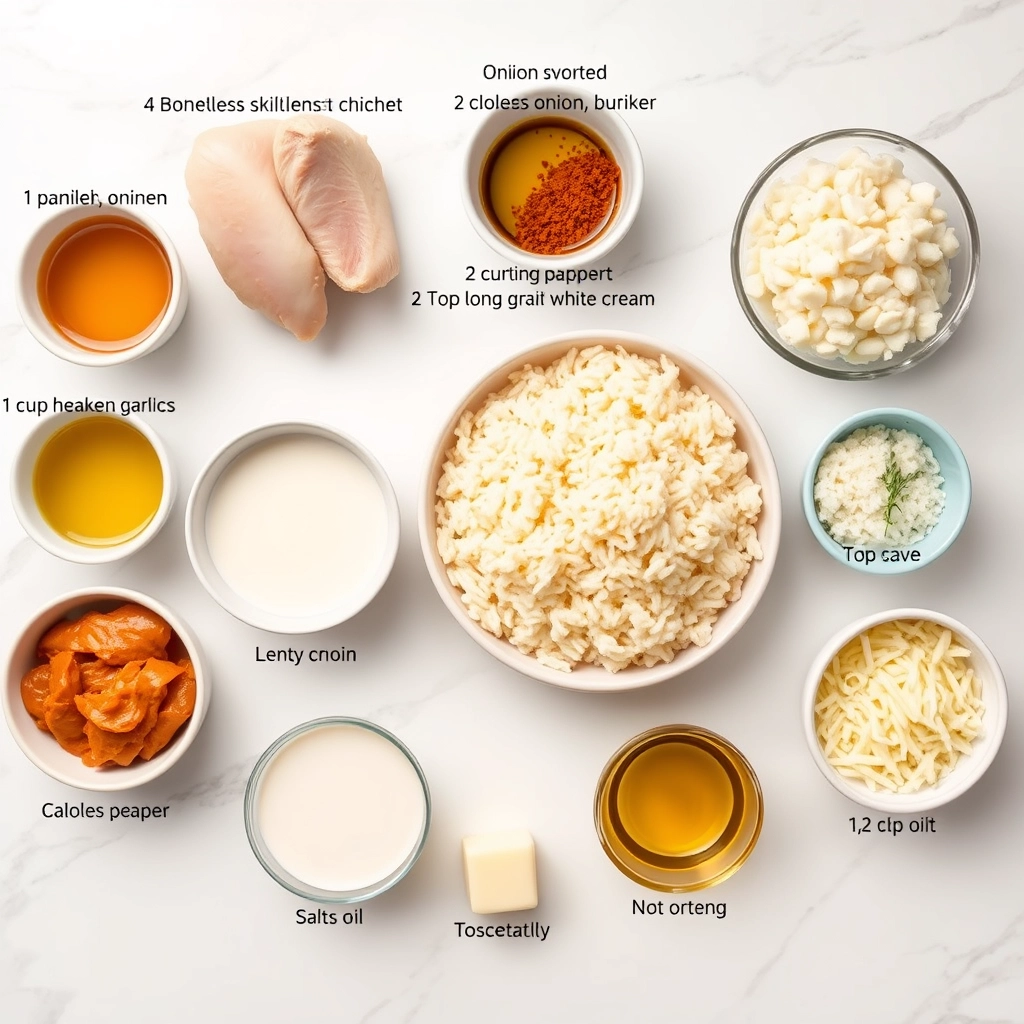
Great flavor starts with great ingredients—here’s what you’ll need to create this creamy masterpiece:

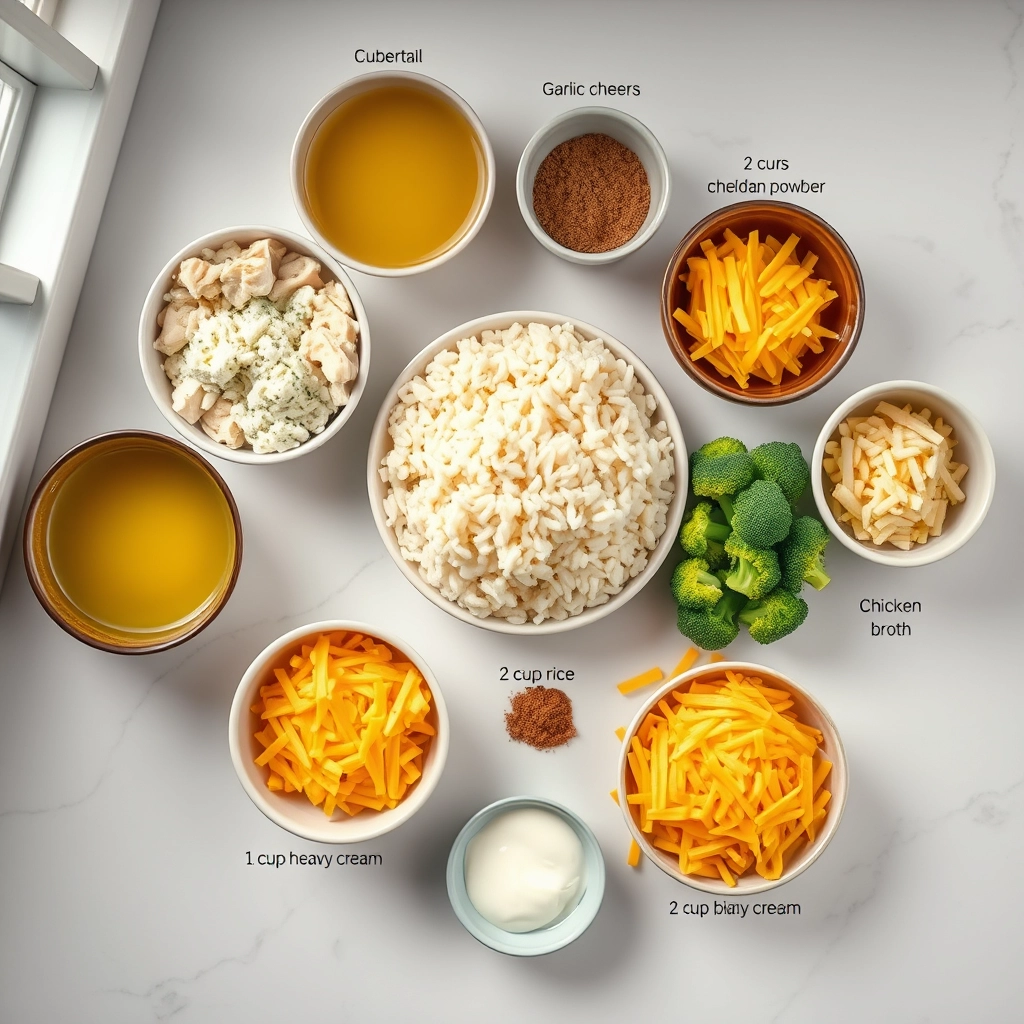
  • 4 boneless, skinless chicken breasts (or thighs for extra juiciness!)
  • 1 cup long-grain white rice (Jasmine or Basmati work beautifully)
  • 2 cups chicken broth (homemade if you have it—it makes all the difference)
  • 1 cup heavy cream (this is where the luxury comes in)
  • 1 large yellow onion, diced (sweetness to balance the richness)
  • 3 garlic cloves, minced (because what’s comfort food without garlic?)
  • 1 tsp smoked paprika (for that whisper of depth)
  • 1 tbsp fresh thyme leaves (or 1 tsp dried, but fresh is dreamy)
  • 2 tbsp butter (salted, because flavor)
  • Salt & pepper to taste (don’t be shy—season as you go!)

Pro tip: If you’re feeling fancy, a splash of white wine to deglaze the pan adds a lovely brightness. And always, always taste your broth before adding it—it’s the backbone of your dish!

Let’s Get Cooking: The Dance of Flavors

Now, the fun begins! Follow these steps for chicken so tender and rice so creamy, you’ll want to eat it straight from the pot (no judgment here).

  1. Brown your chicken: Heat a large skillet over medium-high and melt 1 tbsp butter. Season chicken generously with salt, pepper, and smoked paprika. Sear for 4-5 minutes per side until golden—don’t rush this step! That crispy crust is flavor gold. Remove and set aside.
  2. Sweat the aromatics: In the same pan (keep those browned bits!), add the remaining butter, onions, and garlic. Sauté until translucent and fragrant, about 3 minutes. This is when your kitchen will start smelling like heaven.
  3. Toast the rice: Stir in the rice, coating it with the buttery onion mixture. Let it toast for 1-2 minutes—this little step gives the rice a nutty depth. Now’s the time to add that splash of wine if you’re using it!
  4. Nestle and simmer: Pour in the chicken broth and heavy cream, scraping up any stuck-on bits from the pan. Add thyme, then return the chicken to the skillet, nestling it into the rice like tucking in a blanket. Reduce heat to low, cover, and let it simmer for 20 minutes.

Chef’s whisper: Resist the urge to peek! Keeping the lid on ensures the steam works its magic. You’ll know it’s done when the rice is tender and the chicken reaches 165°F. The sauce will thicken as it rests—patience, my friend.

Pro Tips, Variations, and Substitutions

This creamy smothered chicken and rice recipe is wonderfully adaptable to suit your tastes or what you have on hand. Here are some ways to make it your own:

  • Protein Swap: Not a chicken fan? Try boneless pork chops or even turkey cutlets for a delicious twist.
  • Creamy Alternatives: If you’re watching calories, swap heavy cream for half-and-half or evaporated milk. The sauce will still be luscious!
  • Rice Varieties: While long-grain white rice works best, you can use brown rice—just adjust the cooking time accordingly.
  • Extra Flavor: Add a splash of white wine or a sprinkle of smoked paprika for an extra layer of richness.

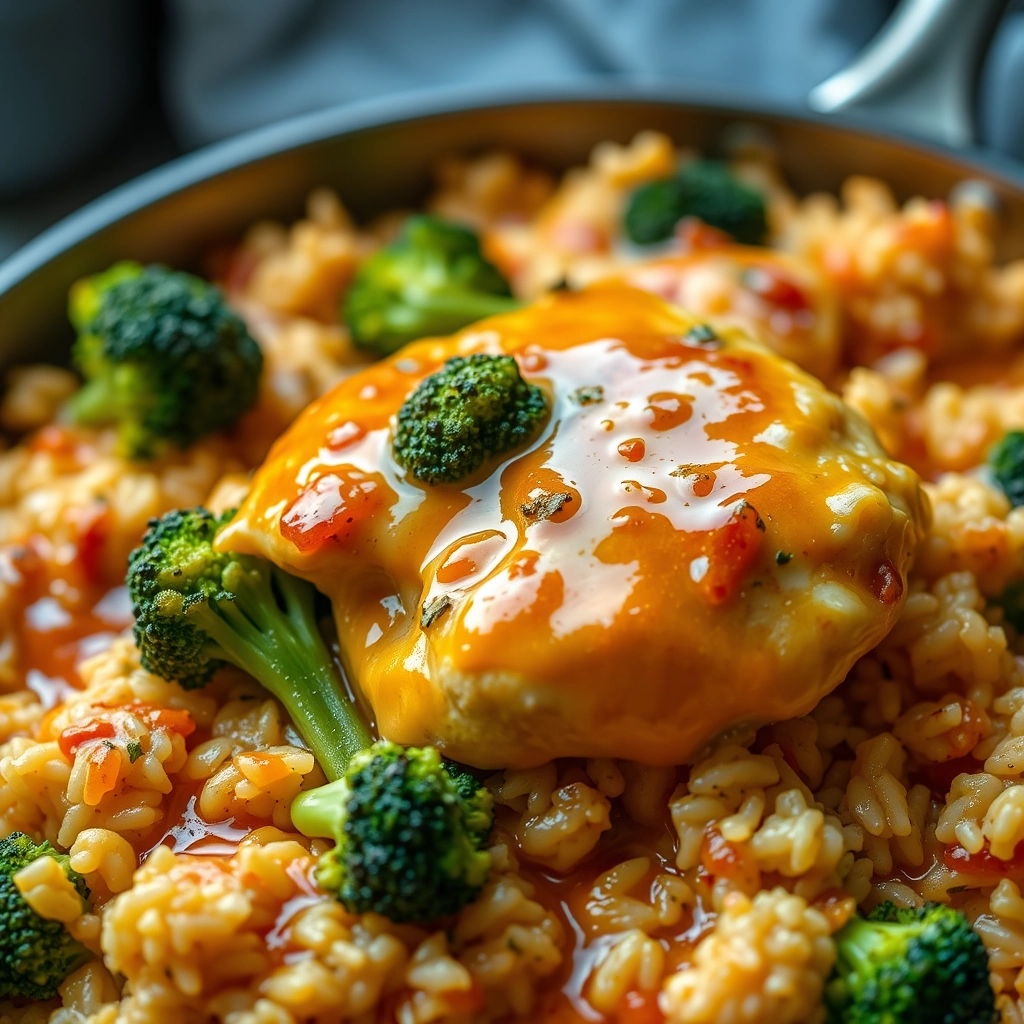
What to Serve with Smothered Chicken and Rice

This dish is hearty enough to stand alone, but a few well-chosen sides can make it even more satisfying:

  • A crisp green salad with a tangy vinaigrette to balance the creaminess
  • Steamed or roasted vegetables like broccoli, green beans, or carrots
  • Warm, buttery dinner rolls for soaking up every last drop of sauce
  • A glass of chilled white wine or sparkling water with lemon

Storage and Reheating Tips

Leftovers? No problem! This dish keeps beautifully for busy weeknights.

  • Refrigerator: Store in an airtight container for up to 3 days.
  • Freezer: Freeze portions in sealed containers for up to 2 months. Thaw overnight in the fridge before reheating.
  • Reheating: Warm gently in a skillet over low heat, adding a splash of broth or cream to revive the sauce. Microwave works too—just cover and heat in short bursts, stirring in between.

Frequently Asked Questions

Can I use chicken thighs instead of breasts?
Absolutely! Thighs add extra richness and stay juicy. Just adjust cooking time as needed.

What if my sauce is too thin?
Let it simmer uncovered for a few extra minutes to thicken, or mix 1 tsp cornstarch with 1 tbsp cold water and stir it in.

Can I make this in a slow cooker?
Yes! Brown the chicken first, then cook on low for 4-5 hours, adding the cream in the last 30 minutes.

Is there a dairy-free version?
Try full-fat coconut milk for a delicious alternative with a subtle tropical note.

A Comforting Meal to Remember

There’s something magical about the way tender chicken, fluffy rice, and velvety sauce come together in this dish. It’s the kind of meal that fills your kitchen with inviting aromas and your heart with warmth. Whether you’re cooking for a busy weeknight dinner or a cozy weekend gathering, this creamy smothered chicken and rice is sure to become a cherished recipe in your collection. Now go ahead—take that first forkful and savor every comforting bite.

Print
clock clock iconcutlery cutlery iconflag flag iconfolder folder iconinstagram instagram iconpinterest pinterest iconfacebook facebook iconprint print iconsquares squares iconheart heart iconheart solid heart solid icon

Creamy Smothered Chicken and Rice

  • Author: Trusted Blog

Description

A comforting dish featuring tender chicken smothered in a creamy sauce served over fluffy rice.


Ingredients

Scale

For the Crust:

  • 4 boneless, skinless chicken breasts
  • 1 cup long-grain white rice
  • 2 cups chicken broth
  • 1 cup heavy cream
  • 1 small onion, diced
  • 2 cloves garlic, minced
  • 1 teaspoon paprika
  • 1 teaspoon dried thyme
  • Salt and pepper to taste
  • 2 tablespoons olive oil
  • 1 tablespoon butter
  • 1/2 cup grated Parmesan cheese

Instructions

1. Prepare the Crust:

  1. Season chicken breasts with salt, pepper, paprika, and thyme.
  2. Heat olive oil in a large skillet over medium heat. Add chicken and cook until golden brown on both sides, about 5-6 minutes per side. Remove and set aside.
  3. In the same skillet, melt butter and sauté onion and garlic until softened, about 3 minutes.
  4. Add rice and stir to coat with the onion mixture. Pour in chicken broth and bring to a simmer.
  5. Return chicken to the skillet, cover, and cook on low heat for 20 minutes or until rice is tender and chicken is cooked through.
  6. Stir in heavy cream and Parmesan cheese, letting it simmer for another 2-3 minutes until the sauce thickens slightly.
  7. Serve hot, garnished with extra Parmesan if desired.

Notes

You can customize the seasonings to taste.

Easy Creamy Chicken Sausage Orzo Skillet Recipe

easy-creamy-chicken-sausage-orzo

Easy Creamy Chicken Sausage Orzo Skillet: A Weeknight Lifesaver

There’s something magical about a one-pan meal that comes together in under 30 minutes—especially on those evenings when the day has stretched too long, and the thought of chopping, stirring, and scrubbing multiple pots feels like a Herculean task. That’s exactly why this Creamy Chicken Sausage Orzo Skillet has become a star in my kitchen rotation. It’s cozy, comforting, and packed with flavor, yet it practically cooks itself while I pour a glass of wine and finally take a breath.

I first stumbled upon this recipe during a particularly chaotic week when my grocery haul consisted of random fridge leftovers and a lone package of chicken sausage. Orzo, that tiny rice-shaped pasta, was my saving grace—it cooks quickly and soaks up all the delicious flavors of the broth, cream, and herbs. The result? A dish that feels indulgent but is secretly simple. Let’s dive in!

Ingredients You’ll Need

  • 1 tbsp olive oil – Just enough to sauté and build flavor.
  • 12 oz chicken sausage – I love using a spicy Italian variety for a kick, but any flavor works!
  • 1 small onion, diced – The humble onion is the foundation of so many great dishes.
  • 2 cloves garlic, minced – Because no skillet meal is complete without garlic.
  • 1 cup orzo – The star of the show! It cooks fast and gets wonderfully creamy.
  • 2 cups chicken broth – Low-sodium is best here, so you can control the seasoning.
  • ½ cup heavy cream – This adds the luscious, velvety texture we crave.
  • 1 tsp dried Italian seasoning – A simple blend that does all the herby heavy lifting.
  • 1 cup baby spinach – For a pop of color and nutrients (plus, it wilts down beautifully).
  • ¼ cup grated Parmesan – The salty, nutty finish that ties everything together.
  • Salt & pepper to taste – Always season as you go!

Let’s Get Cooking

Step 1: Brown the Sausage
Heat the olive oil in a large skillet over medium heat. Slice the chicken sausage into coins—I like them about ½-inch thick for a nice bite. Add them to the skillet and let them sizzle until golden brown on both sides, about 3-4 minutes total. Don’t rush this step! Those caramelized edges add so much depth.

Step 2: Sauté the Aromatics
Push the sausage to one side of the skillet and add the diced onion. Let it soften for 2-3 minutes until translucent, then stir in the minced garlic. The second that garlic hits the pan, the aroma will have your kitchen smelling like an Italian trattoria. (Pro tip: If the pan seems dry, add a splash of broth to loosen things up.)

Step 3: Toast the Orzo
Add the orzo to the skillet and stir it into the onions and sausage. Let it toast for just a minute—this enhances its nutty flavor. Then, pour in the chicken broth and give everything a good scrape to lift any browned bits from the bottom of the pan. Those little bits are flavor gold!

Pro Tips, Variations, and Substitutions

This creamy chicken sausage orzo skillet is wonderfully adaptable to whatever you have on hand or your personal preferences. Here are some ways to make it your own:

  • Protein swaps: Try Italian sausage, turkey sausage, or even diced chicken breast instead of chicken sausage.
  • Veggie additions: Stir in spinach, kale, or roasted red peppers during the last few minutes of cooking for extra nutrition.
  • Creaminess boost: For an even richer dish, stir in an extra 1/4 cup of heavy cream or a dollop of cream cheese.
  • Cheese lovers: Sprinkle with extra parmesan or add a handful of shredded mozzarella before serving.
  • Spice it up: Add red pepper flakes or a dash of hot sauce if you like some heat.

What to Serve With Your Orzo Skillet

This dish is satisfying enough to stand alone, but pairs beautifully with:

  • A crisp green salad with lemon vinaigrette
  • Garlic bread or crusty baguette for soaking up the creamy sauce
  • Roasted vegetables like asparagus or broccoli
  • A glass of crisp white wine or sparkling water with lemon

Storage and Reheating Tips

Leftovers (if you’re lucky enough to have any!) store beautifully:

  • Refrigerator: Store in an airtight container for up to 4 days.
  • Freezer: Freeze in portion-sized containers for up to 3 months. Thaw overnight in the refrigerator before reheating.
  • Reheating: Warm gently on the stovetop with a splash of broth or milk to restore creaminess. Microwave works too – just stir every 30 seconds.

Frequently Asked Questions

Can I use regular pasta instead of orzo?
Absolutely! Small pasta shapes like ditalini or even penne work well, though cooking times may vary slightly.

Is there a dairy-free version?
Yes! Substitute the heavy cream with full-fat coconut milk and use nutritional yeast instead of parmesan for a creamy vegan alternative.

Can I make this in advance?
While best fresh, you can prepare the components ahead and combine when ready to serve. The flavors actually deepen overnight!

What if my orzo absorbs too much liquid?
No worries – just stir in an extra 1/4 cup of broth or cream until you reach your desired consistency.

Final Thoughts

There’s something so comforting about a one-pan meal that comes together with minimal fuss but delivers maximum flavor. This creamy chicken sausage orzo skillet has become a weeknight hero in my kitchen – the kind of dish that feels special enough for company but easy enough for busy evenings. I hope it brings as much warmth and satisfaction to your table as it does to mine. Don’t forget to snap a photo of your creation – I’d love to see how yours turns out!

Print
clock clock iconcutlery cutlery iconflag flag iconfolder folder iconinstagram instagram iconpinterest pinterest iconfacebook facebook iconprint print iconsquares squares iconheart heart iconheart solid heart solid icon

Creamy Chicken Sausage Orzo Skillet

  • Author: Trusted Blog

Description

A comforting one-pan dish featuring chicken sausage, orzo, and a creamy sauce.


Ingredients

Scale

For the Crust:

  • 1 tbsp olive oil
  • 12 oz chicken sausage, sliced
  • 1 small onion, diced
  • 2 cloves garlic, minced
  • 1 cup orzo pasta
  • 2 cups chicken broth
  • 1/2 cup heavy cream
  • 1 cup spinach, chopped
  • 1/2 tsp salt
  • 1/4 tsp black pepper
  • 1/4 tsp red pepper flakes (optional)
  • 1/4 cup grated parmesan cheese

Instructions

1. Prepare the Crust:

  1. Heat olive oil in a large skillet over medium heat. Add chicken sausage and cook until browned, about 5 minutes. Remove and set aside.
  2. In the same skillet, add onion and garlic. Cook until softened, about 3 minutes.
  3. Stir in orzo and cook for 1 minute, stirring frequently.
  4. Pour in chicken broth and bring to a simmer. Cook for 10 minutes, stirring occasionally, until orzo is tender and liquid is mostly absorbed.
  5. Reduce heat to low. Stir in heavy cream, spinach, salt, black pepper, and red pepper flakes (if using). Cook until spinach wilts, about 2 minutes.
  6. Return sausage to the skillet. Stir in parmesan cheese until melted and creamy.
  7. Serve warm.

Notes

You can customize the seasonings to taste.

Easy Cheesy Chicken Broccoli and Rice Casserole

easy-cheesy-chicken-broccoli-rice

A Cozy Night In with Cheesy Chicken Broccoli & Rice Casserole

There’s something about a casserole that feels like a warm hug at the end of a long day. Maybe it’s the way the cheese bubbles golden on top, or how the aroma fills the kitchen, promising comfort in every bite. This Easy Cheesy Chicken Broccoli and Rice Casserole has been my go-to on busy weeknights, lazy Sundays, and even those evenings when I just need a little extra coziness. It’s the kind of dish that brings everyone to the table—no fuss, just pure, cheesy goodness.

What You’ll Need

Gather these simple ingredients, and let’s turn them into something magical:

  • 2 cups cooked chicken – Shredded or diced. Leftover rotisserie chicken works beautifully here, or you can quickly sauté some boneless, skinless breasts.
  • 1 ½ cups white rice – Uncooked. I prefer long-grain for its fluffy texture, but any variety will do.
  • 3 cups broccoli florets – Fresh or frozen (no need to thaw if using frozen—it’ll cook right in!).
  • 1 can (10.5 oz) cream of chicken soup – The secret to that rich, velvety sauce. If you’re feeling adventurous, homemade cream of chicken works too!
  • 1 cup chicken broth – For extra flavor. Low-sodium is my pick to control the saltiness.
  • 1 ½ cups shredded cheddar cheese – Because more cheese is always better. Sharp cheddar adds a lovely tang.
  • ½ cup sour cream – This adds a touch of creaminess and balances the flavors.
  • 1 tsp garlic powder – For that warm, savory depth.
  • ½ tsp onion powder – A subtle sweetness that rounds everything out.
  • Salt & pepper to taste – Don’t skip the taste test before baking!
  • ½ cup breadcrumbs (optional) – For a little crunch on top. Panko works wonders here.

Let’s Get Cooking

This casserole comes together in just a few simple steps, making it perfect for those nights when you want hearty comfort without the hassle.

  1. Preheat & Prep – Start by preheating your oven to 375°F (190°C) and lightly greasing a 9×13-inch baking dish. A little butter or non-stick spray ensures easy serving later.
  2. Cook the Rice – In a medium saucepan, cook the rice according to package instructions, but swap water for chicken broth. This infuses the rice with extra flavor from the get-go.
  3. Mix the Goodness – In a large bowl, combine the cooked chicken, broccoli, cream of chicken soup, sour cream, garlic powder, onion powder, and half of the shredded cheese. Fold in the cooked rice gently—everything should be well-coated and happy.
  4. Layer & Top – Transfer the mixture to your prepared baking dish, spreading it evenly. Sprinkle the remaining cheese on top (because we’re not skimping on the gooey factor). If using breadcrumbs, scatter them over the cheese for that irresistible golden crunch.

At this point, your kitchen should already smell amazing—but trust me, the best is yet to come. Pop that dish into the oven, and let the magic happen. (Stay tuned for the baking instructions and finishing touches in the next part!)

Pro Tips, Variations, and Substitutions

This cheesy chicken broccoli and rice casserole is wonderfully adaptable to your tastes and what you have on hand. Here are some easy ways to make it your own:

  • Protein swap: Use leftover turkey, rotisserie chicken, or even cooked ground beef instead of chicken breast.
  • Veggie variations: Swap broccoli for cauliflower, peas, or a mix of your favorite frozen vegetables.
  • Cheese choices: While cheddar is classic, try Monterey Jack, Swiss, or a blend of cheeses for extra flavor.
  • Rice alternatives: Brown rice, quinoa, or even orzo pasta work beautifully in this recipe.
  • Creamy shortcut: Instead of making a roux, you can use a can of cream of chicken or mushroom soup.

What to Serve With Your Casserole

This hearty casserole is practically a meal in itself, but here are some delicious pairings to round out your dinner:

  • A crisp green salad with vinaigrette dressing
  • Warm crusty bread or garlic knots
  • Steamed green beans or roasted carrots
  • A light fruit salad for a refreshing contrast

Storage and Reheating Tips

Leftovers of this casserole taste just as wonderful the next day! Here’s how to keep them at their best:

  • Refrigerator: Store in an airtight container for 3-4 days.
  • Freezer: Freeze portions in freezer-safe containers for up to 3 months. Thaw overnight in the refrigerator before reheating.
  • Reheating: Warm in the microwave at 50% power, stirring occasionally, or cover with foil and reheat in a 350°F oven until bubbly (about 20 minutes).

Frequently Asked Questions

Can I make this casserole ahead of time?

Absolutely! Assemble the casserole up to a day in advance, cover tightly, and refrigerate. Add 5-10 minutes to the baking time when cooking from cold.

Why is my casserole dry?

This usually means it was baked too long or the rice absorbed more liquid than expected. Next time, check a few minutes early and add a splash of broth if needed before baking.

Can I use fresh broccoli instead of frozen?

Yes! Just chop it into small florets and blanch for 2 minutes before adding to the casserole so it cooks evenly.

How can I make this gluten-free?

Simply use gluten-free flour for the roux and ensure your chicken broth is gluten-free. The rest of the ingredients are naturally gluten-free!

Cozy Comfort in Every Bite

There’s something so comforting about pulling a bubbling, cheesy casserole from the oven as the aromas fill your kitchen. This chicken broccoli and rice bake is the kind of meal that warms you from the inside out – simple enough for busy weeknights but special enough for Sunday supper. Whether you’re feeding a crowd or meal prepping for the week ahead, this reliable recipe is sure to become a regular in your rotation. Don’t be surprised if it sparks requests for seconds and happy sighs around your table!

Print
clock clock iconcutlery cutlery iconflag flag iconfolder folder iconinstagram instagram iconpinterest pinterest iconfacebook facebook iconprint print iconsquares squares iconheart heart iconheart solid heart solid icon

Cheesy Chicken Broccoli and Rice Casserole

  • Author: Trusted Blog

Description

A comforting and creamy casserole loaded with tender chicken, fresh broccoli, and cheesy rice.


Ingredients

Scale

For the Crust:

  • 2 cups cooked chicken, shredded
  • 2 cups broccoli florets, steamed
  • 1 cup uncooked white rice
  • 1 can (10.5 oz) cream of chicken soup
  • 1 cup shredded cheddar cheese
  • 1/2 cup milk
  • 1/2 teaspoon garlic powder
  • 1/2 teaspoon onion powder
  • Salt and pepper to taste

Instructions

1. Prepare the Crust:

  1. Preheat oven to 375°F (190°C). Grease a 9×13-inch baking dish.
  2. In a large bowl, mix the cooked chicken, steamed broccoli, uncooked rice, cream of chicken soup, milk, garlic powder, onion powder, salt, and pepper until well combined.
  3. Transfer the mixture to the prepared baking dish and spread evenly.
  4. Sprinkle shredded cheddar cheese on top.
  5. Cover with foil and bake for 25 minutes. Remove foil and bake for an additional 5 minutes or until cheese is bubbly and golden.
  6. Let cool for 5 minutes before serving.

Notes

You can customize the seasonings to taste.

Best Steak Marinade – Ultimate Flavor Boost

best-steak-marinade-ultimate-flavor

The Secret to the Most Flavorful Steak of Your Life

There’s something magical about the sizzle of a perfectly marinated steak hitting a hot grill. I remember the first time I made this marinade—it was for my husband’s birthday dinner, and I wanted to create something extraordinary. When he took that first bite, his eyes widened, and he declared it the best steak he’d ever had. That’s when I knew this recipe was something special.

Why This Marinade Works

What makes this steak marinade so incredible is the balance of flavors. It’s not just about tenderizing the meat (though it does that beautifully), but about creating layers of taste that make every bite exciting. The soy sauce provides umami depth, the citrus brightens everything up, and the garlic and herbs add that irresistible aroma we all love.

Ingredients You’ll Need

  • 1/2 cup soy sauce – The salty, umami foundation of our marinade. Use low-sodium if you’re watching salt intake.
  • 1/4 cup olive oil – Helps carry flavors into the meat and keeps it juicy.
  • 1/4 cup fresh lemon juice – The acidity tenderizes while adding brightness.
  • 3 tablespoons Worcestershire sauce – Our secret weapon for depth of flavor.
  • 2 tablespoons Dijon mustard – Adds a subtle tang and helps emulsify the marinade.
  • 4 garlic cloves, minced – Because what’s steak without garlic?
  • 1 tablespoon brown sugar – Just enough sweetness to balance the savory.
  • 1 teaspoon freshly ground black pepper – Freshly ground makes all the difference.
  • 1 teaspoon smoked paprika – For that hint of smokiness, even if you’re cooking indoors.
  • 1/2 teaspoon red pepper flakes – Optional, but adds a lovely warmth.
  • 2 sprigs fresh rosemary – Or 1 teaspoon dried, but fresh is ideal.

How to Make the Ultimate Steak Marinade

Making this marinade is as simple as whisking everything together, but I have some special tips to make sure your steak turns out restaurant-quality every time.

  1. Combine all ingredients in a medium bowl. I like to use a glass measuring cup because the spout makes pouring easier later.
  2. Whisk vigorously for about 30 seconds until everything is well incorporated and slightly emulsified. You’ll see the oil and liquids come together beautifully.
  3. Prepare your steaks by patting them dry with paper towels. This helps the marinade adhere better. For best results, use 1 to 1.5 inch thick cuts like ribeye, New York strip, or filet mignon.
  4. Place steaks in a resealable plastic bag or shallow baking dish. Pour the marinade over, making sure all surfaces are coated. If using a bag, press out excess air before sealing.
  5. Marinate in the refrigerator for at least 4 hours, but no more than 12 hours. I find the sweet spot is 6-8 hours—enough time for deep flavor penetration without the acidity making the texture mushy.

Pro tip: If you’re short on time, you can get away with 2 hours of marinating, but be sure to let the steaks come to room temperature for 30 minutes before cooking—this helps the flavors absorb more quickly.

Pro Tips, Variations, and Substitutions

Every great home chef knows that the best recipes are flexible. Here are some ways to make this marinade your own:

  • Sweet Tooth? Add 1-2 tablespoons of honey or maple syrup for a caramelized crust
  • Heat Lovers Mix in 1 teaspoon of red pepper flakes or a dash of hot sauce
  • No Soy Sauce? Worcestershire sauce makes an excellent substitute
  • Fresh Herbs When available, swap dried herbs for 2 tablespoons of fresh rosemary or thyme

Perfect Pairings

This versatile marinade transforms your steak into the star of any meal. Here are our favorite ways to serve it:

  • Classic steakhouse style with garlic mashed potatoes and roasted asparagus
  • Summer cookout favorite with corn on the cob and a crisp garden salad
  • Elevated weeknight dinner over a bed of wild rice with sautéed mushrooms
  • Taco night twist – slice thin and serve with warm tortillas and all the fixings

Storage and Reheating

Leftover marinated steak? Here’s how to keep it tasting fresh:

  • Storage: Place cooked steak in an airtight container for 3-4 days in the refrigerator
  • Freezing: Wrap individual portions tightly in foil before freezing for up to 3 months
  • Reheating: For best results, warm slices in a skillet over medium heat with a pat of butter
  • Extra Marinade? Store unused marinade in the fridge for up to 1 week (discard if used with raw meat)

Frequently Asked Questions

Q: How long should I marinate my steak?
A: For optimal flavor, marinate for at least 2 hours, but no more than 24 hours. The sweet spot is 4-8 hours.

Q: Can I use this marinade for other meats?
A: Absolutely! It works wonderfully with chicken, pork chops, and even portobello mushrooms for a vegetarian option.

Q: Why does my marinade include oil?
A: The oil helps distribute flavors evenly and creates that beautiful sear we all love on grilled steaks.

Q: Can I make this marinade ahead of time?
A: Yes! The flavors actually deepen when mixed a day in advance. Just store in the fridge and give it a good shake before using.

The Perfect Steak Awaits

There’s something truly special about cutting into a perfectly marinated steak – that first juicy bite that makes everyone at the table pause in appreciation. Whether it’s a special occasion or just Tuesday night, this marinade has a way of turning ordinary meals into memorable ones. So light up that grill or heat up that skillet, because your best steak experience yet is just a marinade away. Here’s to many delicious meals shared with good company!

Print
clock clock iconcutlery cutlery iconflag flag iconfolder folder iconinstagram instagram iconpinterest pinterest iconfacebook facebook iconprint print iconsquares squares iconheart heart iconheart solid heart solid icon

Best Steak Marinade

  • Author: Trusted Blog

Description

A flavorful and easy marinade that tenderizes and enhances the taste of any steak.


Ingredients

Scale

For the Crust:

  • 1/2 cup soy sauce
  • 1/4 cup olive oil
  • 1/4 cup Worcestershire sauce
  • 2 tablespoons lemon juice
  • 3 cloves garlic, minced
  • 1 tablespoon Dijon mustard
  • 1 teaspoon black pepper
  • 1 teaspoon dried basil
  • 1/2 teaspoon dried thyme

Instructions

1. Prepare the Crust:

  1. In a medium bowl, whisk together soy sauce, olive oil, Worcestershire sauce, and lemon juice.
  2. Add minced garlic, Dijon mustard, black pepper, basil, and thyme. Stir until well combined.
  3. Place steak in a resealable plastic bag or shallow dish. Pour marinade over steak, ensuring it is fully coated. Refrigerate for at least 2 hours or overnight for best results.

Notes

You can customize the seasonings to taste.

Easy Curry Coconut Noodle Soup Recipe

easy-curry-coconut-noodle-soup

Easy Curry Coconut Noodle Soup: A Hug in a Bowl

There’s something magical about a steaming bowl of noodle soup on a dreary afternoon—or really, any time you need a little comfort. I first fell in love with this curry coconut version during a rainy weekend when my pantry was nearly bare, save for a can of coconut milk, a lonely sweet potato, and a handful of noodles. What started as a “what can I possibly make with this?” moment turned into one of my favorite go-to recipes. It’s creamy, fragrant, and just spicy enough to warm you from the inside out. Best of all? It comes together in under 30 minutes. Let’s dive in!

Ingredients You’ll Need

  • 1 tbsp coconut oil (or olive oil) – For that rich, nutty base. If you don’t have coconut oil, olive oil works just fine—it’s all about flexibility!
  • 1 small onion, diced – The humble onion is the quiet hero here, adding depth to every spoonful.
  • 2 cloves garlic, minced – Because no cozy soup is complete without garlic’s warm embrace.
  • 1 tbsp fresh ginger, grated – A little zing to brighten things up. Pro tip: Keep ginger in the freezer for easy grating!
  • 2 tbsp red curry paste – This is where the magic happens. Adjust to taste—more for spice lovers, less for a milder bowl.
  • 1 can (13.5 oz) coconut milk – Full-fat for maximum creaminess, but light works in a pinch.
  • 3 cups vegetable broth – Homemade if you have it, but store-bought is perfectly fine. (Chicken broth works too!)
  • 1 medium sweet potato, diced – Adds a touch of sweetness and makes the soup heartier. You can swap in butternut squash if preferred.
  • 4 oz rice noodles or ramen noodles – Rice noodles keep it gluten-free, but use whatever you have on hand.
  • 1 cup baby spinach or kale – For a pop of color and nutrients. Toss it in at the end—it wilts in seconds.
  • Juice of 1 lime – A squeeze of lime at the end balances the richness beautifully.
  • Salt & pepper to taste – Because seasoning is everything.
  • Fresh cilantro, chopped peanuts, or chili flakes (optional) – For garnish and a little crunch!

Let’s Get Cooking

Step 1: Sauté the Aromatics
Heat the coconut oil in a large pot over medium heat. Add the diced onion and sauté until it turns translucent—about 3 minutes. Stir in the garlic and ginger, letting their fragrances mingle for another minute. (This is when my kitchen starts smelling like heaven!)

Step 2: Spice It Up
Add the red curry paste and stir it into the onion mixture, letting it toast slightly for about 30 seconds. This wakes up the spices and deepens the flavor. If it sticks a little, that’s okay—just keep stirring!

Step 3: Simmer the Broth
Pour in the coconut milk and vegetable broth, stirring to combine. Add the diced sweet potato, then bring the soup to a gentle simmer. Let it bubble away for about 10 minutes, or until the sweet potato is tender when pierced with a fork.

Step 4: Noodle Time
Once the sweet potato is cooked, add the noodles directly to the pot. Let them soak up all that flavorful broth for 3-5 minutes (check your noodle package for timing—they should be soft but still have a slight bite).

Pro Tips, Variations, and Substitutions

This curry coconut noodle soup is wonderfully adaptable to whatever ingredients you have on hand. Here are some ways to make it your own:

  • Protein options: Swap the shrimp for chicken, tofu, or even thinly sliced beef. Just adjust cooking times accordingly.
  • Vegetable variations: Try adding bok choy, mushrooms, or bell peppers for extra crunch and nutrition.
  • Noodle alternatives: Rice noodles can be replaced with udon, soba, or even spaghetti in a pinch.
  • Spice level: Control the heat by adjusting the amount of curry paste. Start with less and add more to taste.
  • Dairy-free option: Use full-fat coconut milk for the creamiest results, but light coconut milk works too.

What to Serve With Your Curry Coconut Noodle Soup

While this soup is satisfying on its own, here are some delicious accompaniments:

  • A crisp Asian slaw or simple cucumber salad for freshness
  • Spring rolls or potstickers for a heartier meal
  • Steamed jasmine rice to soak up the flavorful broth
  • Extra lime wedges, chopped cilantro, and chili oil for garnishing

Storage and Reheating Tips

This soup keeps beautifully for meal prep:

  • Store broth and noodles separately in airtight containers for up to 3 days.
  • When reheating, warm the broth first, then add noodles just until heated through to prevent mushiness.
  • For freezing, store just the broth (without noodles or delicate vegetables) for up to 2 months.
  • Add fresh garnishes like herbs and lime after reheating for maximum flavor.

Frequently Asked Questions

Can I make this soup vegetarian?

Absolutely! Simply omit the shrimp and use vegetable broth instead of chicken broth. Add extra tofu or mushrooms for protein.

What if I can’t find curry paste?

You can substitute 1 tablespoon curry powder mixed with 1 teaspoon each of garlic powder and ginger powder, though the flavor won’t be quite as complex.

How can I make this soup less spicy?

Start with just 1 tablespoon of curry paste, and use mild rather than spicy versions. You can always add more heat later.

Can I use canned coconut cream instead of coconut milk?

Yes, but dilute it with extra broth as coconut cream is much thicker. Start with half coconut cream and half broth, then adjust to your preferred consistency.

Final Thoughts

There’s something so comforting about a bowl of fragrant curry coconut noodle soup – the way the creamy broth hugs the noodles, the pop of fresh herbs, the gentle heat that warms you from the inside out. Whether you’re fighting off a chill, need a quick weeknight dinner, or simply crave those Thai-inspired flavors, this recipe is here for you. Don’t be afraid to make it your own with whatever ingredients bring you joy. After all, the best meals are the ones made with both good ingredients and a generous pinch of love. Now go forth and enjoy your delicious creation!

Print
clock clock iconcutlery cutlery iconflag flag iconfolder folder iconinstagram instagram iconpinterest pinterest iconfacebook facebook iconprint print iconsquares squares iconheart heart iconheart solid heart solid icon

Curry Coconut Noodle Soup

  • Author: Trusted Blog

Description

A fragrant and creamy noodle soup with a blend of curry and coconut flavors.


Ingredients

Scale

For the Crust:

  • 8 oz rice noodles
  • 1 tbsp vegetable oil
  • 1 onion, diced
  • 3 cloves garlic, minced
  • 1 tbsp ginger, grated
  • 2 tbsp red curry paste
  • 1 can (14 oz) coconut milk
  • 4 cups vegetable broth
  • 1 tbsp soy sauce
  • 1 tbsp lime juice
  • 1 cup mushrooms, sliced
  • 1 red bell pepper, sliced
  • 1 cup baby spinach
  • Fresh cilantro for garnish

Instructions

1. Prepare the Crust:

  1. Cook rice noodles according to package instructions, then drain and set aside.
  2. Heat vegetable oil in a large pot over medium heat. Add onion, garlic, and ginger, sautéing until fragrant.
  3. Stir in red curry paste and cook for 1 minute.
  4. Pour in coconut milk and vegetable broth, stirring to combine. Bring to a simmer.
  5. Add soy sauce, lime juice, mushrooms, and bell pepper. Simmer for 5-7 minutes until vegetables are tender.
  6. Stir in baby spinach and cooked noodles. Cook for 1-2 minutes until spinach wilts.
  7. Garnish with fresh cilantro and serve hot.

Notes

You can customize the seasonings to taste.