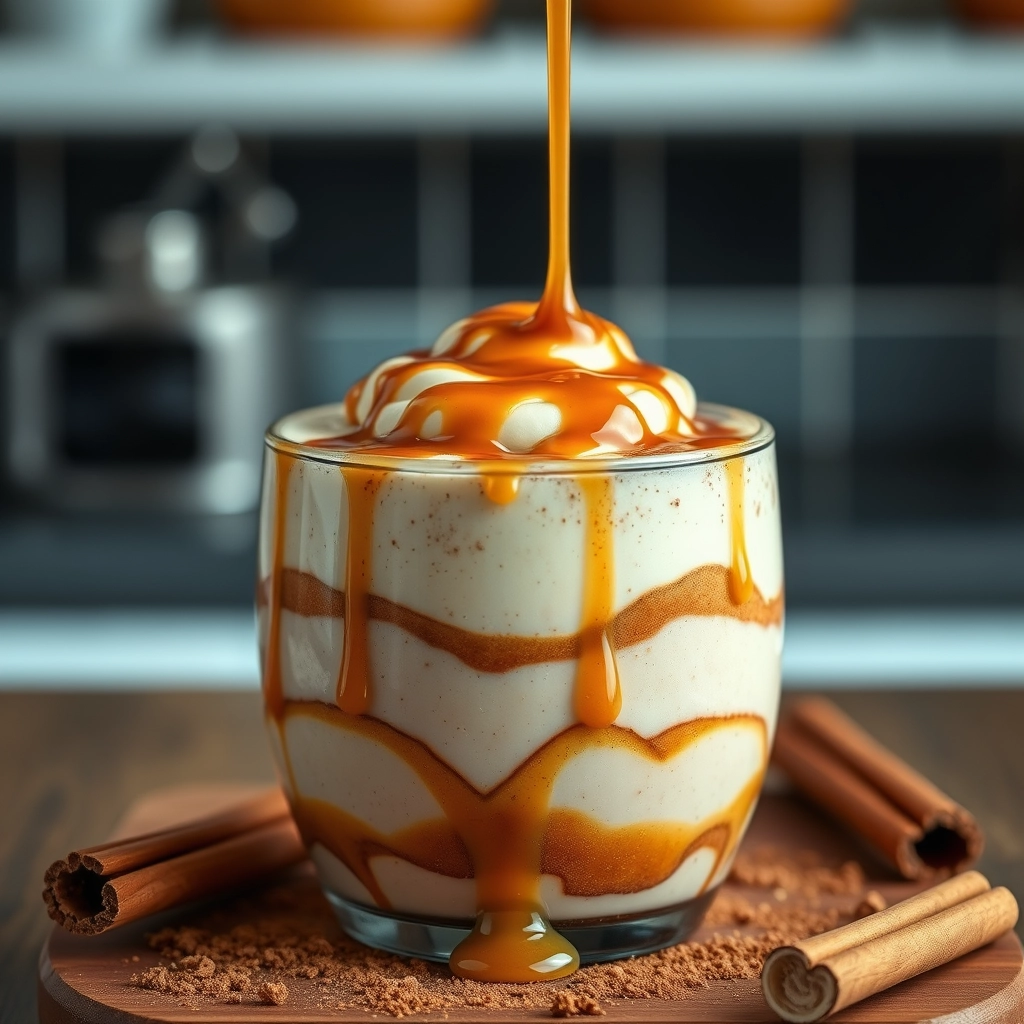
The Cinnamon Roll Breakfast Smoothie That Feels Like a Hug in a Glass
There’s something magical about the scent of cinnamon rolls baking in the oven—warm, sweet, and impossibly comforting. But let’s be honest, most weekday mornings don’t leave time for rolling out dough or waiting for yeast to rise. That’s where this Cinnamon Roll Breakfast Smoothie swoops in like a breakfast fairy godmother. It captures every cozy, cinnamon-kissed note of your favorite pastry but blends it into a creamy, sipable delight you can enjoy on the go. (Pajamas still optional.)
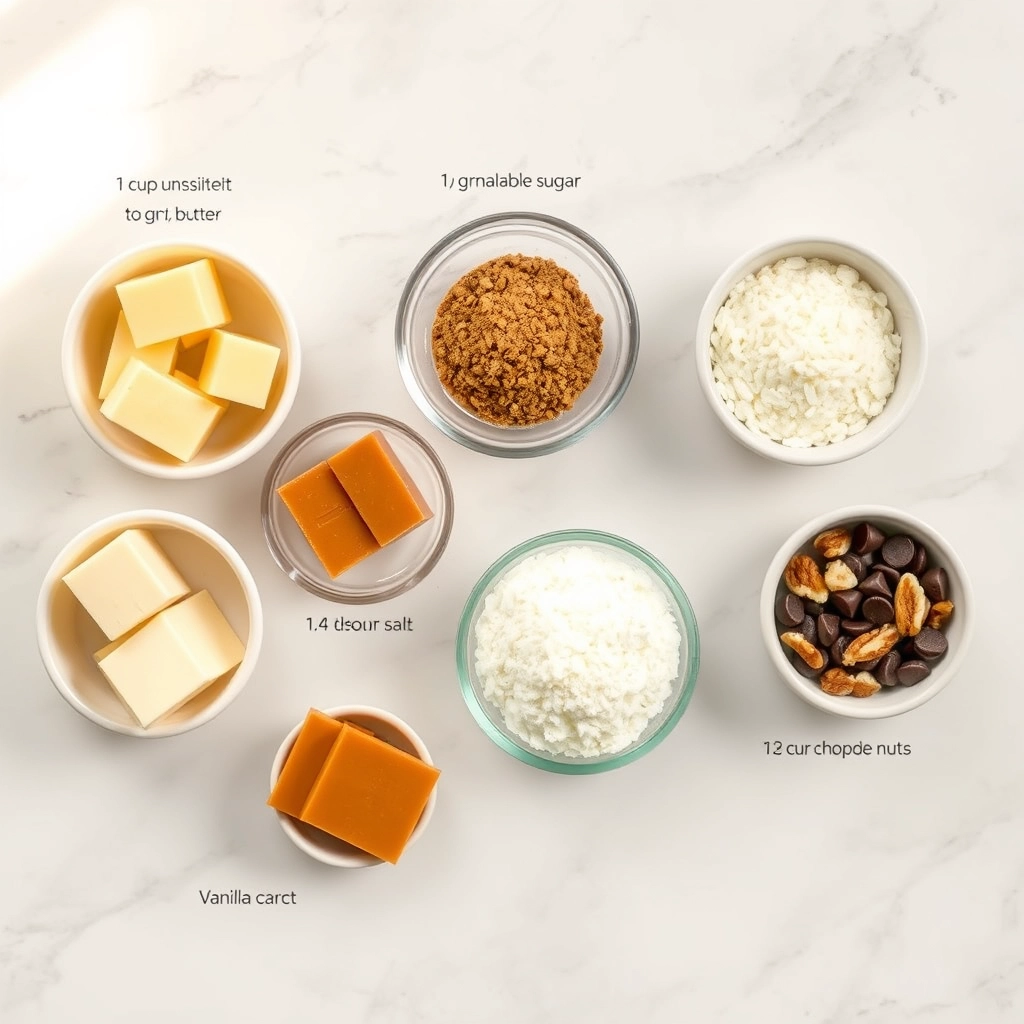
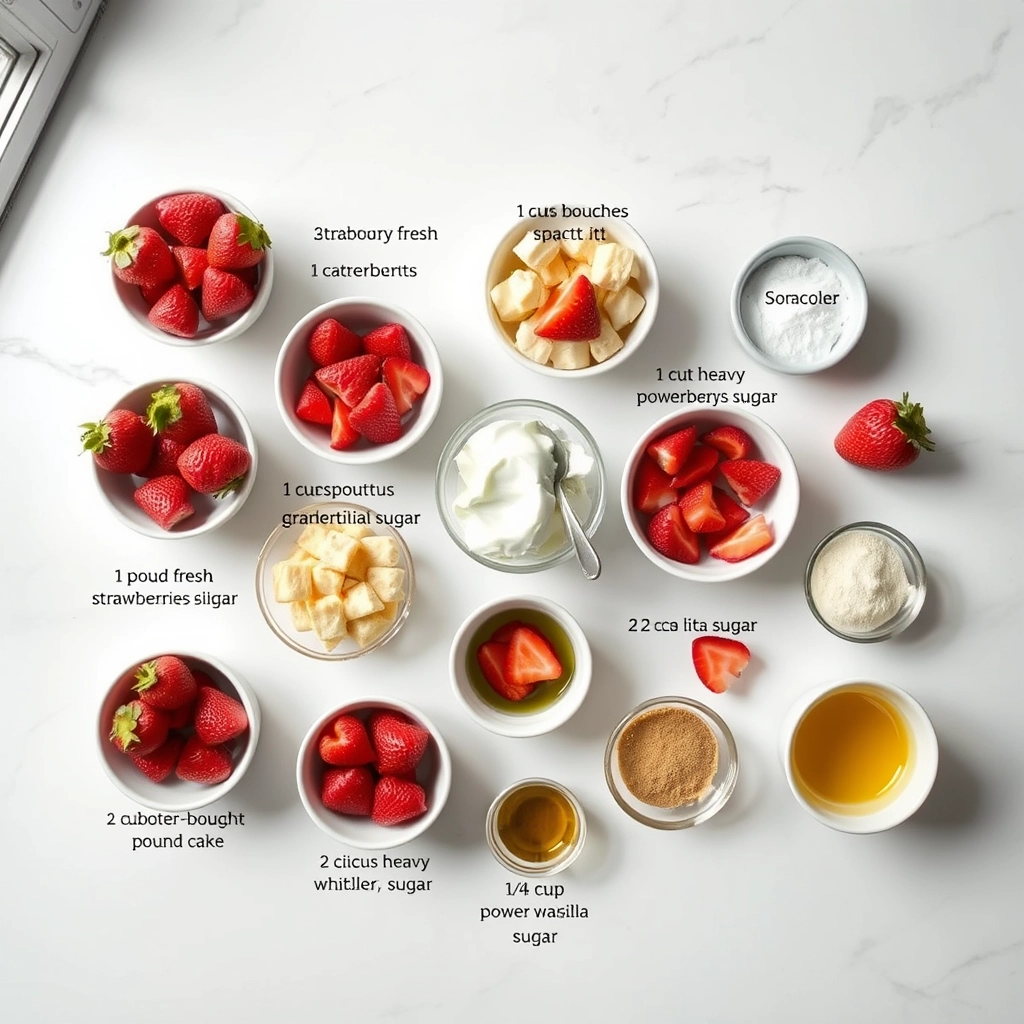
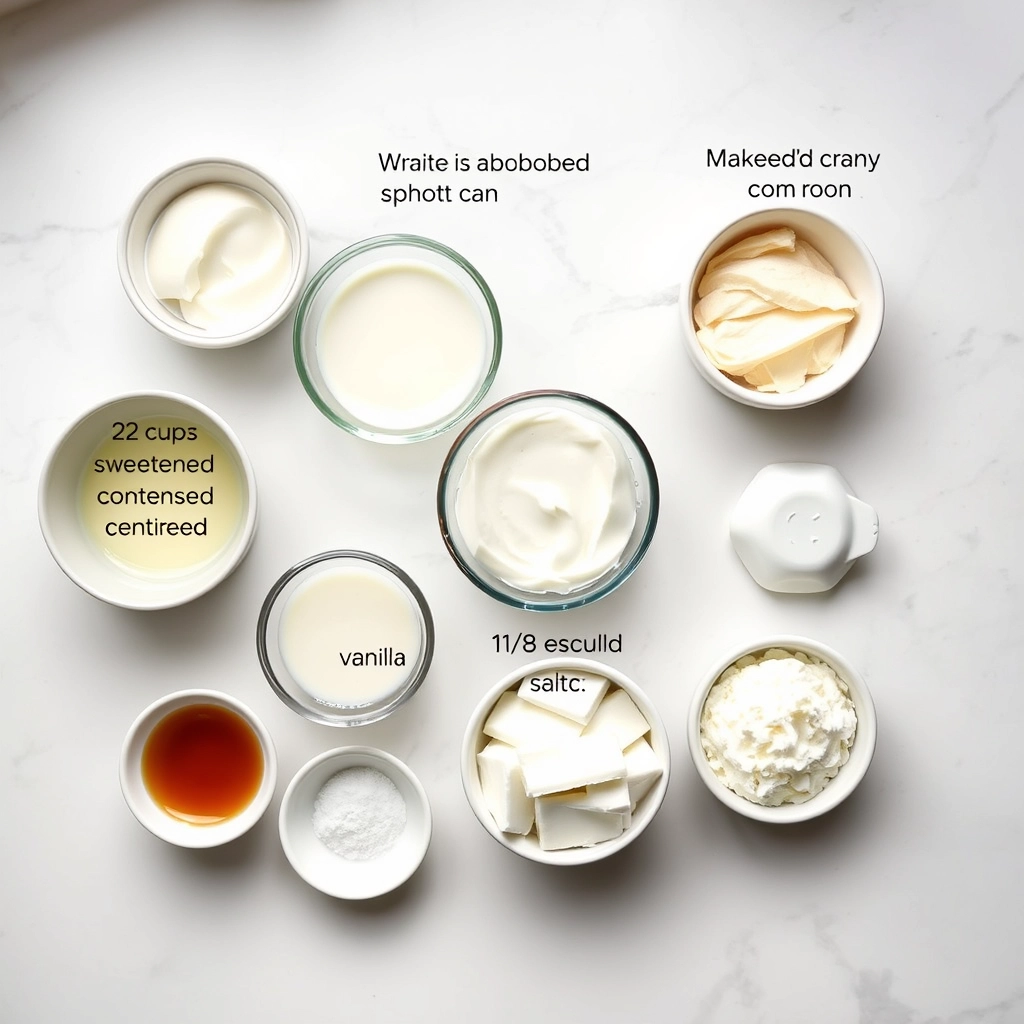
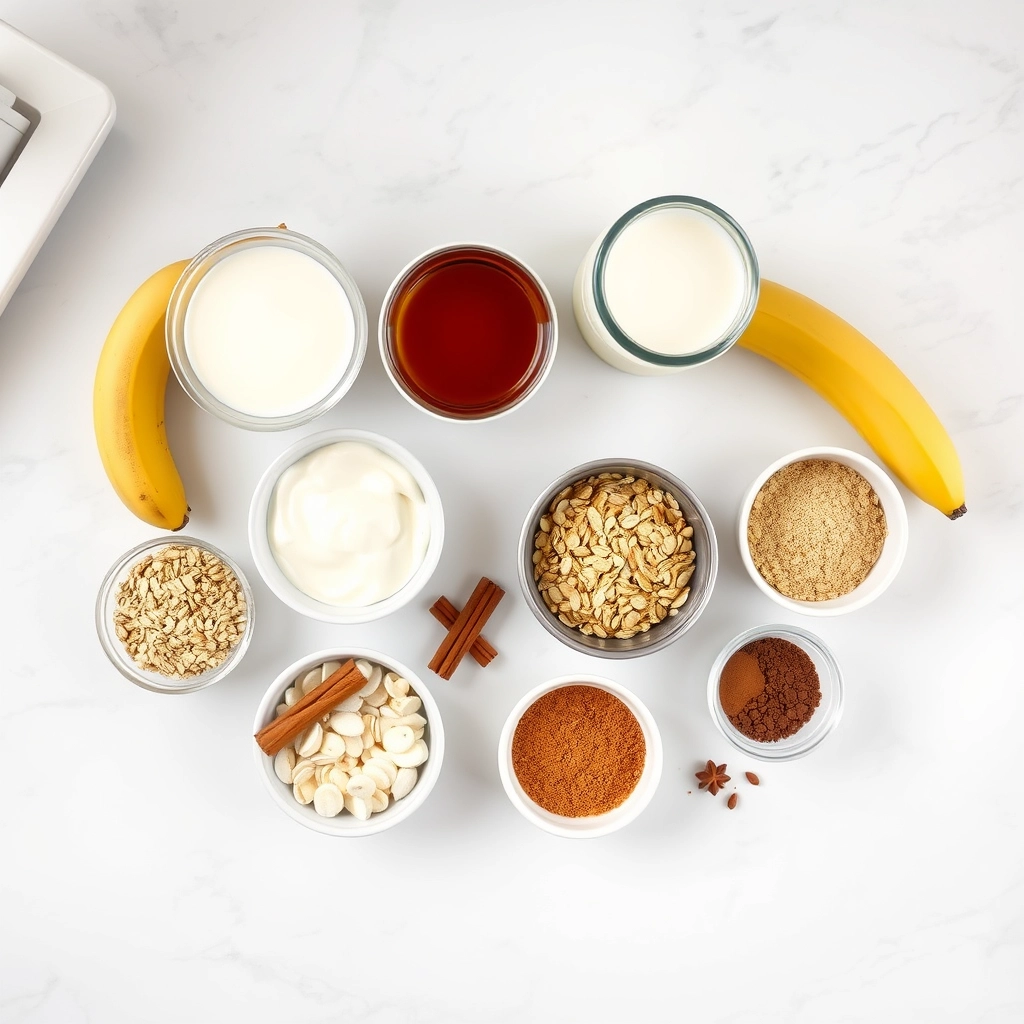
Ingredients That Taste Like Morning Sunshine
- 1 frozen banana – The secret to that luscious, milkshake-like texture. Pro tip: Slice and freeze ripe bananas ahead of time—they’re naturally sweet and make the smoothie extra thick.
- ½ cup rolled oats – Adds heartiness and that “roll” essence. They blend beautifully, but if you prefer ultra-smooth, pulse them into flour first.
- 1 cup unsweetened almond milk (or your favorite milk) – Creamy and light, but whole milk or oat milk work wonderfully for extra richness.
- 1 tbsp almond butter or cashew butter – A nutty depth that mimics the buttery dough. Peanut butter works in a pinch, but it’ll taste more like PB than cinnamon rolls.
- 1 tsp vanilla extract – The aromatic backbone of any good cinnamon roll. Splurge on pure vanilla if you can—it makes all the difference.
- 1 tsp cinnamon – The star! Ceylon cinnamon has a sweeter, softer flavor if you want to get fancy.
- 1 pitted Medjool date or 1 tsp maple syrup – For that bakery-level sweetness without refined sugar. If your banana is super ripe, you might skip this!
- Pinch of salt – Balances the sweetness like a dream. Trust me, don’t skip it.
Let’s Blend Some Morning Magic
1. The Oat Trick: If you’re sensitive to texture, give your oats a quick blitz in the blender before adding other ingredients. It’s like whispering to your smoothie, “Hey, let’s be extra velvety today.”
2. Layer with Love: Add the milk first (this prevents sticking), followed by oats, banana, nut butter, and spices. The vanilla deserves a little pour right over everything—it’s the flourish that ties the room together.
3. Blend Until Dreamy: Start on low to break up the banana, then ramp up to high for 30-45 seconds. Pause to scrape the sides if needed. You’re aiming for a consistency that’s thick enough to need a spoon but still sipable (like melted ice cream).
4. The Taste Test: Dip a spoon in and channel your inner pastry chef. Need more cinnamon? A drizzle of sweetness? Adjust as you go—this is your cinnamon roll masterpiece.
Pro Tips, Variations, and Substitutions
This cinnamon roll breakfast smoothie is wonderfully forgiving, so feel free to tweak it to your taste! Here are some ideas to make it your own:
- Dairy-free? Swap the yogurt for coconut yogurt and use almond milk instead of regular milk.
- Need more protein? Add a scoop of vanilla protein powder or a tablespoon of almond butter.
- Too thick? Thin it out with a splash more milk until it reaches your preferred consistency.
- Extra cinnamon roll vibes? Drizzle with a little cream cheese glaze (mix powdered sugar, cream cheese, and milk) on top!
What to Serve It With
While this smoothie is satisfying on its own, it pairs beautifully with a few cozy breakfast companions:
- A warm, buttery slice of toast
- Fresh fruit like sliced bananas or berries
- A handful of granola for crunch
- A hot cup of coffee or chai tea to complete the cinnamon roll experience
Storage and Reheating Tips
This smoothie is best enjoyed fresh, but if you have leftovers:
- Storage: Keep in an airtight container in the fridge for up to 24 hours. Give it a good stir or re-blend before drinking.
- Freezing: Pour into ice cube trays and freeze for up to a month. Blend with a little milk when ready to enjoy.
- Reheating: Not recommended—this one’s meant to be sipped cold for that refreshing yet cozy feel!
Frequently Asked Questions
Can I make this smoothie ahead of time?
While you can blend it the night before, the texture is best when fresh. If prepping ahead, store ingredients separately and blend in the morning.
Can I use frozen bananas?
Absolutely! Frozen bananas make the smoothie extra creamy and thick—just adjust the milk as needed.
Is there a way to reduce the sugar?
Skip the maple syrup or use just a teaspoon. The banana and dates already add natural sweetness!
Can I use a different type of milk?
Of course! Oat milk, almond milk, or even coconut milk work beautifully here.
Final Thoughts
There’s something truly magical about sipping a smoothie that tastes like a freshly baked cinnamon roll—especially when it’s packed with wholesome ingredients to fuel your day. Whether you’re rushing out the door or savoring a slow morning, this recipe is here to bring a little warmth and sweetness to your routine. Whip it up, take that first sip, and let the cozy vibes sink in. Happy blending!
Print
Cinnamon Roll Breakfast Smoothie
Description
A creamy, sweet smoothie that tastes just like a cinnamon roll, perfect for a quick and delicious breakfast.
Ingredients
For the Crust:
- 1 frozen banana
- 1/2 cup rolled oats
- 1 cup almond milk
- 1/2 cup Greek yogurt
- 1 tablespoon maple syrup
- 1 teaspoon cinnamon
- 1/2 teaspoon vanilla extract
- 1/4 teaspoon nutmeg
Instructions
1. Prepare the Crust:
- Add all ingredients to a high-speed blender.
- Blend until smooth and creamy, about 1-2 minutes.
- Pour into a glass and sprinkle with extra cinnamon if desired.
- Serve immediately and enjoy.
Notes
You can customize the seasonings to taste.