Easy Piña Colada Poke Cake – A Slice of Tropical Bliss
There’s something magical about the combination of pineapple and coconut—it instantly transports me to sun-drenched beaches, swaying palm trees, and the gentle sound of waves lapping at the shore. Last summer, after a particularly long week, I found myself craving that tropical escape but couldn’t hop on a plane. So, I did the next best thing: I baked this Easy Piña Colada Poke Cake. One bite, and I was lounging in paradise—no passport required.
This cake is everything you love about a classic piña colada—creamy, fruity, and utterly refreshing—but in dessert form. It’s perfect for potlucks, summer gatherings, or just treating yourself to a little sweetness. Plus, it’s so simple to make, you’ll wonder why you haven’t been baking it all year long!
Ingredients You’ll Need
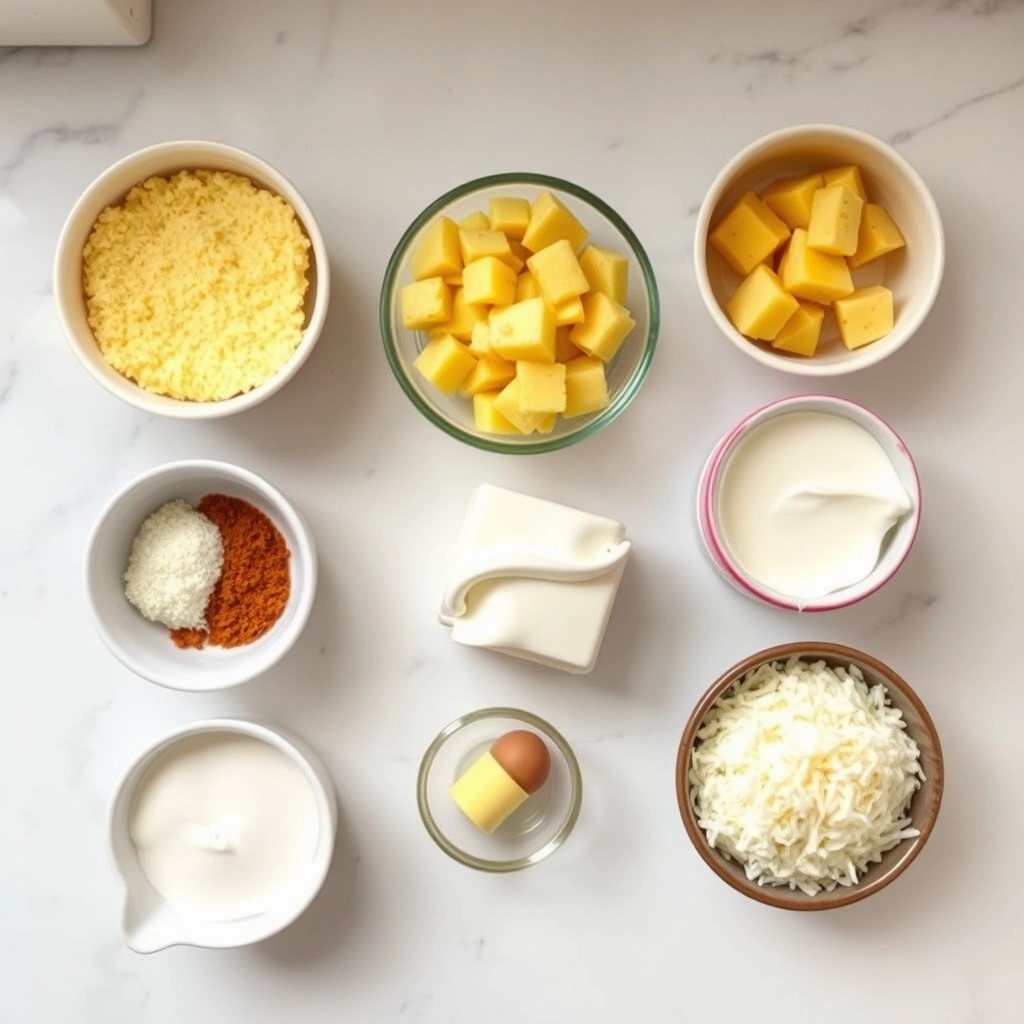
- 1 box of yellow cake mix – The base of our tropical dream. I love using Betty Crocker’s Super Moist for its fluffy texture, but any brand will do!
- 1 (20 oz) can crushed pineapple – Don’t drain it! The juice is key for soaking into the cake and infusing every bite with pineapple goodness.
- 1 (13.5 oz) can coconut milk – Full-fat for maximum creaminess. Shake it well before opening—those rich coconut solids are liquid gold.
- 1 (3.4 oz) box instant vanilla pudding mix – This creates the luscious, creamy layer that makes every forkful irresistible.
- 1 cup sweetened shredded coconut – Toasted or untoasted, your choice! I love the extra crunch of toasting it lightly in a pan.
- 1 cup whipped topping (like Cool Whip) – For that fluffy, cloud-like finish. Fresh whipped cream works too if you prefer!
- Maraschino cherries & pineapple slices – Optional, but highly recommended for that festive tropical flair.
Let’s Bake Some Sunshine
Step 1: Bake the Cake
Preheat your oven to 350°F (175°C) and prepare a 9×13-inch baking pan with a light coating of nonstick spray. Mix the yellow cake batter according to the package instructions, then pour it into the pan and bake for about 25-30 minutes, or until a toothpick comes out clean. Pro tip: For extra coconut flavor, swap the water in the cake mix for coconut milk!
Step 2: Poke & Soak
Once the cake is out of the oven and still warm, use the handle of a wooden spoon to poke holes all over the top—about 1 inch apart. Don’t be shy! Then, slowly pour the entire can of crushed pineapple (juice included) over the cake, letting it seep into those holes. This step is where the magic happens—every bite will be infused with juicy pineapple!
Step 3: The Creamy Coconut Layer
In a medium bowl, whisk together the coconut milk and vanilla pudding mix until smooth. Let it sit for 2 minutes to thicken slightly, then pour it evenly over the cake. Spread gently with a spatula to fill in any gaps. Pop the cake into the fridge for at least 30 minutes to let everything set.
Pro Tips, Variations, and Substitutions
This Piña Colada Poke Cake is wonderfully forgiving, so don’t be afraid to make it your own! Here are some ways to customize it:
- Cake Base: If you don’t have a yellow cake mix, white or vanilla cake works just as well. For a homemade touch, use your favorite from-scratch vanilla cake recipe.
- Coconut Milk Swap: Not a fan of coconut? Substitute with heavy cream or half-and-half for a rich, creamy texture without the tropical flavor.
- Pineapple Juice Boost: For extra pineapple punch, reduce the water in the cake mix and replace it with pineapple juice.
- Adult Twist: Want a boozy version? Brush the baked cake with a light rum glaze before poking the holes, or mix a splash of rum into the coconut milk mixture.
What to Serve With Piña Colada Poke Cake
This cake is a star on its own, but pairing it with the right accompaniments can turn it into a full tropical experience:
- A scoop of vanilla or coconut ice cream
- Fresh pineapple slices or mango chunks
- Toasted coconut flakes for extra crunch
- A chilled glass of iced tea or a Piña Colada cocktail for the adults
Storage and Reheating Tips
This cake keeps beautifully, making it a great make-ahead dessert for gatherings:
- Room Temperature: Store covered at room temperature for up to 2 days (if your kitchen isn’t too warm).
- Refrigerator: For longer storage, refrigerate in an airtight container for up to 5 days.
- Freezing: Wrap individual slices tightly in plastic wrap and freeze for up to 2 months. Thaw in the fridge before serving.
- Serving Tip: If refrigerated, let the cake sit at room temperature for 15–20 minutes before serving for the best texture.
Frequently Asked Questions
Can I use fresh pineapple instead of crushed pineapple?
Absolutely! Just pulse fresh pineapple chunks in a food processor until finely chopped. Drain any excess juice to prevent the cake from becoming soggy.
Why did my cake turn out too dense?
Overmixing the batter can lead to a dense texture. Mix just until the ingredients are combined—it’s okay if there are a few small lumps.
Can I make this cake gluten-free?
Yes! Swap the regular cake mix for a gluten-free yellow or vanilla cake mix, and ensure all other ingredients are gluten-free certified.
How do I prevent the whipped topping from melting?
Keep the cake refrigerated until ready to serve, and avoid placing it in direct sunlight or a warm room for too long. Stabilized whipped cream or a whipped topping like Cool Whip holds up better than fresh whipped cream.
A Sweet Slice of Paradise
There’s something magical about the combination of pineapple and coconut—it instantly transports you to a breezy beach, even if you’re just curled up at home. This Piña Colada Poke Cake is more than just a dessert; it’s a little escape in every bite. Whether you’re serving it at a summer party or treating yourself on a quiet evening, I hope it brings a smile to your face. Happy baking, and may your kitchen always smell like the tropics!
Print
Piña Colada Poke Cake
Description
A tropical twist on the classic poke cake, infused with pineapple and coconut flavors.
Ingredients
For the Crust:
- 1 box yellow cake mix
- 1 cup water
- 1/3 cup vegetable oil
- 3 large eggs
- 1 can (20 oz) crushed pineapple, undrained
- 1 can (14 oz) sweetened condensed milk
- 1 cup coconut milk
- 1 tub (8 oz) whipped topping
- 1/2 cup shredded coconut, toasted
Instructions
1. Prepare the Crust:
- Preheat oven to 350°F (175°C). Grease a 9×13-inch baking pan.
- Prepare cake mix according to package instructions using water, oil, and eggs. Pour batter into the prepared pan and bake for 25-30 minutes or until a toothpick inserted comes out clean.
- While the cake is still warm, use the handle of a wooden spoon to poke holes all over the cake.
- In a bowl, mix together crushed pineapple (with juice), sweetened condensed milk, and coconut milk. Pour evenly over the cake, allowing the mixture to seep into the holes.
- Refrigerate the cake for at least 2 hours to allow the flavors to meld.
- Spread whipped topping over the chilled cake and sprinkle with toasted shredded coconut before serving.
Notes
You can customize the seasonings to taste.