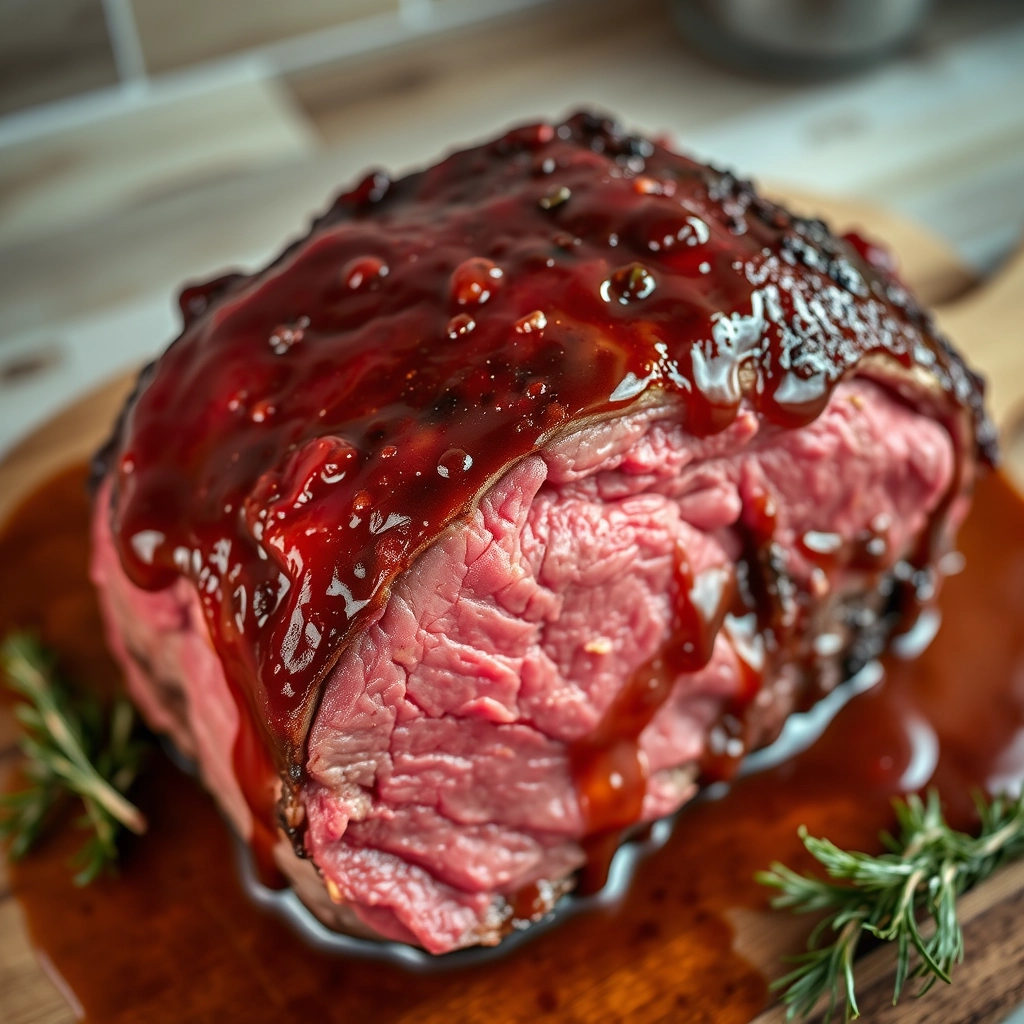
The Best Prime Rib Recipe for the Most Memorable Gatherings
There’s something magical about the moment a perfectly cooked prime rib emerges from the oven—the golden crust glistening, the aroma of garlic and rosemary filling the air, and the promise of tender, juicy slices that melt in your mouth. I remember the first time I attempted making prime rib for our Christmas dinner. My hands trembled as I seasoned the massive cut of meat, terrified of overcooking such an expensive centerpiece. But when my guests’ eyes lit up after that first bite, I knew this recipe would become my go-to for every special occasion.
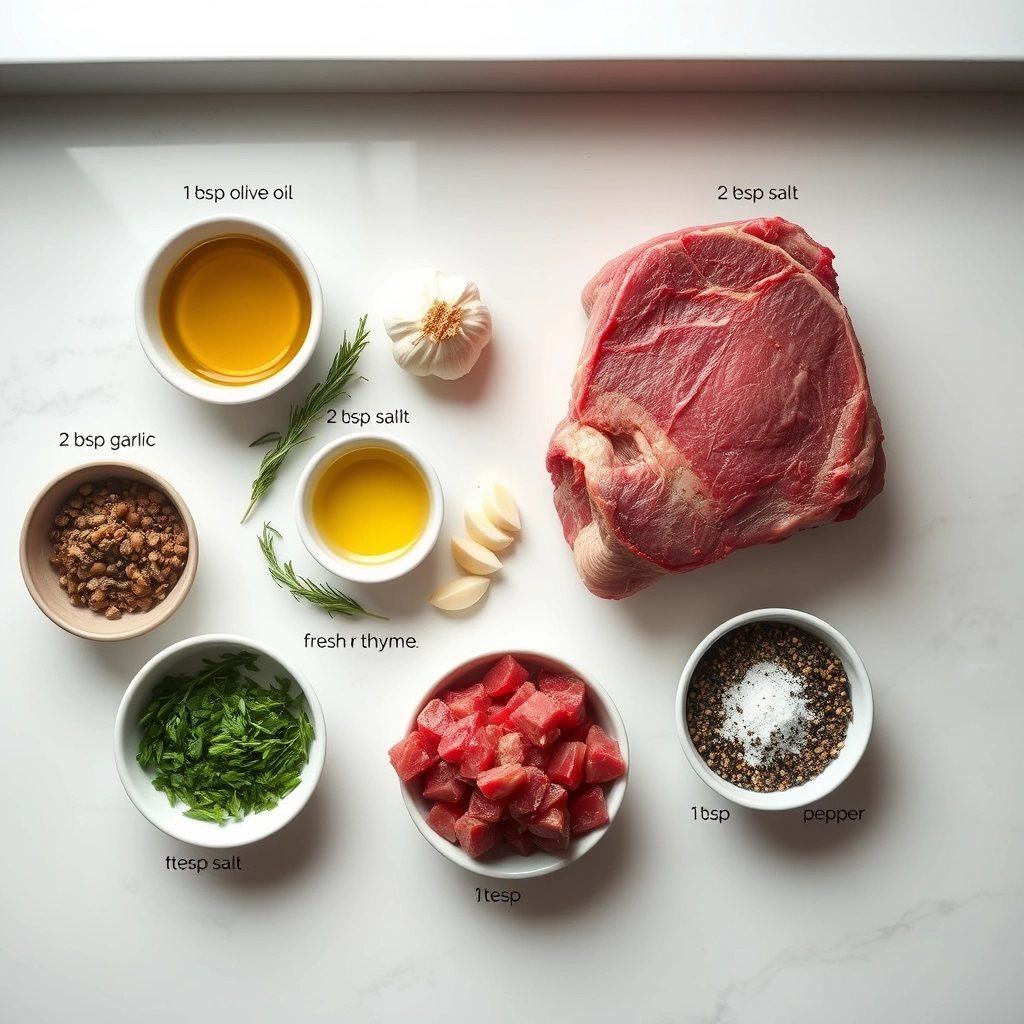
Ingredients You’ll Need for the Perfect Prime Rib
- 1 (5-7 lb) prime rib roast – Look for well-marbled meat with a nice fat cap for maximum flavor and juiciness.
- 3 tbsp coarse sea salt – The larger crystals create the perfect crust.
- 2 tbsp freshly cracked black pepper – Freshly ground makes all the difference.
- 5 cloves garlic, minced – Because everything’s better with garlic.
- 2 tbsp fresh rosemary, finely chopped – The piney fragrance pairs beautifully with beef.
- 2 tbsp fresh thyme leaves – Adds an earthy depth to the seasoning.
- 1/4 cup olive oil – Helps the herbs adhere and promotes browning.
- 1 tbsp Dijon mustard – My secret weapon for extra flavor and crust.
Step-by-Step to Prime Rib Perfection
Step 1: The Prep Work (2 Days Before)
Remove your prime rib from the refrigerator about 48 hours before cooking. Pat it completely dry with paper towels—this is crucial for that beautiful crust. Place it on a wire rack set over a baking sheet, uncovered, in the coldest part of your fridge. This dry-aging technique at home makes all the difference in flavor and texture.
Step 2: The Flavor Foundation (4 Hours Before Cooking)
Take the roast out of the fridge 4 hours before cooking to come to room temperature. In a small bowl, mix together the olive oil, minced garlic, rosemary, thyme, Dijon mustard, salt, and pepper. Massage this fragrant paste all over the roast, getting into every nook and cranny. Let it sit at room temperature—this helps the meat cook more evenly.
Step 3: The Sear That Starts the Magic
Preheat your oven to 500°F (260°C). Place the roast fat-side up in a roasting pan with a rack. The high heat will give us that gorgeous initial sear. Roast for 15 minutes—just until you smell that heavenly browning aroma and see the crust beginning to form.
Step 4: The Low and Slow Transformation
Without opening the oven door (tempting as it may be!), reduce the temperature to 325°F (160°C). This is where the magic happens as the collagen slowly breaks down into gelatin, making the meat incredibly tender. For a medium-rare center, cook for about 13-15 minutes per pound.
Pro Tips for the Best Prime Rib
Making the perfect prime rib is easier than you think, but a few insider tricks can take it from great to unforgettable:
- Let it rest – After roasting, tent your prime rib with foil and let it rest for at least 20-30 minutes. This allows the juices to redistribute for maximum tenderness.
- Use a meat thermometer – Don’t guess! For medium-rare, pull the roast at 120°F (it will rise to 130°F while resting).
- Season generously – Prime rib can handle bold flavors. Don’t be shy with the salt, pepper, and herbs.
- Reverse sear for perfection – Start low and slow (250°F), then finish with a high-heat blast (500°F) for that gorgeous crust.
Delicious Variations & Substitutions
While classic prime rib is heavenly, sometimes you want to mix things up:
- Herb crust: Mix minced garlic, rosemary, and thyme with softened butter and spread over the roast before cooking.
- Bone-in vs boneless: Bones add flavor but make carving trickier. Choose based on your preference.
- Standing rib roast substitute: Can’t find prime rib? A well-marbled ribeye roast makes a great alternative.
- Dry brine option: For deeper flavor, salt the roast 24-48 hours in advance and refrigerate uncovered.
What to Serve with Prime Rib
This majestic cut deserves equally impressive sides:
- Creamy horseradish sauce or au jus for dipping
- Yorkshire pudding (a must for traditionalists)
- Roasted garlic mashed potatoes
- Sautéed green beans with almonds
- Roasted root vegetables
- A bold red wine like Cabernet Sauvignon
Storing and Reheating Leftovers
If you’re lucky enough to have leftovers (and that’s a big if!), here’s how to handle them:
- Storage: Wrap slices tightly in plastic wrap or foil and refrigerate for up to 4 days.
- Freezing: Place slices in airtight containers with parchment between layers. Good for 2-3 months.
- Reheating: For best results, reheat slices in a 250°F oven with a bit of au jus until just warmed through (about 10-15 minutes).
- Next-day ideas: Thinly sliced cold prime rib makes incredible sandwiches with horseradish mayo.
Prime Rib FAQs
How many people will a prime rib roast serve?
Plan on about 1 pound per person for bone-in, or ¾ pound for boneless. A 7-rib roast typically serves 10-12 people.
Should I bring the meat to room temperature before cooking?
Yes! Letting it sit out for 1-2 hours helps ensure even cooking. Just don’t leave it out longer than 2 hours for food safety.
What’s the difference between prime rib and ribeye?
Prime rib is a large roast cut from the rib section, while ribeye steaks are individual slices from that same area. The roast has more connective tissue that breaks down beautifully during slow roasting.
Can I make prime rib without a roasting rack?
Absolutely! Just place the roast bone-side down (the bones act as a natural rack). For boneless, create a “rack” with sliced onions or carrots to elevate the meat.
The Perfect Centerpiece for Special Occasions
There’s something truly magical about presenting a beautifully cooked prime rib at the table. The aroma fills the kitchen, the crust glistens, and when you slice into that perfectly pink interior, you know you’ve created something special. Whether it’s Christmas dinner, a anniversary celebration, or just because you deserve something extraordinary, this prime rib recipe is your ticket to culinary glory. The best part? While it looks impressive, the method is wonderfully simple – just quality ingredients treated with care. So tie on your apron, preheat that oven, and get ready to make some delicious memories.
Print
Prime Rib Recipe
Description
A perfectly roasted prime rib with a flavorful crust and juicy interior.
Ingredients
For the Crust:
- 1 (4-5 lb) prime rib roast
- 2 tbsp olive oil
- 4 cloves garlic, minced
- 1 tbsp fresh rosemary, chopped
- 1 tbsp fresh thyme, chopped
- 1 tbsp kosher salt
- 1 tsp black pepper
Instructions
1. Prepare the Crust:
- Preheat oven to 450°F (230°C).
- In a small bowl, mix olive oil, garlic, rosemary, thyme, salt, and pepper.
- Rub the mixture all over the prime rib, covering it evenly.
- Place the roast on a rack in a roasting pan, fat side up.
- Roast at 450°F for 15 minutes, then reduce heat to 325°F (160°C) and continue roasting for about 15 minutes per pound for medium-rare (or until internal temperature reaches 120-125°F).
- Remove from oven, tent with foil, and let rest for 20 minutes before slicing.
Notes
You can customize the seasonings to taste.