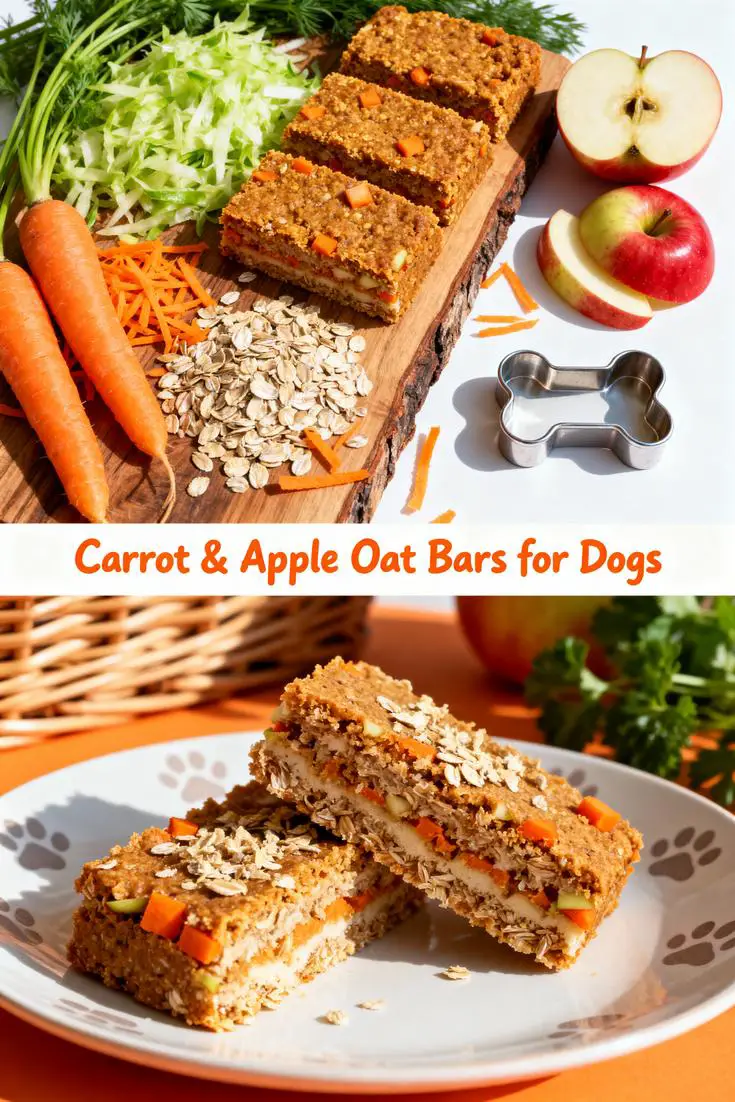
Carrot & Apple Oat Bars for Dogs
Estimated reading time: 10 minutes
Key Takeaways
- Discover how simple ingredients like carrots and apples create nutritious, homemade dog treats.
- Learn easy modifications and storage tips to keep these bars fresh and safe for your pet.
- Explore the health benefits that make these bars a smart choice for your dog’s daily routine.
Table of Contents
- Why Your Pup Will Love These Bars
- What Makes These Bars So Great?
- Taste Test: What Do They Taste Like?
- Benefits of Carrot & Apple Oat Bars for Dogs
- Ingredients You’ll Need
- Necessary Tools for Preparation
- Possible Ingredient Additions and Substitutions
- How to Make Carrot & Apple Oat Bars for Dogs
- What to Serve with These Bars
- Tips for Making the Best Carrot & Apple Oat Bars
- Storage Instructions
- Frequently Asked Questions (FAQ)
- Conclusion
- Join the Fun!
- Nutritional Information
As a dedicated pet parent, I’ve always sought ways to blend my love for baking with caring for my furry companions. Today, we’re diving into the world of homemade dog treats with my favorite creation: Carrot & Apple Oat Bars for Dogs. These bars aren’t just easy to make; they’re a nutritious delight that combines everyday ingredients into something special. If you’re looking to spoil your pup with wholesome snacks, stick around to uncover the simple joy of preparing these at home.
Why Your Pup Will Love These Bars
Imagine the excitement in your dog’s eyes as they nibble on these naturally sweet bars. The combination of fresh carrots and apples offers a gentle crunch and flavor that appeals to their instincts, while the oats provide a hearty base. In my own kitchen, watching my dog eagerly await each batch has become a cherished ritual, making these bars a staple for rewarding good behavior or just showing some love.
What sets these treats apart is their ability to engage your pet’s senses without overwhelming them. They’re perfect for active dogs who need that extra boost, and the simple preparation means you can whip them up anytime. Plus, the wholesome profile ensures they’re not just tasty but also beneficial for overall well-being.
What Makes These Bars So Great?
These Carrot & Apple Oat Bars stand out as a go-to option for pet owners seeking healthy alternatives to commercial treats. They’re crafted from real, recognizable ingredients that prioritize nutrition over fillers, making them a smart choice for daily snacking. Let me walk you through the key elements that make this recipe so appealing.
From the fiber-rich oats to the vitamin-packed veggies, every component works together to support your dog’s health. Here’s a breakdown of what makes them exceptional:
- Natural Sweetness: The apples add a subtle flavor that dogs love, providing natural sugars for energy without artificial additives.
- Nutrient Density: Carrots contribute essential vitamins, promoting eye health and immunity in a way that’s easy to digest.
- Versatile Use: These bars can be adjusted for different dietary needs, ensuring they’re suitable for most dogs.
Taste Test: What Do They Taste Like?
When it comes to flavor, these bars offer a balanced profile that’s mildly sweet with a hint of earthiness from the carrots. Based on my experiences, dogs often respond to the soft texture and fruity notes, making it a treat they’ll crave. It’s not overpowering, but just right for their palate, blending into a satisfying chew that keeps them engaged.
Benefits of Carrot & Apple Oat Bars for Dogs
- Digestive Health: The oats and fibers help maintain a healthy gut, reducing issues like bloating in active pups.
- Immune Support: Vitamins from apples and carrots bolster the immune system, especially during seasonal changes.
- Weight Management: As a low-fat option, these bars assist in keeping your dog at a healthy weight while still feeling full.
- Dental Benefits: The chewing action can help clean teeth, promoting better oral health over time.
Ingredients You’ll Need
- 2 cups rolled oats: Forms the base, providing essential fiber and a chewy texture.
- 1 cup grated carrots: Adds crunch and a host of vitamins for overall health.
- 1 apple, grated: Brings natural sweetness and antioxidants to the mix.
Necessary Tools for Preparation
- Mixing bowl: Essential for combining ingredients smoothly.
- Grater: Helps achieve the right consistency for carrots and apples.
- Baking sheet: Provides even heating; find a reliable one here.
- Parchment paper: Prevents sticking and makes cleanup easy.
- Knife: For precise cutting once baked.
Possible Ingredient Additions and Substitutions
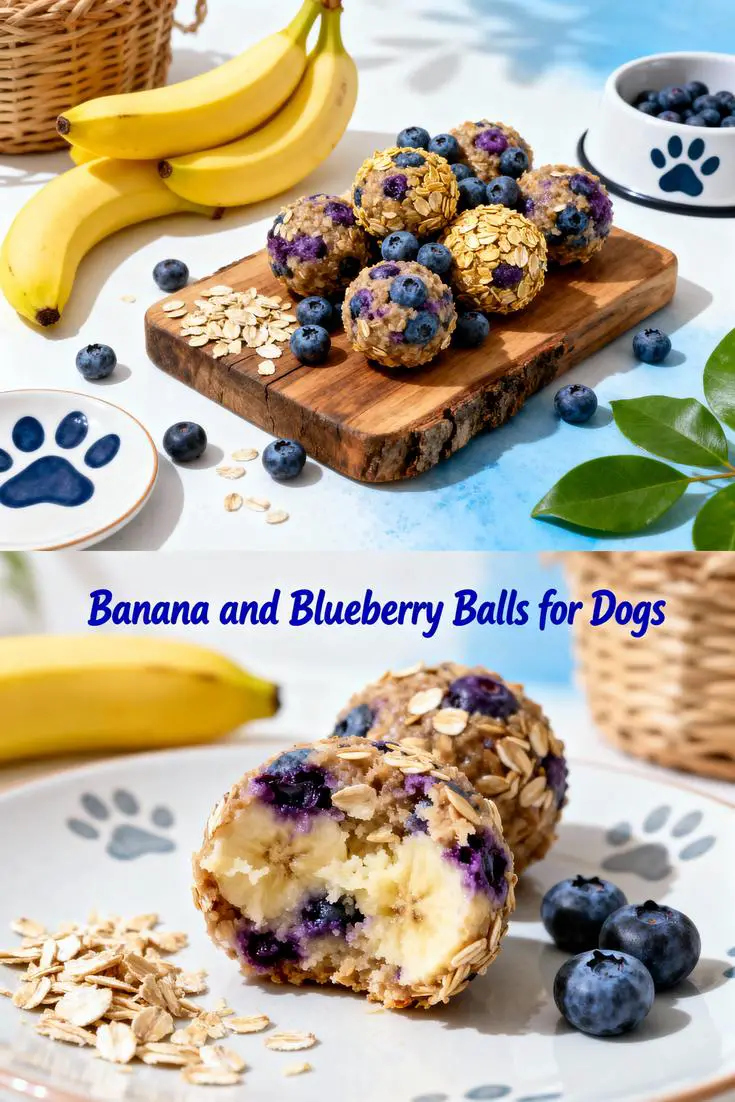
- Banana instead of apple: Offers a creamy texture and additional potassium for energy.
- Pumpkin puree: Can replace carrots for more moisture and fiber.
- Flaxseed: Adds omega-3s for coat health as a substitution for part of the oats.
- Coconut flour: Use in place of some oats for a gluten-free variation.
How to Make Carrot & Apple Oat Bars for Dogs
- Preheat your oven: Set to 350°F and line a baking sheet with parchment paper for easy release.
- Mix dry ingredients: Combine oats, grated carrots, and grated apple in a bowl until evenly distributed.
- Add wet elements: Stir in applesauce, melted coconut oil, and egg to bind everything together.
- Form the mixture: Press into the prepared sheet for uniform bars.
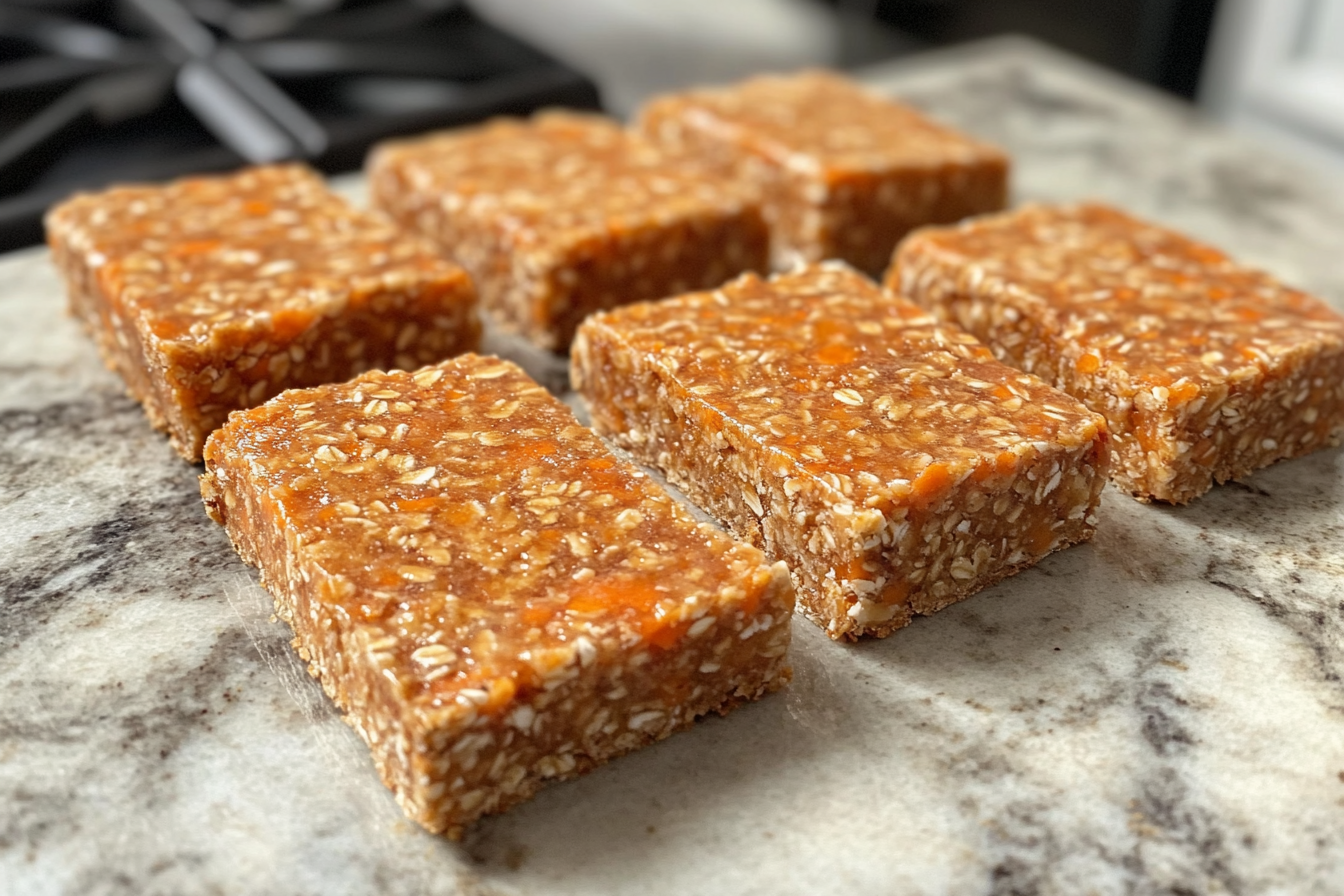
- Bake until golden: Around 25-30 minutes, ensuring they’re firm but not overdone.
- Cool and cut: Let rest before slicing into portions for serving.
What to Serve with These Bars
These bars pair wonderfully with a fresh bowl of water or as part of a balanced meal. For added variety, serve alongside plain yogurt for a probiotic boost, enhancing the nutritional value without overwhelming flavors.
Tips for Making the Best Carrot & Apple Oat Bars
- Use fresh produce: Fresh carrots and apples enhance flavor and nutrient content.
- Monitor baking time: Overbaking can dry them out, so check for the right texture early.
- Adjust for size: Cut smaller pieces for smaller breeds to ensure safe consumption.
Storage Instructions
Store these bars in an airtight container in the refrigerator for up to a week to maintain freshness. For longer preservation, freeze them in portions and thaw as needed, keeping them ready for spontaneous treats.
Frequently Asked Questions (FAQ)
Can puppies eat these bars?
Answer: Yes, but in smaller portions to suit their size and digestive needs, ensuring it’s part of a balanced diet.
Are there any common allergies to watch for?
Answer: Oats are generally safe, but always check for sensitivities to apples or carrots, and consult your vet if needed.
How can I make them more flavorful?
Answer: Experiment with approved spices like a touch of cinnamon, but keep it minimal to avoid upsetting your dog’s stomach.
What if my dog has dietary restrictions?
Answer: Substitute ingredients as outlined, and always verify with a professional for tailored advice.
Conclusion
Wrapping up, Carrot & Apple Oat Bars are a testament to how straightforward recipes can bring joy and health to your pet’s life. Not only are they simple to prepare, but they also foster a deeper connection through homemade care.
Join the Fun!
Share your baking adventures with us; we’d love to hear how your pup enjoys these treats.
Nutritional Information
Per serving: Approximately 120 calories, with 18g carbohydrates, 5g fat, 3g protein, and 4g sugar, making it a balanced option for treats.

Carrot & Apple Oat Bars for Dogs
- Prep Time: 15 minutes
- Cook Time: 30 minutes
- Total Time: 45 minutes
- Yield: 12 bars 1x
- Method: Snack
- Cuisine: Homemade Dog Treats
Description
Healthy homemade oat bars made with carrots and apples, perfect for dogs as a nutritious treat.
Ingredients
- 2 cups rolled oats
- 1 cup grated carrots
- 1 apple, finely chopped
- 1/2 cup unsweetened applesauce
- 1/4 cup coconut oil, melted
- 1 egg
- 1 teaspoon cinnamon
Instructions
- Preheat the oven to 350°F (175°C) and line an 8×8 inch baking pan with parchment paper.
- In a large bowl, mix together the rolled oats, grated carrots, chopped apple, and cinnamon.
- In a separate bowl, whisk together the applesauce, melted coconut oil, and egg.
- Combine the wet ingredients with the dry ingredients and stir until well mixed.
- Press the mixture evenly into the prepared baking pan.
- Bake for 25-30 minutes or until golden brown and firm.
- Allow to cool completely in the pan before cutting into bars.