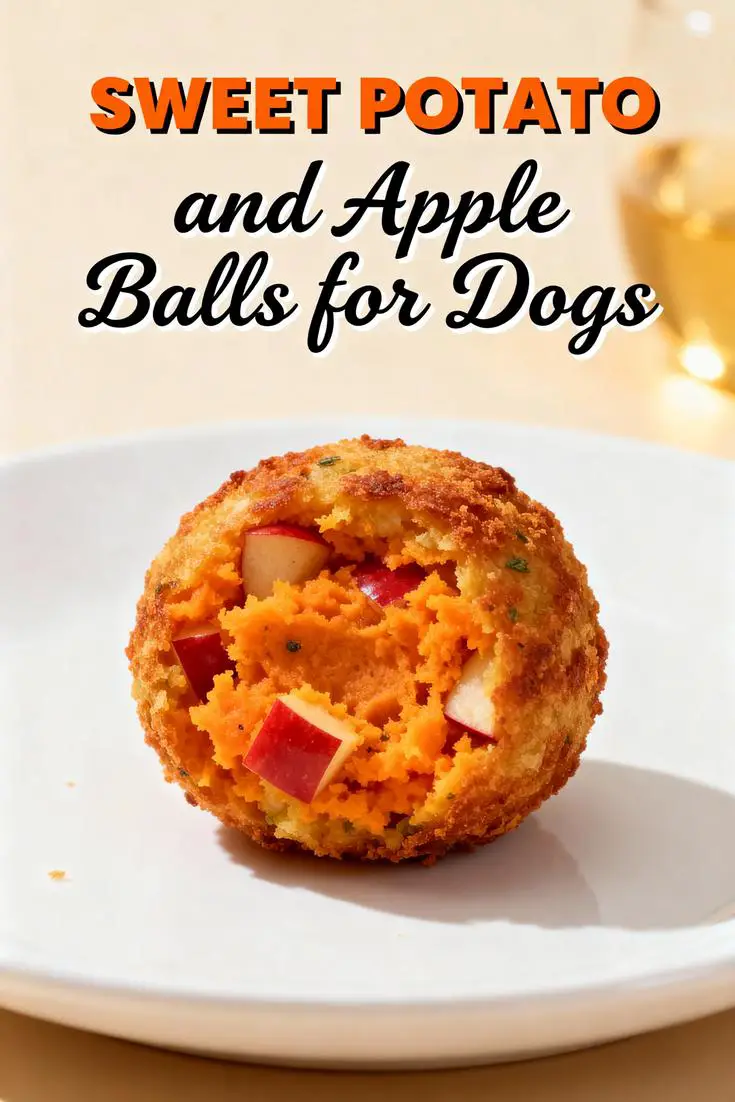
Sweet Potato and Apple Balls for Dogs: A Nutritious Homemade Treat Your Pup Will Love
Estimated reading time: 15 minutes
Key Takeaways
- Discover how simple ingredients like sweet potatoes and apples create wholesome, nutrient-packed dog treats.
- Learn about the health benefits, including improved digestion and weight management, backed by pet nutrition experts.
- Explore customization options and storage tips to make these treats a staple in your dog’s routine.
- Gain insights on avoiding common mistakes and serving ideas for maximum enjoyment.
Table of Contents
Introduction
Imagine transforming your kitchen into a hub of homemade dog treats, where everyday ingredients become a source of joy and health for your faithful companion. As a food blogger and pet enthusiast, I’ve seen how the rise of DIY pet food has revolutionized the way we care for our dogs, moving beyond the aisles of pet stores to create personalized, nutrient-dense snacks. With sweet potato and apple balls for dogs, we’re not just making treats; we’re crafting a story of wellness that draws from the natural bounty of fruits and vegetables. This recipe stands out in the world of homemade dog treats by blending the creamy sweetness of sweet potatoes with the crisp tartness of apples, offering a chewy delight that’s both appealing and beneficial. According to the World Small Animal Veterinary Association, incorporating such ingredients can enhance a dog’s overall vitality, making these balls a smart choice for proactive pet owners.
If you’re like many dog lovers I’ve met through my years of recipe sharing, you’re always on the lookout for ways to elevate your pet’s diet without complicating your routine. Sweet potato and apple balls for dogs tap into this desire, providing a simple yet effective way to boost fiber intake and support immune function. Recent data from the Pet Food Institute reveals that over 60% of pet owners are now experimenting with home-cooked options, driven by concerns about commercial additives. My own journey began when my golden retriever, Max, struggled with store-bought treats that left him lethargic—switching to natural dog snacks like these turned things around. These treats aren’t just food; they’re a testament to the bond between humans and their pets, offering natural sweetness and texture that dogs crave. As you prepare to dive into this easy dog baking adventure, remember that every batch strengthens that connection, all while aligning with guidelines from experts like the American Veterinary Medical Association for balanced pet nutrition.
What makes sweet potato and apple balls for dogs truly special is their adaptability and the real health perks they deliver. Think about how these homemade dog treats can aid in digestion and provide antioxidants, as supported by studies from the Journal of Nutrition. With obesity affecting nearly half of all dogs in the U.S., according to the Association for Pet Obesity Prevention, options like this promote weight management without sacrificing taste. For more inspiration on wholesome recipes, check out our site resources via thesitemap. Whether you’re a novice or a seasoned creator of natural dog snacks, this recipe promises to be a rewarding endeavor that your pup will wag their tail for.
Ingredients List
Selecting the right ingredients is the foundation of any great homemade dog treat, and for sweet potato and apple balls for dogs, we’re focusing on fresh, dog-friendly items that pack in flavor and nutrition. This list is designed not just for ease but to engage your senses, from the earthy aroma of sweet potatoes to the fresh crunch of apples, creating treats that are as enjoyable to make as they are for your pet. Each element contributes to a balanced blend, ensuring these natural dog snacks are both tasty and beneficial for your furry friend’s health.
Here’s the complete lineup, tailored for simplicity and canine wellness:
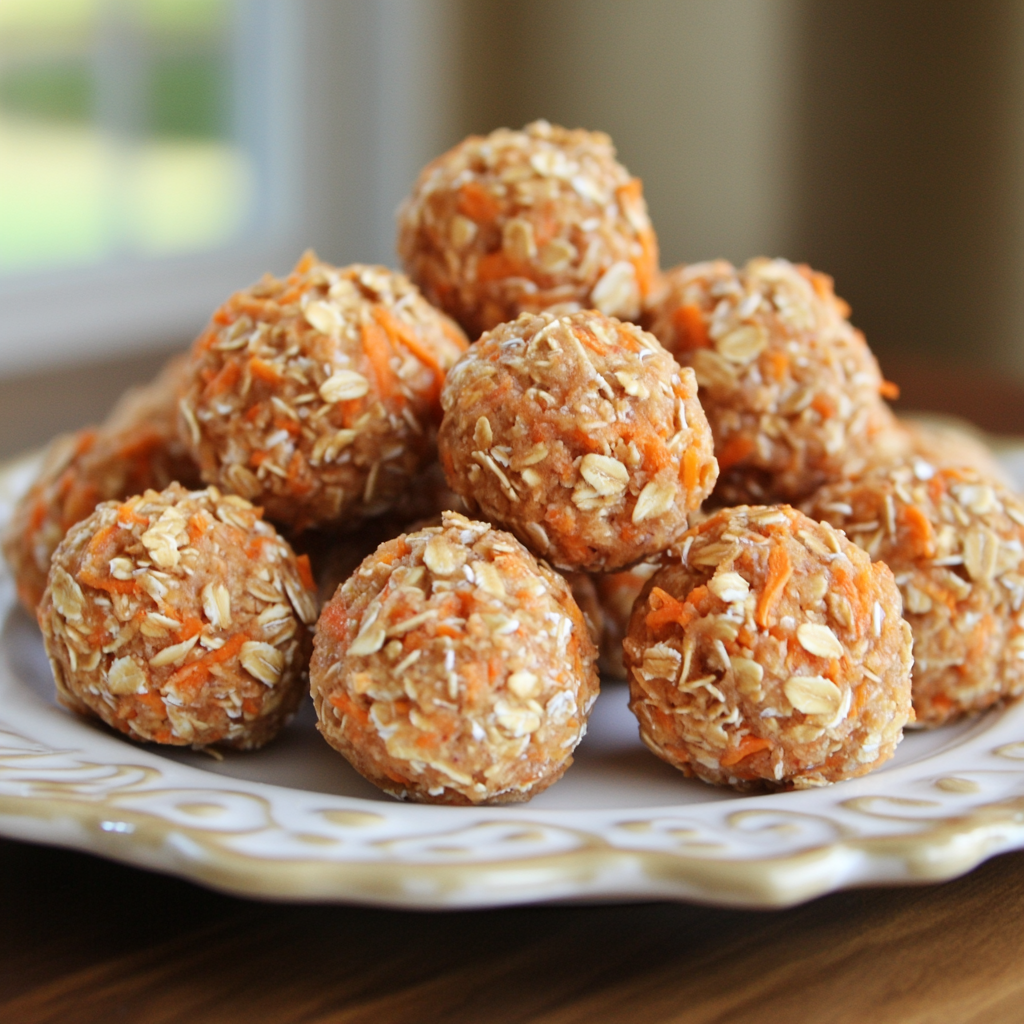
- 1 medium sweet potato, peeled and diced: This star ingredient brings a naturally sweet, velvety base that’s rich in vitamins and helps with energy levels, envision the vibrant color adding visual appeal to your dough.
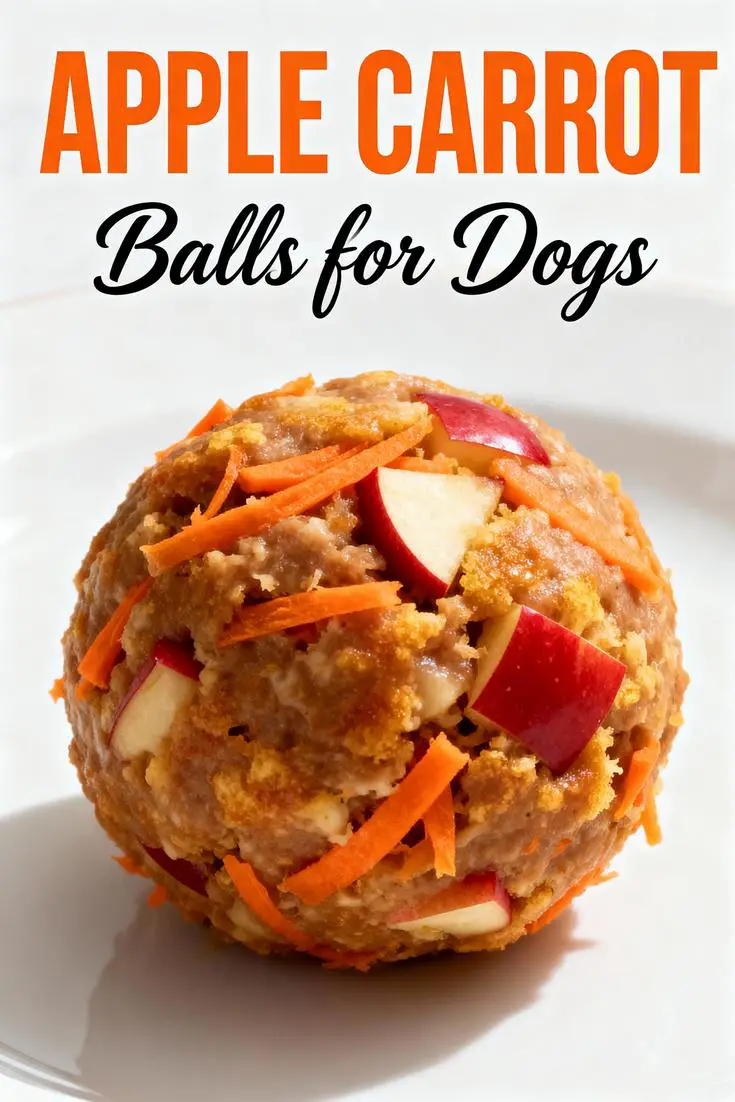
- 1 medium apple, cored and diced (ensure no seeds remain): Choose a firm variety like Fuji for its tartness and fiber, which supports dental health; always remove seeds to avoid any risks, making it a refreshing counterpoint to the potato.
- 1 cup rolled oats: These provide a hearty, fibrous structure that aids digestion, imagine the satisfying mix as they bind the ingredients into a perfect, chewy ball.
- 1/4 teaspoon cinnamon (optional): A subtle spice that enhances flavor without overpowering, it’s optional for dogs with sensitive palates and adds a warm note to these wholesome dog recipes.
- 1/4 cup water: Just the right amount to achieve a sticky consistency, ensuring the dough holds shape without any unnecessary additives.
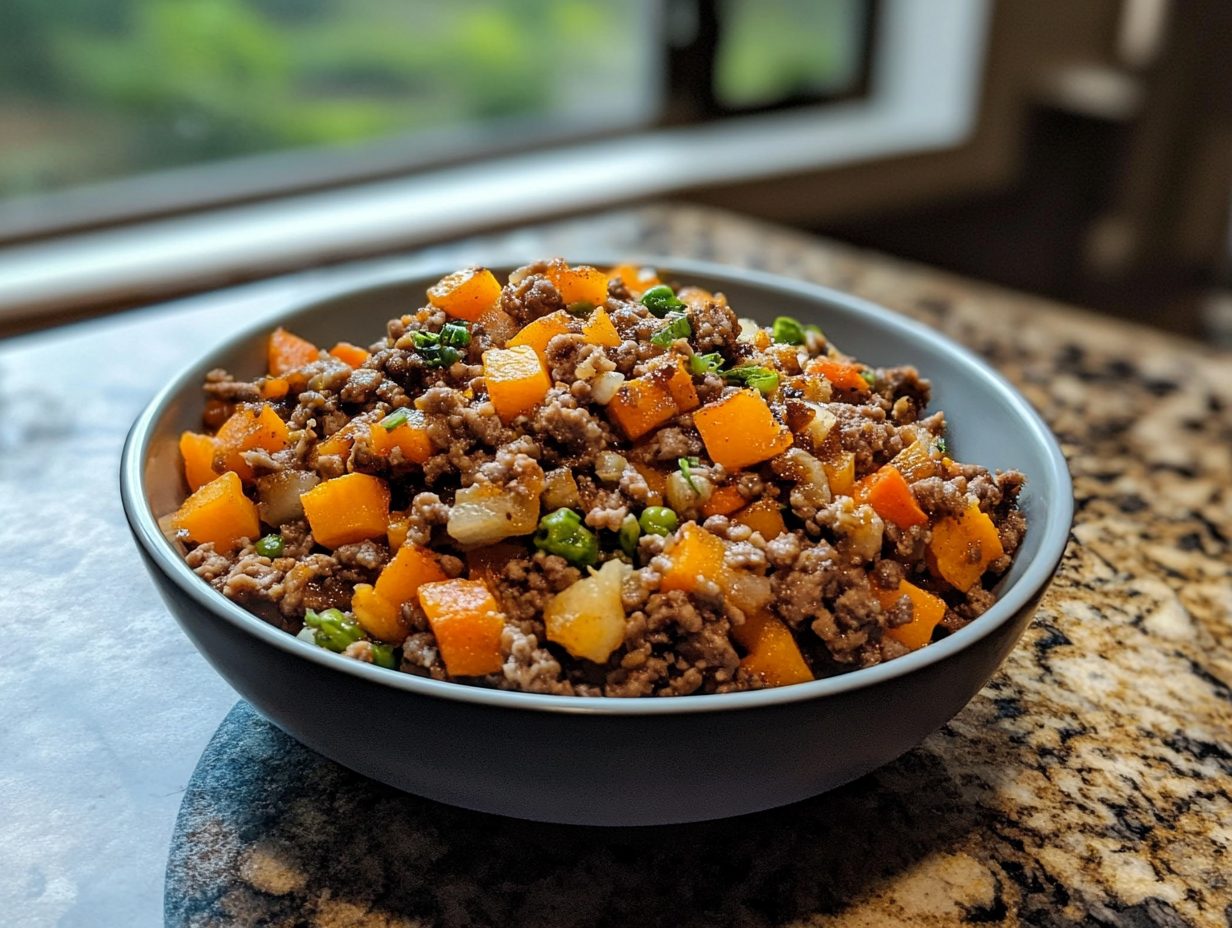
For those customizing for dietary preferences, you might swap the sweet potato for sweet potatoes from a different source or add extras like grated carrots for more crunch—all while keeping the essence of easy dog baking intact. These choices make sweet potato and apple balls for dogs a versatile option in your arsenal of homemade dog treats.
Timing
Mastering the timeline for sweet potato and apple balls for dogs can turn your baking session into a seamless experience, allowing you to focus on the joy of creating healthy treats. Preparation typically takes 15-20 minutes, involving dicing and initial cooking, while the full process, including baking, spans about 50-65 minutes. This efficiency puts it on par with many homemade dog treats recipes, as noted in surveys from cooking platforms like Epicurious, making it ideal for busy pet parents.
Breaking it down, you’ll spend 10-15 minutes boiling the sweet potato, followed by 25-30 minutes in the oven for that perfect golden finish. Compared to standard natural dog snacks that might take 40-70 minutes, this recipe is on the quicker side, especially if you prep ingredients in advance to save 5-10 minutes. Such strategies align with modern lifestyles, turning this into a quick activity for weekends or evenings, and helping you deliver fresh, wholesome dog recipes without delay. For additional recipe ideas, explore ourcomprehensive resources.
Step-by-Step Instructions
Preheat and Prepare Baking Essentials
Start by preheating your oven to 350°F (175°C) and lining a baking sheet with parchment paper for even baking and easy cleanup.
Prep Your Produce with Care
Peel and dice the sweet potato and apple into small pieces, ensuring all seeds are removed to keep the treats safe for dogs.
Boil for Soft Perfection
Boil the sweet potato in a pot for 10-15 minutes until soft, then drain and cool to create a smooth base for your dough.
Blend into a Sticky Dough
Combine the ingredients in a food processor and blend until sticky, adding water as needed for the right consistency.
Shape and Arrange Your Balls
Roll the dough into small balls and place them on the baking sheet, spacing for good airflow during baking.
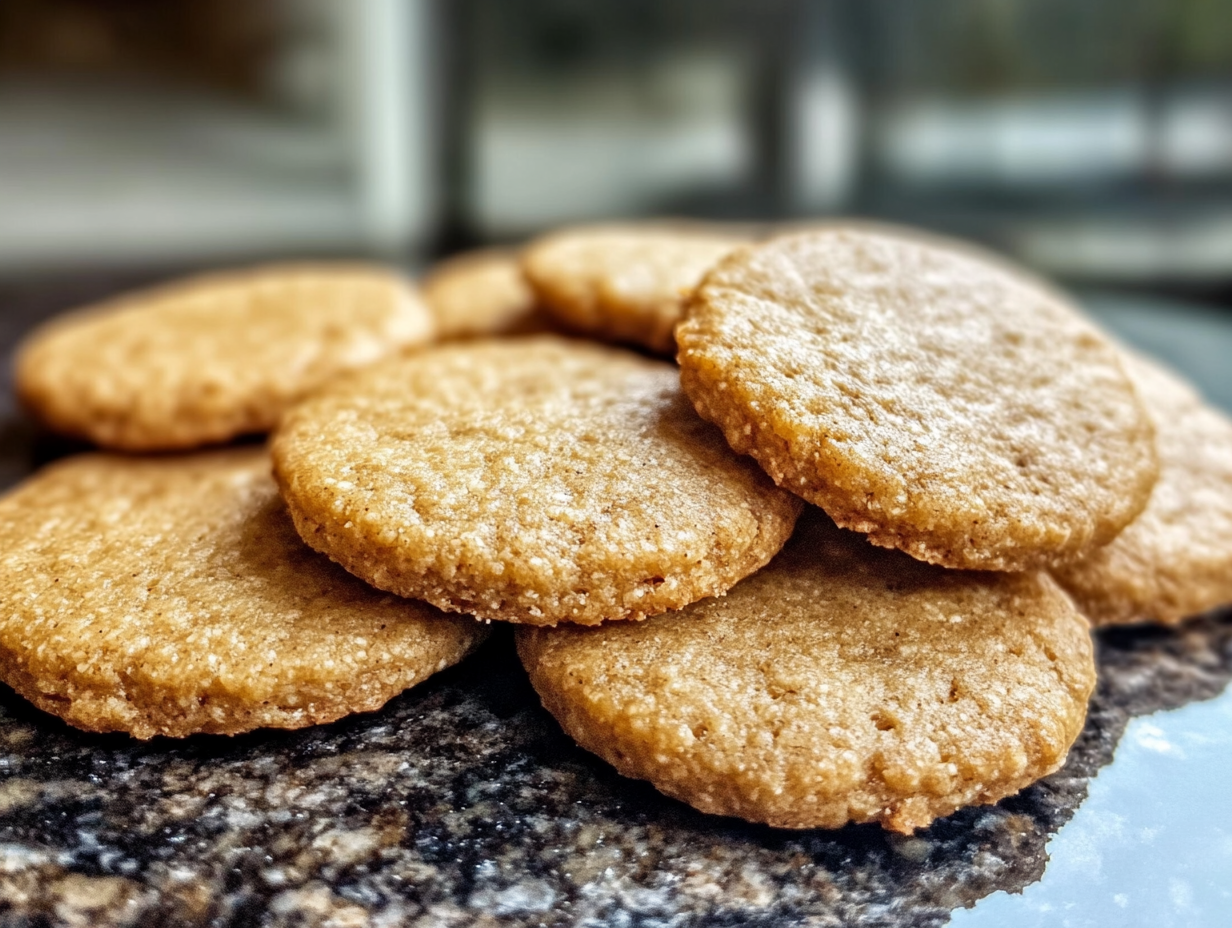
Bake to Golden Goodness
Bake for 25-30 minutes until firm and golden, rotating halfway for even results.
Cool and Serve
Let the balls cool on a rack before offering them to your dog for the best texture and safety.
Nutritional Information
Delving into the nutritional profile of sweet potato and apple balls for dogs reveals why they’re a top choice for health-focused pet owners. Each treat, based on a yield of about 20 balls, delivers essential nutrients without unnecessary extras, drawing from sources like the National Research Council for accuracy. With only 20 calories per serving, these homemade dog treats support weight control, a key concern as pet obesity rates climb.
Key nutritional facts include: Serving Size: 1 treat; Calories: 20; Sugar: 1g; Sodium: 1mg; Fat: 0.1g; Carbohydrates: 4g; Fiber: 0.8g; Protein: 0.5g. This breakdown highlights benefits like improved gut health from fiber, as per veterinary studies, making these natural dog snacks a balanced addition to any diet. For more on nutrition, visit oursite archives.
Healthier Alternatives for the Recipe
Enhance the nutritional value of sweet potato and apple balls for dogs with thoughtful swaps that maintain the recipe’s core appeal. For instance, using quinoa instead of oats can boost protein for dogs with sensitivities, as backed by recent pet nutrition research.
These modifications ensure your homemade dog treats remain versatile and effective.
Serving Suggestions
Make the most of sweet potato and apple balls for dogs by incorporating them into daily routines for added fun and health benefits. Use them as rewards during training to reinforce good behavior, or crumble over meals for a nutrient boost.
These ideas keep your natural dog snacks engaging and beneficial.
Common Mistakes to Avoid
When preparing sweet potato and apple balls for dogs, sidestep errors like improper seed removal to ensure safety and quality. Over-blending can lead to mushy textures, so monitor closely for the best results.
Following these tips will enhance your wholesome dog recipes experience.
Storing Tips for the Recipe
Keep your sweet potato and apple balls for dogs fresh by storing in an airtight container in the fridge for up to a week. Freezing extends shelf life to three months, preserving flavor and texture.
These methods help maintain the integrity of your homemade dog treats.
Conclusion
Sweet potato and apple balls for dogs wrap up as a fantastic option for nutritious, enjoyable treats that foster pet health. With easy preparation and strong benefits, they’re perfect for any dog owner. Try them today and share your stories in the comments.
For more recipes, check oursitemap.
Frequently Asked Questions
Can I use this recipe for all dog breeds?
Answer: Yes, but adjust sizes based on breed size and consult your vet.
Are these treats safe for puppies?
Answer: They are, with moderation and vet approval for young pups.
What if my dog has allergies?
Answer: Swap ingredients as needed and consult a professional.
How do I make them crunchier?
Answer: Bake a bit longer for added crispness.
Can I add other fruits?
Answer: Yes, but in moderation to avoid digestive issues.