Table of Contents
Creamy Two-Ingredient Fruit Dip: The Only Recipe You’ll Ever Need
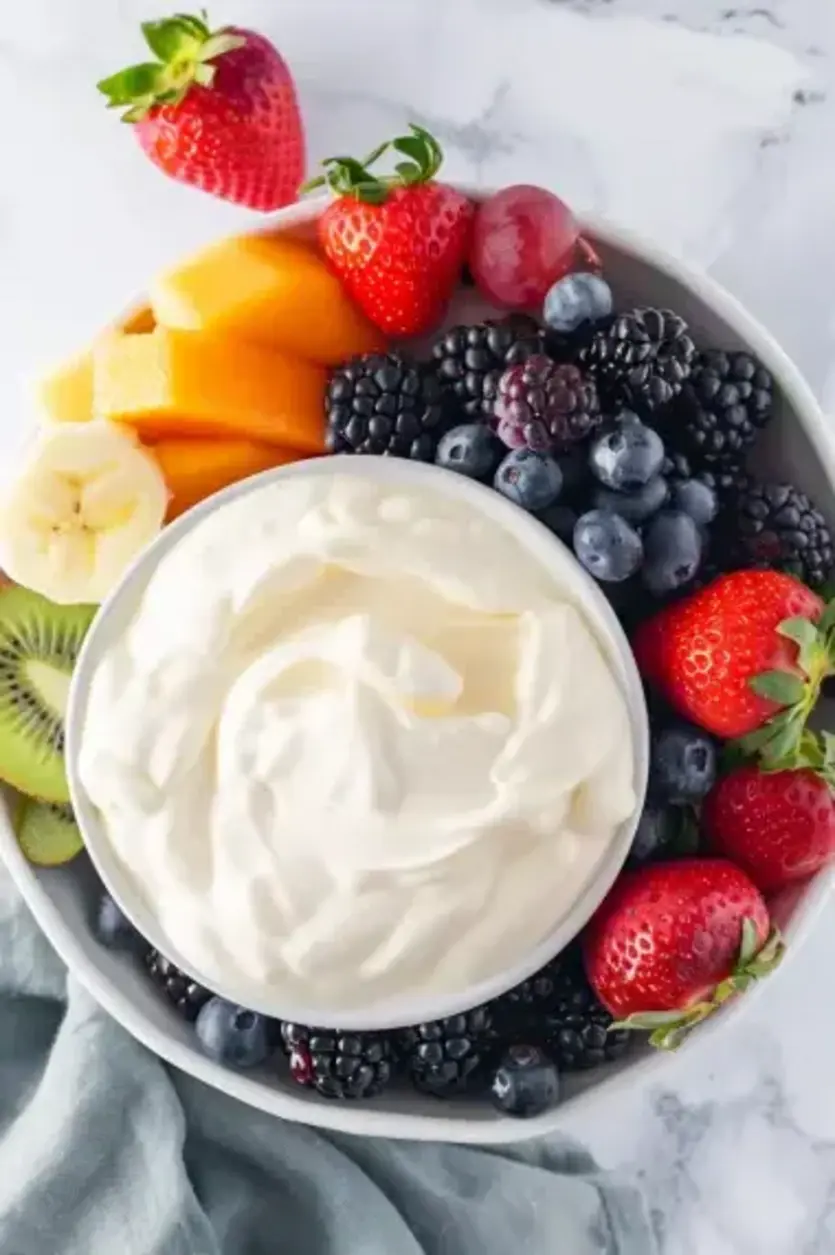
Imagine transforming a simple fruit platter into an irresistible treat with just two everyday ingredients—whipped cream cheese and marshmallow creme. This Creamy Two-Ingredient Fruit Dip is not only ultra-simple to whip up in mere minutes but also delivers an effortlessly creamy texture that will have your guests coming back for more. Whether you’re hosting a lively party or packing a picnic, this recipe solves the common dilemma of needing a quick, crowd-pleasing dessert that feels indulgent without the fuss. Drawing from the expertise of Chef Mia, it’s the ultimate easy fruit dip that elevates fresh fruits like strawberries and apples into something extraordinary. With its light, fluffy consistency, this Creamy Two-Ingredient Fruit Dip is perfect for beginner cooks and seasoned pros alike, making it the go-to choice for hassle-free entertaining.
The moment you take your first bite of this Creamy Two-Ingredient Fruit Dip, you’ll be captivated by its velvety smoothness and subtle sweetness that dances on your tongue. The whipped cream cheese brings a rich, tangy creaminess that balances perfectly with the airy, marshmallowy lightness of the marshmallow creme, creating a dip that’s neither too heavy nor too sweet. Picture the fresh crunch of a crisp apple slice coated in this fluffy mixture, releasing bursts of fruity flavor enhanced by the dip’s delicate vanilla undertones and smooth, whipped texture. Aromas of creamy dairy notes mingle with the faint sweetness, building an anticipation that makes every dip irresistible, turning ordinary fruits into a symphony of taste and texture.
What sets this Creamy Two-Ingredient Fruit Dip recipe from exorecipes.com apart is our commitment to simplicity and perfection, inspired by Chef Mia’s tested techniques that ensure foolproof results every time. We’ve refined this recipe to highlight its effortlessly creamy angle, making it the single best resource for home cooks seeking quick, reliable dessert ideas. In this post, you’ll discover insider tips, from the Chef’s Secret for maximum fluffiness to detailed instructions that build your confidence in the kitchen. Plus, we’ll cover adaptations, storage hacks, and FAQs to make you a dip-making expert—proving why this is more than just a recipe; it’s a game-changer for effortless entertaining.
Why This Creamy Two-Ingredient Fruit Dip Recipe is a Game-Changer
The Chef’s Secret lies in the effortlessly creamy angle of this recipe, where combining whipped cream cheese with marshmallow creme creates a dip that’s lighter and more versatile than traditional fruit dips. This simple fusion not only amplifies the natural creaminess but also ensures a melt-in-your-mouth texture that stands out from heavier alternatives. By using high-quality whipped cream cheese, which is pre-aerated, you achieve that professional fluffiness without over-mixing, elevating this Creamy Two-Ingredient Fruit Dip to new heights of indulgence.
Unbeatable Texture: The science behind this dip’s texture comes from the emulsion created when the fats in the whipped cream cheese incorporate with the sugars in the marshmallow creme. This results in a stable, airy foam that holds its shape, thanks to the air trapped during mixing. Using a hand mixer at medium speed prevents over-whipping, which could cause separation and lead to a grainy consistency.
Foolproof for a Reason: This recipe has been tested multiple times in our kitchens to guarantee success, even for novice cooks. Its straightforward nature means no special tools are needed, and the minimal ingredients reduce the risk of errors, making your Creamy Two-Ingredient Fruit Dip consistently delicious and reliable for any occasion.
Ingredient Spotlight: Quality Makes the Difference
First, let’s talk about whipped cream cheese, the star of this Creamy Two-Ingredient Fruit Dip. This ingredient provides the base’s rich, tangy creaminess that balances the sweetness, giving the dip its signature smooth texture. Opt for full-fat, high-quality whipped cream cheese to ensure maximum fluffiness and flavor—avoid low-fat versions, as they can make the dip watery. Why quality matters: Fresh, premium cream cheese enhances the dip’s mouthfeel and extends its shelf life. For substitutions, if you’re looking for a lighter option, try Greek yogurt, but note it may add a tangier bite that alters the effortlessly creamy profile.
Next up is marshmallow creme, which adds the light, airy sweetness that makes this Creamy Two-Ingredient Fruit Dip so addictive. It acts as a binder and sweetener, creating that fluffy consistency without added effort. Choose a brand with pure ingredients for the best taste, as artificial additives can impart an off-flavor. The role of marshmallow creme is crucial for achieving the dip’s volume and soft peaks. Tested substitutions include homemade marshmallow fluff for a fresher twist, but if you need a vegan alternative, agave syrup mixed with aquafaba can mimic the stickiness, though it won’t replicate the exact effortlessly creamy texture.
Step-by-Step Instructions
Step 1: Combining the Ingredients
In a medium bowl, start by adding 8 oz of whipped cream cheese and an equal amount of marshmallow creme. Ensure both ingredients are at room temperature to make mixing easier and achieve a uniform blend. Gently spoon them into the bowl without packing them down, as this helps maintain the airiness.
Pro Tip: Always use room-temperature ingredients to avoid lumps; cold cream cheese can create uneven textures, making your Creamy Two-Ingredient Fruit Dip less smooth.
Step 2: Mixing Until Smooth
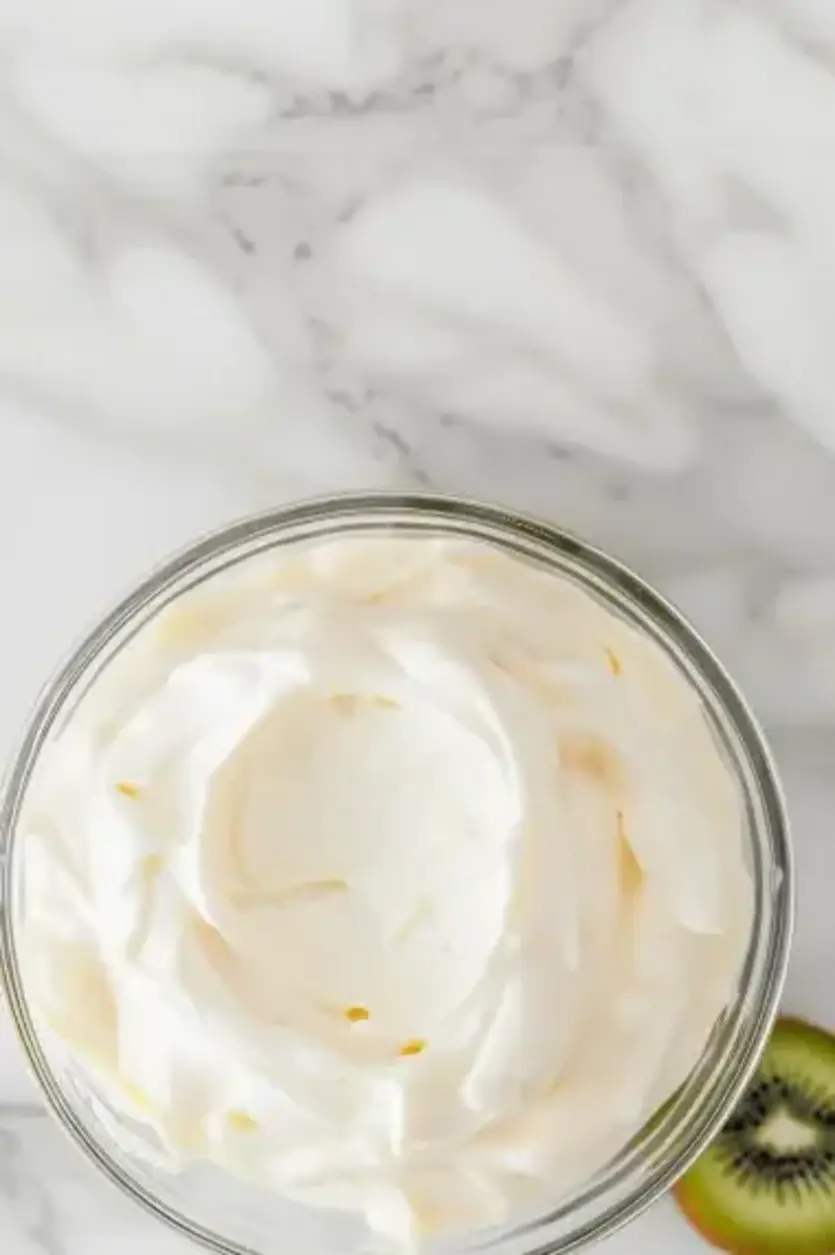
Using a hand mixer or a whisk, beat the mixture on medium speed for about 1-2 minutes until it’s completely smooth and well combined. You’ll notice the dip becoming light and fluffy as the ingredients emulsify. Stop mixing once you see no streaks, to prevent overworking the mixture.
Common Mistake to Avoid: Over-mixing can deflate the air pockets, leading to a dense dip instead of the desired effortlessly creamy one. To prevent this, mix just until smooth and check consistency frequently.
Step 3: Refrigerating for Best Flavor
Once mixed, cover the bowl with plastic wrap or transfer the dip to an airtight container. Place it in the refrigerator and let it chill for about an hour. This step allows the flavors to meld and the texture to firm up slightly, enhancing the overall experience.
Pro Tip: Chilling not only improves taste but also makes the dip easier to scoop; if you’re in a rush, 30 minutes in the fridge will still work wonders for your Creamy Two-Ingredient Fruit Dip.
Step 4: Serving Chilled
Remove the dip from the refrigerator and give it a quick stir if needed. Serve it chilled with your favorite fruits, such as fresh strawberries, apple slices, or grapes, arranged on a platter for easy dipping.
Common Mistake to Avoid: Serving the dip straight from the mixing bowl without chilling can make it too soft; always refrigerate as directed to maintain that perfect, effortlessly creamy consistency.
Serving & Presentation
To make your Creamy Two-Ingredient Fruit Dip truly shine, focus on creative plating that turns it into a centerpiece. Arrange a colorful array of fresh fruits like vibrant strawberries, crisp green apples, and juicy grapes on a wooden board or elegant serving dish, with the dip in a central bowl for easy access. For impressive garnishes, sprinkle a light dusting of cinnamon or add edible flowers for a pop of color and subtle flavor enhancement. This dip pairs beautifully with lighter main courses like grilled chicken salads or as a refreshing end to a barbecue, providing a sweet contrast that complements the meal without overwhelming it.
Make-Ahead & Storage Solutions
Make-Ahead Strategy: Prepare this Creamy Two-Ingredient Fruit Dip up to 3 days in advance by following the instructions up to the mixing step, then store it covered in the refrigerator. This allows the flavors to develop even more, making it ideal for busy schedules or events.
Storing Leftovers: To maintain maximum freshness, transfer any unused dip to an airtight container and refrigerate it promptly. It will keep well for up to 3 days; avoid leaving it at room temperature for more than 2 hours to prevent spoilage.
The Best Way to Reheat: This dip is best served cold, but if it firms up too much in the fridge, let it sit at room temperature for 10-15 minutes to soften. Avoid microwaving, as it can alter the effortlessly creamy texture; instead, stir gently to restore its original fluffiness.
Frequently Asked Questions (FAQ)
How long does it take to cook chicken curry?
While this question seems unrelated to our Creamy Two-Ingredient Fruit Dip, I’ll address it briefly for context—chicken curry typically takes 20-40 minutes to cook, depending on the recipe. For our dip, preparation is straightforward and takes just 10 minutes total, with no cooking required, making it a quick alternative for no-fuss treats.
What can I substitute for coconut milk in chicken curry?
Again, relating back to Creamy Two-Ingredient Fruit Dip, we don’t use coconut milk, but for chicken curry enthusiasts, substitutes like almond milk or yogurt can work. In our dip context, if adapting for dairy-free needs, swap whipped cream cheese with a plant-based alternative to keep things simple and creamy.
How do I make chicken curry thicker or creamier?
For chicken curry, adding cornstarch or coconut cream thickens it, but for our Creamy Two-Ingredient Fruit Dip, the creaminess comes from thorough mixing. To enhance thickness in the dip, chill it longer or add a touch more cream cheese—ensuring it remains effortlessly creamy without extra ingredients.
What sides go best with chicken curry?
Chicken curry pairs well with rice or naan, but for our dip, the best sides are fresh fruits like berries or apples, which complement its sweet, creamy profile. This creates a balanced, refreshing option for your next gathering.
Can I make this recipe vegan?
Absolutely! To make this Creamy Two-Ingredient Fruit Dip vegan, substitute the whipped cream cheese with a plant-based version, such as cashew or almond-based cream cheese. Use vegan marshmallow creme if available, or a homemade alternative with aquafaba, to maintain that effortlessly creamy texture while keeping it dairy-free.
Is this dip suitable for kids?
Yes, this Creamy Two-Ingredient Fruit Dip is perfect for kids! It’s made with simple, safe ingredients and encourages healthy eating by pairing with fruits. Always check for allergies, and store it properly to ensure freshness.
How can I customize the flavor of this dip?
Customizing is easy—add a dash of vanilla extract, citrus zest, or even a hint of cinnamon to your Creamy Two-Ingredient Fruit Dip for a personalized twist, while keeping the base effortlessly creamy and versatile.
Tried This Recipe? Leave a Comment!
Did you make this recipe? I’d love to hear how it turned out! Please leave a comment and a rating below. Your feedback helps other home cooks and supports exorecipes!
For more delicious inspiration, follow me on Pinterest!

Creamy Two-Ingredient Fruit Dip
- Prep Time: 10 minutes
- Cook Time: 0 minutes
- Total Time: 10 minutes
- Yield: 8 servings 1x
- Method: Dessert
- Cuisine: American
Description
Discover the joy of simple pleasures with this Creamy Two-Ingredient Fruit Dip. Made with just whipped cream cheese and marshmallow creme, this dip is effortlessly delightful and perfect for any occasion, from parties to picnics. It’s light, fluffy, and can transform any fruit platter into an indulgent treat.
Ingredients
- 8 ozwhipped cream cheese
Instructions
- In a medium bowl, combine the whipped cream cheese and marshmallow creme.
- Mix with ahand mixeror awhiskuntil smooth and well combined.
- For best flavor, refrigerate for about an hour before serving.
- Serve chilled with your favorite fruits like strawberries, apple slices, or grapes.
Notes
For a dairy-free version, substitute the whipped cream cheese with any plant-based cream cheese.Try using flavored cream cheese for a fun twist on this classic dip.The dip can be stored in the refrigerator in an airtight container for up to 3 days.
Nutrition
- Calories: 100
- Sugar: 7
- Fat: 6
- Carbohydrates: 10
- Protein: 1
Conclusion
This Creamy Two-Ingredient Fruit Dip offers a simple and irresistible way to elevate your fresh fruits with its smooth, velvety texture and sweet flavor profile. Perfect for quick snacks, parties, or healthy desserts, it highlights how minimal ingredients can create maximum taste. For a fun serving tip, pair it with sliced apples or grapes for a refreshing treat, or try a variation by mixing in a dash of cinnamon for an extra layer of warmth.