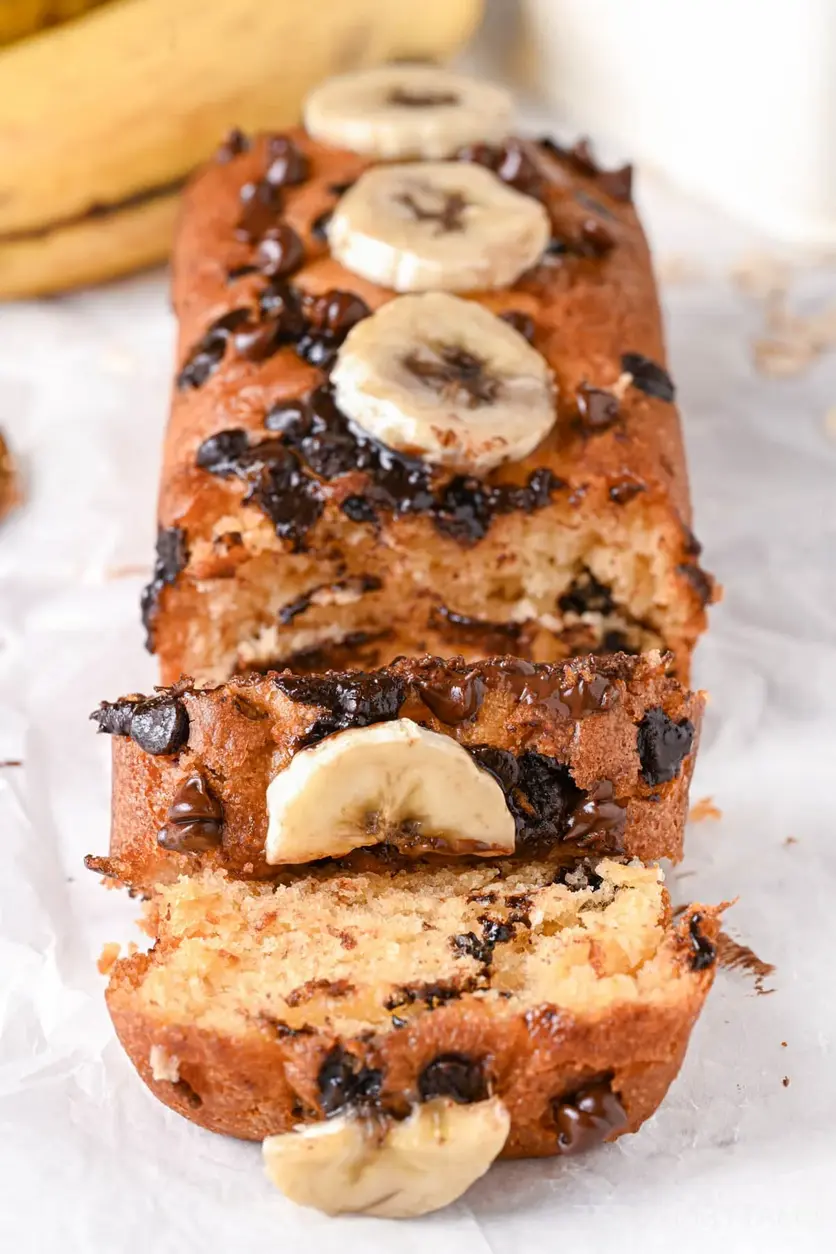
This Greek Yogurt Banana Bread is moist and naturally sweet, full of delicious banana flavors. Made with Greek yogurt and no oil, this loaf is healthy, high protein and low in calories. Perfect for breakfast, as a satisfying snack or dessert.
Print
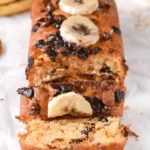
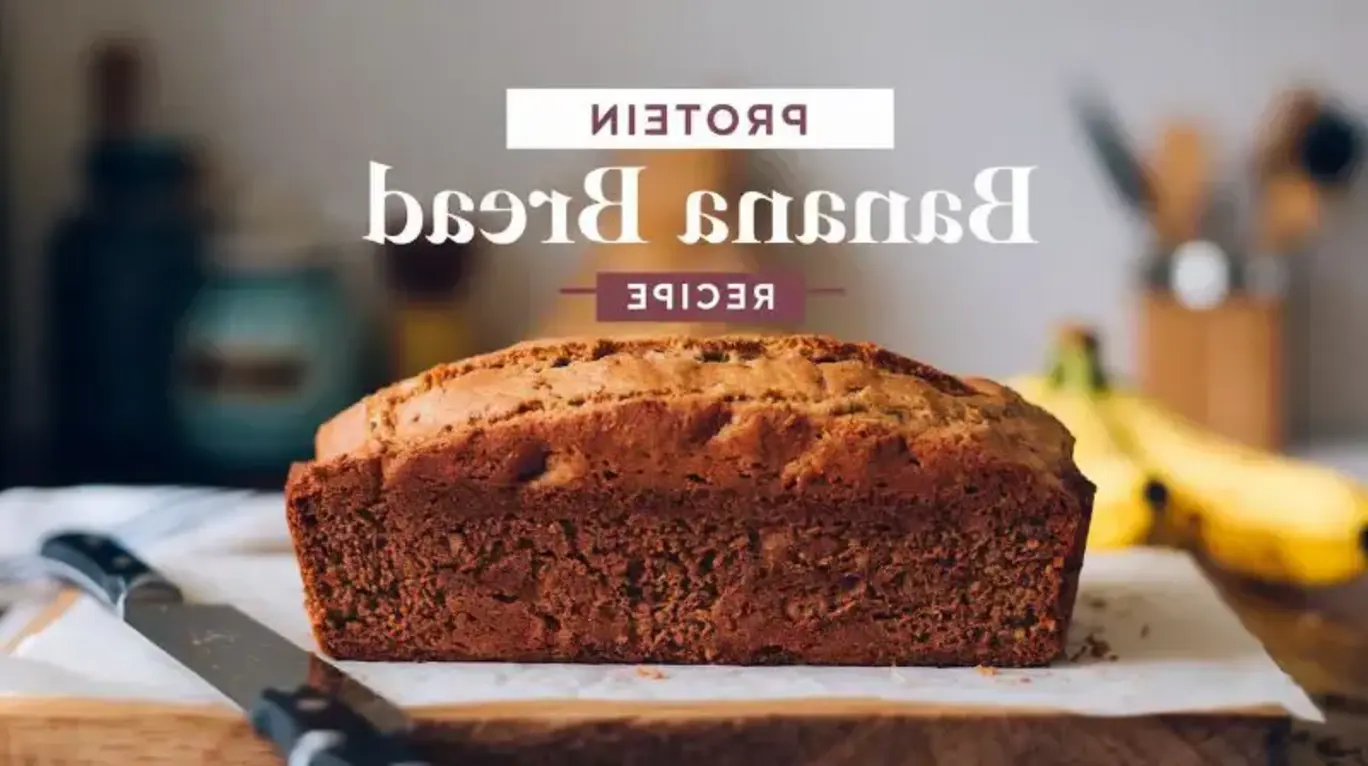
Greek Yogurt Banana Bread
Description
This Greek Yogurt Banana Bread is moist and naturally sweet, full of delicious banana flavors. Made with Greek yogurt and no oil, this loaf is healthy, high protein and low in calories. Perfect for breakfast, as a satisfying snack or dessert.
Ingredients
- 2 ripe bananas, about 7 oz/200 g in total
- cup (180 g) Greek yogurt, minimum 2% fat
- 1 large egg
- cup (80 ml) maple syrup, or honey
- 1 tsp vanilla extract
- 1 tsp ground cinnamon
- tsp salt
- 1 ½ cup (150 g) oat flour, or preferred flour
- ½ cup (50 g) almond flour, or more oat flour
- 2 tsp baking powder
- ¼ cup (40 g) chocolate chips, optional
Instructions
- Heat oven to 350°F (180°C) and fold a 20 cm (7.9 inches) loaf pan with parchment paper or grease with oil.
- In a large bowl, mash the bananas then combine with Greek yogurt, egg, maple syrup, ground cinnamon, vanilla extract and a pinch of salt. Stir well until you get a smooth mixture.
- Add into the wet mixture oat flour, almond flour (or more oat flour) and baking powder. Stir the ingredients together, adding chocolate chips if desired.You may need to adjust with little extra flour if the batter is too liquid, or with a splash of milk if it is too dry. This depends on the size of the bananas used.
- Transfer your Greek yogurt banana bread batter to the prepared pan, then bake in hot oven for about 30-35 minutes. The loaf is ready when a toothpick inserted into its center comes out clean.
Notes
Notes Nutritional values: Nutrition facts provided in this recipe include chocolate chips. Keep in mind that they are approximations calculated by third-party apps, and precise values may vary depending on the specific ingredients used (such as size of bananas or type of yogurt).
Nutrition
- Calories: 142.6kcal
- Sugar: 8.3g
- Protein: 6.8g