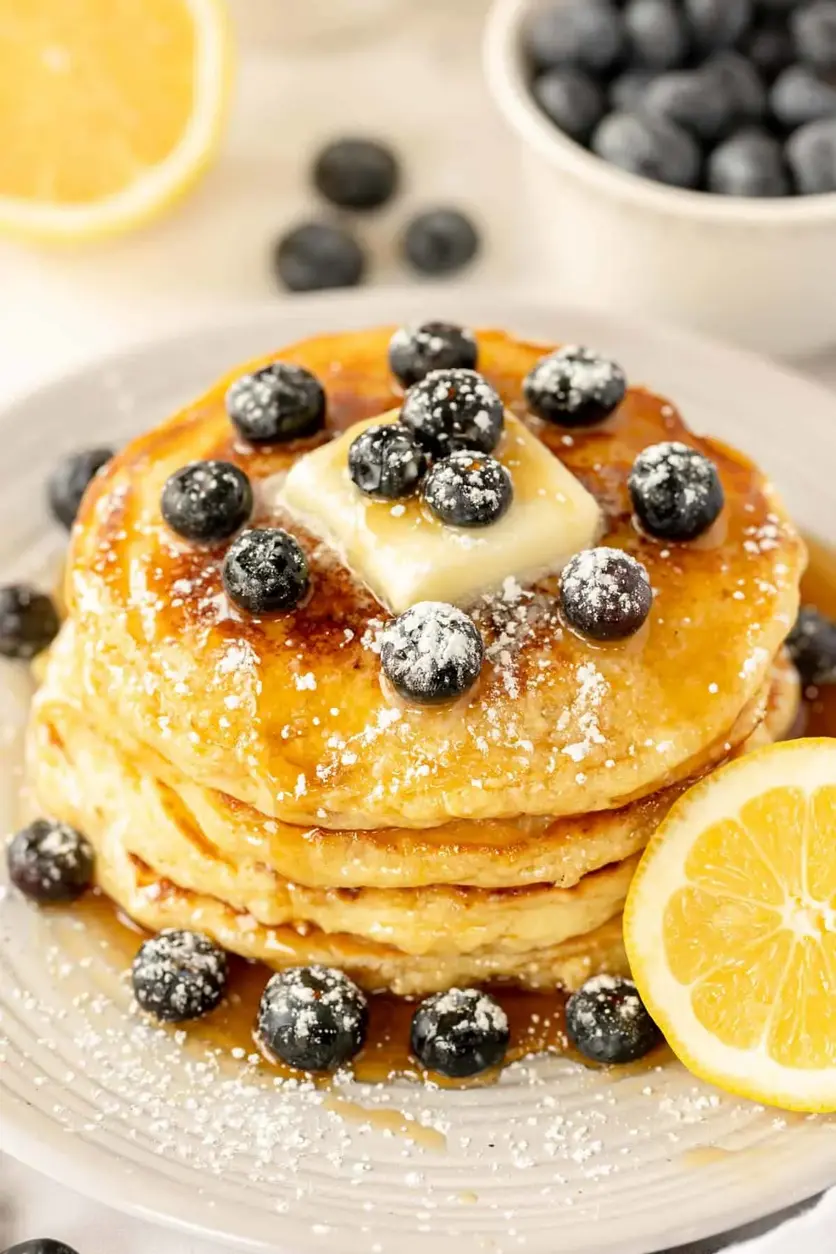
Lemon Ricotta Pancakes (SUPER easy to make!)
Description
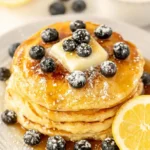
Lemon Ricotta Pancakes are the quintessential “elevated” pancake recipe. Tart-but-sweet, with fresh lemon juice and zest and ricotta. Yum!
Ingredients
- 1 ½ cups all-purpose flour
- 1 tablespoon baking powder
- 3 tablespoons white sugar
- ½ teaspoon salt
- 1 cup milk
- 1/2 cup ricotta cheese
- 2 large eggs
- 1 teaspoon vanilla extract
- 2 tablespoons fresh lemon juice
- 1 tablespoon fresh lemon zest
- 2 tablespoons butter for cooking
Instructions
- Grab two bowls, one large, one medium.
- In the large bowl, whisk together dry ingredients: 1 ½ cups all-purpose flour, 1 tablespoon baking powder, 3 tablespoons white sugar, and ½ teaspoon saltuntil well combined.
- In the medium bowl, add the 1 cup milk and 1/2 cup ricotta cheese and whisk until well blended. Then add the 2 large eggs, beating between each. Then add the 1 teaspoon vanilla extract, 2 tablespoons fresh lemon juice and 1 tablespoon fresh lemon zest.
- Make a well in the dry ingredients and add the blended wet ingredients – just fold it in gently, until JUST combined. Don’t over mix – you’ll have tough pancakes. We want fluffy pancakes!
- Melt or brush 2 tablespoons butteronto a large griddle and heat to medium.
- Add pancake batter, a cup at a time (or smaller if you want smaller pancakes).
- When you get bubbles, flip the pancakes over and cook on the other side. Should be a minute or two per side, and golden brown.
- Serve with extra ricotta, lemon zest, powdered sugar and blueberries.
- Devour.
Notes
Notes What kind of ricotta? – I use a lower fat ricotta, but not not fat free. All versions will work, but I’ve found the fat free just doesn’t taste good. You can make your own ricotta too, if you wish! Don’t over-mix batter – use separate bowls for wet and dry ingredients (so you don’t over-mix resulting in tough pancakes). What do lemon ricotta pancakes taste like? – Tart but sweet! They have a definite tang due to the lemon juice and zest. They’re fluffier than regular buttermilk pancakes. What goes with lemon ricotta pancakes? Whatever you fancy! I dust mine with powdered sugar, some extra ricotta, a little zest… and a few blueberries. Sometimes maple syrup. You can do raspberries too, they work really well with these pancakes. Whipped cream is also a good choice!
Nutrition
- Calories: 328kcal
- Sugar: 13g
- Protein: 13g