Looking for a quick and tasty meal? These garlic balsamic steak bites are a high-protein delight that come together in under 20 minutes! Perfect for busy nights or meal prep, they’re packed with flavor and can be served in multiple ways. Dive into this savory goodness and enjoy a restaurant-quality dish right at home! 🍽️
Print

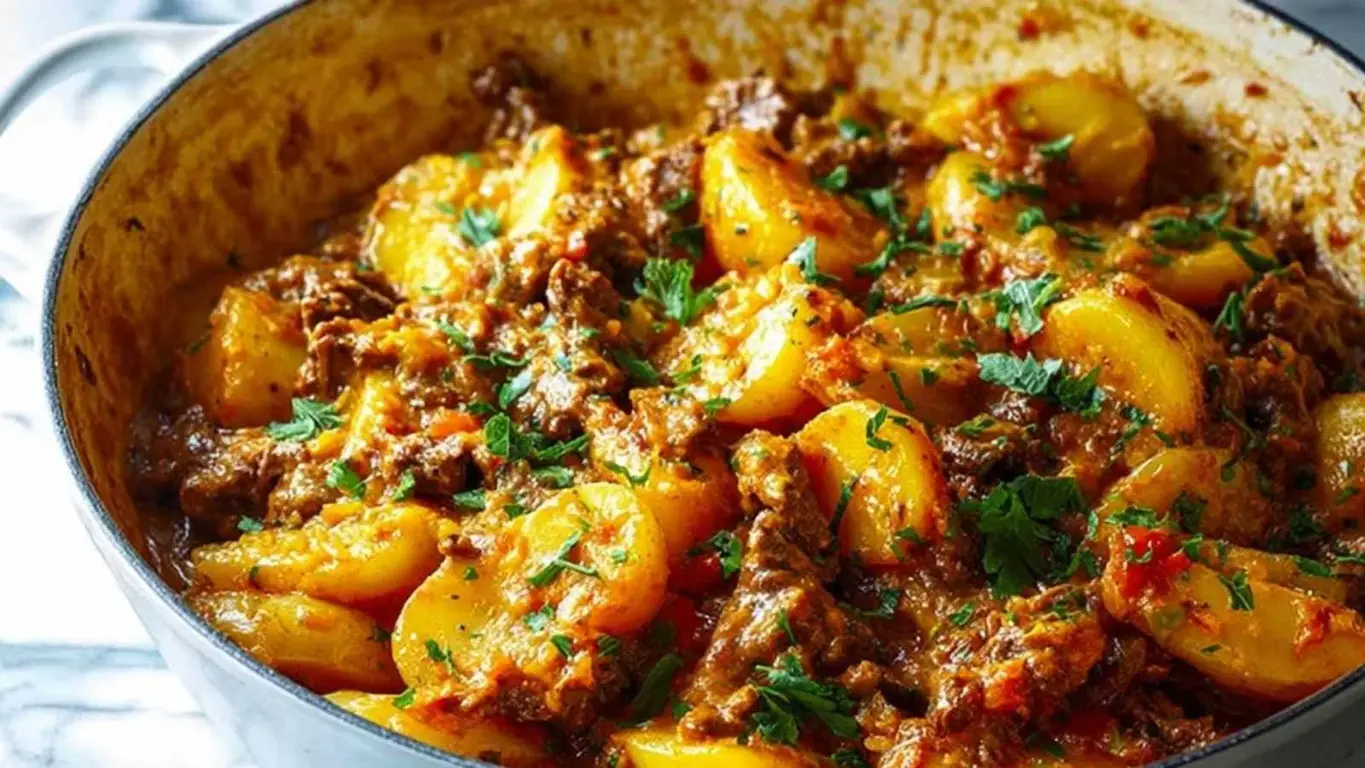
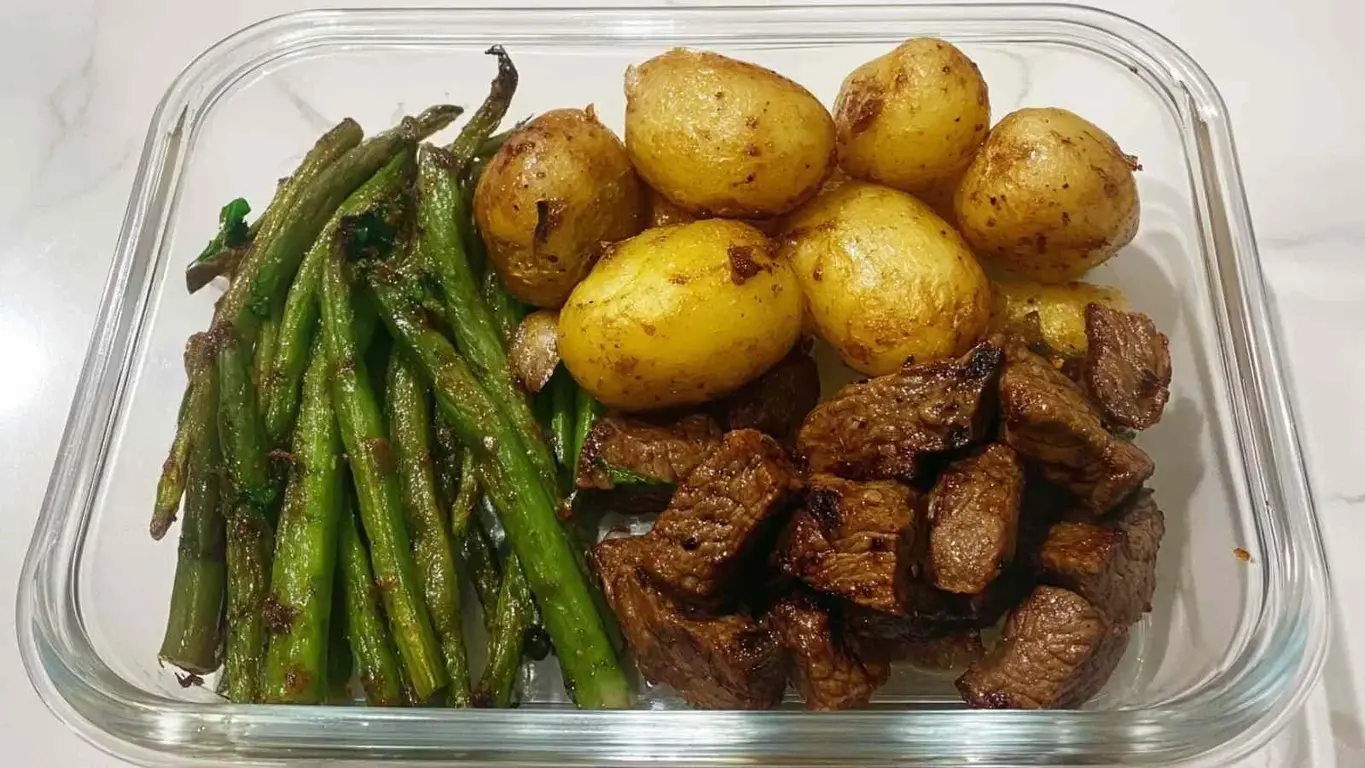
Garlic Balsamic Steak Bites
Description
Juicy sirloin steak cubes seared to perfection and tossed in a rich, savory-sweet garlic balsamic glaze. A high-protein weeknight dinner ready in under 20 minutes.
Ingredients
- 1.5 lbs sirloin steak cut into 1-inch cubes
- 2 tbsp olive oil
- 4 garlic cloves minced
- 0.25 cup balsamic vinegar aged balsamic preferred for richer glaze
- 2 tbsp honey or maple syrup
- 2 tbsp unsalted butter
- 1 tbsp fresh rosemary chopped; or 1 tsp dried
- salt and freshly ground black pepper to taste
- red pepper flakes optional, for heat
Instructions
- Pat the steak cubes completely dry with paper towels and season generously on all sides with salt and freshly ground black pepper.
- Heat the olive oil in a large skillet or cast-iron pan over medium-high heat for 1 to 2 minutes, until the oil shimmers. The pan must be fully hot before adding the steak.
- Working in two batches to avoid overcrowding, sear the steak cubes for 1 to 2 minutes per side without moving them until deeply browned. Remove from pan and set aside, then repeat with the second batch.
- Reduce heat to medium. Add minced garlic and rosemary to the same pan and cook for about 30 seconds, stirring constantly, until fragrant. Do not let the garlic burn.
- Pour in the balsamic vinegar and honey or maple syrup, scraping up the browned bits from the bottom of the pan. Let the sauce bubble and reduce for 1 to 2 minutes, stirring occasionally, until slightly thickened and coating the back of a spoon.
- Remove the pan from heat completely. Stir in the butter until fully melted and the sauce is glossy.
- Return the seared steak bites to the pan and toss to coat evenly in the glaze. Serve immediately, garnished with fresh rosemary if desired.
Notes
Do not overcrowd the pan when searing work in two batches for the best crust. Pat steak completely dry before seasoning. Remove pan from heat before adding butter to keep the sauce silky. Store leftovers in an airtight container in the refrigerator for up to 3 days. Reheat gently in a skillet with a splash of broth. Freezing is not recommended.