Air Fryer Blooming Onion: A Crispy, Healthier Twist on a Classic
There’s something undeniably fun about a blooming onion—the crispy petals, the savory seasoning, the way it’s meant to be shared (though no judgment if you keep it all to yourself). But let’s be honest: deep-frying at home can feel messy, intimidating, and let’s not forget, a little heavy on the guilt. That’s where the air fryer swoops in like a kitchen superhero. This Air Fryer Blooming Onion gives you all the crunch and flavor of the original, with a fraction of the oil and effort.
I first tried making this for a game night with friends, and let’s just say the platter was empty before the first quarter ended. The best part? Unlike the traditional version, there’s no vat of oil to deal with afterward—just a quick wipe of the air fryer basket. Whether you’re hosting a party, craving a snacky dinner (we’ve all been there), or just want to impress your family with your culinary flair, this recipe is a winner. Plus, it’s a sneaky way to make veggies the star of the show!
Why You’ll Love This Air Fryer Blooming Onion
If you’re still on the fence about whether to try this recipe, here are a few reasons it’s about to become your new favorite:
- Healthier but just as crispy: Air frying uses up to 80% less oil than deep-frying.
- Quick and easy: No thermometer, no splatter, no fuss.
- Versatile: Pair it with ranch, spicy mayo, or even a homemade BBQ sauce.
- Crowd-pleaser: Perfect for parties, game days, or treat yourself moments.
How to Make an Air Fryer Blooming Onion
Don’t let the fancy look fool you—this recipe is simpler than it seems. Here’s how to nail it:
Ingredients You’ll Need
- 1 large sweet onion (like Vidalia)
- 1/2 cup all-purpose flour
- 1 tsp paprika
- 1 tsp garlic powder
- 1/2 tsp cayenne pepper (adjust to taste)
- 1/2 cup buttermilk (or milk + 1 tsp vinegar)
- Cooking spray or olive oil
- Salt to taste
Step-by-Step Instructions
- Prep the onion: Cut off the top (not the root end!), peel it, then make vertical cuts to create petals. Gently spread them open.
- Dredge: Dip the onion in buttermilk, then coat evenly with the flour-spice mixture.
- Air fry: Spray the onion with oil, place it in the air fryer basket, and cook at 375°F for 12–15 minutes until golden.
- Serve: Sprinkle with salt and dig in while it’s hot!
Tips for the Perfect Blooming Onion
- Use a sharp knife and a steady hand for even petals.
- If the flour isn’t sticking, dip the onion in buttermilk again before coating.
- For extra crispiness, spritz the petals lightly with oil before air frying.
- Pair it with other air fryer favorites like crispy chicken wings for a full spread.
Frequently Asked Questions
Can I use a different type of onion?
Sweet onions like Vidalia work best for their mild flavor, but yellow onions will do in a pinch.
How do I store leftovers?
Store in an airtight container in the fridge for up to 2 days. Reheat in the air fryer for 3–4 minutes to revive the crispiness.
Can I make this gluten-free?
Absolutely! Swap the flour for a gluten-free blend or almond flour.
Why is my blooming onion falling apart?
Make sure not to cut through the root end—it’s what holds the onion together. For more tips, check out this guide on cutting onions.
What dipping sauces work best?
Classic ranch, spicy sriracha mayo, or even a tangy avocado crema are delicious.
Can I make this in the oven?
Yes! Bake at 400°F on a wire rack for 20–25 minutes, flipping halfway.
There you have it—a blooming onion that’s as fun to make as it is to eat. Whether you’re serving it up for a party or just because you deserve something crispy and delicious, this air fryer version is sure to impress. And hey, if you accidentally eat the whole thing yourself? We won’t tell. For more easy air fryer recipes, check out our air fryer hacks to make weeknights a breeze!

Air Fryer Blooming Onion
Description
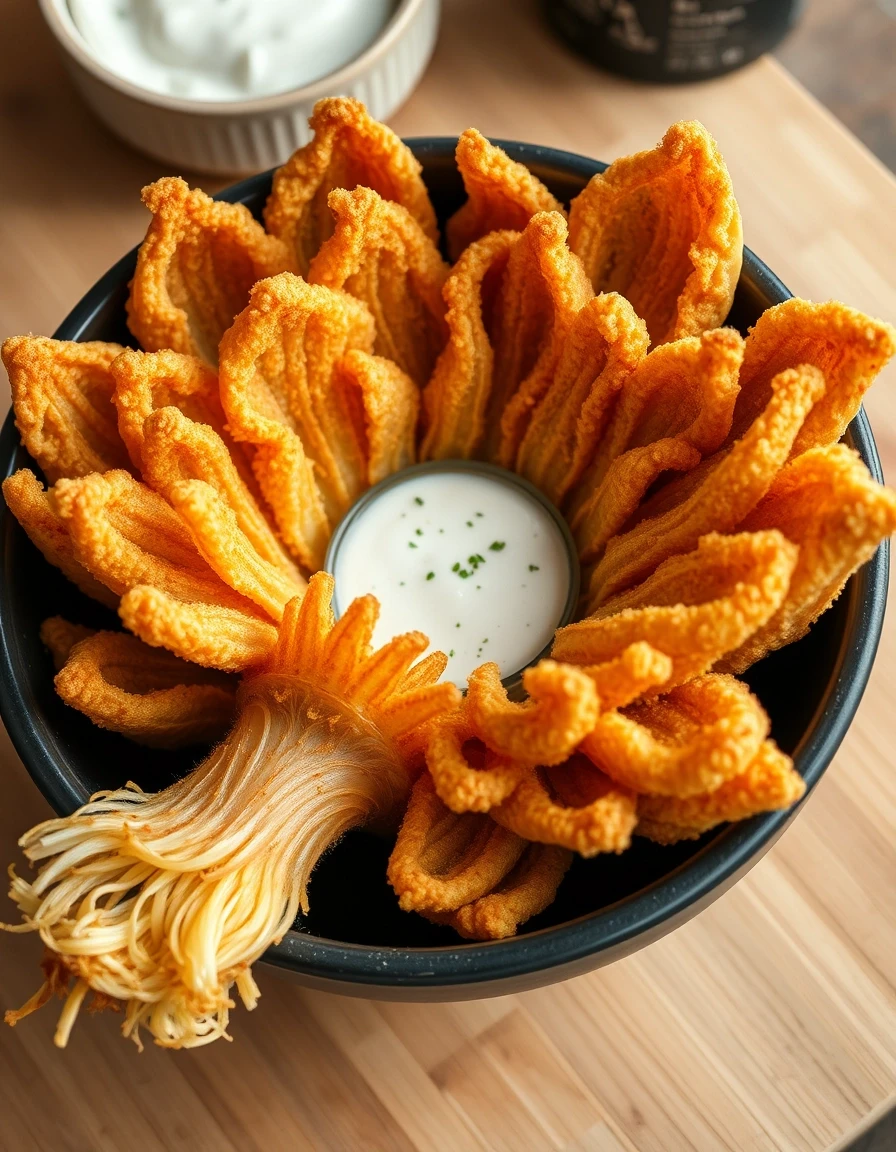
A crispy, golden blooming onion made healthier in the air fryer with a flavorful seasoned coating and a delicious dipping sauce. Perfect as an appetizer or party snack!
Ingredients
For the Crust:
- For the Blooming Onion:
- 1 large sweet onion (such as Vidalia)
- 1 cup buttermilk
- 1 cup all-purpose flour
- 1 teaspoon paprika
- 1 teaspoon garlic powder
- 1 teaspoon onion powder
- 1/2 teaspoon cayenne pepper (optional)
- 1/2 teaspoon salt
- 1/4 teaspoon black pepper
- For the Dipping Sauce:
- 1/2 cup mayonnaise
- 2 tablespoons ketchup
- 1 tablespoon horseradish
- 1/2 teaspoon paprika
- 1/4 teaspoon garlic powder
- 1/4 teaspoon salt
Instructions
1. Prepare the Crust:
- 1. Prepare the onion: Peel the onion and cut about 1/2 inch off the top. Leave the root end intact.
- 2. Turn the onion upside down (root side up). Make 4 vertical cuts downward, dividing the onion into quarters, but stop about 1/2 inch from the root to keep it intact.
- 3. Make 3-4 more cuts between each quarter to create 16-20 ‘petals.’ Gently separate the layers.
- 4. Soak the onion in buttermilk for at least 30 minutes (or up to 2 hours) to tenderize and help the coating stick.
- 5. Preheat the air fryer to 375°F (190°C).
- 6. In a bowl, mix flour, paprika, garlic powder, onion powder, cayenne, salt, and black pepper.
- 7. Remove the onion from buttermilk, letting excess drip off. Dredge in the flour mixture, ensuring all layers are coated. Shake off excess.
- 8. Spray the air fryer basket with oil. Place the onion root-side down in the basket. Lightly spray the onion with oil.
- 9. Air fry for 12-15 minutes until golden and crispy. Check halfway and respray if needed.
- 10. Make the dipping sauce: Mix mayonnaise, ketchup, horseradish, paprika, garlic powder, and salt in a small bowl.
- 11. Serve the blooming onion hot with the dipping sauce.
Notes
For extra crispiness, double-dip the onion in buttermilk and flour mixture. If petals stick together during cooking, gently separate them with tongs. Adjust cayenne for desired spiciness.

This blooming onion turned out great in the air fryer—crispy on the outside and tender inside without being greasy. The seasoning was just right, though I added a pinch of extra paprika for a bit more kick. My kids loved pulling apart the petals, and it was way easier to make than I expected.
★★★★★