Vintage Icebox Fruitcake
There’s something undeniably nostalgic about a vintage icebox fruitcake. Unlike the dense, overly sweet versions that often get a bad rap, this recipe is light, moist, and bursting with the flavors of dried fruit, nuts, and just the right amount of spice. Whether you’re a longtime fruitcake enthusiast or a skeptic looking for a fresh take, this old-fashioned dessert is sure to win you over. Perfect for holiday gatherings, afternoon tea, or even as a thoughtful homemade gift, this icebox fruitcake is a timeless treasure worth rediscovering.
Why You’ll Love This Recipe
If you’re on the fence about fruitcake, let me share why this vintage icebox version stands out from the rest.
- No baking required: Unlike traditional fruitcakes that require hours in the oven, this version sets in the refrigerator—making it a fuss-free dessert that’s perfect for warm weather or last-minute entertaining.
- Perfectly balanced flavors: The combination of dried fruits, toasted nuts, and warm spices creates a harmonious blend that’s rich but not overwhelming.
- Make-ahead friendly: This cake actually improves with time, allowing the flavors to meld beautifully when stored in the fridge for a few days.
- Versatile and customizable: Swap out fruits and nuts based on your preferences or what you have on hand—it’s a forgiving recipe that welcomes creativity.
- Great for gifting: Wrapped in parchment or placed in a decorative tin, this fruitcake makes a heartfelt homemade present for friends and family.
Ingredients Breakdown
Understanding the ingredients in this vintage icebox fruitcake will help you appreciate how each one contributes to its delicious texture and flavor.
- Graham crackers: These form the base of the cake, providing a subtle sweetness and a crumbly yet firm texture when mixed with butter.
- Butter: Adds richness and helps bind the crust together while enhancing the overall mouthfeel.
- Dried fruits (raisins, dates, candied cherries, apricots): These bring natural sweetness, chewiness, and vibrant color. Feel free to mix and match based on what you love.
- Nuts (walnuts or pecans): Toasted nuts add crunch and depth, balancing the sweetness of the fruit.
- Sweetened condensed milk: Acts as the glue that holds everything together while adding a creamy, caramel-like sweetness.
- Spices (cinnamon, nutmeg, allspice): Warm, aromatic spices elevate the flavor profile, making each bite cozy and comforting.
- Vanilla extract: A splash of vanilla enhances the overall sweetness and ties all the flavors together.
How to Make Vintage Icebox Fruitcake
Follow these step-by-step instructions to create a perfectly textured and flavorful icebox fruitcake.
- Prepare the crust: Crush graham crackers into fine crumbs using a food processor or rolling pin. Mix with melted butter until the mixture resembles wet sand. Press firmly into the bottom of a lined loaf pan to form an even base.
- Toast the nuts: Spread chopped walnuts or pecans on a baking sheet and toast in a 350°F oven for 5-7 minutes until fragrant. Let cool before using.
- Chop the fruit: Dice dried fruits into small, uniform pieces to ensure even distribution throughout the cake.
- Combine filling ingredients: In a large bowl, mix the chopped fruit, toasted nuts, sweetened condensed milk, spices, and vanilla extract until everything is well coated.
- Assemble the cake: Spoon the fruit and nut mixture over the graham cracker crust, pressing down gently to eliminate air pockets.
- Chill to set: Cover the pan with plastic wrap and refrigerate for at least 4 hours, preferably overnight, to allow the cake to firm up.
- Slice and serve: Once set, lift the cake out of the pan using the parchment overhang. Slice into thin pieces with a sharp knife for clean edges.
Pro Tips for the Best Results
Take your vintage icebox fruitcake to the next level with these expert tips.
- Use high-quality dried fruit: Opt for plump, moist dried fruits rather than overly dry or hard varieties for the best texture.
- Toast nuts for depth: Toasting nuts enhances their flavor and adds a pleasant crunch to each bite.
- Let it rest: Allowing the cake to chill overnight ensures the flavors meld beautifully and the texture firms up perfectly.
- Line the pan properly: Use parchment paper with overhanging edges for easy removal and clean slices.
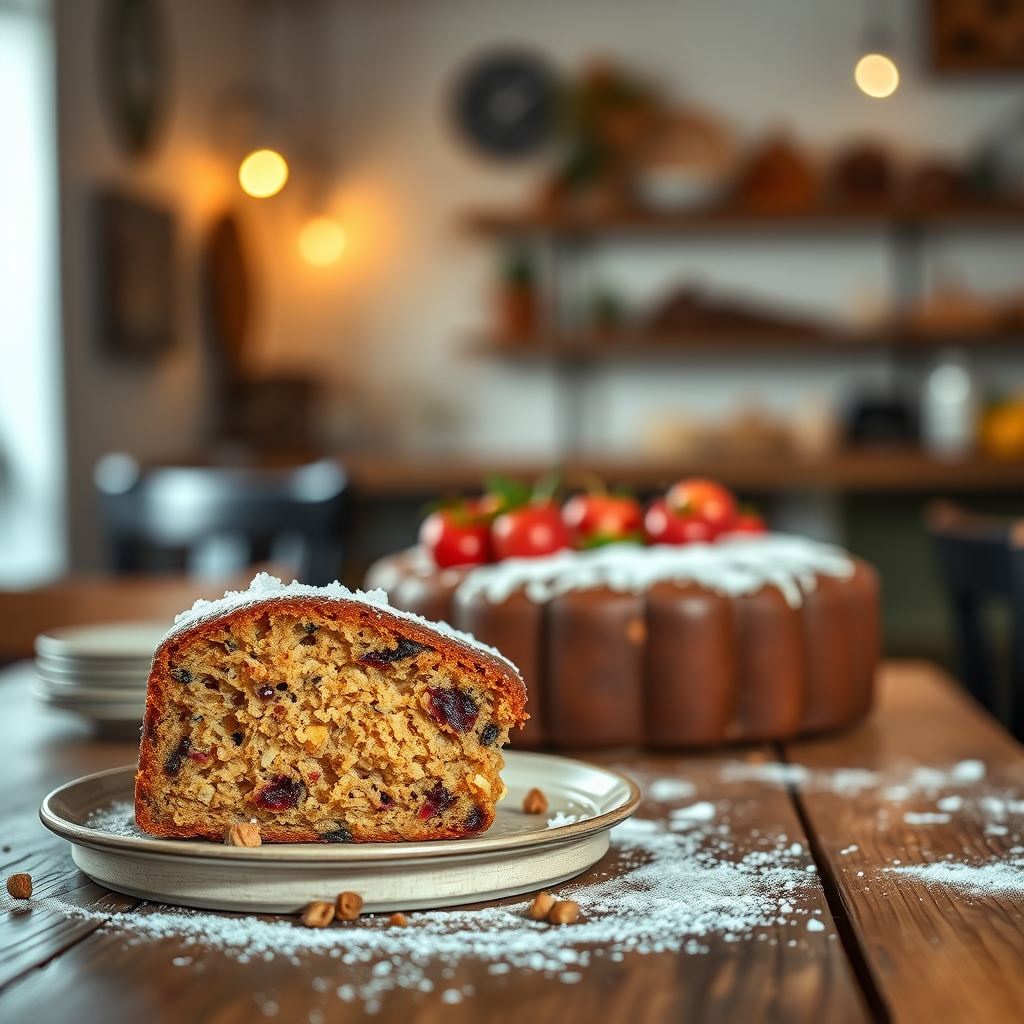
- Dust with powdered sugar: For a festive touch, lightly dust the top with powdered sugar before serving.
Variations and Substitutions
This recipe is wonderfully adaptable—here are some ways to make it your own.
- Gluten-free option: Swap graham crackers for gluten-free cookie crumbs or almond flour mixed with a bit of sugar.
- Nut-free version: Omit nuts and add seeds like sunflower or pumpkin for crunch.
- Different dried fruits: Try figs, cranberries, or pineapple for a unique twist.
- Spiced rum soak: For an adult version, drizzle the assembled cake with a tablespoon of spiced rum before chilling.
- Chocolate drizzle: Melt dark chocolate and drizzle over the top for a decadent finish.
What to Serve With It
This vintage icebox fruitcake pairs beautifully with a variety of accompaniments.
- Tea or coffee: A hot cup of Earl Grey or spiced chai complements the cake’s flavors.
- Whipped cream or mascarpone: A dollop of lightly sweetened cream adds a luxurious touch.
- Fresh berries: Serve with seasonal berries for a refreshing contrast.
- Cheese plate: Pair with sharp cheddar or creamy brie for a delightful sweet-savory combination.
How to Store and Reheat
Proper storage ensures your icebox fruitcake stays fresh and delicious.
- Refrigeration: Keep the cake tightly wrapped in plastic or stored in an airtight container for up to 2 weeks.
- Freezing: Slice and wrap individual portions in parchment, then place in a freezer-safe bag for up to 3 months. Thaw in the fridge before serving.
- No reheating needed: This cake is best enjoyed cold or at room temperature.
Frequently Asked Questions (FAQs)
Here are answers to some common questions about vintage icebox fruitcake.
- Can I use fresh fruit instead of dried? Fresh fruit contains too much moisture and will make the cake soggy. Stick to dried varieties for the best texture.
- How long does it take to set? At least 4 hours, but overnight chilling yields the best results.
- Can I make this vegan? Yes, use vegan butter and substitute sweetened condensed milk with coconut condensed milk.
- Why is it called icebox fruitcake? Because it sets in the refrigerator (or old-fashioned icebox) instead of being baked.
- Can I double the recipe? Absolutely! Use a 9×13-inch pan for a larger batch.
Final Thoughts
There’s a reason this vintage icebox fruitcake has stood the test of time. It’s simple yet sophisticated, nostalgic yet adaptable, and most importantly, utterly delicious. Whether you’re making it for a holiday gathering, a cozy afternoon treat, or as a heartfelt gift, this cake is sure to bring joy to anyone who tries it. So go ahead—dust off that old family recipe box and give this classic dessert the revival it deserves. Happy baking—or should I say, happy chilling!
Print
Vintage Icebox Fruitcake
Description
A no-bake, old-fashioned fruitcake that chills in the refrigerator (or ‘icebox’) for a rich, dense texture. Packed with candied fruits, nuts, and a hint of bourbon for a classic holiday treat.
Ingredients
For the Crust:
- For the Fruit Mixture:
- 1 cup candied cherries (red and green), chopped
- 1 cup candied pineapple, chopped
- 1 cup golden raisins
- 1 cup chopped dates
- 1 cup chopped pecans
- 1 cup chopped walnuts
- For the Batter:
- 1 cup graham cracker crumbs
- 1/2 cup sweetened condensed milk
- 1/4 cup bourbon or orange juice (for non-alcoholic)
- 1 tsp vanilla extract
- 1/2 tsp ground cinnamon
- 1/4 tsp ground nutmeg
- For Garnish:
- Extra candied cherries and pecans (optional)
Instructions
1. Prepare the Crust:
- 1. In a large bowl, combine all fruit mixture ingredients (cherries, pineapple, raisins, dates, pecans, walnuts). Toss to distribute evenly.
- 2. In a separate bowl, mix graham cracker crumbs, sweetened condensed milk, bourbon (or juice), vanilla, cinnamon, and nutmeg until a thick paste forms.
- 3. Pour the batter over the fruit mixture. Use a wooden spoon or hands to mix until fully coated (mixture will be very sticky).
- 4. Line a 9×5-inch loaf pan with wax paper, leaving overhang on the sides. Press the mixture firmly into the pan.
- 5. Decorate the top with additional cherries and pecans if desired. Cover with plastic wrap.
- 6. Refrigerate for at least 24 hours (up to 1 week) to set. Slice thinly with a sharp knife when serving.
Notes
For longer storage, wrap tightly and freeze for up to 3 months. The bourbon flavor mellows over time. Substitute any dried fruits or nuts as preferred.
