Peanut Butter Cheesecake Bites: Easy, No-Bake Dessert Recipe

cheesecake peanut butter balls, no-bake cheesecake bites, chocolate peanut butter bites, easy cheesecake dessert, mini peanut butter cheesecakes

Peanut Butter Cheesecake Bites: A Rich and Creamy Treat

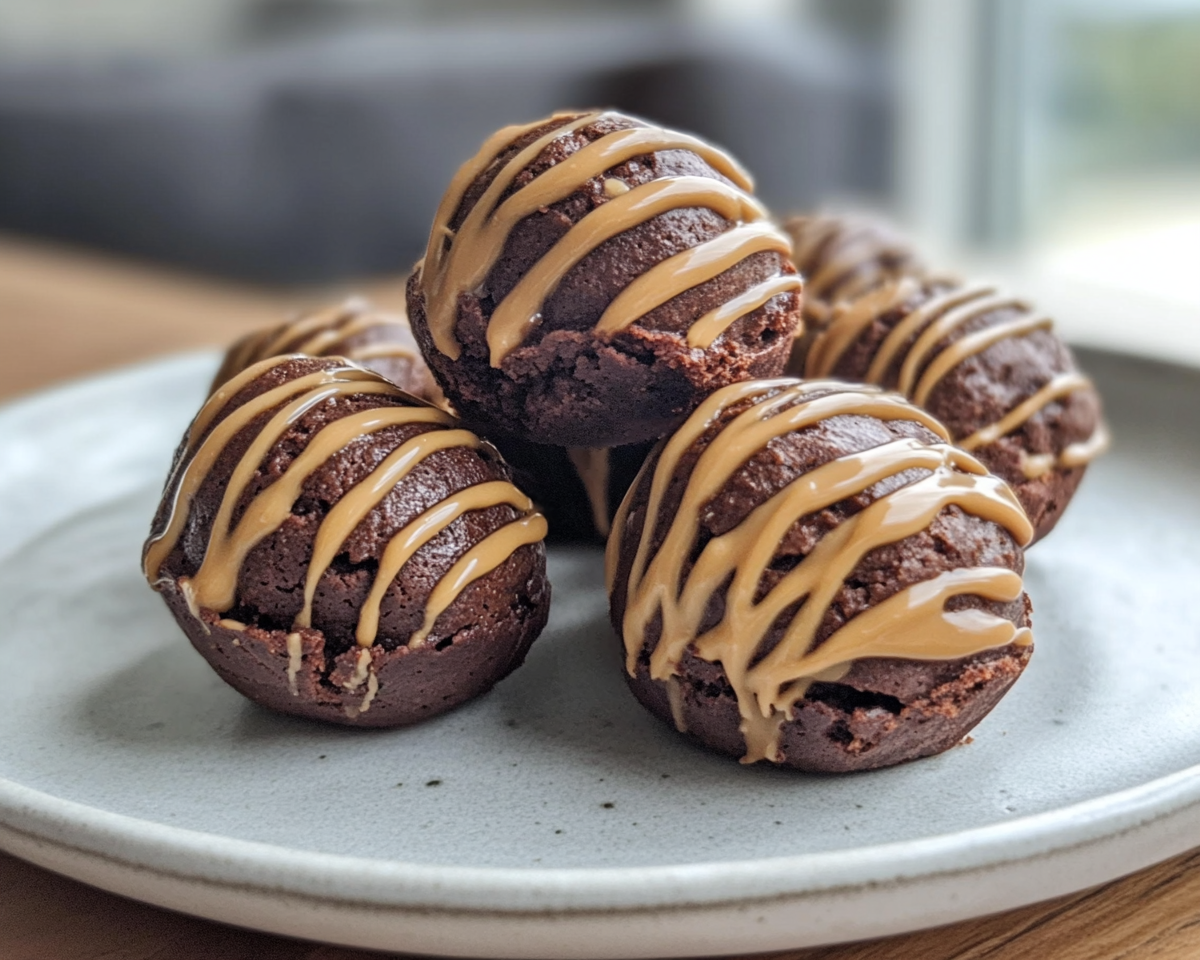
Peanut Butter Cheesecake Bites are a delectable combination of rich peanut butter and creamy cheesecake, coated in smooth chocolate for a decadent finish. These bite-sized treats are perfect for parties, gifting, or enjoying as a quick indulgence. Easy to make and versatile, they’re bound to be a hit.


Why Peanut Butter Cheesecake Bites Are a Must-Try

The flavor profile of creamy peanut butter paired with tangy cheesecake creates an irresistible dessert. These treats are quick to prepare and require minimal baking, making them perfect for busy schedules. For a similar no-bake delight, explore No-Bake Pumpkin Cheesecake.

Adding your unique touch is simple, from flavored coatings to extra toppings. For expert tips on achieving the perfect chocolate coating, visit How to Melt Chocolate Perfectly.


Ingredients You’ll Need

  • Cream Cheese: For the cheesecake base.
  • Peanut Butter: Adds a nutty richness.
  • Powdered Sugar: Sweetens and thickens the mixture.
  • Vanilla Extract: Enhances the flavor.
  • Chocolate: Use milk, dark, or white chocolate for coating.
  • Optional Toppings:
    • Crushed graham crackers.
    • Sprinkles or sea salt.

For a nut-free option, substitute peanut butter with sunflower seed butter. For more creative dessert recipes, visit Raspberry Cheesecake Brownie Bites.


How to Make Peanut Butter Cheesecake Bites

1. Prepare the Cheesecake Mixture

  • Beat cream cheese and peanut butter until smooth.
  • Gradually mix in powdered sugar and vanilla extract until combined.

2. Shape the Bites

  • Use a cookie scoop to form 1-inch balls.
  • Place on a lined baking sheet and freeze for 15 minutes.

3. Coat with Chocolate

  • Melt chocolate using a microwave or double boiler.
  • Dip each ball into the melted chocolate, allowing excess to drip off.

4. Chill and Serve

  • Refrigerate until the chocolate coating is set.
  • Serve chilled or at room temperature.

Creative Variations

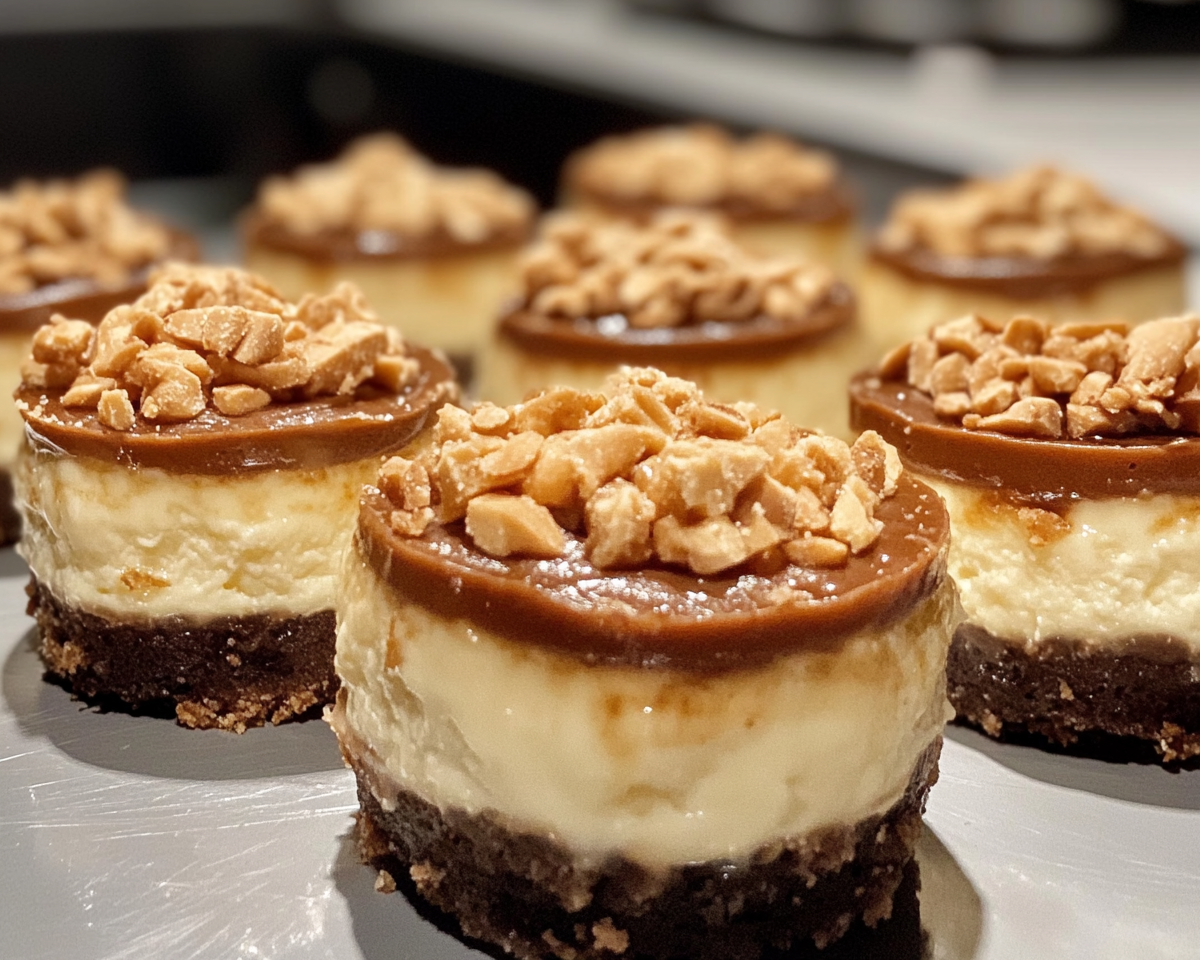
  • Crunchy Coating: Roll the bites in crushed nuts or graham crackers.
  • Stuffed Bites: Add a mini caramel or marshmallow center.
  • Vegan Option: Replace cream cheese with plant-based alternatives.
  • Flavored Coating: Use flavored white chocolate or add a drizzle of caramel.

Tips for Perfect Cheesecake Bites

  • Firm Mixture: Ensure the dough is well-chilled before shaping.
  • Smooth Coating: Use a fork or skewer for even chocolate coverage.
  • Storage: Store in an airtight container to retain freshness.

FAQs

Can I make these gluten-free?

Yes, ensure all ingredients, including chocolate, are certified gluten-free.

What can I use instead of powdered sugar?

Maple syrup or honey can work, but adjust the mixture for consistency.

Can I freeze the bites?

Absolutely! Store in the freezer for up to 3 months and thaw as needed.

How do I prevent chocolate cracking?

Allow bites to warm slightly before dipping, or use tempered chocolate.

Can I make these ahead of time?

Yes, prepare and store in the fridge for up to a week or freeze for longer.


Internal Linking Opportunities

For readers interested in Peanut Butter Cheesecake Bites, consider exploring these related recipes from ExoRecipes:


Conclusion

Peanut Butter Cheesecake Bites are a simple yet indulgent dessert perfect for any occasion. Whether you’re hosting a party or looking for a giftable treat, these bites are sure to impress. Experiment with flavors and toppings to create your signature version of this creamy delight!

Peanut Butter Brownie Bites: The Perfect Bite-Sized Treat

mini brownie cups, chocolate peanut butter bites, fudge brownie bites, buckeye brownie bites, bite-sized brownie desserts

The Ultimate Guide to Peanut Butter Brownie Bites

Creating the perfect Peanut Butter Brownie Bites is a delightful endeavor that marries the richness of chocolate with the creamy nuttiness of peanut butter. Whether you’re a seasoned baker or a beginner looking for an easy, impressive dessert, these bites will satisfy every sweet tooth. Let’s dive into how to craft this delectable treat, and along the way, we’ll uncover helpful tips, fun variations, and ways to make your recipe stand out.

What Are Peanut Butter Brownie Bites?

Peanut Butter Brownie Bites are bite-sized desserts that combine the dense, fudgy texture of brownies with the creamy, salty-sweetness of peanut butter. They are perfect for parties, gifting, or simply indulging in a comforting dessert.


Ingredients and Equipment Checklist

Ingredients

  • Brownie Base:
    • 1 cup granulated sugar
    • 1/2 cup unsalted butter, melted
    • 2 large eggs
    • 1/3 cup cocoa powder
    • 1/2 cup all-purpose flour
    • 1/4 tsp salt
    • 1/4 tsp baking powder
  • Peanut Butter Filling:
    • 3/4 cup peanut butter (smooth or crunchy)
    • 1/2 cup powdered sugar
  • Optional Toppings:
    • Chocolate drizzle
    • Chopped peanuts or chocolate chips

Equipment

  • Muffin tin or mini cupcake pan
  • Mixing bowls
  • Whisk and spatula
  • Oven

For tips on achieving the perfect chocolate texture, check out this Chocolate Magic Shell Yogurt Cup recipe.


Step-by-Step Recipe Guide

1. Preparing the Brownie Base (600 Words)

The brownie base is the heart of these bites. To ensure a moist and chewy texture:

  1. Preheat your oven to 350°F (175°C).
  2. Grease your mini cupcake pan or line it with paper liners.
  3. In a mixing bowl, whisk together melted butter and sugar until smooth.
  4. Add eggs one at a time, beating well.
  5. Sift in cocoa powder, flour, salt, and baking powder. Gently fold until combined.
  6. Spoon batter into the prepared pan, filling each cup about halfway.

2. Crafting the Peanut Butter Filling (400 Words)

The creamy peanut butter filling complements the brownie base perfectly:

  1. In a separate bowl, mix peanut butter and powdered sugar until smooth.
  2. Roll the mixture into small balls and gently press one into each brownie cup’s center.

Baking and Finishing Touches (500 Words)

  1. Bake: Place the tray in the preheated oven and bake for 12-15 minutes or until the edges are set.
  2. Cool: Allow the bites to cool completely before removing them from the pan.
  3. Decorate:
    • Drizzle melted chocolate over the top.
    • Sprinkle chopped peanuts for a crunchy finish.

For a unique peanut butter spin, explore Ultimate Peanut Butter Pie.


Variations to Try (400 Words)

  1. Double Chocolate Delight: Add chocolate chips to the brownie batter for extra richness.
  2. Nutty Crunch: Use crunchy peanut butter or mix in chopped nuts for texture.
  3. Holiday-Themed Bites: Use colored sprinkles or seasonal toppings like crushed peppermint for a festive twist.

Tips for the Perfect Peanut Butter Brownie Bites (300 Words)

  • Room Temperature Ingredients: Ensure eggs and butter are at room temperature for even mixing.
  • Don’t Overbake: Brownie bites should be slightly underdone for a fudgy center.
  • Storage: Keep them in an airtight container for up to a week, or freeze for up to three months.

Frequently Asked Questions (FAQs) (400 Words)

1. Can I use boxed brownie mix?

Yes, boxed brownie mix can save time, but homemade provides a richer flavor and better texture.

2. How do I prevent the peanut butter filling from sinking?

Ensure the brownie batter is thick enough to support the filling.

3. What’s the best way to melt chocolate for drizzling?

Use a double boiler or microwave in 20-second intervals, stirring in between.

For more dessert inspiration, explore this Raspberry Cheesecake Brownie Bites Recipe.


Why Peanut Butter Brownie Bites Are a Crowd Favorite (300 Words)

Peanut Butter Brownie Bites are loved for their perfect balance of flavors and textures. Their portability and bite-sized convenience make them ideal for any occasion. Whether you’re hosting a party or craving a mid-week treat, these bites deliver indulgence in every bite.


Final Thoughts (300 Words)

Creating Peanut Butter Brownie Bites is a rewarding experience that yields an irresistible dessert. With the right ingredients, techniques, and a little creativity, you can make a treat that’s as visually appealing as it is delicious.


Suggested Internal Links from ExoRecipes: