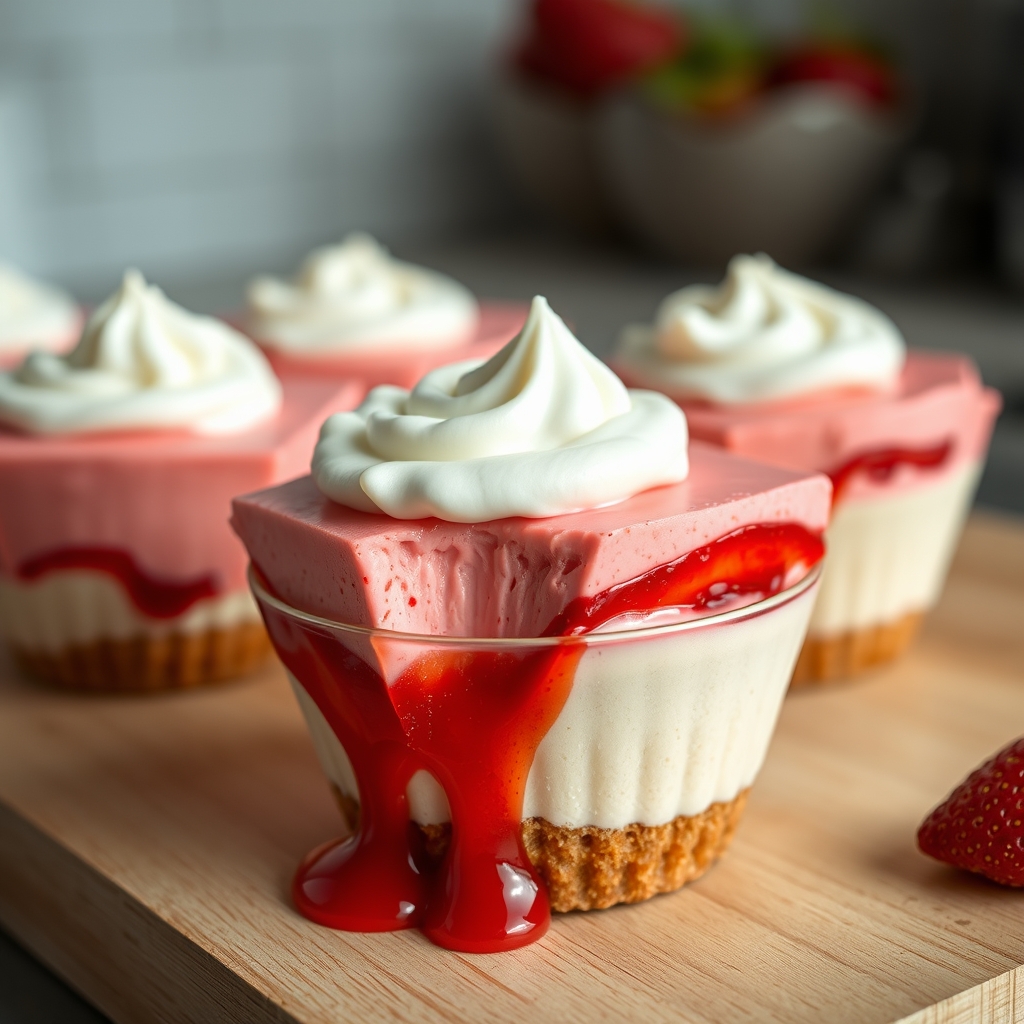
Sugar-Free Strawberry Dessert Cups
As the golden hues of summer start to fade, I often find myself reminiscing about the sun-drenched afternoons spent in my grandmother’s garden. Her sprawling strawberry patch was always the star of the show, and I remember sneaking a few juicy gems when she wasn’t looking. The sweet, natural flavor of those strawberries has inspired me to create a dessert that’s both indulgent and guilt-free: Sugar-Free Strawberry Dessert Cups.
These delightful cups are perfect for those who, like me, are on a quest to enjoy the richness of dessert without the sugar rush. Let’s dive into this simple yet satisfying recipe that promises to capture the essence of strawberries in every bite.
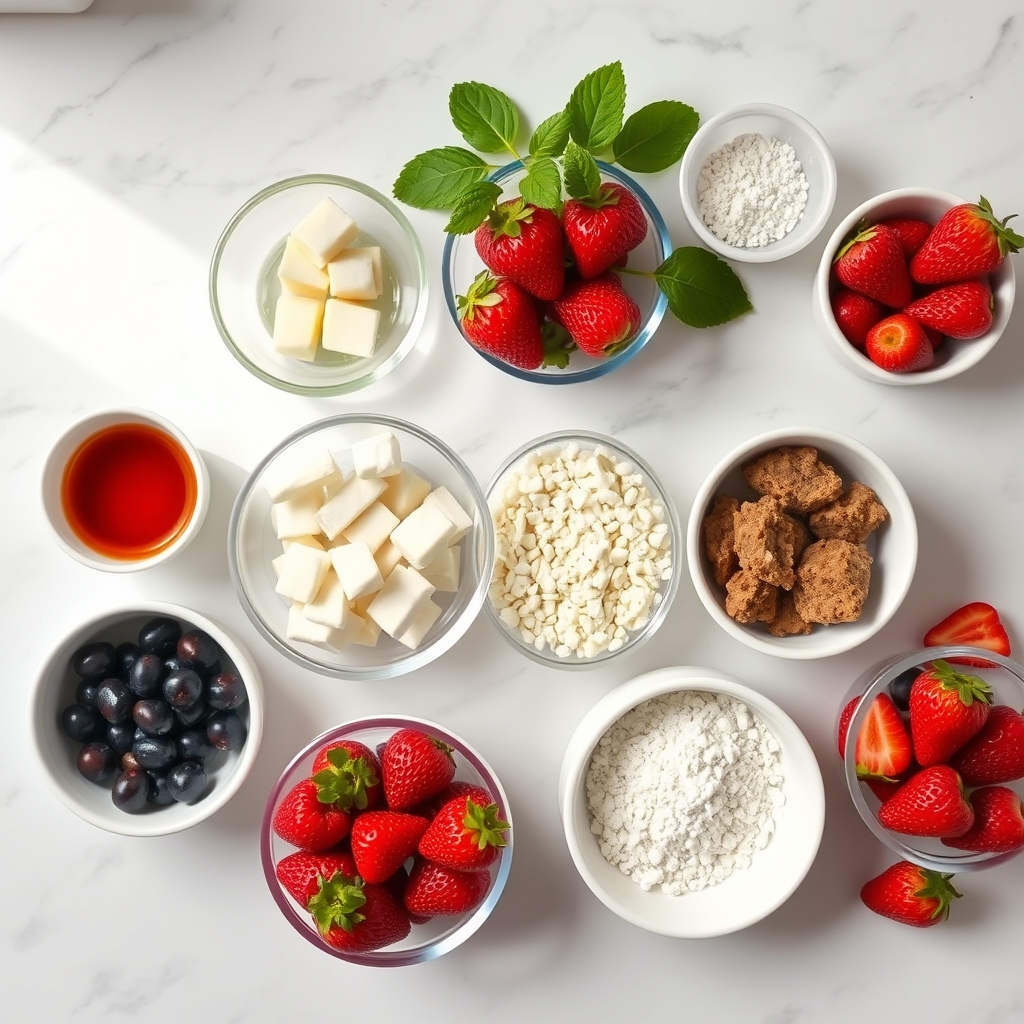
Ingredients
- 1 cup fresh strawberries, hulled and diced – The fresher, the better! Look for strawberries that are bright red and firm to the touch.
- 1/2 cup heavy cream – This adds a luxurious texture to our dessert. For a lighter option, you could use coconut cream.
- 2 tablespoons sugar-free sweetener – I prefer stevia for its natural sweetness, but feel free to use your favorite substitute.
- 1 teaspoon vanilla extract – A dash of vanilla elevates the flavors and adds warmth to the dessert.
- 1 tablespoon chia seeds – These little seeds not only add a nutritional boost but also help thicken the mixture.
- Fresh mint leaves for garnish – Optional, but they add a lovely hint of freshness and a pop of color.
Instructions
- Prepare the Strawberries: Start by washing the strawberries thoroughly. Pat them dry with a clean kitchen towel before hulling and dicing. The aim is to capture the strawberries’ natural juices, so dice them finely.
- Create the Cream Base: In a medium-sized bowl, combine the heavy cream, sugar-free sweetener, and vanilla extract. Using a hand mixer, whip the mixture until soft peaks form. This is your chance to infuse a little love into the dessert, so don’t rush this step!
- Add the Chia Seeds: Gently fold the chia seeds into the whipped cream. These tiny seeds will absorb the cream’s moisture and help set the dessert, creating a pudding-like consistency.
- Combine and Chill: Carefully fold in the diced strawberries, ensuring they are evenly distributed. Spoon the mixture into serving cups and cover with plastic wrap. Let the cups chill in the refrigerator for at least 2 hours, allowing the flavors to meld and the chia seeds to work their magic.
Stay tuned for the next steps, where we’ll add the finishing touches to these delightful dessert cups!

Sugar-Free Strawberry Dessert Cups
Hello, dear friends! I’m thrilled to continue sharing the joy of these scrumptious sugar-free strawberry dessert cups with you. This recipe is truly a little piece of heaven, perfect for those moments when you crave something sweet without the guilt. Let’s dive deeper into making this delightful treat a staple in your kitchen, shall we?
Pro Tips for the Perfect Dessert Cups
As you embark on making these lovely dessert cups, here are some thoughtful tips to ensure they turn out absolutely perfect every time:
- Choose Ripe Strawberries: The natural sweetness and rich flavor of ripe strawberries are key. If possible, opt for organic strawberries to enhance the taste even further.
- Chill Your Mixing Bowl: Before whipping cream or any dairy alternatives, pop your mixing bowl in the fridge for 15 minutes. Cold equipment makes for fluffier results.
- Layering for Texture: Consider layering your ingredients to create a delightful contrast of textures. Start with a crunchy base, such as crushed nuts or sugar-free granola, for an added crunch.
Variations and Substitutions
Diversifying your dessert cups is not only fun but also a great way to cater to different tastes and dietary needs. Here are some variations and substitutions you might consider:
- Fruit Swap: If strawberries aren’t in season, raspberries or blueberries make excellent alternatives, offering a similar bright flavor.
- Dairy-Free Option: Swap out dairy cream for coconut cream or almond milk yogurt for a vegan-friendly version.
- Nut-Free Version: Replace nut toppings with toasted seeds, like sunflower or pumpkin seeds, to maintain that delightful crunch.
What to Serve It With
These dessert cups are versatile and pair beautifully with a variety of accompaniments:
- Herbal Tea: A calming chamomile or a fragrant mint tea enhances the fresh flavors of the dessert.
- Light Salads: Serve as a sweet finish to a light meal, like a fresh garden salad with a lemon vinaigrette.
Storage and Reheating Guidance
If you find yourself with leftovers, here’s how to store and enjoy them later:
- Store the assembled dessert cups in an airtight container in the fridge for up to 2 days.
- If you’ve made the components separately, keep the cream and strawberries in their own containers to maintain freshness.
- For best results, enjoy the dessert cold and fresh. Reheating isn’t recommended as it may alter the texture.
Frequently Asked Questions
Can I make these dessert cups ahead of time?
Absolutely! You can prepare the components a day in advance and assemble them just before serving to keep everything fresh and vibrant.
How can I make this dessert even more filling?
Consider adding a layer of chia seed pudding or a dollop of Greek yogurt to add some extra protein and make it more substantial.
Are there any other sweeteners I can use?
If you prefer a hint of added sweetness, try using a touch of honey or agave syrup, but remember that the natural sweetness of the strawberries is often more than enough!
A Warm, Encouraging Final Note
Dear friends, I hope you find as much joy in making and tasting these sugar-free strawberry dessert cups as I do. Remember, cooking is a form of love you can share with yourself and others. Be bold with your flavors, trust your instincts, and most importantly, have fun! Until next time, keep nourishing your body and soul with delicious, wholesome creations.
With love and sweet wishes,
Naomi

Sugar-Free Strawberry Dessert Cups
Description
These delightful Sugar-Free Strawberry Dessert Cups are perfect for satisfying your sweet tooth without the guilt. Made with fresh strawberries and a hint of mint, these cups are not only delicious but also a healthy treat!
Ingredients
For the Crust:
- 2 cups fresh strawberries, hulled and quartered
- 2 tablespoons fresh lemon juice
- 1 tablespoon granulated erythritol or preferred sugar substitute
- 1 teaspoon vanilla extract
- 1 cup heavy whipping cream
- 1 teaspoon vanilla extract
- 1 tablespoon granulated erythritol or preferred sugar substitute
- Mint leaves for garnish
Instructions
1. Prepare the Crust:
- In a medium bowl, combine the strawberries, lemon juice, 1 tablespoon of erythritol, and 1 teaspoon of vanilla extract. Stir to coat the strawberries evenly and set aside for about 15 minutes to macerate.
- In a separate bowl, whip the heavy cream until soft peaks form, then add 1 teaspoon of vanilla extract and 1 tablespoon of erythritol. Continue to whip until stiff peaks form.
- In serving cups or glasses, layer the macerated strawberries and whipped cream, starting with a layer of strawberries at the bottom.
- Continue layering until the cups are filled, ending with a dollop of whipped cream on top.
- Garnish each cup with fresh mint leaves.
- Serve immediately or refrigerate for up to 2 hours before serving for a cooler treat.
Notes
For an added twist, consider adding a layer of crushed sugar-free biscuits between the strawberry and cream layers for extra texture.

