Table of Contents
Raspberry Sorbet
Introduction
Did you know that a single cup of raspberries provides over 50% of your daily vitamin C needs? This powerful antioxidant is just one reason why making a light and refreshing raspberry sorbet is not only a treat for your taste buds but a boost for your wellness. When summer’s heat is relentless, there’s nothing quite as satisfying as a scoop of homemade sorbet. This recipe transforms plump, fresh berries into a vibrant, dairy-free dessert that’s bursting with pure, unadulterated fruit flavor. Forget the overly sweet, artificially colored versions from the store. Our raspberry sorbet is a celebration of simplicity, requiring just a handful of ingredients to create a dessert that’s both elegant and incredibly easy to make. Let’s dive into how you can create this perfect summer finale in your own kitchen.
Ingredients List
The magic of this sorbet lies in the quality of its few components. Here’s what you’ll need for about 1 quart of sorbet:
- Fresh Raspberries (4 cups / 500g): The star of the show. Look for berries that are deeply colored, plump, and fragrant. Their natural tartness and floral notes are the soul of the sorbet. Substitution: Frozen raspberries work perfectly year-round and are often more economical. No need to thaw completely; just let them sit out for 10-15 minutes before using.
- Granulated Sugar (1 cup / 200g): Essential for sweetness and texture. Sugar lowers the freezing point, preventing the sorbet from becoming a solid block of ice and giving it that signature scoopable, slightly creamy texture. Substitution: For a deeper flavor, use half white and half light brown sugar. For a liquid sweetener, agave nectar or light honey can be used, but reduce by 2 tablespoons as they are sweeter.
- Water (1 cup / 240ml): Used to create a simple syrup that evenly distributes sweetness.
- Fresh Lemon Juice (2 tablespoons): The secret weapon! A splash of bright acidity from fresh lemon juice heightens the raspberry flavor, balances the sweetness, and adds a layer of complexity that makes the sorbet taste more “berry-forward.” Do not skip this.
- Optional: A pinch of salt and 1 tablespoon of vodka or liqueur: Salt enhances all flavors. A tablespoon of vodka (which doesn’t freeze) or a berry liqueur like Chambord can improve texture, making the final product even softer and easier to scoop.
Timing
15 minutes
10 minutes (for syrup)
4 hours minimum
4 hours 25 minutes (mostly hands-off)
Compared to many frozen desserts that require lengthy custard-making or multiple churning cycles, this raspberry sorbet is remarkably efficient. The active prep time is under 30 minutes. The majority of the time is hands-off freezing, which is about 25% faster than traditional ice cream recipes that need a custard base to cool completely before churning.
This vibrant, homemade raspberry sorbet is the essence of summer in a scoop.
Step-by-Step Instructions
Step 1: Prepare the Raspberries
Give your fresh raspberries a gentle rinse under cool water in a colander and pat them completely dry with paper towels. If you’re using frozen berries, place them in a bowl and let them thaw just enough to be breakable, about 10-15 minutes. This step is crucial—excess water from washing or thawing can dilute the flavor and affect the freezing texture. Place the berries in your blender or food processor pitcher.
Step 2: Create the Simple Syrup
In a small saucepan, combine the granulated sugar and water. Heat over medium heat, stirring occasionally, just until the sugar has completely dissolved. This should take about 3-5 minutes; you don’t need to bring it to a rolling boil. The mixture will turn clear. Immediately remove it from the heat and let it cool for 5 minutes. This simple syrup ensures the sugar is fully integrated and won’t create a grainy texture in your final sorbet.
Step 3: Blend and Strain
Carefully pour the warm (not hot) simple syrup over the raspberries in the blender. Add the fresh lemon juice and the optional pinch of salt. Secure the lid and blend on high until the mixture is completely smooth and liquid, about 1-2 minutes. Now, for an ultra-smooth, seed-free texture, press this puree through a fine-mesh sieve into a large bowl. Use a rubber spatula to press and scrape all the beautiful, vibrant pulp through, leaving the seeds behind. This step is what gives professional-quality sorbet its velvety mouthfeel.
Step 4: Chill the Mixture
Cover the bowl of strained raspberry puree with plastic wrap, pressing the wrap directly onto the surface of the liquid. This prevents a skin from forming. Refrigerate for at least 2 hours, or until it’s thoroughly chilled. Chilling the base is non-negotiable—it ensures faster, more even freezing in your ice cream maker and results in a finer texture.
Step 5: Churn and Freeze
Pour the chilled sorbet base into the bowl of your ice cream maker. Churn according to the manufacturer’s instructions, usually about 20-25 minutes. You’ll know it’s ready when it has thickened to the consistency of soft-serve ice cream. If using, add the tablespoon of vodka or liqueur during the last minute of churning. Transfer the churned sorbet to a freezer-safe container with a tight-fitting lid. Smooth the top, press a piece of parchment paper directly on the surface, and seal the lid. Freeze for at least 2 hours to firm up before serving.
Step 6: Scoop and Serve
For the perfect scoop, let the sorbet sit at room temperature for 5-7 minutes before serving. This slight softening allows the full flavor and aroma to blossom and makes scooping a breeze. Use a warmed ice cream scoop for beautiful, round servings.
Nutritional Information
(Per ½ cup serving, estimated)
- Calories: ~120 kcal
- Total Fat: 0.5g
- Saturated Fat: 0g
- Cholesterol: 0mg
- Sodium: 5mg
- Total Carbohydrates: 30g
- Dietary Fiber: 4g
- Sugars: 25g
- Protein: 1g
- Vitamin C: 40% of the Daily Value (DV)
- Manganese: 30% of the DV
Healthier Alternatives
You can easily tailor this sorbet to fit various dietary preferences without sacrificing flavor:
- Reduce Sugar: Cut the granulated sugar to ¾ cup and add 1-2 pitted Medjool dates to the blender. The dates add natural sweetness and fiber.
- Sugar-Free Option: Use a monk fruit-erythritol blend (1:1 sugar substitute) in the simple syrup. Be aware that some sugar substitutes can cause a slightly harder freeze, so the optional alcohol becomes more important for texture.
- Boost Nutrition: Add a handful of fresh spinach (you won’t taste it!) or a tablespoon of chia seeds to the blender for an extra nutrient punch. The chia seeds will also help absorb excess liquid and improve texture.
- Lower Glycemic Index: Replace half the water with chilled brewed hibiscus tea in the simple syrup. It adds a tangy, floral note and antioxidants, while complementing the berry flavor beautifully.
Serving Suggestions
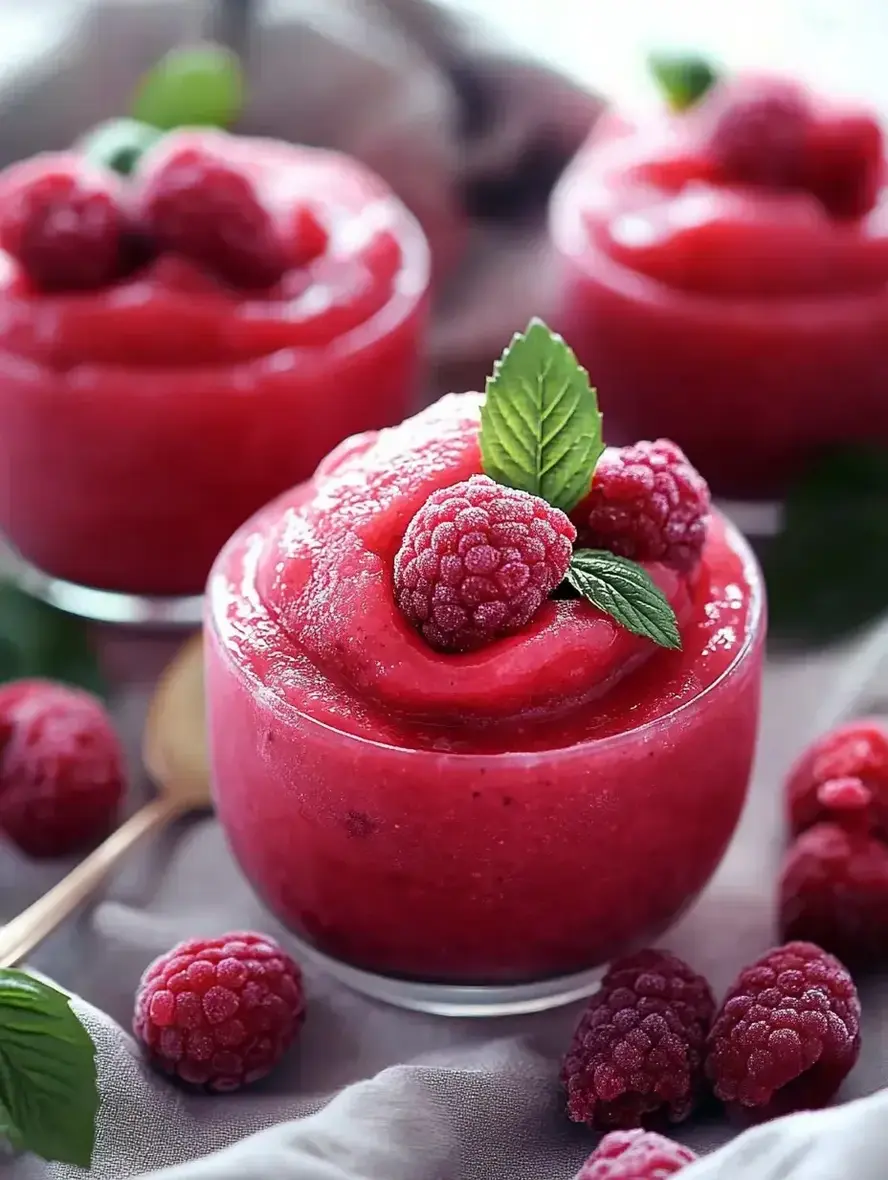
- Classic Elegance: Serve in chilled coupe glasses with a sprig of fresh mint and a few whole raspberries.
- Adult Affogato: Pour a shot of hot espresso or a splash of Prosecco over a scoop for a stunning dessert.
- Berry Trio: Create a “berry patch” sundae with a scoop of raspberry sorbet alongside blueberry and strawberry sorbets.
- Palate Cleanser: Serve a small scoop between courses of a rich meal to refresh the taste buds.
- Fruity Float: Drop a scoop or two into a glass of sparkling water or lemonade for a fun, fizzy treat.
Common Mistakes
- Skipping the Sieve: Not straining the seeds results in a gritty texture that detracts from the luxurious feel of a good sorbet.
- Using Hot Syrup: Pouring boiling hot syrup onto the berries can “cook” them slightly, dulling their bright, fresh flavor and vibrant color. Let it cool for 5 minutes first.
- Insufficient Chilling: Churning a warm base leads to icy crystals and longer churn times. Patience during the chilling phase is key.
- Overlooking Acidity: Forgetting the lemon juice makes the sorbet taste flat and one-dimensionally sweet. The acid is a flavor catalyst.
- Freezing Without a Cover: Storing sorbet in the freezer without pressing parchment paper directly on the surface leads to freezer burn and ice crystals forming on top.
Storing Tips
- Store in an airtight, freezer-safe container with parchment paper pressed on the surface for up to 2 weeks for optimal flavor and texture.
- For longer storage (up to 1 month), place the entire container inside a heavy-duty freezer bag, squeezing out all the air before sealing.
- If the sorbet freezes rock-solid, let it thaw in the refrigerator for 30-45 minutes, then break it into chunks and re-blend briefly in a food processor to restore a creamy texture before re-freezing or serving.
- Label your container with the date so you remember when you made this delightful treat.
