
“`html
Table of Contents
- Easy Jello Meringue Cookies
- What Makes These Jello Meringue Cookies So Special?
- Ingredients: A Spectrum of Sweet Flavors
- Timing is Everything
- Crafting Your Jello Meringue Masterpiece
- Nutritional Snapshot
- Healthier Swaps for Lighter Indulgence
- Serving Suggestions: Beyond the Tea Party
- Common Mistakes to Avoid
- Storing Tips for Maximum Crispness
- Taste the Rainbow of Meringue!
- Frequently Asked Questions
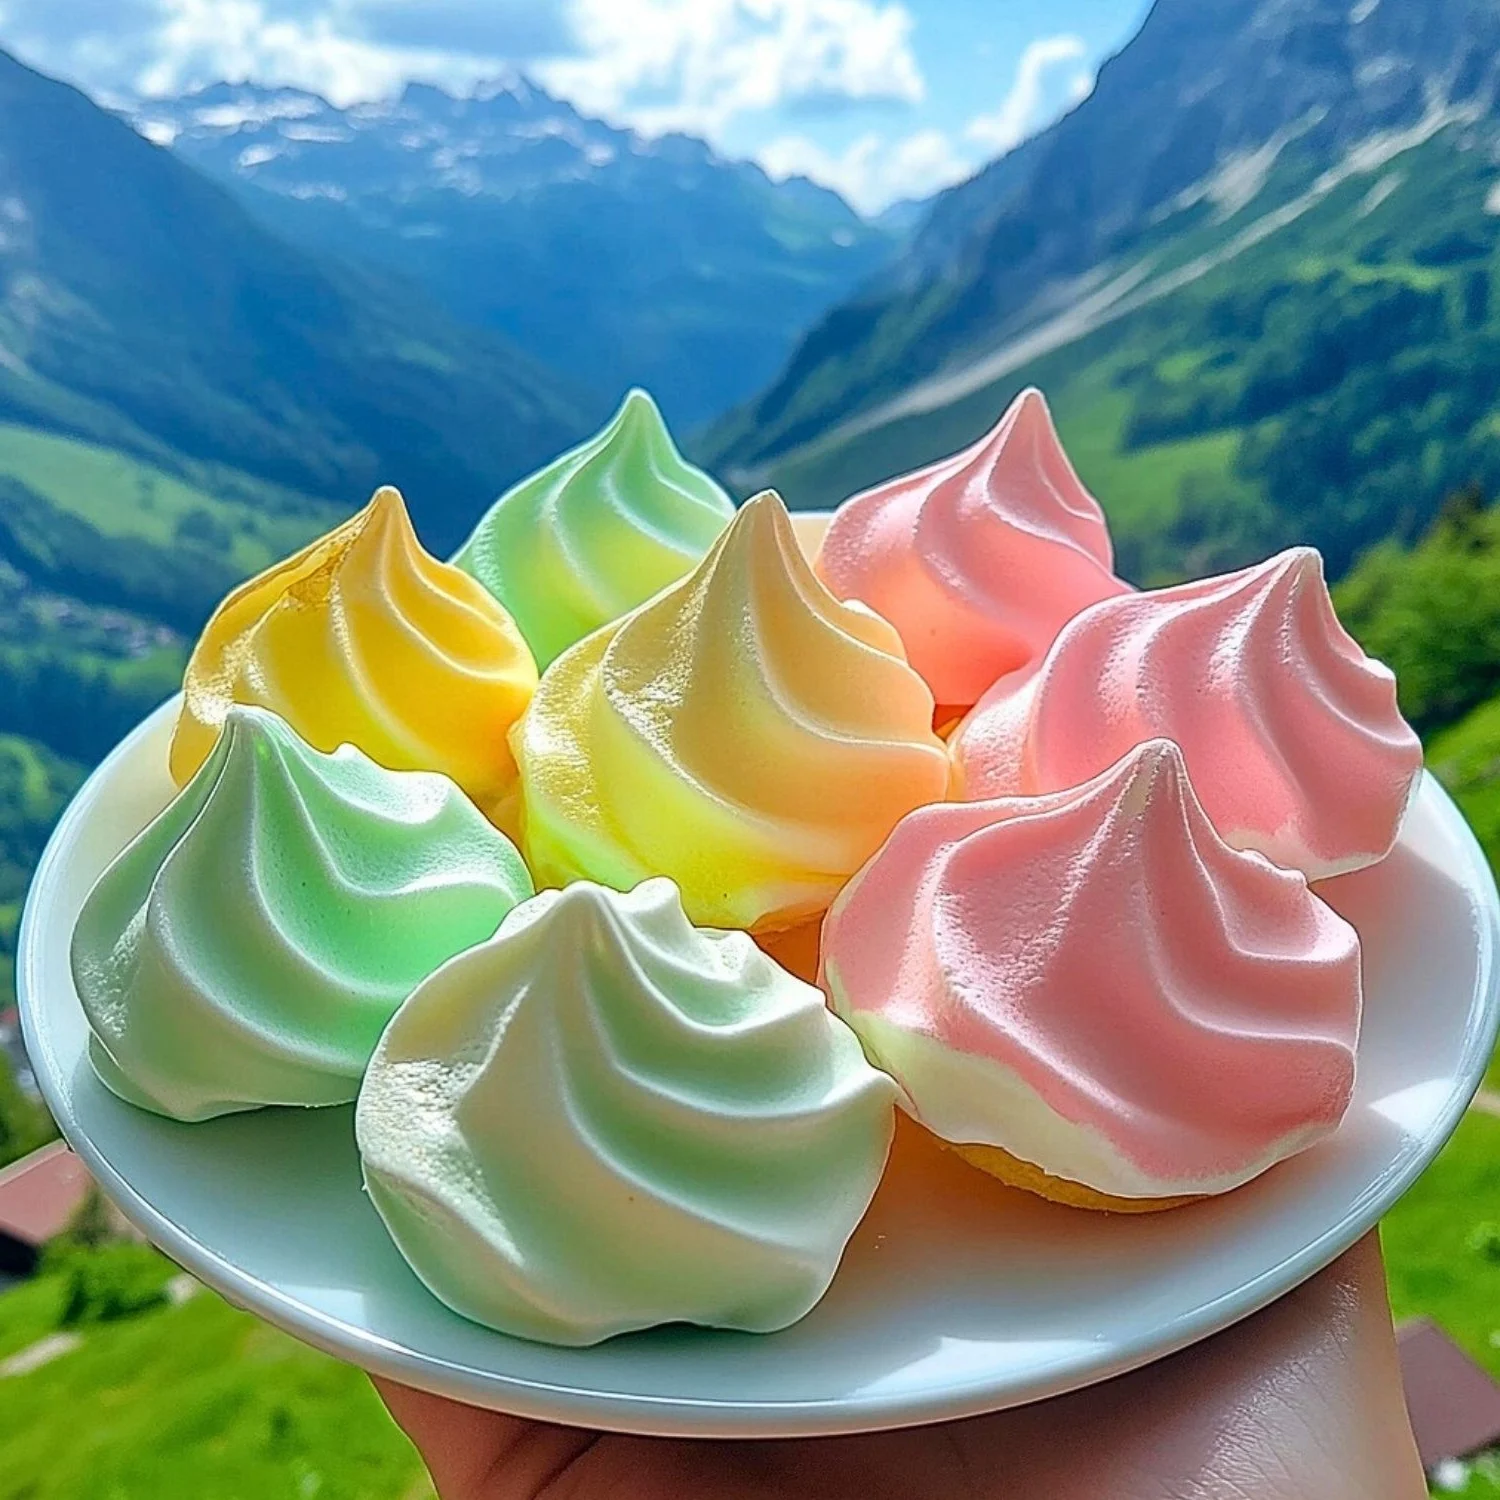
Easy Jello Meringue Cookies
These Easy Jello Meringue Cookies are light, crisp, and bursting with fruity flavor! With just a few ingredients and a pop of color from flavored gelatin, they’re perfect for celebrations or a fun homemade treat. Naturally gluten-free and easy to store, these cookies will quickly become a family favorite!
What Makes These Jello Meringue Cookies So Special?
Are you on the hunt for a dessert that’s visually stunning, delightfully crisp, and incredibly easy to make? In a world of rich, dense cookies, the ethereal lightness of a meringue offers a refreshing change. But what if you could elevate that classic meringue with a burst of vibrant color and irresistible fruity flavor? That’s where these Easy Jello Meringue Cookies come in. They tap into a popular trend of using flavored gelatin to infuse simple recipes with exciting tastes and hues, offering a gluten-free treat that’s as fun to look at as it is to eat. Averaging around 15 minutes of active prep time, these cookies are a lifesaver for busy bakers looking for a wow-factor dessert without the fuss.
Ingredients: A Spectrum of Sweet Flavors
The beauty of these cookies lies in their minimalist ingredient list, each component playing a crucial role in achieving that perfect, airy crispness and delightful flavor.
- Egg Whites: Use 3 large egg whites, at room temperature for best volume. They are the foundation of your meringue, creating that signature light and airy texture. (Substitution: Ensure they are at room temperature for optimal whipping.)
- Granulated Sugar: 3/4 cup. This not only sweetens but also stabilizes the meringue. (Substitution: Superfine sugar dissolves more easily, but granulated works perfectly.)
- Cream of Tartar: 1/4 teaspoon. This acidic stabilizer helps create a stronger, more stable meringue that’s less prone to weeping. (Substitution: A squeeze of lemon juice or white vinegar can be used in a pinch.)
- Flavored Gelatin Packet: 1 (3-ounce) packet, your favorite flavor (e.g., strawberry, lime, raspberry, lemon). This is the key to vibrant color and fruity taste. (Substitution: Experiment with different flavors for a variety of cookies!)
- Vanilla Extract: 1/2 teaspoon. Enhances the overall sweetness and adds a classic comforting aroma. (Substitution: Almond extract or citrus zest can offer a different flavor profile.)
- Pinch of Salt: (Optional) Enhances the sweetness and complexity of flavors.
Timing is Everything
These cookies are surprisingly quick to assemble, with the baking time being the most significant factor.
Compared to many elaborately decorated cookies, the active time for Jello Meringue Cookies is significantly less, making them an ideal choice for a last-minute treat. The baking is done at a low temperature for a long duration, which is crucial for achieving that signature crispness without browning.
Crafting Your Jello Meringue Masterpiece
Step 1: Prep Your Station
First things first, preheat your oven to 200°F (95°C). Line two baking sheets with parchment paper. Ensure your mixing bowl and whisk attachment are impeccably clean and free of any grease, as even a tiny speck can prevent your egg whites from whipping properly.
Step 2: Whipping the Whites
In your clean, dry mixing bowl, add the room temperature egg whites and the cream of tartar. Begin whipping on medium speed. You’re looking for a foamy, bubbly consistency.
Step 3: Gradually Adding Sugar
Once the egg whites are foamy, start gradually adding the granulated sugar, about a tablespoon at a time, while the mixer is still running on medium-high speed. Continue mixing until all the sugar is incorporated. This gradual addition is key to dissolving the sugar and creating a stable meringue.
Step 4: The Magic of Gelatin
Now for the fun part! Add the flavored gelatin packet and the vanilla extract (and optional salt) to the meringue. Mix on high speed until well combined. The meringue should start to take on the beautiful color of the gelatin.
Step 5: Achieving Stiff Peaks
Continue to whip the mixture on high speed until it forms stiff, glossy peaks. When you lift the whisk, the meringue should stand straight up without drooping. This indicates that the sugar is fully dissolved and the air is properly incorporated. Be careful not to overmix, which can cause the meringue to become dry and grainy.
Step 6: Piping Perfection
Spoon the meringue mixture into a piping bag fitted with your favorite tip (a star tip or round tip works well). Alternatively, you can use two spoons to drop mounds of meringue onto the prepared baking sheets. Pipe or dollop mounds of meringue about 1.5-2 inches in diameter, leaving a little space between each one as they don’t spread much.
Step 7: The Low and Slow Bake
Place the baking sheets in the preheated oven. Bake for 60-75 minutes, or until the meringues are dry to the touch and lift easily off the parchment paper. They should be crisp on the outside and slightly chewy or completely crisp on the inside, depending on your preference and baking time.
Step 8: Cooling Down
Once baked, turn off the oven and prop the door open slightly with a wooden spoon. Let the meringues cool completely in the oven. This prevents them from cracking due to a sudden temperature change. Once cool, carefully remove them from the parchment paper.
Nutritional Snapshot
While these cookies are a delightful treat, they are primarily sugar and egg whites.
- Calories: Approximately 30-40 per cookie (depending on size and exact ingredients).
- Carbohydrates: Primarily from sugar.
- Protein: From egg whites.
- Fat: Negligible.
Please note: This is an approximate nutritional value and can vary based on the specific brand of gelatin and exact measurements used.
Healthier Swaps for Lighter Indulgence
While meringues are inherently a sweet treat, you can make a few adjustments for a slightly “lighter” version without sacrificing flavor:
- Allulose or Erythritol: For those watching sugar intake, you *could* experiment with sugar substitutes like allulose or erythritol. However, be aware that these can alter the texture and stability of the meringue, often resulting in a less crisp cookie. Success with these substitutes often requires specific recipes and techniques.
- Reduced Sugar Meringues: While it will impact stability, you can reduce the sugar slightly. The meringue may be softer and more prone to weeping.
- Natural Food Coloring: If you want to avoid artificial dyes found in some gelatins, opt for naturally colored gelatin or add a touch of fruit puree (like raspberry or strawberry) for color and flavor, though this will change the texture.
Serving Suggestions: Beyond the Tea Party
These delicate cookies are perfect for a variety of occasions:
- Afternoon Tea: Their delicate nature makes them an elegant addition to any tea service.
- Celebration Platters: Their vibrant colors are fantastic for birthdays, baby showers, or holiday cookie platters.
- Dessert Garnishes: Use them to top cakes, cupcakes, or ice cream for an artistic touch.
- Snack Attack: Enjoy them on their own for a light, sweet pick-me-up.
- “Cloud” Bites: Serve them alongside fresh berries for a delightful contrast.
Common Mistakes to Avoid
Meringues can be a bit finicky. Here are common pitfalls to steer clear of:
- Greasy Equipment: Even a trace of fat (from egg yolk, oil, or leftover residue) will prevent your egg whites from whipping to their full potential.
- Humidity: Meringues are sensitive to moisture. Avoid making them on very humid or rainy days, as they will struggle to dry out and may become sticky.
- Over-whipping: Whipping too long after stiff peaks form can make the meringue dry, grainy, and difficult to pipe.
- Sudden Temperature Changes: Cooling too quickly can cause your meringues to crack. Always cool them gradually in the oven.
- Oven Temperature Too High: A high temperature will brown the meringues before they have a chance to dry out, resulting in a chewy or undercooked interior and a burnt exterior.
Storing Tips for Maximum Crispness
Once completely cooled, store your Jello Meringue Cookies in an airtight container at room temperature. They are best enjoyed within 1-2 weeks. Avoid storing them with anything moist, as they will absorb humidity and lose their crispness. You can also place a food-safe silica gel packet in the container to help absorb any residual moisture.
Taste the Rainbow of Meringue!
Easy Jello Meringue Cookies are a testament to how simple ingredients can transform into something truly magical. Their airy texture, delightful crunch, and vibrant fruity flavors make them an instant hit with all ages. Whether you’re looking for a kid-friendly baking project, a gluten-free dessert option, or just a fun way to add a pop of color to your day, these cookies deliver. Whip up a batch and be prepared for smiles all around!
Have you tried making Jello Meringue Cookies before? What’s your favorite gelatin flavor to use? Share your thoughts and photos in the comments below!
Frequently Asked Questions
- ***Can I use powdered egg whites?***
Yes, you can, but it requires a different ratio and often a meringue powder that includes stabilizers. It’s generally easier and yields better results with fresh egg whites.
- ***Why are my meringues sticky?***
This is usually due to humidity in the air, not baking them long enough, or cooling them too quickly. Ensure proper storage in an airtight container.
- ***Can I make these with a different type of sugar?***
While granulated sugar is standard, superfine sugar dissolves more easily. Powdered sugar contains cornstarch which can affect stability. Avoid brown sugar or coarse sugars.
- ***How do I get such bright colors?***
The flavored gelatin packet is the primary source of color and flavor. You can also add a tiny bit of food coloring if you want to intensify it, but start with the gelatin alone.

Easy Jello Meringue Cookies
Description
TheseEasy Jello Meringue Cookiesare light, crisp, and bursting with fruity flavor! With just a few ingredients and a pop of color from flavored gelatin, they’re perfect for celebrations or a fun homemade treat. Naturally gluten-free and easy to store, these cookies will quickly become a family favorite!
Ingredients
- 4large egg whites, at room temperature
- 1 cupgranulated sugar
- 1small box (3 oz) Jello powder (choose your favorite flavor)
- 1/4 teaspooncream of tartar
- Optional toppings: sprinkles, edible glitter, or colored sugar
Instructions
- Preheat your oven to 225°F (110°C). Line two baking sheets with parchment paper or silicone baking mats.
- In a clean mixing bowl, beat egg whites and cream of tartar with an electric mixer on medium speed until soft peaks form.
- Gradually add the sugar, one tablespoon at a time, while beating on high speed until stiff, glossy peaks form.
- Sprinkle in the Jello powder and continue beating until fully combined and vibrant in color.
- Transfer the meringue to a piping bag with a star tip or use a spoon to form small mounds on the baking sheets. Space them about 1 inch apart.
- Bake for 1.5 to 2 hours, or until the cookies are completely dry to the touch. Turn off the oven and let the cookies cool inside for at least 1 hour.
- Remove from the oven, transfer to an airtight container, and enjoy!
Notes
Customization: Mix and match Jello flavors for unique combinations and colors.
Storage: Store at room temperature in an airtight container for up to 2 weeks, or freeze for up to 1 month.
Tips for Success: Ensure all tools are grease-free, add sugar slowly, and allow the cookies to cool gradually in the oven to prevent cracks.
“`
