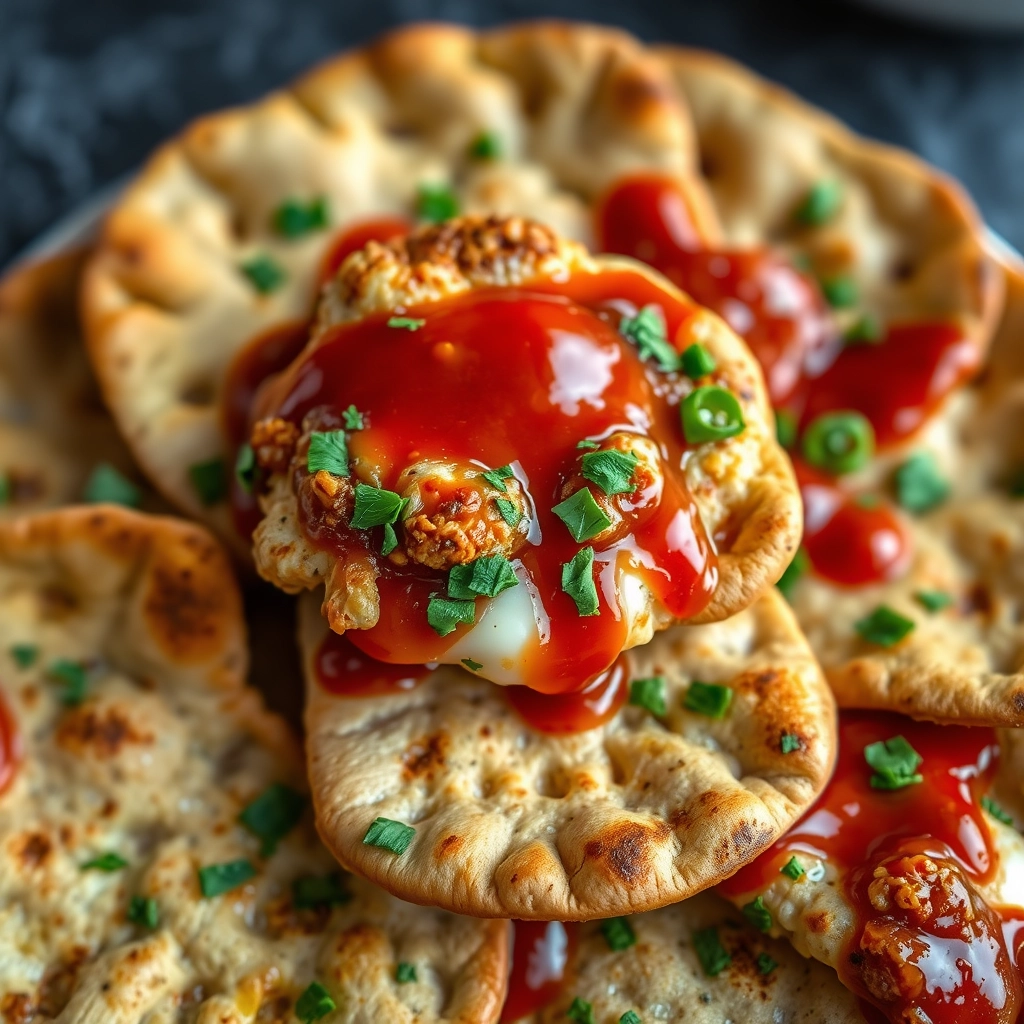
The Coziest Homemade Baked Pita Chips You’ll Ever Make
There’s something magical about the way a simple kitchen project can turn an ordinary afternoon into something special. Last weekend, as rain tapped gently against the window, I found myself craving that perfect crunch—something warm, salty, and just a little bit indulgent. Store-bought chips felt too impersonal, so I reached for a stack of pita bread hiding in the pantry. What unfolded was the easiest, most satisfying baking adventure: golden, crispy homemade pita chips that disappeared faster than I could snap a photo. Now, I’ll never go back to the bagged kind!
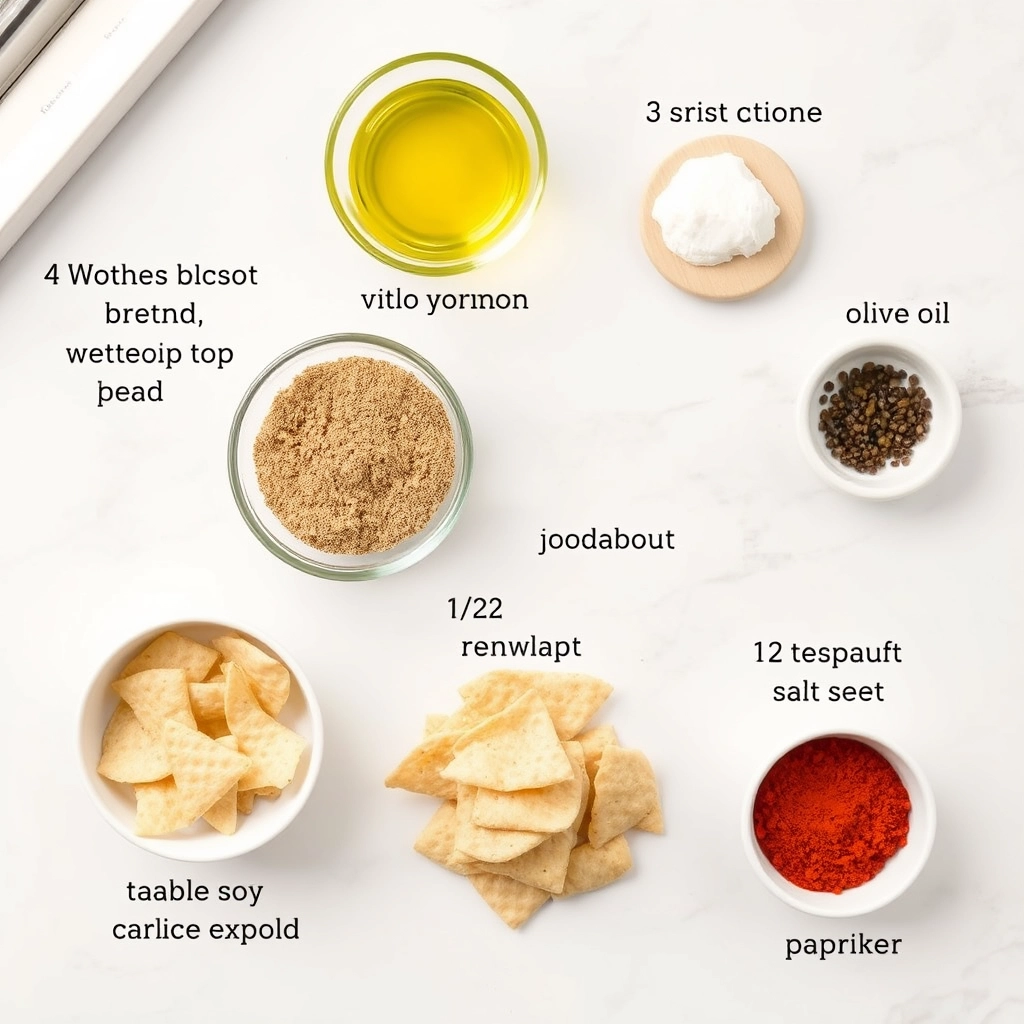
Ingredients You’ll Need (and Why I Love Them)
- 4-6 pocketless pita bread rounds – The sturdier, the better! I prefer whole wheat for a nutty flavor, but white or even za’atar-studded pita works beautifully.
- 1/4 cup extra-virgin olive oil – A good glug of fruity olive oil makes these chips luxuriously crisp without feeling heavy.
- 1 teaspoon garlic powder – For that irresistible savory depth (fresh garlic burns too easily, trust me!).
- 1/2 teaspoon sea salt – Flaky salt clings to every ridge for the perfect bite.
- 1/2 teaspoon smoked paprika (optional) – My secret weapon! Adds a whisper of warmth that keeps everyone reaching for more.
- A sprinkle of dried oregano or rosemary – If you’re feeling fancy, these herbs make the kitchen smell like a Mediterranean café.
Step-by-Step: How to Make Magic Happen
- Preheat & Prep: Crank your oven to 375°F (190°C)—no need to wait for full heat, since we’re toasting, not baking. Line a baking sheet with parchment paper (less mess, more zen).
- Slice with Abandon: Stack your pita rounds and cut them into 8 wedges each, like you’re slicing a pie. Don’t stress perfection—rustic edges mean extra crunch!
- Drizzle & Toss: In a big bowl, gently separate the pita wedges (some might stick together). Drizzle with olive oil, then sprinkle all those glorious seasonings over top. Toss with your hands—yes, get in there!—until every nook is coated.
- Spread the Love: Arrange the wedges in a single layer on the baking sheet. No overlapping! This is the golden rule for even crisping. (I sometimes do two batches if needed—patience pays off.)
Now, here’s where the real magic begins… but I’ll save the baking secrets (and my favorite hummus pairing tips) for the next part of this story. Trust me, your future snack time is about to get a whole lot cozier.
Pro Tips, Variations, and Substitutions
Making homemade baked pita chips is wonderfully forgiving, but a few expert tricks will take yours from good to great:
- Spice it up: Before baking, sprinkle with za’atar, smoked paprika, or everything bagel seasoning for extra flavor.
- Oil alternatives: Swap olive oil for melted butter or avocado oil if preferred.
- Gluten-free option: Use gluten-free pita bread – the texture still crisps up beautifully.
- Thicker chips: For sturdier dippers, cut pitas into 6 wedges instead of 8.
- Even baking: Rotate pans halfway through baking if your oven has hot spots.
What to Serve With Your Pita Chips
These golden crisps are the ultimate blank canvas! Try pairing them with:
- Classic hummus or roasted red pepper dip
- Creamy tzatziki or whipped feta
- Warm spinach-artichoke dip (perfect for chilly evenings)
- Fresh guacamole or mango salsa for a tropical twist
- Simply enjoy them with a bowl of soup instead of crackers
Storage and Reheating Tips
Store cooled pita chips in an airtight container at room temperature:
- Room temp: Stay crisp for 4-5 days
- Freezer: Freeze in ziplock bags for up to 2 months (no thawing needed!)
- Reviving stale chips: Spread on a baking sheet and warm at 300°F for 3-5 minutes
FAQs
Can I use storebought pita chips instead?
While convenient, homemade lets you control thickness, crispness, and seasoning. Plus, they taste fresher!
Why are my chips not crispy?
They may have been cut too thick or crowded on the pan. Next time, bake in batches and ensure even spacing.
Can I make these in an air fryer?
Absolutely! Cook at 360°F for 4-6 minutes, shaking the basket halfway through. Watch closely as they brown faster.
Are pita chips healthier than potato chips?
When baked (not fried) and made with whole wheat pita, they offer more fiber and less fat than traditional chips.
The Joy of Homemade Goodness
There’s something magical about pulling a tray of golden pita chips from your own oven. That satisfying crunch, the way they cradle dips perfectly, the compliments from friends who can’t believe they’re homemade – this is the kind of simple kitchen magic I live for. Whether you’re hosting a gathering or just treating yourself to an elevated snack moment, these chips are little bites of happiness. Now go forth and bake (then dip, then repeat)!
Print
Homemade Baked Pita Chips
Description
Crispy and flavorful baked pita chips that are perfect for snacking or dipping.
Ingredients
For the Crust:
- 4 whole wheat pita bread rounds
- 3 tablespoons olive oil
- 1 teaspoon garlic powder
- 1 teaspoon paprika
- 1/2 teaspoon salt
- 1/4 teaspoon black pepper
Instructions
1. Prepare the Crust:
- Preheat oven to 375°F (190°C). Line a baking sheet with parchment paper.
- Cut each pita bread into 8 wedges and separate the layers to create thin chips.
- In a small bowl, mix olive oil, garlic powder, paprika, salt, and black pepper.
- Brush both sides of each pita wedge with the seasoned oil mixture.
- Arrange the pita wedges in a single layer on the prepared baking sheet.
- Bake for 10-12 minutes, flipping halfway, until golden and crispy.
Notes
You can customize the seasonings to taste.
