Table of Contents
Easy & Delicious Loaded Cheesy Pocket Tacos
Introduction
Did you know that over 60% of home cooks are looking for ways to transform classic taco night into something even more fun and shareable? If you’re craving a meal that’s quick, delicious, and packed with flavor, you’ve found your answer with these Loaded Cheesy Pocket Tacos. This recipe is the ultimate solution for busy weeknights, game day snacks, or a fun family cooking project. Imagine all the savory, spicy goodness of your favorite taco, but wrapped in a warm, flaky, golden-brown biscuit pocket that oozes with melted cheese. It’s a handheld flavor explosion that’s as satisfying to make as it is to eat. Forget the mess of traditional tacos—these neat little pockets deliver every essential component in one perfect, crispy bite. Let’s dive into how you can create this crowd-pleasing dish that’s sure to become a regular in your recipe rotation.
Ingredients List
Gathering your ingredients is the first step to taco pocket bliss. Here’s what you’ll need for about 8 hearty pockets:
- For the Filling:
- 1 lb (450g) Ground Beef (85/15 lean-to-fat ratio): This ratio gives the perfect juicy texture without being overly greasy. You’ll love the rich, savory base it creates. Substitution: Ground turkey, chicken, or a plant-based crumble for a lighter or vegetarian option.
- 1 packet (1 oz) Taco Seasoning: The essential blend of cumin, chili powder, and paprika that delivers that iconic, warmly spiced taco flavor. Substitution: 2 tbsp of your own homemade blend for a lower-sodium alternative.
- 1/2 cup Water: Helps create a saucy, cohesive filling that won’t dry out in the oven.
- 1 1/2 cups Shredded Mexican Cheese Blend: A mix of cheddar, Monterey Jack, and asadero cheeses that melts into a glorious, stretchy, creamy river. Substitution: Pepper jack for a spicy kick or a dairy-free shred for a lactose-free version.
- 1/4 cup finely diced Onion: Adds a subtle, sweet crunch and aromatic depth.
- 1/4 cup finely diced Bell Pepper (any color): Introduces a pop of color and a fresh, vegetal sweetness.
- For the Pocket & Assembly:
- 2 cans (16.3 oz each) Refrigerated Flaky Biscuits (8 count): The secret weapon! These bake up buttery, flaky, and golden, creating the perfect edible vessel. Substitution: Homemade biscuit dough or puff pastry sheets for a from-scratch or extra-flaky twist.
- 1 large Egg (for egg wash): Whisked with a tablespoon of water, this gives the pockets a beautiful, glossy, deep golden-brown finish.
- Optional Toppings for Serving: Cool sour cream, vibrant salsa, chunky guacamole, crisp shredded lettuce, juicy diced tomatoes, and fresh cilantro.
Timing
15 minutes
15 minutes
30 minutes
One of the biggest wins with this recipe is its speed. With a total time of just 30 minutes from fridge to table, these Loaded Cheesy Pocket Tacos are significantly faster than the average taco night, which often involves prepping multiple separate components and can take 45 minutes to an hour. The use of pre-made biscuit dough is a genius time-saver that doesn’t compromise on flavor or texture, making this a truly “easy & delicious” weeknight hero.
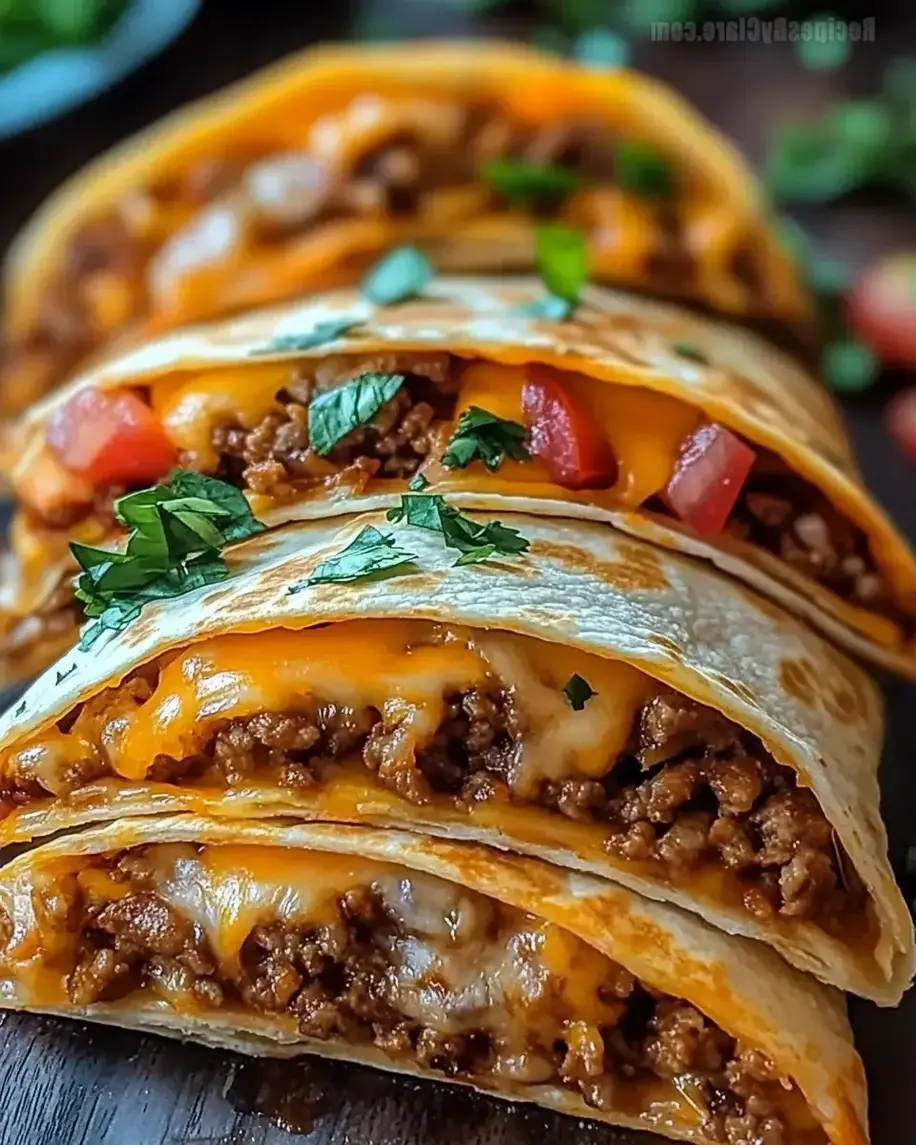
Golden-brown, flaky biscuit pockets filled with savory taco beef and melted cheese, ready to be devoured.
Step-by-Step Instructions
Step 1: Prepare the Filling
Start by preheating your oven to 375°F (190°C). This ensures it’s perfectly heated by the time your pockets are assembled. In a large skillet over medium-high heat, brown the ground beef, breaking it up with a spatula into small crumbles. As the pink color disappears and those delicious browned bits form, drain any excess fat. This step is crucial for flavor—don’t skip the browning! Reduce the heat to medium and stir in the taco seasoning and water. Let it simmer for 3-5 minutes until the mixture thickens slightly and becomes wonderfully fragrant. Remove from heat and let it cool for a few minutes. Trust me, letting it cool a bit prevents the biscuit dough from getting soggy when you assemble. Finally, stir in half of the shredded cheese—this creates an extra-gooey core to your filling.
Step 2: Assemble the Pockets
Open the cans of biscuit dough and separate them. On a lightly floured surface, gently press or roll each biscuit into a 5-6 inch circle. They don’t need to be perfect! Place a generous tablespoon (about 2-3 tbsp) of the cheesy beef filling slightly off-center on each dough circle. Sprinkle a little extra cheese on top of the filling for good measure. Now, fold the dough over the filling to create a half-moon shape. Here’s my pro tip: use a fork to firmly press and crimp the edges shut. This not only creates a cute, rustic look but also forms a tight seal so none of that precious filling escapes during baking.
Step 3: Bake to Perfection
Line a large baking sheet with parchment paper (for easy cleanup) and arrange your sealed pockets on it, leaving about an inch of space between each. In a small bowl, whisk the egg with a tablespoon of water to make an egg wash. Use a pastry brush to lightly coat the top of each pocket. This is the magic step that gives them that professional, bakery-style golden sheen. Bake in your preheated oven for 13-16 minutes, or until the pockets are puffed up and a deep, irresistible golden brown. Your kitchen will smell absolutely incredible.
Step 4: Serve and Customize
Let the pockets cool on the baking sheet for just 2-3 minutes—they’ll be piping hot inside! This is where the fun begins. Transfer them to a serving platter and set out all your favorite taco toppings. I love creating a “Taco Pocket Bar” with bowls of cool sour cream, zesty salsa, creamy guacamole, crisp shredded lettuce, and juicy diced tomatoes. Encourage everyone to top their own pocket, making each bite uniquely delicious.
Nutritional Information
The following nutritional estimate is for one loaded cheesy pocket taco (without additional toppings), based on the ingredients listed.
- Calories: ~320 kcal
- Total Fat: 18g
- Saturated Fat: 7g
- Cholesterol: 55mg
- Sodium: 780mg
- Total Carbohydrates: 25g
- Dietary Fiber: 1g
- Sugars: 4g
- Protein: 16g
Healthier Alternatives
Love the concept but want to lighten it up? You can easily make these pocket tacos more nutrition-friendly without sacrificing flavor.
- Leaner Protein: Swap the ground beef for 93% lean ground turkey or chicken. You’ll still get great flavor, especially with the taco seasoning, but with significantly less saturated fat.
- Boost Veggies: Double the onions and bell peppers in the filling, or add finely chopped mushrooms or spinach. This increases volume, fiber, and nutrients while slightly reducing the calorie density per bite.
- Lower-Sodium Seasoning: Make your own taco blend using chili powder, cumin, garlic powder, onion powder, and a pinch of smoked paprika. You control the salt.
- Lighter “Dough”: For a lower-carb option, try using whole wheat biscuit dough or even low-carb tortillas folded into quesadilla-style pockets.
- Cheese Choice: Use a reduced-fat Mexican cheese blend or simply use a smaller amount of a strongly flavored cheese like sharp cheddar, so a little goes a long way.
Serving Suggestions
While these pockets are a complete meal on their own, pairing them with the right sides can turn dinner into a feast.
- Classic Combo: Serve with a simple side of Spanish rice and black beans refried with a dash of cumin.
- For a Lighter Meal: Pair with a vibrant, crunchy cabbage slaw dressed in lime juice and a touch of olive oil. The freshness perfectly cuts through the richness of the pockets.
- Game Day Spread: These are the ultimate finger food! Serve them alongside other snacks like nachos, wings, and a big bowl of chunky guacamole with plenty of tortilla chips.
- Kid-Friendly Dip: Offer a side of warm queso dip or mild salsa for extra dipping fun. Kids love the interactive element.
Common Mistakes
Avoid these pitfalls to ensure your pocket tacos turn out perfect every time.
- Overfilling the Pockets: It’s tempting to pack in more filling, but this almost guarantees a blowout during baking. Stick to 2-3 tablespoons max.
- Not Sealing the Edges Properly: A quick pinch isn’t enough. Really press down with a fork to create a tight, crimped seal. This is your best defense against leaks.
- Using Hot Filling: Assembling with piping hot filling will start to cook the dough prematurely and make it greasy and hard to handle. Let it cool for 5-10 minutes first.
- Skipping the Egg Wash: The egg wash isn’t just for looks; it helps achieve that perfect golden, crispy exterior. Don’t skip it!
- Overbaking: Set a timer! Baking for too long will dry out the biscuit dough. Pull them out as soon as they are a uniform golden brown.
Storing Tips
Got leftovers? Here’s how to keep them tasting great.
- Refrigeration: Let the pockets cool completely, then store them in an airtight container in the refrigerator for up to 3 days.
- Freezing: These freeze beautifully!
