Table of Contents
Chocolate Fudge Cookies
Did you know that over 60% of people list chocolate as their favorite dessert flavor? If you’re part of that majority, you’re in for a treat. These Chocolate Fudge Cookies are the ultimate answer to your deepest cocoa cravings. They’re not just cookies; they’re rich, decadent, melt-in-your-mouth experiences, packed with gooey chocolate chunks and boasting a texture that’s perfectly crisp on the outside and irresistibly fudgy within. This recipe is engineered for maximum chocolate impact, making it the perfect bake for holidays, gifts, or a simple act of self-love.
Introduction
What makes a cookie transcend from good to legendary? It’s the perfect balance of texture, flavor depth, and that unforgettable first bite. Our Chocolate Fudge Cookies achieve this by using a blend of cocoa powder and real chocolate chunks, creating a double chocolate punch that is both intense and satisfying. The secret to their fudgy center lies in the precise ratio of brown sugar to flour and a crucial chilling step that prevents overspreading. Unlike cakey or crunchy cookies, these are designed to be dense, moist, and rich—a true indulgence for dedicated chocolate lovers. Whether you’re a seasoned baker or a nervous novice, this guide will walk you through every step to ensure cookie perfection.
Ingredients List
Gathering high-quality ingredients is the first step to bakery-quality results. Here’s what you’ll need for about 18 large, decadent cookies:
- 1 cup (225g) Unsalted Butter, room temperature – The foundation for rich flavor and soft texture. It should be cool to the touch but yield to gentle pressure. Substitution: For a slightly nutty flavor, use browned butter, cooled to room temp.
- 1 cup (200g) Granulated Sugar – Provides sweetness and helps create a slight crispness on the cookie’s edges.
- 1 cup (220g) packed Dark Brown Sugar – The MVP for chewiness and fudgy depth. The molasses content adds moisture and a caramel-like note.
- 2 large Eggs + 1 Egg Yolk, room temperature – The extra yolk adds fat and richness without making the dough too cakey. Room temperature eggs emulsify better with the butter.
- 2 teaspoons Pure Vanilla Extract – Enhances all the chocolate flavors. Use the real stuff for the best aroma.
- 2 ¼ cups (280g) All-Purpose Flour – Spoon and level this to avoid a dry, dense cookie. It provides the necessary structure.
- ¾ cup (75g) Dutch-processed Cocoa Powder – This alkalized cocoa is less acidic, giving a darker color and smoother, more mellow chocolate flavor. Substitution: Natural cocoa powder can be used but may yield a lighter color and more intense, slightly tangy flavor.
- 1 teaspoon Baking Soda – The leavening agent that gives the cookies a little lift.
- ½ teaspoon Baking Powder – Works with the baking soda for balanced rise.
- 1 teaspoon Fine Sea Salt – Critical for balancing sweetness and making the chocolate flavors pop. Don’t skip it!
- 2 cups (340g) Semi-Sweet or Dark Chocolate Chunks – Chunks create glorious, uneven pockets of molten chocolate. Substitution: Use a mix of milk and dark chocolate chips, or chopped chocolate bars for superior melt.
Timing
While the total time is around 1 hour and 40 minutes, the active prep is only 20 minutes. The mandatory 1-hour chill is what sets this recipe apart from average chocolate cookie recipes that promise chew but deliver thin, crispy discs. This chilling time allows the flour to fully hydrate and the fats to solidify, resulting in a cookie that spreads less and retains its glorious, thick, fudgy center. It’s a non-negotiable step for texture perfection.
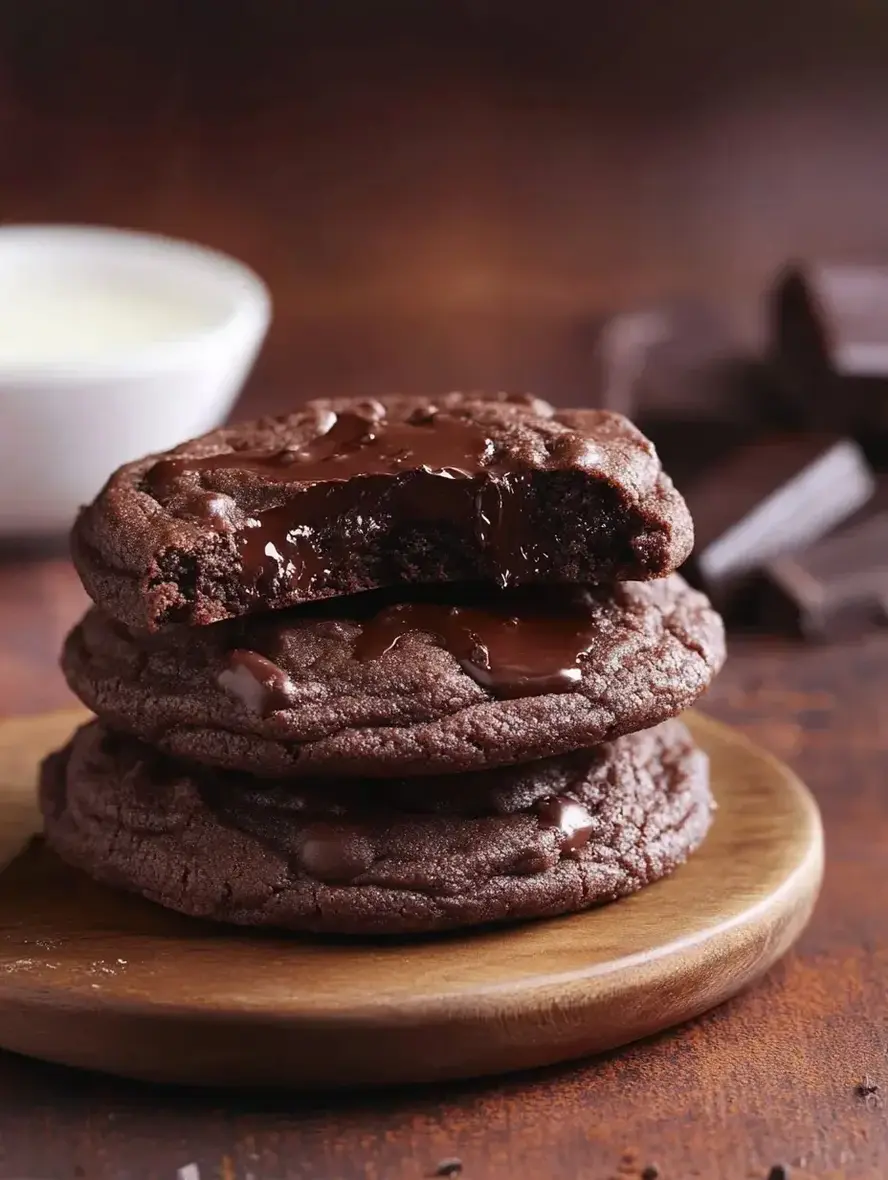
Freshly baked Chocolate Fudge Cookies with pools of melted chocolate.
Step-by-Step Instructions
Step 1: Prepare Your Dry Ingredients
In a medium bowl, whisk together the all-purpose flour, Dutch-processed cocoa powder, baking soda, baking powder, and fine sea salt. Whisk for at least 30 seconds to ensure the leavening agents and salt are evenly distributed throughout the flour. This prevents bitter pockets of baking soda and guarantees a uniform rise. Set this bowl aside.
Step 2: Cream Butter and Sugars
In the bowl of a stand mixer fitted with the paddle attachment (or using a large bowl and a hand mixer), combine the room-temperature butter, granulated sugar, and packed dark brown sugar. Beat on medium speed for 2-3 minutes. You’re not just mixing; you’re “creaming.” The goal is to incorporate air until the mixture becomes noticeably lighter in color and fluffy in texture. This aeration is key for a tender cookie crumb.
Step 3: Combine Wet and Dry
With the mixer on low, add the eggs and extra yolk one at a time, beating until each is fully incorporated before adding the next. Scrape down the sides of the bowl. Mix in the vanilla extract. Now, with the mixer on the lowest setting, gradually add the dry ingredient mixture. Mix only until the flour disappears. Overmixing at this stage develops gluten, which can lead to tough cookies.
Step 4: Fold in Chocolate Chunks
Remove the bowl from the mixer. Using a sturdy spatula, gently fold in the chocolate chunks. Ensure they are evenly distributed, but don’t overwork the dough. The dough will be thick, sticky, and intensely chocolatey.
Step 5: Scoop and Chill
Using a large cookie scoop (about 3 tablespoons), portion the dough onto a parchment-lined baking sheet. Do not flatten them. For the fudgiest results, cover the baking sheet tightly with plastic wrap and refrigerate for at least 1 hour, or up to 72 hours. This chilling is mandatory for flavor development and texture control.
Step 6: Bake to Perfection
Preheat your oven to 350°F (175°C). Line clean baking sheets with parchment paper. Place the chilled dough balls at least 3 inches apart to allow for spread. Bake for 10-12 minutes. The cookies are done when the edges look set and the centers are still soft, puffy, and slightly underbaked. They will have beautiful cracked tops. Remember, they continue to cook on the hot baking sheet.
Step 7: Cool and Serve
Let the cookies cool on the baking sheet for 10 minutes. This allows them to set enough to be moved without falling apart. Then, transfer them to a wire rack to cool completely—if you can wait! They are sublime slightly warm when the chocolate chunks are still gooey.
Nutritional Information
The following is an approximate nutritional breakdown per cookie (recipe makes 18):
- Calories: 320 kcal
- Total Fat: 16g
- Saturated Fat: 10g
- Carbohydrates: 42g
- Fiber: 3g
- Sugars: 28g
- Protein: 4g
Healthier Alternatives
You can make mindful swaps without sacrificing the soul of this cookie:
- Flour: Substitute up to 1/3 of the all-purpose flour with whole wheat pastry flour for added fiber.
- Sugar: Replace 1/4 cup of the granulated sugar with coconut sugar for a lower glycemic index, though it will darken the cookie’s color.
- Butter: Use avocado oil or melted coconut oil for a dairy-free version. The texture will be slightly more cakey.
- Chocolate: Opt for sugar-free dark chocolate chunks or cacao nibs mixed with regular chunks to reduce added sugar while maintaining intense chocolate flavor.
- Eggs: A flax egg (1 tbsp ground flax + 3 tbsp water per egg) can work, but expect a denser, less chewy result.
Serving Suggestions
- À la Mode: Serve warm with a scoop of vanilla bean ice cream for the ultimate cookie sundae.
- Dunkable: Pair with a glass of cold milk, a bold espresso, or a glass of red wine like Cabernet Sauvignon.
- Gourmet Touch: Sprinkle with flaky sea salt right after baking, or drizzle with a simple peanut butter glaze.
- Cookie Ice Cream Sandwich: Let cookies cool completely, then use them to sandwich your favorite ice cream flavor. Roll the edges in mini chocolate chips or crushed nuts.
Common Mistakes
- Skipping the Chill: This leads to flat, greasy cookies that spread too much. The chill is non-negotiable.
- Overmeasuring Flour: Scooping directly from the bag packs in too much flour, leading to dry, cakey cookies. Always spoon and level.
- Overbaking: Taking them out when they look “done” in the oven will yield dry cookies. They should look underbaked in the center when you pull them out.
- Using Cold Ingredients: Cold butter and eggs won’t emulsify properly, creating a curdled-looking dough that bakes unevenly.
- Overmixing After Adding Flour: This develops gluten, making the cookies tough instead of tender.
Storing Tips
- Room Temperature: Store completely cooled cookies in an airtight container at room temperature for up to 5 days. Place a piece of bread in the container to help retain moisture.
