Table of Contents
Cheesecake Deviled Strawberries 🤤 – The Ultimate Party Treat!
Introduction
Did you know that over 70% of party hosts report that bite-sized, no-fuss desserts are the most popular items on their buffet tables? If you’re looking for a show-stopping, crowd-pleasing dessert that fits this trend perfectly, you’ve found it. Welcome to the ultimate guide for making Cheesecake Deviled Strawberries. Hello, sweet treat lovers! Get ready to dive into a recipe that combines creamy cheesecake filling with fresh strawberries for an irresistible finger food. Perfect for any occasion, these treats are easy to make, visually stunning, and utterly delicious. Whether you’re hosting a party, celebrating a holiday, or looking for a unique dessert to impress, this simple recipe is bound to steal the show!
Ingredients List
The magic of this recipe lies in the perfect balance of fresh, juicy strawberries and a rich, tangy cheesecake filling. Here’s everything you need for about 24-30 delightful bites.
- For the Strawberries:
- 1 pound (about 450g) fresh large strawberries – Look for berries that are bright red, firm, and have a vibrant green cap. They should have a sweet, floral aroma. Choose uniformly sized ones for a consistent presentation.
- For the Cheesecake Filling:
- 8 oz (225g) full-fat cream cheese, softened – This is the base of our creamy filling. The full-fat version gives the best texture and flavor – rich, tangy, and luxuriously smooth. Substitution: For a lighter version, you can use Neufchâtel cheese or a 1/3 less fat cream cheese block, but avoid whipped or tub varieties as they are too soft.
- 1/2 cup (60g) powdered sugar – Dissolves seamlessly into the filling without grittiness, adding sweetness and helping to stabilize the mixture. Substitution: For a less refined option, you can blitz granulated sugar in a blender until powdery, or use a monk fruit powdered sweetener.
- 1 teaspoon pure vanilla extract – Use the real stuff! It adds a warm, complex depth that artificial vanilla can’t match. The aroma is heavenly.
- 1-2 tablespoons heavy cream or whole milk – This is your texture adjuster. Start with one tablespoon to achieve a thick, pipeable consistency that holds its shape beautifully.
- For Garnish (Optional but Recommended):
- Graham cracker crumbs – For that classic cheesecake crust crunch and a hint of honey-cinnamon flavor.
- Mini chocolate chips, crushed nuts (like pecans), or a drizzle of melted chocolate – Adds visual appeal and contrasting textures.
- A pinch of lemon zest – Brightens up the filling and complements the strawberry’s sweetness.
Timing
One of the biggest wins for this recipe is its speed. Unlike a traditional baked cheesecake that can take hours, these deviled strawberries come together in a fraction of the time.
20 minutes
0 minutes
20 minutes (plus chilling)
Compared to the average dessert recipe which often requires baking, cooling, and setting times of 2+ hours, this 20-minute active prep time is a game-changer. The only “waiting” involved is a brief chill in the refrigerator to let the flavors meld and the filling firm up—about 30 minutes to 1 hour. This makes it an ideal last-minute lifesaver for unexpected guests or when you need a quick, impressive treat.
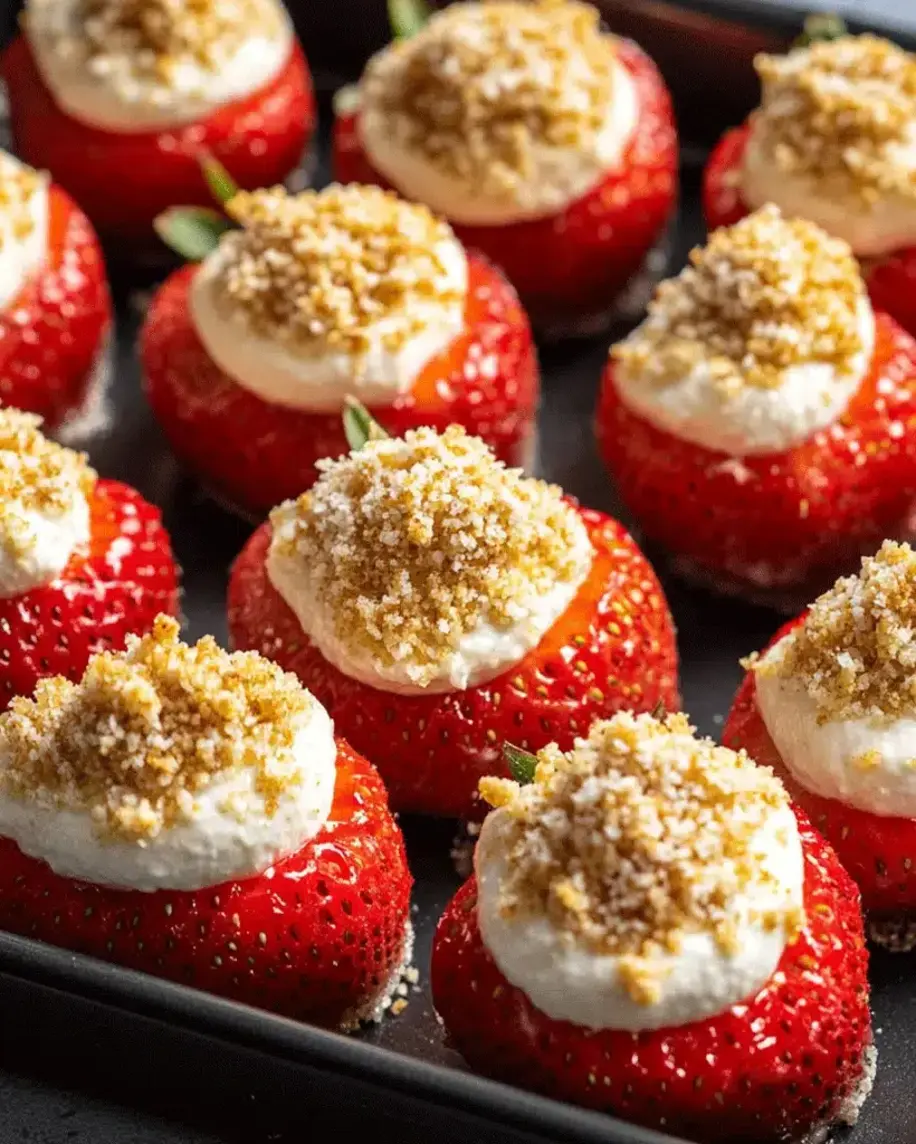
Fresh, vibrant strawberries filled with creamy cheesecake goodness – the perfect bite-sized dessert!
Step-by-Step Instructions
Follow these simple, detailed steps to create perfect Cheesecake Deviled Strawberries every single time.
Step 1: Prepare the Strawberries
First, give your strawberries a gentle rinse under cool water and pat them completely dry with paper towels. Any excess moisture will make the filling slide off. Next, using a small paring knife, carefully slice off the very top stem end of each strawberry to create a flat base so it can stand upright. Now, for the “deviled” part: slice off the pointed tip of the strawberry (about 1/3 down from the top). Use a small spoon or a melon baller to carefully hollow out the center of each strawberry, creating a little cup for the filling. Be careful not to go through the bottom or sides. Place your hollowed strawberries on a paper towel-lined plate or a baking sheet. This step is crucial for structural integrity!
Step 2: Make the Cheesecake Filling
In a medium mixing bowl, add your softened cream cheese. It should be at room temperature so it blends smoothly without lumps. Using a hand mixer or a sturdy whisk, beat the cream cheese on medium speed for about 30 seconds until it’s creamy and smooth. Sift in the powdered sugar. This prevents lumps and ensures a silky texture. Add the vanilla extract. Beat on low speed initially to incorporate the sugar, then increase to medium and beat for 1-2 minutes until the mixture is light and fluffy. Scrape down the sides of the bowl. Now, add 1 tablespoon of heavy cream and beat again. Check the consistency. You want it thick enough to hold a peak but smooth enough to pipe. If it’s too stiff, add the second tablespoon of cream, one teaspoon at a time, until perfect.
Step 3: Fill and Garnish
Transfer your luxurious cheesecake filling to a piping bag fitted with a star tip (for a fancy look) or a simple round tip. If you don’t have a piping bag, a sturdy zip-top bag with a corner snipped off works perfectly. Now, pipe the filling generously into each hollowed strawberry, swirling it slightly above the rim for a beautiful, generous look. This is where you get creative! Immediately after piping, roll the exposed filling in your chosen garnish. A roll in graham cracker crumbs is classic. For extra flair, press a few mini chocolate chips into the top or add a tiny sprinkle of lemon zest. The garnish sticks best if applied right after piping.
Step 4: Chill and Serve
Once all your strawberries are filled and garnished, carefully arrange them on your serving platter. Loosely cover the platter with plastic wrap and place it in the refrigerator. Chill for at least 30 minutes, or up to 2 hours. This chilling time is non-negotiable—it allows the filling to set slightly, making the strawberries easier to pick up and eat, and it lets all the flavors deepen beautifully. Serve chilled straight from the fridge for the best texture and taste experience.
Nutritional Information
While these are a treat, it’s helpful to know what you’re enjoying. The following estimates are per strawberry (based on a batch of 24).
- Calories: ~45 kcal
- Total Fat: 3g
- Saturated Fat: 1.8g
- Carbohydrates: 4g
- Fiber: 0.3g
- Sugar: 3g
- Protein: 0.7g
Remember, you’re also getting vitamin C and antioxidants from the fresh strawberries!
Healthier Alternatives
You can easily tweak this recipe to fit various dietary preferences without sacrificing flavor.
- Dairy-Free/Vegan: Use a high-quality vegan cream cheese (like those from Kite Hill or Miyoko’s) and swap the heavy cream for full-fat coconut cream. Ensure your powdered sugar is vegan (some are processed with bone char).
- Lower Sugar: Reduce the powdered sugar to 1/4 cup and use a powdered erythritol or monk fruit blend. The natural sweetness of the strawberries will shine through more.
- Higher Protein: Blend 1/4 cup of Greek yogurt (plain, full-fat) into the cream cheese filling. It adds a lovely tang and boosts protein content.
- Gluten-Free: This recipe is naturally gluten-free! Just ensure your garnishes (like graham cracker crumbs) are certified gluten-free, or use crushed gluten-free cookies or nuts instead.
Serving Suggestions
- Party Platter: Arrange them on a tiered stand or a large white platter with fresh mint leaves for a stunning centerpiece.
- Dessert Board: Include these strawberries on a dessert charcuterie board with dark chocolate squares, shortbread cookies, and mixed nuts.
- Brunch Brilliance: Serve them alongside mini muffins, quiche, and mimosas for an elevated brunch spread.
- Kid-Friendly: Let kids decorate their own with sprinkles, colored sugar, or crushed Oreo cookies.
Common Mistakes
- Using Wet Strawberries: The #1 mistake. If the strawberries aren’t thoroughly dried, the filling won’t adhere properly. Pat them dry inside and out.
- Cold Cream Cheese: Trying to beat cold cream cheese leads to a lumpy, unpipeable filling. Plan ahead and let it soften on the counter for 1-2 hours.
- Over-Hollowing: Digging too deep or making the walls too thin causes the strawberry to collapse or leak. Be gentle and leave a sturdy base.
- Skipping the Chill: Serving immediately means a runny filling. The brief chill is essential for the perfect bite.
Storing Tips
- Refrigeration: Store leftovers in a single layer in an airtight container in the fridge for up to 2 days. The strawberries may release a little juice over time, but they’ll still taste great.
- Do Not Freeze: Freezing will cause the strawberries to become mushy and the filling to separate. This is a fresh-only treat.
- Make-Ahead Strategy: You can hollow the strawberries and make the filling separately up to one day in advance. Store the strawberries in the fridge and the filling in a sealed container. Pipe and garnish no more than 2-3 hours before serving for optimal freshness.
Conclusion
Cheesecake Deviled Strawberries are more than just a dessert; they’re a conversation starter, a guaranteed crowd-pleaser, and proof that the most impressive treats can be incredibly simple. With their perfect blend of fresh fruit and creamy indulgence, they check every box for flavor,
