Table of Contents
Butterfinger Poke Cake – The Ultimate Irresistible Dessert!
Introduction
Did you know that over 65% of home bakers report that poke cakes are their go-to dessert for guaranteed crowd-pleasing success? Hey there, sweet treat lovers! Are you in the mood for a dessert that’s bursting with rich chocolate, creamy caramel, and crunchy Butterfinger goodness? Well, you’re in for a treat! Today, we’re diving into an easy and irresistible Butterfinger Candy Bar Poke Cake recipe that will satisfy your candy bar cravings and more. Perfect for any occasion, from potlucks to family dinners, this decadent cake is a masterclass in texture and flavor. The magic of a poke cake lies in its simplicity: a moist base cake is perforated and infused with a sweet, flavorful liquid, creating pockets of deliciousness in every bite. When you combine that with the iconic peanut buttery crunch of Butterfinger, you create a dessert that’s not just a cake, but a full sensory experience. Let’s get baking, shall we?
Ingredients List
Gather these simple ingredients to create your masterpiece. For best results, have everything at room temperature unless otherwise noted.
- For the Cake:
- 1 box (15.25 oz) chocolate fudge cake mix – The rich, dark base. For a deeper flavor, use devil’s food cake mix.
- Ingredients listed on the cake mix box – Typically eggs, oil, and water. Using buttermilk instead of water adds incredible moisture and a slight tang.
- For the Poke Filling:
- 1 (14 oz) can sweetened condensed milk – The key to creamy, luxurious pockets. It should be thick and pale yellow.
- 1 (12.25 oz) jar caramel ice cream topping – Look for a thick, rich sauce. The salted caramel variety adds a fantastic sweet-and-salty contrast.
- For the Topping & Garnish:
- 1 (8 oz) container frozen whipped topping, thawed – Light and fluffy. For a richer flavor, substitute with an equal amount of freshly whipped heavy cream sweetened with 2 tablespoons of powdered sugar.
- 4-5 full-size Butterfinger candy bars (or 1.5 cups crushed) – The star of the show! You’ll love the sound of the crispy, peanut-buttery layers being crushed. Reserve some larger chunks for a dramatic final garnish.
- Optional: Chocolate syrup for drizzling – For an extra glossy, professional finish.
Timing
20 minutes
30-35 minutes
4 hours (minimum)
About 5 hours
Compared to the average layer cake which can take 2+ hours of active work, this Butterfinger poke cake is a time-saver. The majority of the “work” is passive chilling time, allowing the flavors to meld perfectly. You can bake the cake in the morning and have it ready and spectacular for an evening dessert with minimal last-minute fuss.
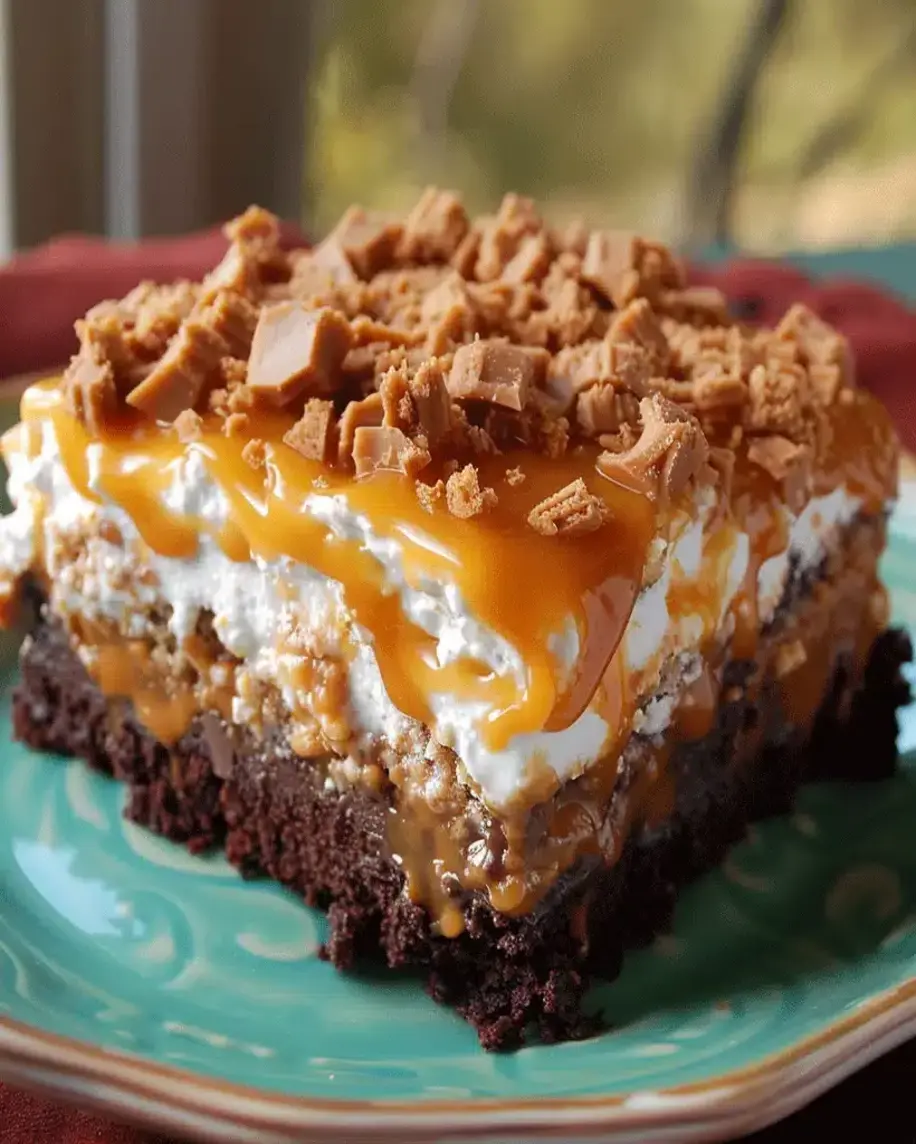
This stunning Butterfinger Poke Cake is a visual and flavorful masterpiece, with layers of chocolate, caramel, and peanut butter candy.
Step-by-Step Instructions
Step 1: Bake the Cake
Preheat your oven to the temperature specified on your cake mix box (usually 350°F/175°C). Generously grease a 9×13 inch baking pan with butter or non-stick spray. In a large mixing bowl, prepare the cake batter according to the package directions. My pro tip? Swap the water for whole milk or buttermilk and add an extra egg yolk for a denser, more tender crumb that holds up beautifully to the poke-and-soak method. Pour the batter into your prepared pan, spreading it evenly. Bake for 30-35 minutes, or until a toothpick inserted into the center comes out clean. The top should be springy to the touch. Place the pan on a wire rack and let the cake cool completely in the pan. Rushing this step is the enemy—a warm cake will absorb the filling too aggressively and become soggy.
Step 2: Prepare the Poke Filling
While the cake cools, prepare your decadent filling. In a medium bowl, whisk together the entire can of sweetened condensed milk and the jar of caramel topping until they are fully combined into a smooth, golden-brown liquid. The mixture will be thick but pourable. Set this aside. Now, unwrap your Butterfinger bars. Place them in a large zip-top bag, seal it tightly, and use a rolling pin or the bottom of a heavy pan to crush them into a mix of fine crumbs and small, crunchy pieces. The varying textures are what make every bite exciting.
Step 3: Poke and Soak
Once the cake is completely cool, it’s time for the signature “poke.” Using the handle end of a wooden spoon or a similar round object (about 1/4 to 1/2 inch in diameter), poke holes all over the surface of the cake. Space them about 1 inch apart and push down until you feel the bottom of the pan. Don’t be shy—this network of holes is the pathway for flavor. Slowly and evenly pour the caramel and condensed milk mixture over the entire cake. Use a spatula to gently spread it, encouraging the liquid to seep down into every hole. You’ll see the cake eagerly drinking it in. This is the moment the magic happens.
Step 4: Whip the Topping
If using frozen whipped topping, ensure it is fully thawed in the refrigerator. For a homemade touch, pour 1 1/2 cups of heavy whipping cream into a chilled bowl. Add 2 tablespoons of powdered sugar and 1 teaspoon of vanilla extract. Whip with a hand mixer or stand mixer on high speed until stiff peaks form. This fresh whipped cream topping adds a less-sweet, airy contrast to the rich cake.
Step 5: Assemble and Chill
Spread your whipped topping (thawed or freshly made) evenly over the entire surface of the soaked cake. Sprinkle the crushed Butterfinger bars generously over the top, pressing them lightly into the whipped layer so they adhere. For a final flourish, drizzle with a bit of chocolate syrup. Now, the most crucial step: cover the pan tightly with plastic wrap or a lid and refrigerate for at least 4 hours, but ideally overnight. This chilling time allows the filling to fully set and the flavors to marry, transforming the components into one cohesive, irresistible dessert.
Nutritional Information
The following is an approximate nutritional breakdown per serving (based on 15 servings). For precise dietary needs, use a recipe calculator with your specific brand ingredients.
- Calories: ~480 kcal
- Total Fat: 19g
- Saturated Fat: 9g
- Cholesterol: 45mg
- Sodium: 380mg
- Total Carbohydrates: 72g
- Dietary Fiber: 1g
- Sugars: 55g
- Protein: 7g
Healthier Alternatives
You can enjoy this indulgent treat with a few mindful swaps that don’t sacrifice flavor:
- Cake Base: Use a sugar-free chocolate cake mix or a homemade cake using black bean puree or applesauce to replace some of the oil.
- Poke Filling: Opt for a reduced-fat or fat-free sweetened condensed milk. Look for a caramel topping with no high-fructose corn syrup, or make a quick homemade version with dates and almond milk.
- Topping: Substitute the whipped topping with a light coconut whipped cream or Greek yogurt sweetened with a touch of honey and vanilla.
- Candy: Use a smaller amount of crushed Butterfinger as a “sprinkle” rather than a full layer, or try crushed, dry-roasted peanuts mixed with a tablespoon of powdered peanut butter for a similar flavor profile with less sugar.
Serving Suggestions
This cake is a star on its own, but a few accompaniments can elevate it to a restaurant-quality dessert:
- Serve each square with a small scoop of vanilla bean ice cream or a dollop of salted caramel gelato.
- Drizzle individual plates with extra caramel sauce and a sprinkle of sea salt before placing the cake slice on top.
- Pair with a cup of strong black coffee or a glass of cold milk to balance the sweetness.
- For a festive touch, garnish with a whole mini Butterfinger bar standing upright on each slice.
Common Mistakes
- Poking Holes While Warm: This causes the cake to collapse and absorb filling unevenly, leading to a mushy texture. Always cool completely.
- Using a Sharp Object: Avoid using a knife or fork to poke holes. The round handle of a spoon creates perfect, clean channels that don’t tear the cake.
- Skipping the Chill: Serving immediately after assembly means the filling won’t be set, and the flavors won’t have blended. Patience is key.
- Overcrushing the Candy: Turning the Butterfinger into a uniform powder loses the delightful crunch. Aim for a variety of sizes.
Storing Tips
This cake stores beautifully, making it perfect for make-ahead occasions.
- Refrigeration: Keep covered tightly with plastic wrap or in an airtight container in the refrigerator for up to 4-5 days. The whipped topping may begin to weep slightly after day 3.
- Freezing: You can freeze the undecorated, soaked cake (before adding whipped topping and candy) for up to 2 months. Thaw overnight in the fridge, then add toppings before serving. The fully assembled cake does not freeze well as the whipped topping and candy texture will suffer.
- Preventing Sogginess: If storing for more than a day, consider adding the crushed Butterfinger topping just before serving to maintain maximum crunch.
Conclusion
This Butterfinger Poke Cake is more
