Table of Contents
Blue Velvet Cake
Introduction
Did you know that visually appealing food can increase perceived flavor by up to 20%? This stunning Blue Velvet Cake is a perfect example of that delightful phenomenon. More than just a vibrant twist on the classic red velvet, this cake is a conversation piece, a celebration centerpiece, and an absolute joy to eat. With its striking layers of deep blue cake, luxuriously tangy cream cheese frosting, and a crown of fresh blueberries, it promises a sensory experience that’s as memorable as it is delicious. Whether you’re looking to impress at a birthday, a baby shower, or simply want to brighten a regular Tuesday, this recipe delivers on both flavor and visual drama. Let’s dive into how you can create this masterpiece in your own kitchen.
Ingredients List
Gather these high-quality ingredients for the best results. For accuracy, use a kitchen scale for dry ingredients.
For the Blue Velvet Cake:
- 2 ½ cups (300g) cake flour – For a tender, fine crumb. Substitution: All-purpose flour works, but the texture will be slightly denser.
- 2 tablespoons (10g) unsweetened cocoa powder – Use a natural, non-Dutch-processed cocoa for the classic tangy flavor note.
- 1 teaspoon baking soda
- 1 teaspoon salt
- 1 ½ cups (300g) granulated sugar
- 1 cup (226g) unsalted butter, softened – Should be cool to the touch but yield to gentle pressure.
- 2 large eggs, room temperature
- 1 cup (240ml) buttermilk, room temperature – Crucial for tenderness and reacting with the baking soda. Substitution: Mix 1 cup milk with 1 tablespoon lemon juice or white vinegar; let sit for 5 minutes.
- 2 teaspoons pure vanilla extract
- 1-2 tablespoons blue gel food coloring – Gel coloring provides vibrant, deep color without thinning the batter. Liquid coloring will require more and may affect texture.
- 1 teaspoon white vinegar – Enhances the red velvet reaction, but here it helps set the blue color and lift the crumb.
For the Cream Cheese Frosting:
- 1 cup (226g) unsalted butter, softened
- 16 oz (452g) full-fat cream cheese, cold – Using cold cream cheese helps maintain a stable, pipeable frosting.
- 1 tablespoon pure vanilla extract
- ¼ teaspoon salt – Balances the sweetness.
- 5-6 cups (600-720g) powdered sugar, sifted – Sifting is non-negotiable for a silky-smooth frosting.
For Decoration:
- 1-2 pints fresh blueberries – Look for plump, firm berries with a dusty blue bloom.
- Optional: Edible gold dust or silver dragees for extra sparkle.
Timing
45 minutes
25-30 minutes
3 hours (including cooling & frosting)
Compared to the average layer cake recipe, this Blue Velvet Cake requires a slightly longer cooling period (about 2 hours) which is critical. Attempting to frost warm layers is the number one cause of frosting meltdown. This total time ensures a professional, stable result. The active hands-on time is very manageable at under 1.5 hours.
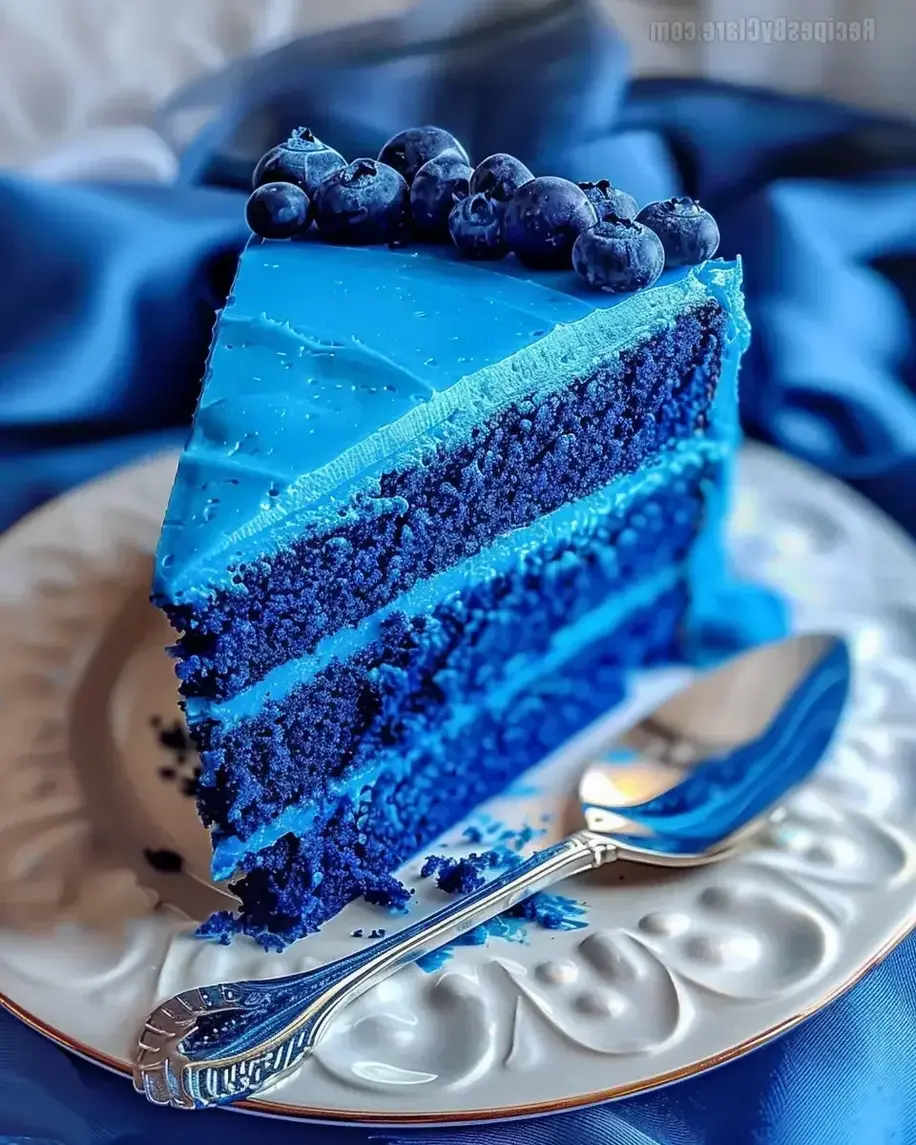
A stunning slice of vibrant Blue Velvet Cake with cream cheese frosting and fresh blueberries.
Step-by-Step Instructions
Step 1: Prepare Your Pans and Oven
Preheat your oven to 350°F (175°C). Grease three 8-inch round cake pans with butter or baking spray. Line the bottoms with parchment paper rounds—this is your insurance policy for perfect, unbroken cake layers. Lightly flour the sides of the pans and tap out any excess. Place the prepared pans in the refrigerator while you mix the batter; this helps the butter firm up, leading to better cake structure.
Step 2: Mix the Dry Ingredients
In a medium bowl, whisk together the cake flour, cocoa powder, baking soda, and salt. Whisk for at least 30 seconds to ensure the leavening agent and cocoa are evenly distributed throughout the flour. This aeration step contributes to a lighter cake. Set this bowl aside.
Step 3: Cream the Butter and Sugar
In the bowl of a stand mixer fitted with the paddle attachment, beat the softened butter on medium speed for 1 minute until smooth and creamy. Gradually add the granulated sugar with the mixer running. Increase the speed to medium-high and beat for a full 4-5 minutes. The mixture should become very pale, fluffy, and almost whipped in texture. This step is crucial for incorporating air and creating a fine crumb. Scrape down the bowl halfway through. Add the eggs one at a time, beating well after each addition until fully incorporated. Mix in the vanilla extract.
Step 4: Combine Wet and Dry Ingredients
With the mixer on low speed, add the dry ingredients to the butter mixture in three parts, alternating with the buttermilk in two parts. Start and end with the dry ingredients. The sequence should be: 1/3 dry mix, 1/2 buttermilk, 1/3 dry mix, remaining buttermilk, remaining dry mix. Mix only until the flour is just incorporated after each addition. In a small cup, stir together the blue gel food coloring and white vinegar. With the mixer still on low, pour in the blue mixture. Mix just until the batter is a uniform, stunning blue color—no streaks! Avoid overmixing at all costs.
Step 5: Bake and Cool
Divide the batter evenly among the three prepared pans. I like to use a kitchen scale for precision. Smooth the tops with an offset spatula. Bake for 25-30 minutes, or until a toothpick inserted into the center comes out clean or with a few moist crumbs. The cakes will spring back when lightly touched. Let the cakes cool in their pans on a wire rack for 15 minutes. Then, run a knife around the edges, invert them onto the rack, peel off the parchment, and let them cool completely (about 2 hours). Do not skip the full cooling time.
Step 6: Make the Cream Cheese Frosting
While the cakes cool, make the frosting. In a clean stand mixer bowl with the paddle attachment, beat the softened butter on medium-high speed for 3 minutes until very pale and creamy. Add the cold cream cheese in chunks, beating on medium until just combined—about 1 minute. Over-beating cream cheese can make the frosting runny. Beat in the vanilla and salt. With the mixer on low, gradually add the sifted powdered sugar, one cup at a time, until fully incorporated and smooth. Increase speed to medium-high and beat for 1-2 minutes until fluffy. If the frosting seems too soft, refrigerate it for 20-30 minutes before using.
Step 7: Assemble and Decorate
Place one cooled cake layer on your serving plate or cake stand. Spread a generous, even layer of frosting (about ¾ cup) with an offset spatula. Top with the second layer and repeat. Place the final layer top-side down for the flattest surface. Apply a thin “crumb coat” of frosting over the entire cake. Chill for 20 minutes to set. Apply the final, thick layer of frosting, smoothing the sides and creating swirls on top. Pile fresh blueberries in the center and scatter them around the base. For a magical touch, lightly dust a few blueberries with edible gold dust.
Nutritional Information
The following estimates are for 1 slice (1/12th of the cake) with frosting.
- Calories: ~680 kcal
- Total Fat: 34g
- Saturated Fat: 21g
- Cholesterol: 125mg
- Sodium: 380mg
- Total Carbohydrates: 92g
- Dietary Fiber: 1g
- Sugars: 75g
- Protein: 6g
Healthier Alternatives
You can make mindful swaps without sacrificing the celebratory spirit of this cake.
- Flour & Sugar: Substitute half the cake flour with whole wheat pastry flour for added fiber. Reduce granulated sugar in the cake to 1 cup and use a natural sugar substitute like monk fruit blend for the remainder.
- Frosting: Use reduced-fat cream cheese and swap half the butter for Greek yogurt (strained). Reduce powdered sugar to 3 cups and add a touch of stevia or erythritol-based confectioners’ sugar to sweeten.
- Fat: Replace half the butter in the cake with unsweetened applesauce or mashed ripe avocado for moisture and healthier fats.
- Topping: Double the fresh blueberries! They add antioxidants, fiber, and natural sweetness, allowing you to use less frosting.
Serving Suggestions
This cake is a star on its own, but thoughtful pairings elevate the experience.
- Beverage: Serve with a glass of cold milk, a cup of strong coffee, or a sparkling prosecco to cut through the richness.
- Accompaniment: A small scoop of vanilla bean ice cream or a dollop of lightly sweetened whipped cream adds a lovely temperature contrast.
- Presentation: Use a cake stand with a dome for a bakery-style display. Garnish individual plates with a mint sprig or a light dusting of powdered sugar just before serving.
