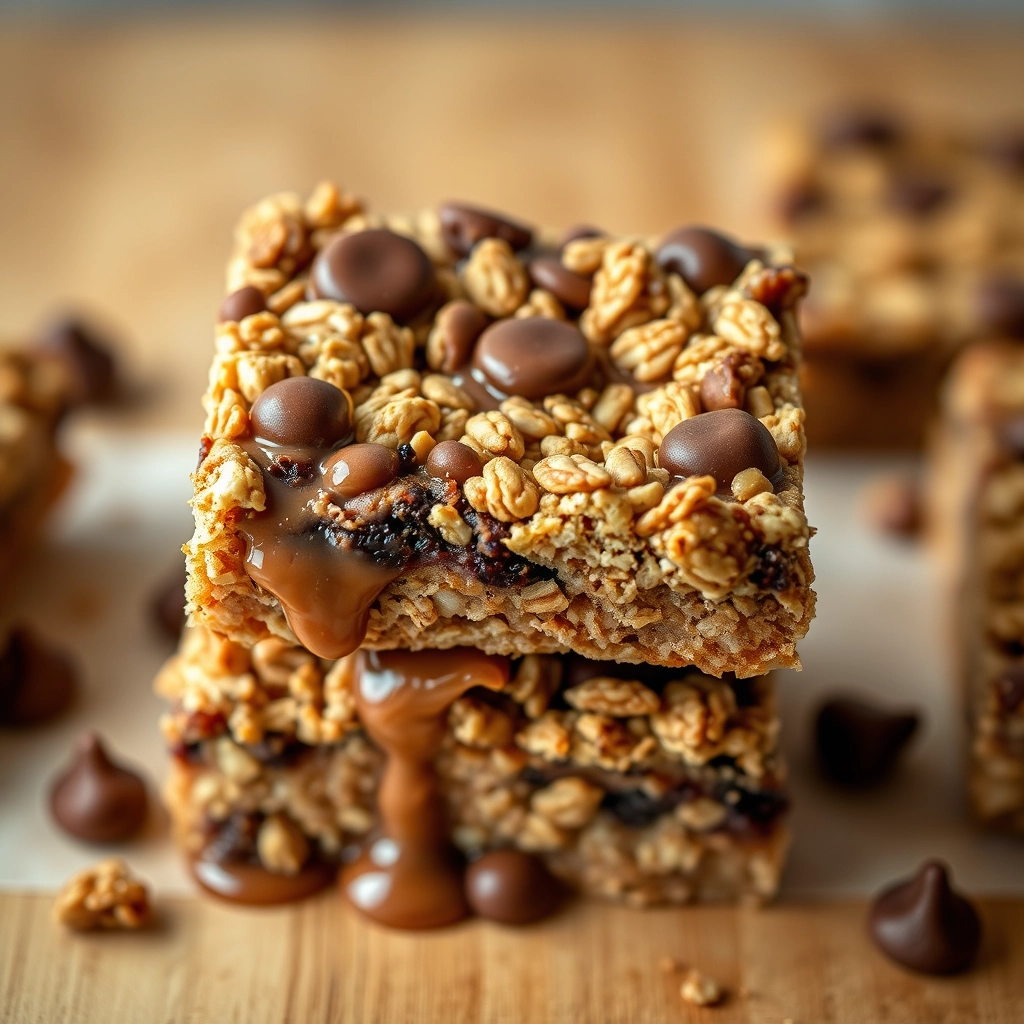
The Cozy Comfort of Homemade Granola Bars
There’s something deeply comforting about the smell of toasted oats and honey wafting through the kitchen—especially on a crisp morning when the sunlight slants just right through the window. I’ll never forget the first time I made granola bars at home. My youngest had just started preschool, and in the whirlwind of packing lunches and rushing out the door, I realized how much we relied on store-bought snacks. But one bite of a homemade version, still warm from the oven, and I was hooked. Crunchy, chewy, and packed with just the right sweetness, these granola bars became our little secret—the kind of treat that feels like a hug in food form.
Ingredients You’ll Love (and Probably Already Have!)
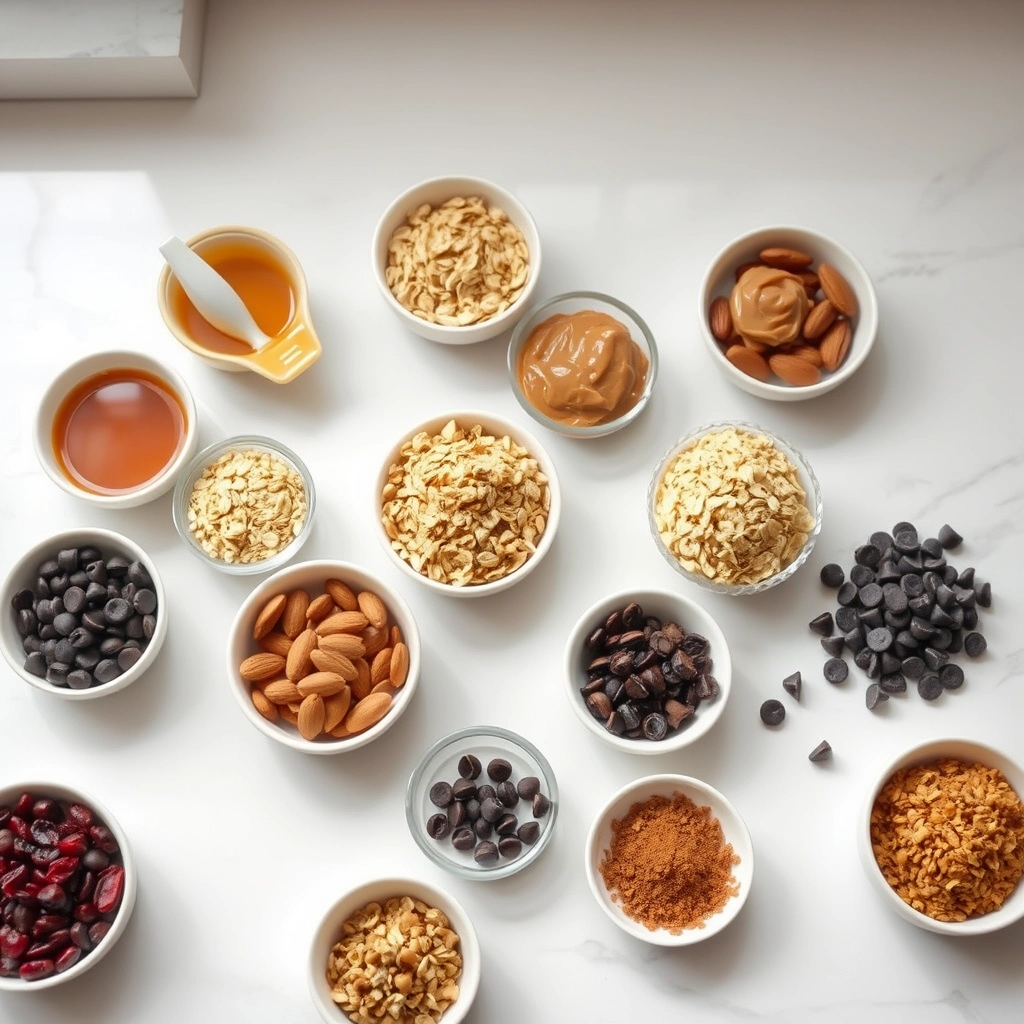
One of the best things about this recipe? It’s forgiving and flexible. Here’s what I use, but feel free to riff with what’s in your pantry:
- Old-fashioned rolled oats (2 cups) – The heart of any good granola bar! They give that perfect chew and toasty flavor.
- Almond butter (½ cup) – Creamy and rich, but peanut butter works beautifully too.
- Honey (⅓ cup) – Nature’s golden glue! Maple syrup is a great vegan alternative.
- Chopped nuts (½ cup) – I adore pecans or almonds here, but leave them out if allergies are a concern.
- Dried fruit (½ cup) – Tart cherries or apricots add a lovely contrast, but raisins are classic.
- Chia seeds (2 tbsp) – Tiny but mighty for a nutrient boost.
- Vanilla extract (1 tsp) – That whisper of warmth makes all the difference.
- Pinch of sea salt – Balances the sweetness and makes the flavors pop.
Let’s Make Some Magic
Preheat your oven to 325°F (165°C) and line an 8×8 baking pan with parchment paper—this little step saves so much cleanup later!
- Toast the oats – Spread them evenly on a baking sheet and pop them in the oven for 10 minutes, stirring halfway. You’ll know they’re ready when your kitchen smells like a cozy café.
- Warm the glue – In a small saucepan over low heat, gently warm the almond butter and honey until they melt together into a glossy, pourable consistency. Stir in the vanilla and salt. (Pro tip: Don’t let it boil—just warm enough to blend smoothly!)
- Mix it up – In a big bowl, combine the toasted oats, nuts, dried fruit, and chia seeds. Pour the warm almond butter mixture over everything and stir until every oat is coated and happy. It should feel like a sticky, chunky dough.
At this point, I always sneak a spoonful—quality control, you know? The mix should hold together when pressed but still have plenty of texture. If it feels too dry, add another drizzle of honey; too wet? A sprinkle more oats will do the trick.
Now that you’ve mastered the basic recipe, let’s talk about how to make these granola bars truly your own! Whether you’re catering to dietary restrictions or just craving something different, these variations will keep your snack game strong.
Pro Tips & Creative Variations
- Nut-free option: Replace nuts with sunflower seeds, pumpkin seeds, or extra dried fruit
- Chocolate lovers: Stir in dark chocolate chips after the mixture cools slightly to prevent melting
- Protein boost: Add a scoop of your favorite protein powder to the dry ingredients
- Spice it up: A dash of cinnamon, nutmeg, or cardamom adds wonderful warmth
- Press firmly: Really pack the mixture into your pan – this prevents crumbly bars
Perfect Pairings
These wholesome bars are delicious on their own, but here are some delightful ways to enjoy them:
- Crumbled over Greek yogurt with fresh berries
- Alongside your morning coffee or tea
- As a post-workout snack with a glass of almond milk
- Pack them in lunchboxes with apple slices and cheese cubes
Storage & Freshness Tips
To keep your granola bars tasting fresh:
- Store in an airtight container at room temperature for up to 1 week
- For longer storage, wrap individually and freeze for up to 3 months
- If bars soften, pop them in a 300°F oven for 5 minutes to crisp up
- Hot tip: Separate layers with parchment paper to prevent sticking
Frequently Asked Questions
Can I make these gluten-free?
Absolutely! Just use certified gluten-free oats and check that all your mix-ins are gluten-free too.
Why are my bars falling apart?
This usually means you need more binding agent. Try adding an extra tablespoon of honey or nut butter next time.
Can I use quick oats instead of rolled oats?
Rolled oats give the best texture, but in a pinch, quick oats will work – your bars will just be slightly denser.
How do I make these vegan?
Simply substitute honey with maple syrup or agave nectar, and ensure any chocolate chips are dairy-free.
Final Thoughts
There’s something so satisfying about pulling a batch of homemade granola bars from the oven – that sweet, toasty aroma filling your kitchen, knowing you’ve made something both delicious and nourishing. Whether you’re packing them for busy days, sharing with loved ones, or sneaking a midnight snack, these little bars are packed with love in every bite. Here’s to many happy baking adventures and the simple joy of homemade goodness!
Print
Homemade Granola Bars
Description
Easy and healthy homemade granola bars packed with oats, nuts, and honey for a perfect snack.
Ingredients
For the Crust:
- 2 cups rolled oats
- 1/2 cup honey
- 1/2 cup peanut butter
- 1/4 cup chopped almonds
- 1/4 cup dried cranberries
- 1/4 cup chocolate chips
- 1 tsp vanilla extract
- 1/2 tsp cinnamon
Instructions
1. Prepare the Crust:
- Preheat oven to 350°F (175°C) and line a baking dish with parchment paper.
- In a large bowl, mix oats, almonds, cranberries, chocolate chips, and cinnamon.
- In a small saucepan, warm honey and peanut butter over low heat until smooth. Stir in vanilla extract.
- Pour the honey mixture over the dry ingredients and mix until well combined.
- Press the mixture firmly into the prepared baking dish and bake for 20 minutes.
- Let cool completely before cutting into bars.
Notes
You can customize the seasonings to taste.

These granola bars turned out great—just the right amount of chewiness with a nice crunch from the nuts. I swapped honey for maple syrup, and the flavor was still perfect. My kids loved them, and they were way easier to make than I expected.
These granola bars turned out great—just the right amount of chewiness with a nice crunch from the nuts. I swapped honey for maple syrup, and they still held together perfectly. My kids loved them, and they’re way better than store-bought.
These granola bars turned out great—chewy with just the right amount of crunch from the oats and nuts. I added a bit of extra honey because I like them sweeter, and they held together perfectly. My kids loved them for their after-school snack.
I made these with my son and we were both surprised by how simple the process was. The bars came out perfectly chewy and not too sweet, which is just what I was hoping for. They held together really well in his lunchbox all week.
I made these for my son’s lunchbox and they turned out great. They have a nice chewy texture without being too hard, and the honey flavor isn’t overpowering. I’ll definitely be making another batch next week.
I made these with my son and they turned out great. The texture is perfect, not too hard or crumbly, and they’re just sweet enough with the honey. We’ll definitely be making these again for our hiking trips.
I made these for my kids’ lunches this week and they turned out really well. The texture is nice and chewy, and I like that they’re not overly sweet. I did add a handful of dried cranberries, which was a good touch.
I made these for my kids’ lunches and they turned out great. The texture is nice and chewy, and the honey gives them just the right amount of sweetness without being too much. I’ll definitely be making these again next week.
I made these with my son and we both thought they turned out great. The texture is nice and chewy, and they’re just sweet enough without being too much. I’ll definitely be making these again for our afternoon snacks.
I made these for my kids’ lunches and they turned out great. The texture is nice and chewy, and the honey gives them just the right amount of sweetness without being too much. I added a few extra chocolate chips because we always have them on hand.
I made these for my son’s lunchbox and they turned out great. The texture is perfect, not too hard or crumbly, and the honey gives them just the right amount of sweetness without being overwhelming.
I made these with my daughter and we both thought they turned out great. The texture is nice and chewy, and they’re just sweet enough without being too much. I’ll definitely be keeping this recipe for our after-school snacks.
I made these with my daughter and we both thought they turned out great. They have a nice chewy texture and just the right amount of sweetness from the honey. I’ll definitely be keeping this recipe for an easy school snack.
I made these with my son and we both thought they turned out great. The bars have a nice chewy texture and just the right amount of sweetness from the honey. I’ll definitely be keeping this recipe for our weekly lunch prep.
I made these for my kids’ lunchboxes and they turned out great. The texture is nice and chewy, and I like that they’re not overly sweet. I did add a handful of dried cranberries which was a good call.
I made these for my son’s lunchbox and they turned out great. The texture is perfect, not too hard and not too crumbly, and they’re just sweet enough with the honey. I’ll definitely be making another batch next week.