Table of Contents
Basic Kitchen Staple
Introduction
Did you know that over 90% of American households purchase mayonnaise, yet fewer than 15% have ever attempted to make this creamy condiment from scratch? This simple homemade mayonnaise, made with eggs, oil, and lemon juice, is a revelation. It’s not just a condiment; it’s a foundational kitchen skill that unlocks a world of flavor and quality control. Forget the store-bought jars with their stabilizers and preservatives. This version is a creamy, fresh-tasting alternative that transforms sandwiches, salads, and sauces. The process, known as emulsification, is a beautiful bit of kitchen science where two liquids that normally don’t mix—oil and water-based ingredients—come together into a stable, luscious spread. Mastering this basic kitchen staple empowers you to customize flavors, control ingredients, and elevate your everyday meals with minimal effort and maximum reward.
Ingredients List
Gather these simple, high-quality ingredients for the best results. Using room-temperature ingredients is crucial for a stable emulsion.
- 1 large egg yolk, room temperature: The emulsifier. Its lecithin content is essential for binding the oil and liquid. It should be a vibrant, deep yellow for the richest color and flavor. Substitution: For a safer option, use pasteurized egg yolks. For a vegan version, aquafaba (chickpea brine) can work, though the texture will be lighter.
- 1 teaspoon Dijon mustard: Adds a subtle tang and complexity, and its natural emulsifiers help stabilize the mayo. Substitution: 1/2 teaspoon dry mustard powder.
- 1 tablespoon fresh lemon juice, room temperature: Provides the necessary acid for flavor and food safety. It should be bright and fragrant. Substitution: White wine vinegar or apple cider vinegar. Each will impart a slightly different character—vinegar is sharper, lemon is brighter.
- 1/4 teaspoon fine sea salt: Enhances all the flavors. Fine salt dissolves completely.
- 3/4 cup to 1 cup neutral oil, room temperature: The body of the mayo. A neutral oil like avocado, grapeseed, or light olive oil is ideal. Avoid extra virgin olive oil for your first try, as its strong flavor can be overpowering. Substitution: For a richer flavor, use half light olive oil and half a neutral oil.
- Optional: 1 small garlic clove, minced, or 1 teaspoon of your favorite fresh herb (dill, chives, tarragon): For customization.
Timing
Compared to the average “quick” recipe online, this homemade mayonnaise is genuinely faster than a trip to the grocery store. The active time is under 5 minutes, with the only “wait” being to bring ingredients to room temperature (about 30 minutes on the counter). Many recipes overcomplicate the process, but this streamlined method gets you from zero to creamy perfection in the time it takes to toast your bread.
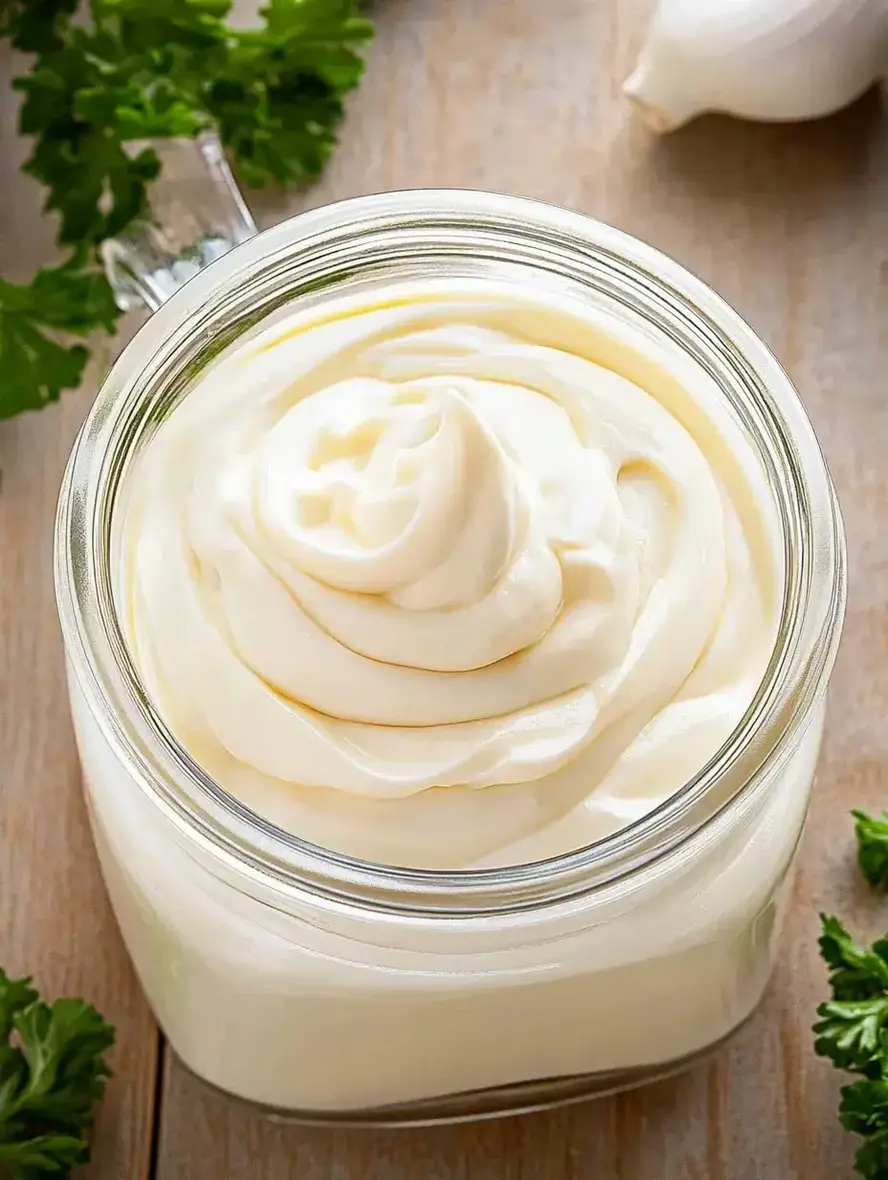
Fresh, creamy homemade mayonnaise ready to elevate any dish.
Step-by-Step Instructions
Step 1: Prepare Your Tools and Ingredients
Success starts with preparation. Ensure your egg, lemon juice, and oil are all at room temperature. Cold ingredients are the number one cause of a broken emulsion. Choose a medium-sized, non-slip bowl with a rounded bottom. A whisk is traditional and gives you great control, but an immersion blender or food processor will make the process nearly foolproof. Have your oil measured and ready in a container with a pour spout.
Step 2: Combine Egg and Acid
In your bowl, combine the single egg yolk, Dijon mustard, fresh lemon juice, and salt. Whisk these together vigorously for about 30 seconds until the mixture is fully combined, slightly pale, and thickened. This initial mixing activates the emulsifiers in the yolk and mustard. If you’re adding garlic or any dry herbs, add them now so they fully integrate.
Step 3: Start the Emulsion
This is the critical moment. Start with just a few drops of your room-temperature oil. While whisking constantly and energetically, add the oil drop by drop. I cannot stress this enough: go slowly. You are building the foundation of the emulsion. Once you’ve incorporated about a tablespoon of oil in this painstaking drop-by-drop manner, the mixture will begin to look creamy and opaque.
Step 4: Slowly Incorporate the Oil
Now you can begin to add the oil in a very thin, steady stream. Continue whisking without stopping. As you whisk, you’ll see the magic happen: the liquid will transform into a thick, creamy, pale mayonnaise. If you’re using an immersion blender, keep the head at the bottom of the cup until the mixture thickens, then slowly move it up. Use only 3/4 cup of oil for a tangier, softer mayo, or continue up to 1 cup for a thicker, more classic consistency.
Step 5: Season and Adjust
Once all the oil is incorporated and your mayo is gloriously thick, stop whisking. Taste it. This is your canvas. Adjust the seasoning with more salt if needed. If you prefer a tangier mayo, whisk in another half teaspoon of lemon juice. For herb mayo, fold in your finely chopped fresh herbs now. Your homemade mayonnaise is ready to use immediately.
Nutritional Information
The following estimates are for one tablespoon of homemade mayonnaise made with avocado oil and based on standard USDA data. Values can vary based on specific ingredients used.
- Calories: ~100 kcal
- Total Fat: 11g
- Saturated Fat: 1.5g
- Cholesterol: 15mg
- Sodium: 60mg
- Total Carbohydrates: 0g
- Protein: 0.2g
Healthier Alternatives
Want to lighten up this kitchen staple without sacrificing creaminess? Try these smart swaps:
- Oil Swap: Replace half the neutral oil with extra-light tasting olive oil or avocado oil for a boost of heart-healthy monounsaturated fats.
- Greek Yogurt Blend: For a protein-packed, lower-fat spread, fold 2-3 tablespoons of finished mayonnaise into 1/4 cup of plain, full-fat Greek yogurt. You get the tangy mayo flavor with a fraction of the calories.
- Aquafaba Base: For a cholesterol-free, vegan option, substitute the egg yolk with 2 tablespoons of aquafaba (the liquid from a can of chickpeas). The emulsion is lighter but still effective, especially with an immersion blender.
- Reduced Oil: You can make a perfectly serviceable, lighter “mayonnaise” by starting with the full yolk and acid, but only using 1/2 cup of oil. It will be saucier but still delicious on salads.
Serving Suggestions
This homemade mayonnaise is far more than a sandwich spread. It’s a culinary building block.
- The Ultimate Dip: Stir in roasted garlic, a pinch of smoked paprika, and a dash of hot sauce for a killer fry or veggie dip.
- Salad Dressing Base: Thin it out with a little buttermilk or vinegar for the creamiest ranch or blue cheese dressing you’ve ever tasted.
- Burger & Sandwich Glory: Mix in sun-dried tomato paste and fresh basil for an Italian-inspired burger sauce, or add curry powder and mango chutney for a coronation chicken salad.
- Protein Binder: Use it to make chicken, tuna, or egg salad where the mayo itself is a star ingredient, not just a glue.
- Grilled Cheese Upgrade: Spread a thin layer on the *outside* of your bread before grilling for an unbelievably crisp, golden-brown, and flavorful crust.
Common Mistakes
- Using Cold Ingredients: This is the #1 culprit for a broken mayo. Room temperature is non-negotiable.
- Adding the Oil Too Fast: Impatience breaks emulsions. The initial drop-by-drop phase is your insurance policy. If you pour the oil in a stream from the start, it will likely separate.
- Over- or Under-Whisking: You need vigorous, constant whisking during the oil addition. Once it’s thick, stop. Over-whisking after it’s set can sometimes cause issues.
- Using a Flavorful Oil for the First Try: Strong extra virgin olive oil can be bitter when emulsified raw. Master the technique with a neutral oil first, then experiment.
- Not Tasting for Seasoning: Homemade mayo needs your personal touch. Always taste and adjust the salt and acid at the end.
Storing Tips
Because this recipe uses a raw egg yolk, proper storage is key for safety and freshness.
- Container: Always store in a clean, airtight glass jar or container. Plastic can absorb odors.
- Refrigeration: Homemade mayonnaise must be refrigerated at all times. It will keep safely for 3-4 days. Some sources say up to a week, but for optimal flavor and safety, I recommend using it within 4 days.
- Separation: If your mayo does separate (looks oily or curdled), don’t panic. It’s fixable! Place a fresh egg yolk in a clean bowl and very slowly whisk the broken mayonnaise into it, as if it were the new oil. It should re-emulsify.
- Freezing: Do not freeze mayonnaise. It will separate and become grainy upon thawing.
Conclusion
Mastering this basic kitchen staple—homemade mayonnaise—is a small act with a big impact on your cooking. It takes mere minutes, uses simple ingredients, and delivers a creamy, fresh-tasting alternative to store-bought that is endlessly customizable. You control the flavor, the texture, and the quality. Once you experience the rich, clean taste of your own mayo, it’s hard to go back to the jar. It transforms the mundane into the magnificent, one dollop at a time.
Made this recipe? I’d love to see your creations and hear how you customized it! Share your photos and flavor twists in the
