Crispy Baked Parmesan Potatoes

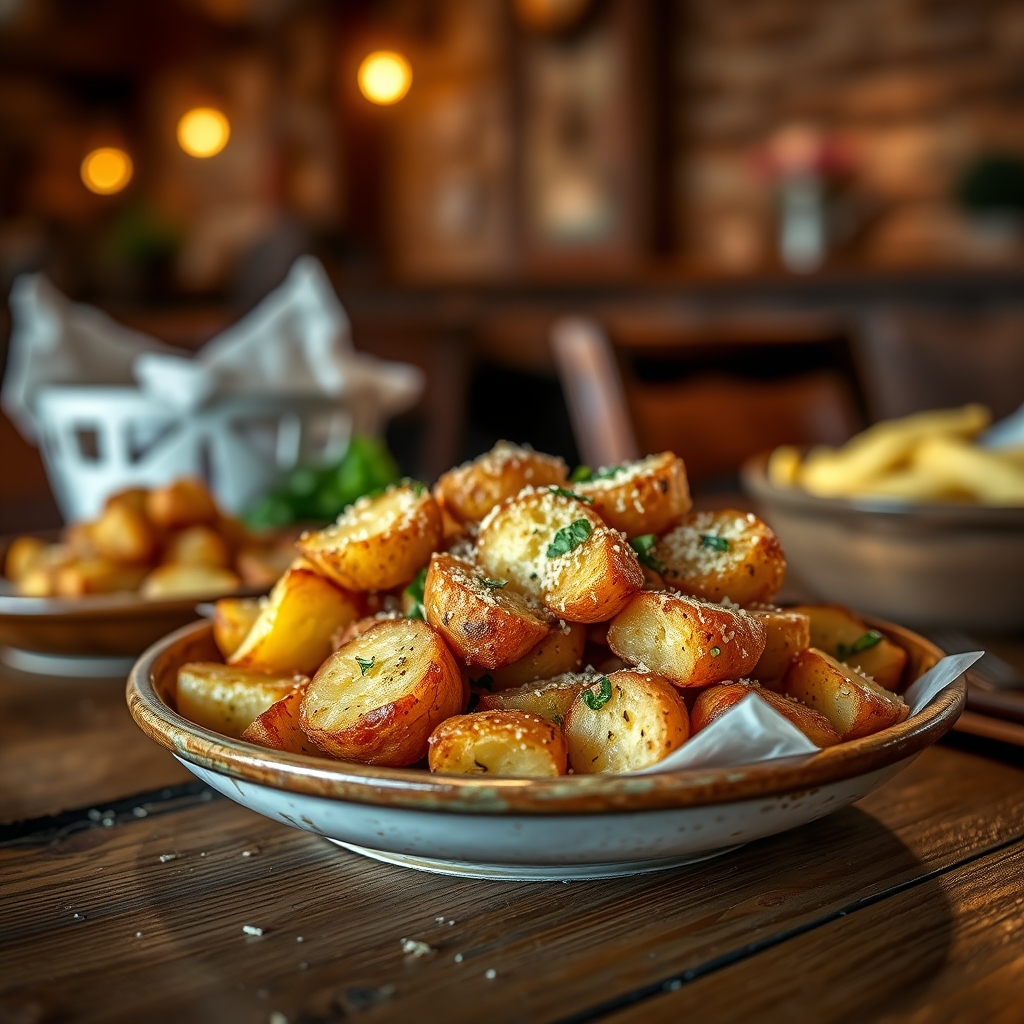
Crispy Baked Parmesan Potatoes: The Ultimate Side Dish

These crispy baked Parmesan potatoes are the perfect combination of golden crunch and cheesy flavor. Whether you’re serving them alongside a weeknight dinner or at your next gathering, this easy potato recipe delivers restaurant-quality results with minimal effort. The secret lies in the Parmesan crust that forms as the potatoes bake to perfection.

Why You’ll Love These Parmesan Crusted Potatoes

These crispy baked Parmesan potatoes offer several advantages over traditional roasted potatoes. The Parmesan cheese creates a delicious crust while keeping the inside tender. This recipe is naturally gluten-free and can be easily adapted for various dietary preferences. The combination of simple ingredients transforms into an extraordinary side dish that pairs well with everything from grilled meats to vegetarian mains.

Tips for Perfect Crispy Potatoes Every Time

To achieve the crispiest results with your baked Parmesan potato wedges, follow these professional tips:

  • Use starchy potatoes like Yukon Gold or Russet for best texture
  • Cut potatoes into uniform sizes for even cooking
  • Don’t overcrowd the baking sheet – space allows for proper crisping
  • For extra crispiness, place potatoes on a wire rack over the baking sheet
  • Freshly grated Parmesan works better than pre-shredded varieties

Serving Suggestions for Your Parmesan Potatoes

These versatile crispy cheese potatoes complement numerous dishes. Try them with:

  • Juicy grilled steaks or roasted chicken
  • Fresh salads for a satisfying vegetarian meal
  • As an appetizer with dipping sauces like garlic aioli or ranch
  • Alongside eggs for a hearty breakfast twist

Storage and Reheating Instructions

While these Parmesan roasted potatoes are best served fresh, you can store leftovers in an airtight container in the refrigerator for up to 3 days. Reheat in a 375°F oven for 10-15 minutes to restore crispiness. Avoid microwaving as it will make the potatoes soggy.

Frequently Asked Questions

Can I use other types of cheese?

While Parmesan works best for creating that signature crispiness, you can experiment with Pecorino Romano or Asiago cheese for similar results.

How do I make these potatoes dairy-free?

For a dairy-free version, substitute nutritional yeast for the Parmesan and increase the seasoning slightly.

Can I prepare these potatoes ahead of time?

You can cut and oil the potatoes up to 4 hours in advance, but wait to add the Parmesan coating until just before baking for maximum crispiness.

{“success”:false,”data”:{“message”:”Invalid JSON data”}}

Pink Vanilla Cake Squares

Pink Vanilla Cake Squares: A Delightful Treat for Any Occasion

These Pink vanilla cake squares are the perfect combination of soft, fluffy texture and delicate vanilla flavor with a playful pink twist. Ideal for birthdays, baby showers, or afternoon tea parties, this easy dessert recipe will quickly become your go-to for sweet cravings.

Frequently Asked Questions

Can I make these pink vanilla squares without food coloring?

Absolutely! The cake will taste just as delicious without the pink hue. For natural coloring, try adding 1-2 tbsp beetroot powder.

What’s the best way to get clean cuts when slicing?

Use a sharp knife dipped in hot water and wiped clean between cuts. For perfect squares, chill the cake briefly before slicing.

Can I turn this into a layer cake instead of squares?

Yes! Divide the batter between two 8-inch round pans and adjust baking time to 25-30 minutes.

These pink vanilla cake squares offer a delightful twist on classic vanilla cake that’s sure to impress. With their soft texture, beautiful color, and irresistible flavor, they’re perfect for any celebration or simply as a sweet treat to brighten your day.

{“success”:false,”data”:{“message”:”Invalid JSON data”}}

Chicken Pot Pie with Biscuit Topping

Chicken Pot Pie with Biscuit Topping: A Comforting Classic

This Chicken Pot Pie with Biscuit Topping is the ultimate comfort food, combining tender chicken, savory vegetables, and a creamy sauce topped with fluffy homemade biscuits. Perfect for family dinners or meal prep, this hearty dish will become a favorite in your recipe rotation.

{“success”:false,”data”:{“message”:”Invalid JSON data”}}

Corn Casserole

Easy Corn Casserole Recipe: A Creamy Side Dish Favorite

This delicious corn casserole combines sweet corn, creamy ingredients, and a perfect golden crust for a crowd-pleasing side dish. Whether you call it corn pudding or cornbread casserole, this easy recipe works for holidays, potlucks, or weeknight dinners.

Corn Casserole Variations

Customize your homemade corn casserole with these delicious twists:

  • Mexican style: Add 1 tsp cumin, ½ tsp chili powder, and ¼ cup diced green chiles
  • Bacon cheddar: Mix in ½ cup crumbled bacon with the cheese topping
  • Herbed version: Stir in 1 tbsp fresh thyme or rosemary
  • Sweet corn casserole: Add 1 tbsp sugar for extra sweetness

Frequently Asked Questions

Can I make corn casserole ahead of time?

Yes! Prepare the mixture up to 24 hours in advance and store covered in refrigerator. Add 5-10 minutes to baking time when cooking chilled.

What’s the difference between corn casserole and corn pudding?

Corn casserole typically has a heartier texture with corn muffin mix, while corn pudding is creamier with more eggs and milk. Both make excellent side dishes.

Can I use frozen corn instead of canned?

Absolutely. Substitute 1½ cups thawed frozen corn for the canned corn. Pat dry before using to prevent excess moisture.

This easy corn casserole recipe has become a staple at family gatherings because it’s simple to make yet always disappears fast. The creamy texture and sweet corn flavor make it irresistible. Try it for your next holiday meal or weeknight dinner – it’s sure to become one of your most-requested side dishes!

{“success”:false,”data”:{“message”:”Invalid JSON data”}}

No-Peek Chicken Casserole

No-Peek Chicken Casserole: A Simple and Delicious Family Favorite

This No-Peek Chicken Casserole is the ultimate comfort food that requires minimal effort but delivers maximum flavor. Perfect for busy weeknights, this easy chicken casserole recipe combines tender chicken, creamy sauce, and fluffy rice in one satisfying dish. Follow this step-by-step guide to create a meal your whole family will love.

Why You’ll Love This No-Peek Chicken Casserole

This chicken and rice casserole is a classic for good reason. It’s:

  • Incredibly easy to prepare with just 10 minutes of hands-on time
  • Made with simple pantry staples
  • A complete meal in one dish
  • Perfect for meal prep and leftovers
  • Crowd-pleasing comfort food at its best

Ingredients for No-Peek Chicken Casserole

This easy chicken casserole uses basic ingredients you probably already have:

  • 2 cups uncooked long-grain white rice
  • 4 boneless, skinless chicken breasts
  • 1 can (10.5 oz) cream of chicken soup
  • 1 can (10.5 oz) cream of mushroom soup
  • 1 ½ cups chicken broth
  • 1 packet dry onion soup mix
  • ½ teaspoon garlic powder
  • ½ teaspoon black pepper

How to Make No-Peek Chicken Casserole

Follow these simple steps for perfect chicken casserole with rice every time:

  1. Preheat your oven to 350°F (175°C).
  2. Spread the uncooked rice evenly in a 9×13 inch baking dish.
  3. Place chicken breasts on top of the rice in a single layer.
  4. In a medium bowl, whisk together both cream soups, chicken broth, onion soup mix, garlic powder, and black pepper.
  5. Pour the soup mixture evenly over the chicken and rice.
  6. Cover tightly with aluminum foil (this is the “no-peek” part!).
  7. Bake for 1 hour 30 minutes without removing the foil.
  8. Let rest for 5 minutes before serving.

Tips for the Best Chicken and Rice Casserole

For perfect results with this no-peek casserole recipe:

  • Use long-grain white rice for best texture
  • Don’t skip the foil – it creates steam for perfectly cooked rice
  • For extra flavor, sprinkle paprika over the chicken before baking
  • Let the casserole rest before serving to allow the sauce to thicken

Serving Suggestions

This hearty chicken casserole dish pairs well with:

  • Steamed green beans or broccoli
  • A crisp green salad
  • Warm dinner rolls
  • Roasted carrots or other root vegetables

Storage and Reheating Instructions

Store leftover no-peek chicken casserole in an airtight container in the refrigerator for up to 4 days. Reheat individual portions in the microwave or the entire dish in a 350°F oven until heated through. Add a splash of broth if the rice seems dry when reheating.

Frequently Asked Questions

Can I use brown rice in this casserole?

For best results with this no-peek chicken casserole recipe, stick with white rice as brown rice requires more liquid and longer cooking time. If substituting, increase liquid by ½ cup and baking time by 20-30 minutes.

Can I make this casserole ahead?

Yes! Assemble the chicken and rice bake up to 24 hours in advance, cover, and refrigerate. Add 10-15 minutes to the baking time when cooking from cold.

What can I use instead of cream soups?

For a homemade alternative, make a white sauce with butter, flour, and milk, then add chicken bouillon and sautéed mushrooms for flavor.

Final Thoughts

This No-Peek Chicken Casserole is the perfect solution for busy nights when you want a comforting, homemade meal without the fuss. With its simple preparation and foolproof cooking method, it’s sure to become a regular in your dinner rotation. The combination of tender chicken, flavorful rice, and creamy sauce makes this easy chicken and rice casserole a guaranteed crowd-pleaser.

{“success”:false,”data”:{“message”:”Invalid JSON data”}}