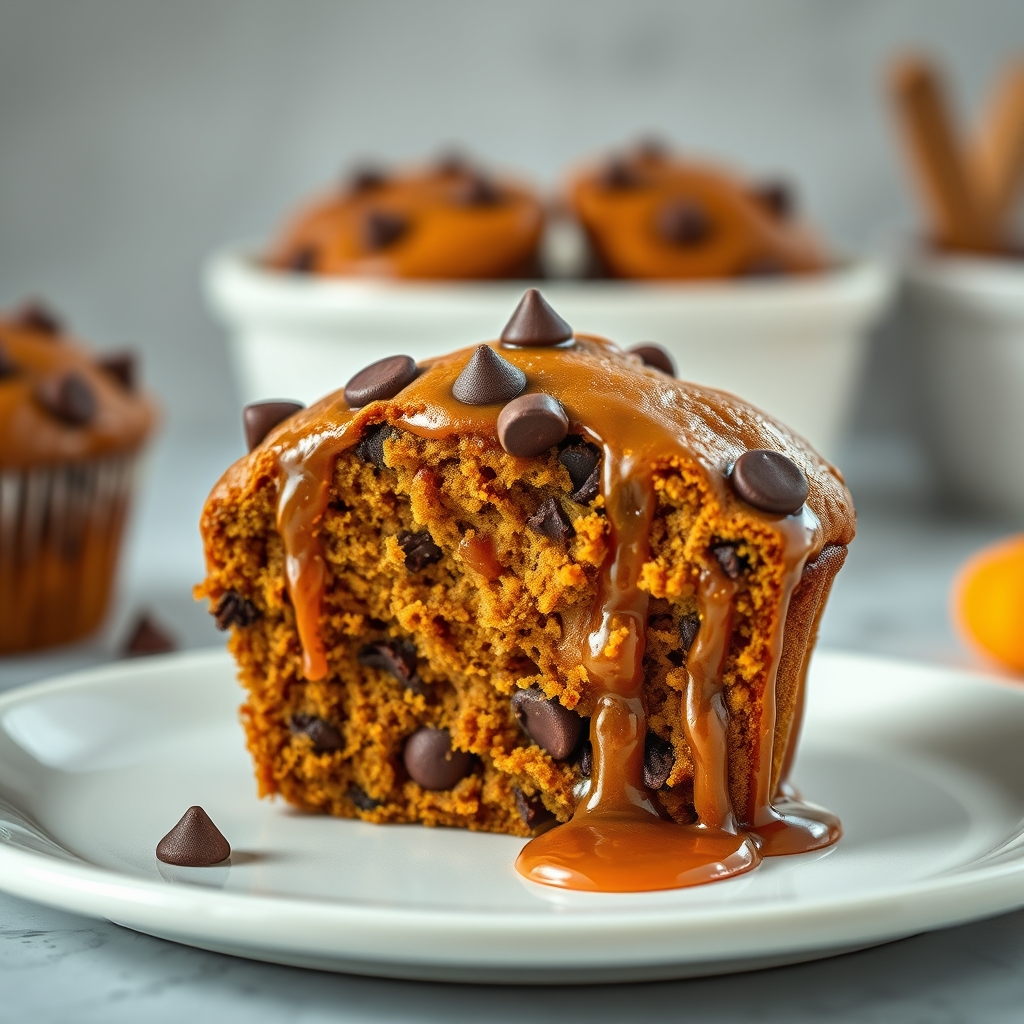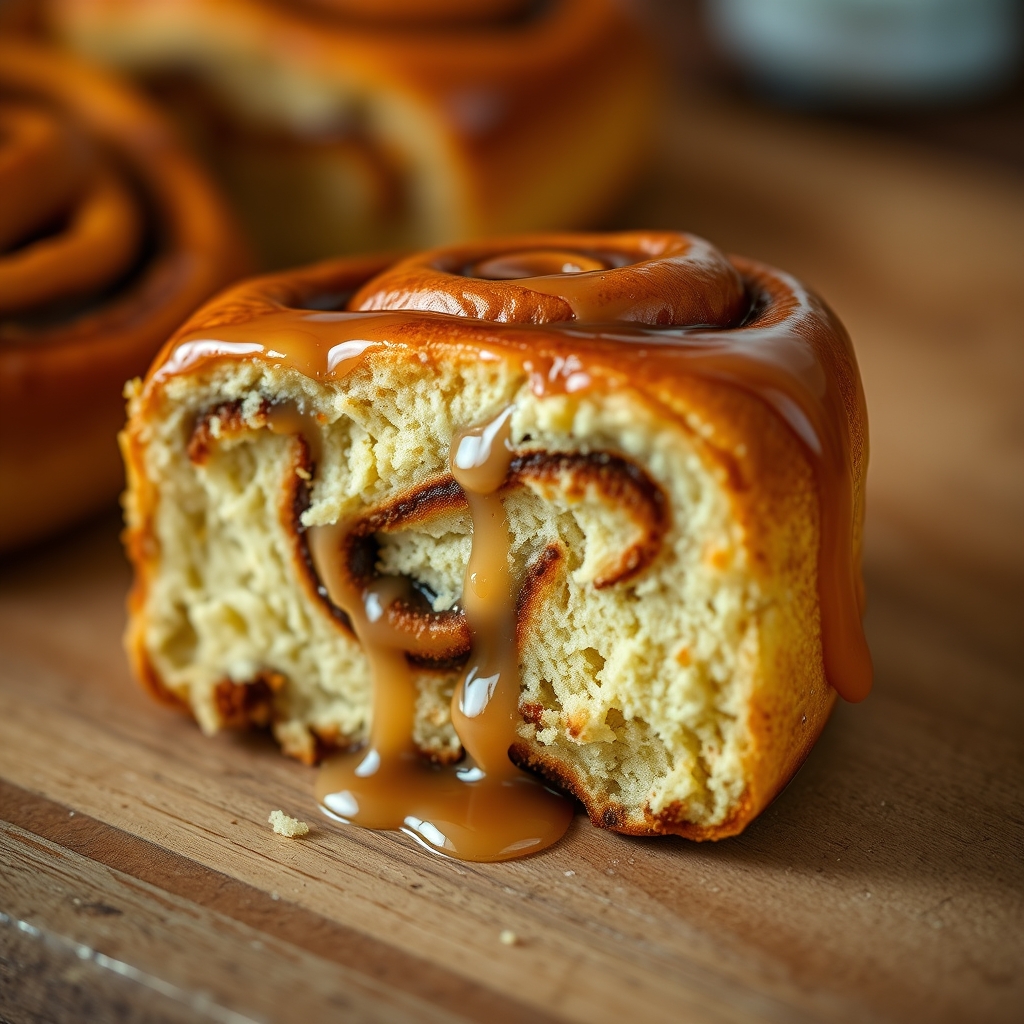
King’s Hawaiian Cinnamon Rolls
There’s something about the smell of cinnamon rolls baking that makes any house feel like a home. It’s a scent that wraps around you like a warm hug on a chilly morning. I remember the first time I tried to recreate that feeling in my own kitchen. It was a Sunday, and the world outside was just waking up, kissed by the soft glow of the early sun. I wanted to bring a bit of that serenity inside, and what better way than with the comforting scent of cinnamon and sugar?
But these aren’t just any cinnamon rolls. We’re adding a unique twist with the sweet, pillowy goodness of King’s Hawaiian rolls. This recipe came about after a lazy afternoon spent reminiscing about a family trip to Hawaii, where the air was filled with the sweet and savory smells of island life. The idea to blend those flavors into a classic cinnamon roll was too tempting to resist!
Ingredients
- 1 package of King’s Hawaiian Rolls: These soft, subtly sweet rolls are the secret ingredient that elevates the cinnamon rolls to a whole new level. Their unique flavor creates a perfect balance with the cinnamon sugar filling.
- 1/2 cup of unsalted butter, softened: Butter makes everything better, doesn’t it? Softened butter will help create a smooth and creamy cinnamon filling.
- 1 cup of brown sugar: The molasses in brown sugar adds depth and richness to the filling. It’s like a warm, cozy sweater for your taste buds.
- 2 tablespoons of ground cinnamon: The star of the show! Cinnamon adds that spicy warmth that makes these rolls irresistible.
- 1/4 teaspoon of salt: Just a pinch to enhance all the flavors.
- 1/2 cup of powdered sugar: This will be used for the glaze, adding a touch of sweetness that complements the cinnamon perfectly.
- 2 tablespoons of milk: To achieve that silky glaze consistency that drips oh-so-beautifully down the sides of the rolls.
- 1 teaspoon of vanilla extract: A splash of vanilla adds a mellow, aromatic flavor to the glaze. It’s the cherry on top, so to speak.
Instructions
Step 1: Prepare the Rolls
Start by gently unwrapping the King’s Hawaiian rolls from their package. There’s a bit of magic in this step, as you can already anticipate the delightful outcome. Carefully separate each roll and set them aside on a clean surface.
Step 2: Make the Cinnamon Filling
In a medium-sized bowl, mix together the softened butter, brown sugar, ground cinnamon, and salt. Use a spatula or a wooden spoon to blend them into a smooth paste. As you stir, let the delicious aroma of cinnamon fill your kitchen—it’s a sneak peek of what’s to come!
Step 3: Fill the Rolls
Take each roll and slice it horizontally, as if you’re making a sandwich. Spread a generous amount of the cinnamon filling onto the bottom half of each roll. Be liberal here; this is the heart of your cinnamon roll! Replace the top halves and give them a gentle press to secure the filling inside.
Step 4: Arrange and Rest
Place the filled rolls side-by-side in a greased baking dish. Cover them with a clean kitchen towel and let them sit for about 15 minutes. This is their time to rest and soak in all that cinnamon goodness, while you take a moment to enjoy a cup of coffee or tea.
Pro Tips for the Perfect King’s Hawaiian Cinnamon Rolls
As someone who has spent countless mornings perfecting the art of the cinnamon roll, I have gathered a few essential tips that will ensure your rolls are as delightful as they are memorable. Firstly, don’t rush the rising process. Allow your dough to rise until it’s doubled in size; this might take longer on chilly days, but your patience will be rewarded with fluffy rolls. Secondly, when spreading the filling, be generous but not too close to the edges to prevent overflow during baking.
Variations and Substitutions
One of the beautiful things about King’s Hawaiian Cinnamon Rolls is their versatility. If you’re looking to add a twist, consider substituting the traditional cinnamon filling with a mixture of cardamom and nutmeg for a spiced warmth. For a healthier option, you can replace half of the sugar with honey or maple syrup, which adds a deep, rich flavor. And for our vegan friends, swap the butter with coconut oil and use a plant-based milk – the results are equally scrumptious.
What to Serve with Your Cinnamon Rolls
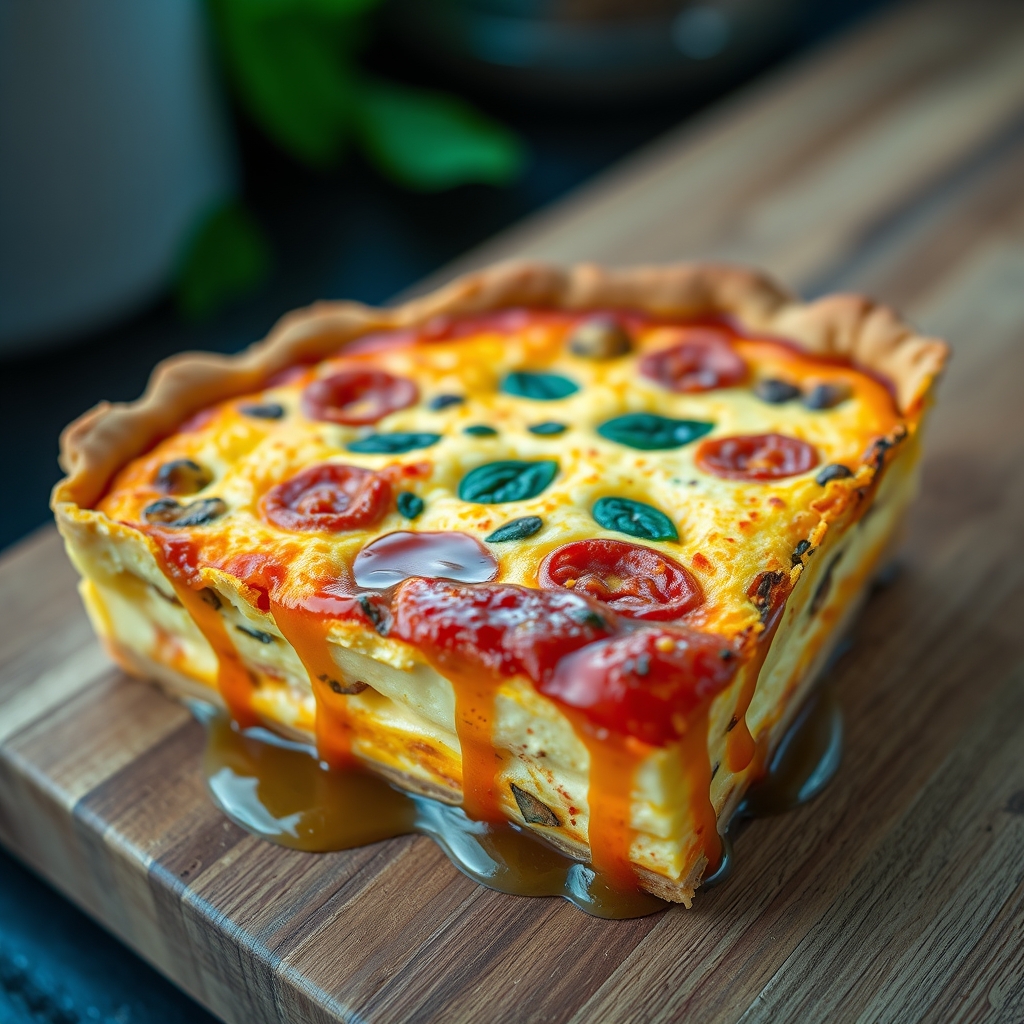
These rolls are delightful on their own, but pairing them with a few thoughtful accompaniments can elevate your breakfast or brunch experience. A fresh fruit salad with seasonal fruits provides a refreshing contrast to the sweetness of the rolls. If you’re enjoying these in the morning, a steaming cup of coffee or a soothing herbal tea will complement the flavors perfectly. For a heartier option, serve with scrambled eggs or a frittata.
Storage and Reheating Guidance
Although these rolls are best enjoyed fresh, they can be stored for later indulgence. Place any leftovers in an airtight container and refrigerate them for up to three days. To reheat, wrap the rolls in foil and warm them in a preheated oven at 300°F (150°C) for about 10 minutes. This method helps retain their softness without drying them out. If you’re in a rush, a few seconds in the microwave will do, but be mindful to avoid overheating.
Frequently Asked Questions
Can I prepare the dough in advance?
Absolutely! You can prepare the dough the night before and let it rise slowly in the refrigerator. This overnight method not only saves time but also enhances the flavor.
What if I don’t have a stand mixer?
Not to worry! You can knead the dough by hand. It might take a bit more time and effort, but it’s a wonderful way to connect with the process. Just knead it on a floured surface until it’s smooth and elastic.
Can I freeze the cinnamon rolls?
Yes, you can freeze them! After baking, let them cool completely, then freeze in an airtight container for up to three months. When you’re ready to enjoy them, thaw at room temperature and reheat as needed.
How can I keep my rolls from getting too dry?
To keep your rolls moist, make sure not to overbake them. Check them a few minutes before the recommended baking time. Additionally, storing them in an airtight container will help retain their moisture.
A Warm and Encouraging Final Note
Dear friend, as you embark on this baking journey, remember that each roll you craft is a testament to the love and care you pour into your kitchen creations. Even if they don’t turn out perfect the first time, every attempt is a step closer to mastering your craft. So, gather your ingredients, trust the process, and savor the sweet rewards. May your kitchen be filled with warmth, laughter, and the irresistible aroma of freshly baked cinnamon rolls.

King’s Hawaiian Cinnamon Rolls
Description
These King’s Hawaiian Cinnamon Rolls are a delightful twist on the classic cinnamon roll, bringing a sweet and soft texture with a hint of tropical flavor.
Ingredients
For the Crust:
- For the dough:
- 3 cups all-purpose flour
- 1/4 cup granulated sugar
- 2 1/4 teaspoons active dry yeast
- 1/4 cup warm pineapple juice
- 1/4 cup warm milk
- 2 large eggs
- 1/4 cup unsalted butter, melted
- 1/2 teaspoon salt
- For the filling:
- 1/2 cup brown sugar
- 2 tablespoons ground cinnamon
- 1/4 cup unsalted butter, softened
- For the glaze:
- 1 cup powdered sugar
- 2 tablespoons milk
- 1/2 teaspoon vanilla extract
Instructions
1. Prepare the Crust:
- 1. In a large bowl, mix the warm pineapple juice, warm milk, and yeast. Let it sit for 5 minutes until foamy.
- 2. Add sugar, melted butter, eggs, and salt to the yeast mixture. Gradually add flour and mix until a dough forms.
- 3. Knead the dough on a floured surface for about 8-10 minutes until smooth and elastic.
- 4. Place the dough in a greased bowl, cover, and let it rise in a warm place for 1-2 hours or until doubled in size.
- 5. For the filling, mix brown sugar and cinnamon. Roll out the dough into a rectangle and spread softened butter over it. Sprinkle the cinnamon-sugar mixture evenly on top.
- 6. Roll the dough up tightly from the long side and cut into 12 rolls. Place them in a greased baking dish.
- 7. Cover and let rise for another 30 minutes. Preheat the oven to 350°F (175°C).
- 8. Bake the rolls for 25-30 minutes or until golden brown.
- 9. For the glaze, whisk together powdered sugar, milk, and vanilla extract. Drizzle over the warm rolls before serving.
Notes
These cinnamon rolls are best served warm. Store leftovers in an airtight container for up to 3 days.