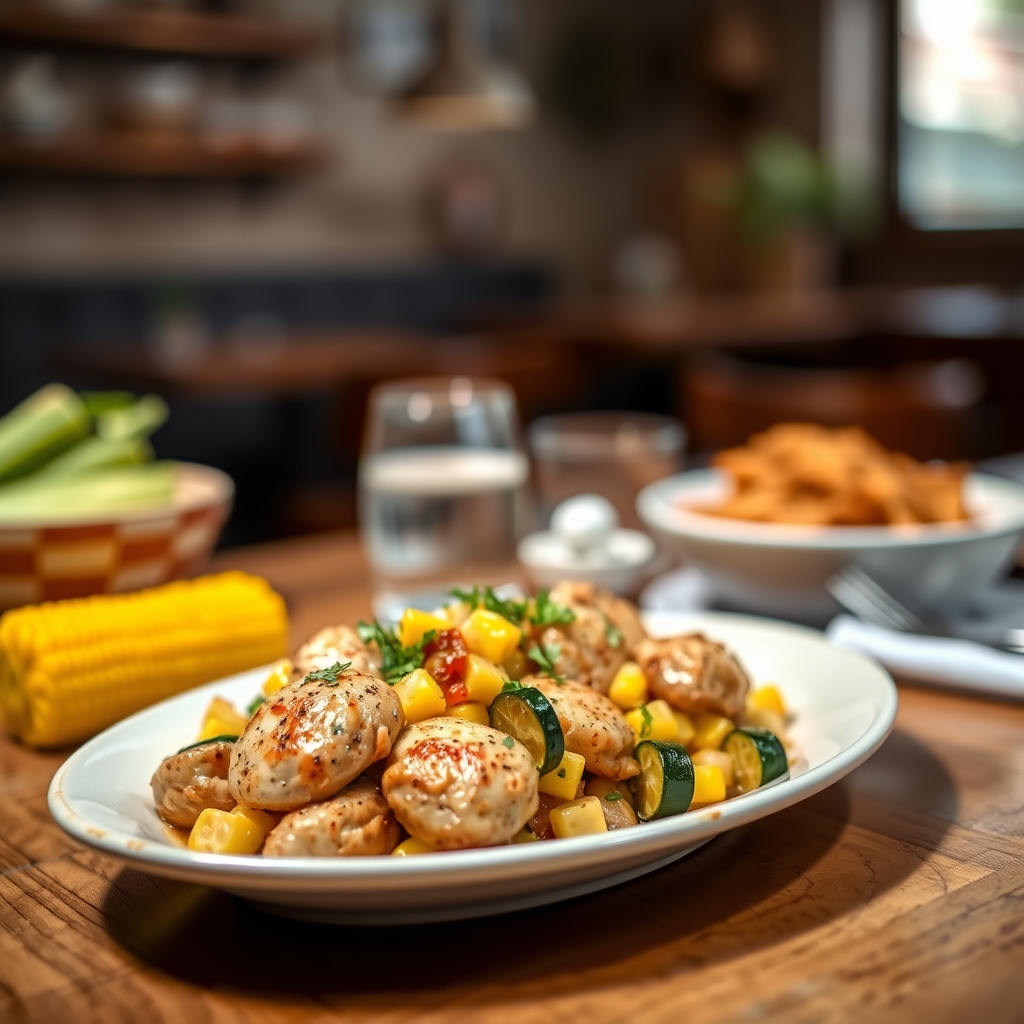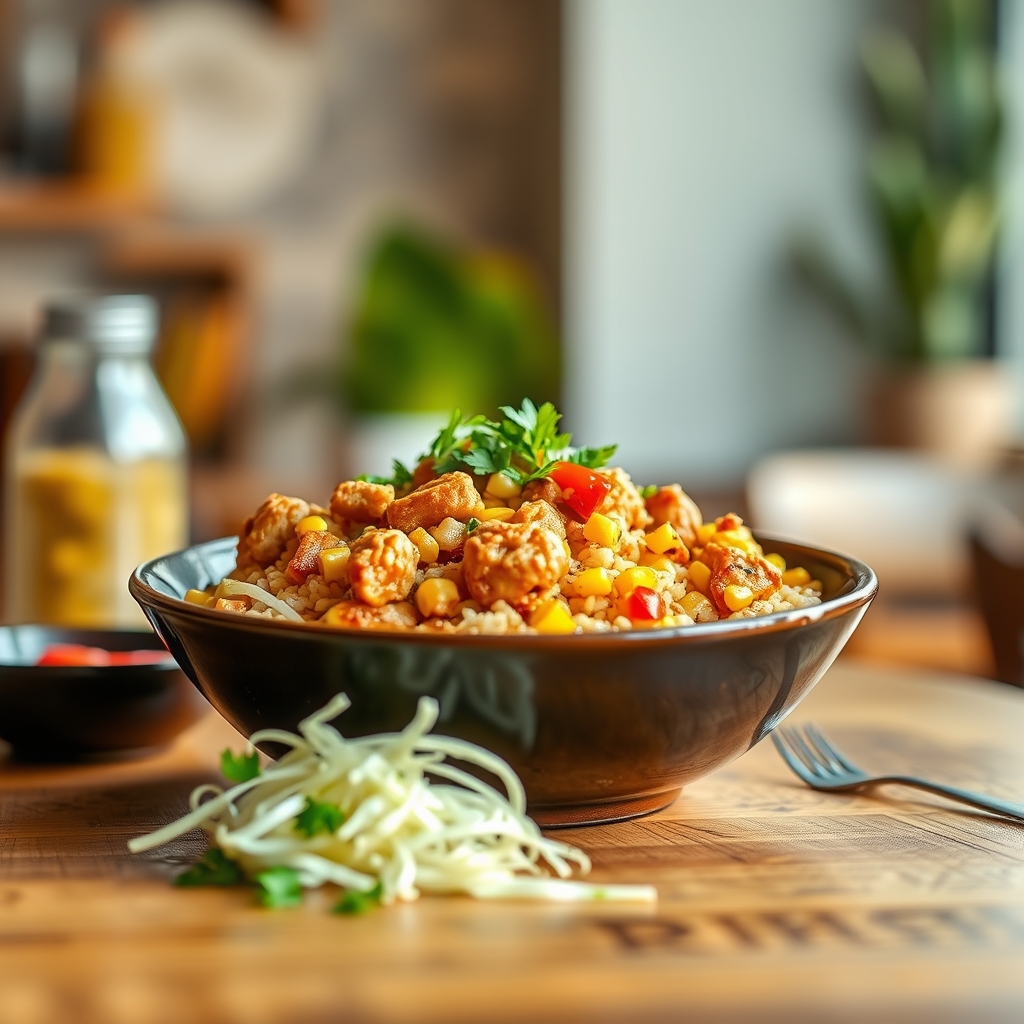
Flavor-packed Street Corn Chicken Rice Bowl
There’s something magical about the combination of smoky, charred street corn and tender chicken piled high over fluffy rice. This Flavor-packed Street Corn Chicken Rice Bowl is a vibrant, satisfying meal that brings the bold flavors of Mexican street food right to your kitchen. Whether you’re craving a quick weeknight dinner or a dish to impress guests, this recipe delivers big on taste with minimal effort. Let’s dive into why this dish is a must-try and how you can make it perfectly every time.
Why You’ll Love This Recipe
First, this dish is a flavor explosion. The smoky charred corn, creamy cotija cheese, and zesty lime crema come together in a way that’s both rich and refreshing. Second, it’s incredibly versatile—you can customize it with your favorite toppings or adjust the spice level to suit your taste. Third, it’s a one-bowl wonder, meaning fewer dishes to clean and more time to enjoy your meal. Finally, it’s a great way to use up leftover chicken or rice, making it both economical and convenient.
Ingredients Breakdown
Let’s talk about the stars of this dish. Chicken thighs are my go-to for their juiciness and ability to stay tender, but breasts work too if you prefer leaner meat. Fresh corn is essential—grilled or charred in a skillet for that authentic street corn flavor. Cotija cheese adds a salty, crumbly texture, while lime crema (a mix of sour cream, lime juice, and spices) ties everything together with a creamy tang. Don’t forget the cilantro, chili powder, and garlic—they bring the dish to life with fresh, spicy, and aromatic notes.
How to Make Flavor-packed Street Corn Chicken Rice Bowl
Start by seasoning your chicken with a blend of chili powder, cumin, garlic powder, salt, and pepper. Cook it in a skillet until golden and juicy, then set aside to rest. In the same skillet, char the corn kernels until they’re slightly blackened—this builds depth of flavor. Prepare the lime crema by whisking together sour cream, lime juice, a pinch of salt, and a dash of smoked paprika. Assemble your bowls with a base of fluffy rice, top with sliced chicken, charred corn, crumbled cotija, and a generous drizzle of lime crema. Finish with fresh cilantro and an extra sprinkle of chili powder for a pop of color and heat.
Pro Tips for the Best Results
For the most flavorful chicken, marinate it for at least 30 minutes before cooking. If you’re short on time, even a quick 10-minute soak in the spices will help. When charring the corn, resist the urge to stir too often—letting it sit undisturbed allows those beautiful caramelized bits to form. If cotija cheese is hard to find, feta makes a great substitute. For an extra smoky touch, grill the corn and chicken instead of using a skillet.
Variations and Substitutions
Vegetarian? Swap the chicken for grilled portobello mushrooms or black beans. If you’re gluten-free, ensure your spices and sour cream are certified GF. For a spicier kick, add diced jalapeños or a dash of hot sauce to the lime crema. Brown rice or quinoa can stand in for white rice if you prefer a whole-grain option. Love avocado? A few slices on top add creaminess and healthy fats.
What to Serve With It
This rice bowl is hearty enough to stand alone, but it pairs beautifully with a simple side of chips and guacamole or a crisp green salad with a lime vinaigrette. For drinks, a cold Mexican beer, a citrusy margarita, or even a sparkling agua fresca would complement the flavors perfectly. If you’re serving a crowd, consider adding a platter of street-style tacos or grilled veggies to round out the meal.
How to Store and Reheat
Store leftovers in an airtight container in the fridge for up to 3 days. To reheat, microwave the rice and chicken with a splash of water to prevent drying out, then add fresh toppings like cotija and crema afterward. For best texture, avoid freezing the assembled bowls—instead, freeze the cooked chicken and corn separately, then thaw and reheat before assembling with fresh ingredients.
Frequently Asked Questions (FAQs)
Can I use frozen corn instead of fresh? Absolutely. Thaw and pat it dry before charring to get the best texture.
What if I don’t have cotija cheese? Feta is the closest substitute, but grated Parmesan or queso fresco will work in a pinch.
How can I make this dish spicier? Add cayenne pepper to the chicken seasoning or mix chopped chipotle peppers into the lime crema.
Can I prep this ahead of time? Yes! Cook the chicken and corn in advance, then assemble the bowls just before serving to keep everything fresh.
Is this recipe kid-friendly? Definitely. Omit the chili powder or serve the crema on the side for milder palates.
Final Thoughts
This Flavor-packed Street Corn Chicken Rice Bowl is more than just a meal—it’s a celebration of bold, vibrant flavors that come together effortlessly. Whether you’re cooking for yourself or sharing with loved ones, it’s a dish that’s sure to delight. Don’t be afraid to make it your own with extra toppings or creative twists. After all, the best recipes are the ones that bring joy to your table. Happy cooking!
Print
Flavor-packed Street Corn Chicken Rice Bowl
Description
A vibrant and satisfying bowl featuring smoky grilled chicken, charred street corn, and cilantro-lime rice, topped with creamy chipotle sauce and cotija cheese for an explosion of Mexican-inspired flavors.
Ingredients
For the Crust:
- For the chicken:
- 1.5 lbs boneless, skinless chicken thighs
- 2 tbsp olive oil
- 1 tsp smoked paprika
- 1 tsp garlic powder
- 1 tsp cumin
- 1/2 tsp chili powder
- 1/2 tsp salt
- For the street corn:
- 4 ears fresh corn, husked
- 1 tbsp butter, melted
- 1/4 cup mayonnaise
- 1/4 cup sour cream
- 1/2 tsp chipotle powder
- 1 lime, juiced
- For the bowl:
- 2 cups cooked white rice
- 1/4 cup chopped cilantro
- 1 lime, zested and juiced
- 1 avocado, sliced
- 1/4 cup crumbled cotija cheese
- 1/4 cup chopped red onion
- Fresh cilantro for garnish
Instructions
1. Prepare the Crust:
- 1. Marinate chicken: Combine olive oil, smoked paprika, garlic powder, cumin, chili powder and salt in bowl. Coat chicken thoroughly and let sit 15 minutes.
- 2. Grill corn: Brush corn with melted butter and grill over medium-high heat, turning occasionally, until charred (8-10 minutes). Let cool slightly.
- 3. Make corn sauce: Cut kernels off cobs. Mix mayonnaise, sour cream, chipotle powder and lime juice. Fold in corn kernels.
- 4. Cook chicken: Grill chicken over medium heat 6-7 minutes per side until internal temp reaches 165°F. Rest 5 minutes then slice.
- 5. Prepare rice: Fluff cooked rice with fork. Mix in cilantro, lime zest and juice.
- 6. Assemble bowls: Divide rice among bowls. Top with chicken, corn mixture, avocado slices, cotija cheese and red onion. Garnish with cilantro.
Notes
For vegetarian version, substitute grilled portobello mushrooms for chicken. Can substitute Greek yogurt for sour cream. Leftover corn mixture makes excellent dip with tortilla chips.