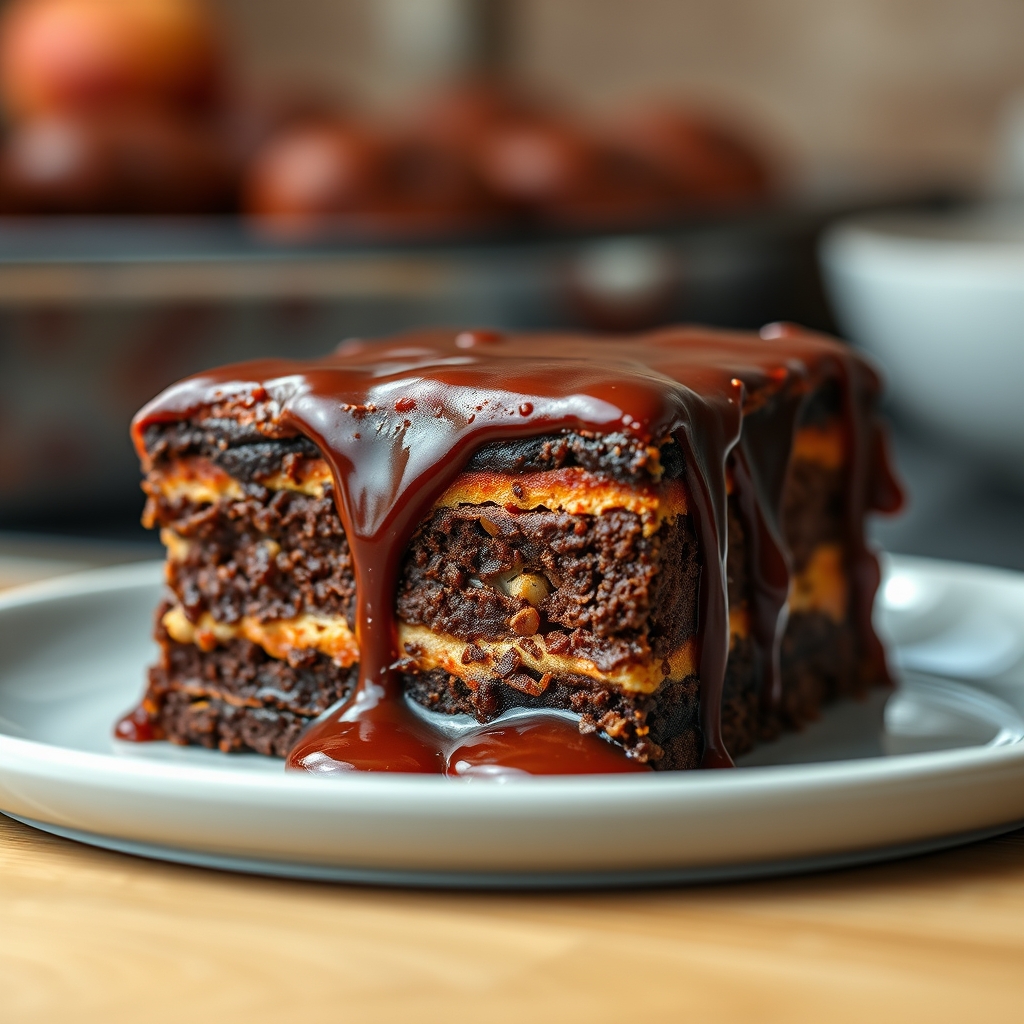
Reese’s Pieces Peanut Butter Bark
Welcome, dear friends, to the cozy corner of my kitchen. Imagine this: the leaves are gently falling outside, you’ve got a warm cup of tea in hand, and the sweet scent of peanut butter mingling with chocolate wafts from the oven. This delightful Reese’s Pieces Peanut Butter Bark is my go-to treat when I’m craving something both simple and sensational.
It all started one autumn afternoon when my little nephew, with his big, curious eyes, asked if we could make something together. I wanted to create a sweet memory alongside a sweet treat. And so, the Reese’s Pieces Peanut Butter Bark was born—a perfect blend of creamy, crunchy, and irresistibly peanut buttery goodness.
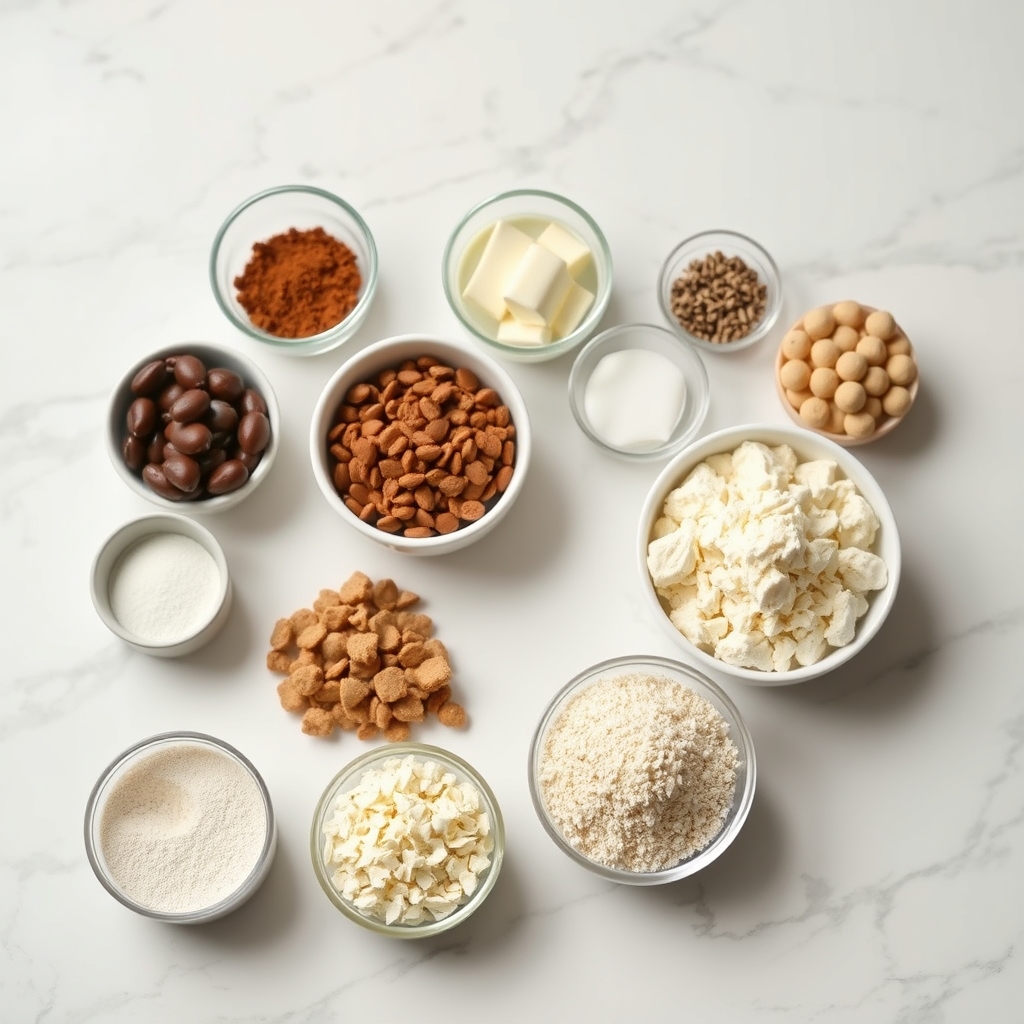
Ingredients
- 12 ounces of semi-sweet chocolate chips: This forms the rich, chocolatey base of your bark. Semi-sweet is perfect because it balances the sweetness of the candy.
- 1 cup of Reese’s Pieces: These little gems bring a burst of color and a delightful crunch to each bite. Plus, who can resist that peanut butter center?
- 1/2 cup of creamy peanut butter: Make sure to use creamy peanut butter for a smooth, luscious finish. The way it melds with the chocolate is simply divine.
- 1/4 cup of white chocolate chips: These are optional but highly recommended for a pretty drizzle on top, adding an elegant touch.
- A pinch of sea salt: Just a touch to enhance all the flavors and bring out the best in your bark.
Instructions
Let’s dive into the delightful process of creating this peanut butter confection! Take your time and enjoy each step—this is meant to be a joyful experience.
- Prepare your workspace: Line a baking sheet with parchment paper. This will make it easier to remove the bark once it’s set. Plus, it saves you from a sticky cleanup!
- Melt the semi-sweet chocolate: In a microwave-safe bowl, heat the chocolate chips in 30-second intervals, stirring in between until completely melted and smooth. Be patient and don’t rush this step—chocolate can be a bit temperamental.
- Spread the chocolate: Pour the melted chocolate onto the prepared baking sheet and spread it evenly with a spatula, aiming for about 1/4 inch thickness. This is your canvas, so take a moment to admire the glossy sheen.
- Add the Reese’s Pieces: Sprinkle the Reese’s Pieces over the chocolate, pressing them down gently to ensure they stick. This is where the magic happens, as each candy finds its place in the chocolate sea.
Reese’s Pieces Peanut Butter Bark
As the crisp autumn air begins to fill our days, there’s nothing quite like curling up with a comforting treat that combines two of my favorite flavors: chocolate and peanut butter. Reese’s Pieces Peanut Butter Bark is not only a joy to make but also a joy to share with loved ones, making any day feel extra special.
Thoughtful Pro Tips
- Use quality chocolate: The foundation of this bark is the chocolate, so I always recommend using a high-quality brand. It melts smoothly and gives the bark a rich, decadent flavor.
- Chill the bark: For the best texture, allow your bark to chill in the refrigerator for at least an hour before breaking it into pieces. This helps it set properly and gives it a satisfying snap when you bite into it.
- Layer with love: When spreading the melted chocolate, take your time to create an even layer. This ensures that every bite is balanced and delicious.
Variations and Substitutions
This recipe is wonderfully versatile. Here are a few variations you might enjoy:
- Dark chocolate: Substitute milk chocolate with dark chocolate for a richer, more intense flavor.
- Add nuts: Sprinkle crushed peanuts or almonds over the top for an extra crunch.
- White chocolate drizzle: For a touch of sweetness, drizzle some melted white chocolate over the finished bark.
What to Serve it With
This peanut butter bark pairs beautifully with a cup of hot cocoa or coffee. Its sweet and salty notes complement the warmth of these beverages, making it a perfect afternoon pick-me-up. For a festive touch, serve it alongside a bowl of fresh fruit or a scoop of vanilla ice cream.
Storage and Reheating Guidance
Store your Reese’s Pieces Peanut Butter Bark in an airtight container at room temperature for up to a week. If you prefer a firmer texture, you can keep it in the refrigerator. Remember, there’s no need to reheat the bark; it’s meant to be enjoyed at room temperature or chilled.
FAQ
Can I use different candies?
Absolutely! Feel free to experiment with other candy toppings like M&Ms or chopped-up candy bars. The possibilities are endless!
How can I make this bark vegan?
To make a vegan version, use dairy-free chocolate and ensure that your Reese’s Pieces are vegan-friendly. There are plenty of options available that cater to a vegan diet.
Can I make this bark in advance?
Yes, you can prepare the bark a few days ahead of time. Just be sure to store it in an airtight container to maintain its freshness.
Final Thoughts
Creating this Reese’s Pieces Peanut Butter Bark is like wrapping a warm hug in chocolate and peanut butter flavors. Whether you’re sharing it with friends or enjoying it solo, I hope it brings a smile to your face and a sweet moment to your day. Remember, the joy is in the making and the sharing, so embrace every delicious step of the process. Happy baking!

Reese’s Pieces Peanut Butter Bark
Description
A delightful and easy-to-make treat that combines the creamy richness of peanut butter with the crunchy texture of Reese’s Pieces. This no-bake bark is perfect for the holidays, parties, or a quick sweet indulgence any day.
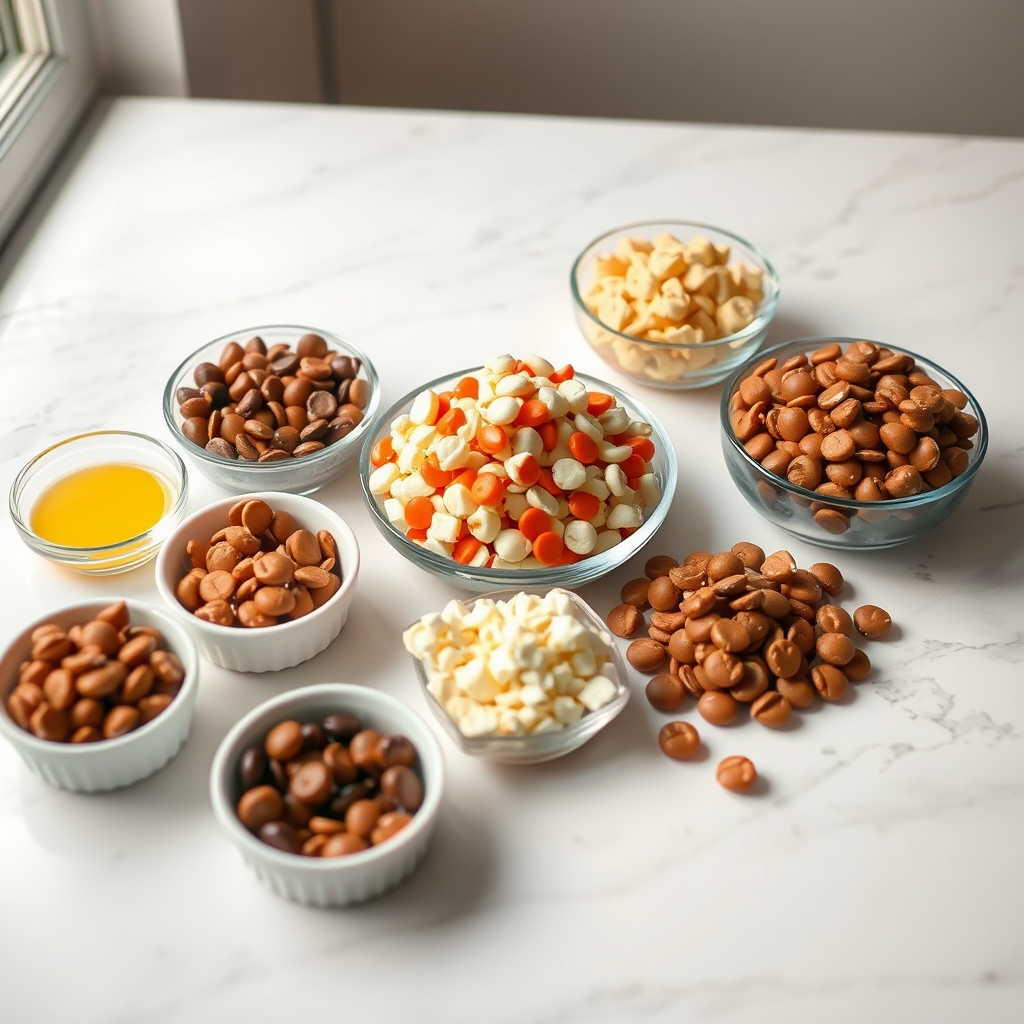
Ingredients
For the Crust:
- 12 ounces white chocolate chips
- 1/2 cup creamy peanut butter
- 1 cup Reese’s Pieces candies
- 1/4 cup chopped peanuts (optional)
- 1/4 teaspoon salt
Instructions
1. Prepare the Crust:
- Line a baking sheet with parchment paper or a silicone baking mat.
- In a microwave-safe bowl, combine white chocolate chips and creamy peanut butter.
- Microwave in 30-second intervals, stirring after each, until the mixture is smooth and fully melted.
- Stir in the salt and mix well.
- Pour the melted mixture onto the prepared baking sheet and spread it out evenly with a spatula.
- Sprinkle Reese’s Pieces and chopped peanuts evenly over the melted chocolate and peanut butter mixture.
- Gently press the candies and peanuts into the mixture using the back of a spatula or your hands.
- Refrigerate the bark for about 1 to 2 hours, or until it is firm and set.
- Once set, break the bark into pieces of your desired size.
- Store the bark in an airtight container in a cool place or the refrigerator.
Notes
For a festive touch, you can add sprinkles or drizzle some melted dark chocolate over the bark before chilling. Adjust the amount of Reese’s Pieces according to your preference for sweetness and crunch.