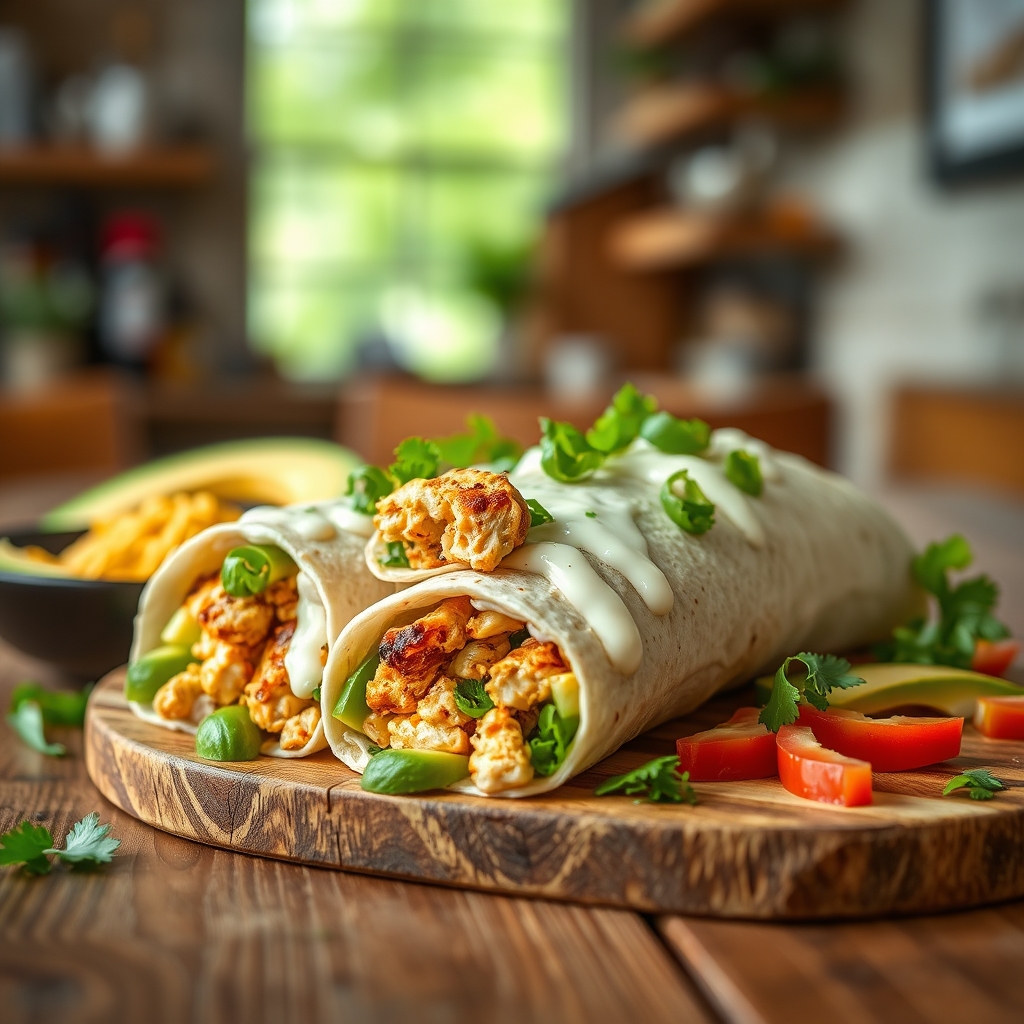
Chicken Avocado Ranch Burritos
There’s something undeniably satisfying about a well-made burrito—warm, hearty, and packed with layers of flavor. These Chicken Avocado Ranch Burritos take that satisfaction to the next level with tender chicken, creamy avocado, and a tangy ranch dressing that ties everything together. Whether you’re meal prepping for the week or serving a crowd, this recipe is a guaranteed winner. Let’s dive in and explore why this dish deserves a spot in your regular rotation.
Why You’ll Love This Recipe
First, let’s talk about what makes these burritos so special. Here are just a few reasons why you’ll fall in love with this recipe:
- Perfect balance of flavors: The combination of juicy chicken, rich avocado, and zesty ranch creates a harmony of tastes that’s hard to resist.
- Meal prep friendly: These burritos hold up well in the fridge or freezer, making them an excellent option for busy weeknights.
- Customizable: Whether you prefer extra spice, added veggies, or a different protein, this recipe is adaptable to your preferences.
- Family-approved: Kids and adults alike will enjoy the creamy texture and familiar flavors, making it a great choice for picky eaters.
- Quick and easy: With minimal prep and cook time, you can have a restaurant-quality meal on the table in under 30 minutes.
Ingredients Breakdown
Every great recipe starts with quality ingredients. Here’s what you’ll need and why each one matters:
- Chicken breast: Lean and protein-packed, chicken breast is the perfect base. You can also use rotisserie chicken for extra convenience.
- Avocado
- Ranch dressing: The tangy, herby flavor of ranch ties everything together. Use store-bought or homemade for best results.
- Flour tortillas: Large burrito-sized tortillas work best for easy rolling. Warm them slightly to prevent cracking.
- Shredded cheese: Cheddar or Monterey Jack melts beautifully and adds a rich, gooey texture.
- Black beans: For extra fiber and protein. Rinsed canned beans work perfectly.
- Fresh cilantro: A bright, herbaceous note that balances the richness.
- Lime juice: A splash of acidity enhances the flavors and keeps the avocado from browning.
How to Make Chicken Avocado Ranch Burritos
Now, let’s walk through the step-by-step process to create these delicious burritos:
- Cook the chicken: Season chicken breasts with salt, pepper, and a pinch of cumin. Cook in a skillet over medium heat until fully done (about 6-7 minutes per side). Let rest before slicing into thin strips.
- Prep the fillings: While the chicken cooks, dice the avocado and toss it with lime juice to prevent browning. Rinse and drain the black beans. Shred the cheese and chop the cilantro.
- Warm the tortillas: Heat each tortilla in a dry skillet for about 10 seconds per side or wrap them in a damp towel and microwave for 20 seconds. This makes them pliable for rolling.
- Assemble the burritos: Lay a tortilla flat and layer chicken, avocado, black beans, cheese, and a drizzle of ranch dressing in the center. Sprinkle with cilantro.
- Fold and roll: Fold the sides inward, then roll tightly from the bottom up, tucking in the filling as you go. Repeat for all burritos.
- Optional crisp-up: For extra texture, heat a skillet with a touch of oil and lightly toast the burritos seam-side down for 1-2 minutes until golden.
Pro Tips for the Best Results
Want to take your burritos to the next level? Try these expert tips:
- Use room-temperature ingredients: Cold fillings can make the tortillas harder to roll without cracking.
- Don’t overstuff: Keep the filling balanced to ensure a tight, mess-free roll.
- Double-wrap for freezing: If meal prepping, wrap each burrito in parchment paper first, then foil to prevent freezer burn.
- Add a secret ingredient: A sprinkle of smoked paprika or a dash of hot sauce can elevate the flavor profile.
- Press for crispiness: If you love a crispy exterior, use a panini press or a heavy skillet to flatten and toast the burrito after rolling.
Variations and Substitutions
This recipe is incredibly versatile. Here are some ways to mix it up:
- Protein swaps: Try grilled shrimp, ground turkey, or even tofu for a vegetarian option.
- Dairy-free: Use vegan ranch and cheese alternatives for a lactose-free version.
- Extra veggies: Add sautéed bell peppers, corn, or spinach for more nutrients.
- Spicy kick: Mix in diced jalapeños or a spoonful of chipotle mayo for heat.
- Low-carb: Swap flour tortillas for lettuce wraps or low-carb tortillas.
What to Serve With It
While these burritos are a meal on their own, here are some perfect pairings:
- Side dishes: Mexican rice, grilled corn salad, or a simple green salad with lime vinaigrette.
- Dips: Extra ranch, salsa verde, or a creamy chipotle sauce for dipping.
- Drinks: A cold horchata, margarita, or sparkling limeade complements the flavors beautifully.
How to Store and Reheat
To keep your burritos fresh and delicious:
- Refrigeration: Wrap tightly in foil or plastic wrap and store for up to 3 days.
- Freezing: Individually wrap burritos in parchment and foil, then freeze for up to 2 months.
- Reheating: For best results, thaw overnight in the fridge (if frozen) and reheat in a skillet over medium heat until warmed through. Microwaving works too—just cover with a damp paper towel to prevent drying out.
Frequently Asked Questions (FAQs)
Can I make these burritos ahead of time?
Absolutely! Assemble them, wrap tightly, and refrigerate for up to a day before reheating. For longer storage, freeze them.
How do I prevent my burritos from falling apart?
Warm tortillas properly, don’t overfill, and roll tightly. A light toast in the skillet after rolling helps seal the edges.
Can I use Greek yogurt instead of ranch?
Yes, a mix of Greek yogurt with ranch seasoning makes a lighter, tangier alternative.
What’s the best way to reheat frozen burritos?
Bake at 350°F for 20-25 minutes straight from frozen, or microwave for 2-3 minutes, flipping halfway.
Can I grill these burritos?
Definitely! Brush with a little oil and grill seam-side down first for a smoky, charred flavor.
Final Thoughts
There you have it—everything you need to make the most delicious Chicken Avocado Ranch Burritos at home. Whether you’re cooking for one or feeding a crowd, this recipe is sure to impress with its creamy, tangy, and satisfying flavors. Don’t be afraid to experiment with different fillings or spice levels to make it your own. Once you try these, they’ll become a regular in your meal rotation. Happy cooking!
Print
Chicken Avocado Ranch Burritos
Description
A delicious and filling burrito packed with tender chicken, creamy avocado, and zesty ranch flavors. Perfect for a quick lunch or dinner!
Ingredients
For the Crust:
- For the chicken filling:
- 2 boneless, skinless chicken breasts
- 1 tablespoon olive oil
- 1 teaspoon garlic powder
- 1 teaspoon onion powder
- 1 teaspoon paprika
- Salt and pepper to taste
- For the avocado mixture:
- 2 ripe avocados, diced
- 1 lime, juiced
- 1/4 cup chopped cilantro
- 1/4 cup diced red onion
- Salt to taste
- For assembly:
- 4 large flour tortillas
- 1/2 cup ranch dressing
- 1 cup shredded lettuce
- 1/2 cup shredded cheddar cheese
- 1/4 cup diced tomatoes
Instructions
1. Prepare the Crust:
- 1. Cook the chicken: Heat olive oil in a skillet over medium heat. Season chicken breasts with garlic powder, onion powder, paprika, salt, and pepper. Cook for 6-7 minutes per side until fully cooked. Let rest for 5 minutes, then slice into thin strips.
- 2. Prepare the avocado mixture: In a bowl, combine diced avocados, lime juice, cilantro, red onion, and salt. Gently mix to combine.
- 3. Assemble the burritos: Warm the tortillas slightly to make them pliable. Spread 2 tablespoons of ranch dressing on each tortilla. Layer with shredded lettuce, sliced chicken, avocado mixture, shredded cheese, and diced tomatoes.
- 4. Fold the burritos: Fold the sides of the tortilla inward, then roll tightly from the bottom to enclose the filling.
- 5. Serve immediately or wrap in foil to keep warm. Optionally, heat in a skillet for 1-2 minutes per side to crisp the tortilla.
Notes
For extra flavor, try adding cooked bacon or swapping the ranch dressing for chipotle ranch. These burritos can also be made ahead and refrigerated for up to 2 days—just reheat before serving.