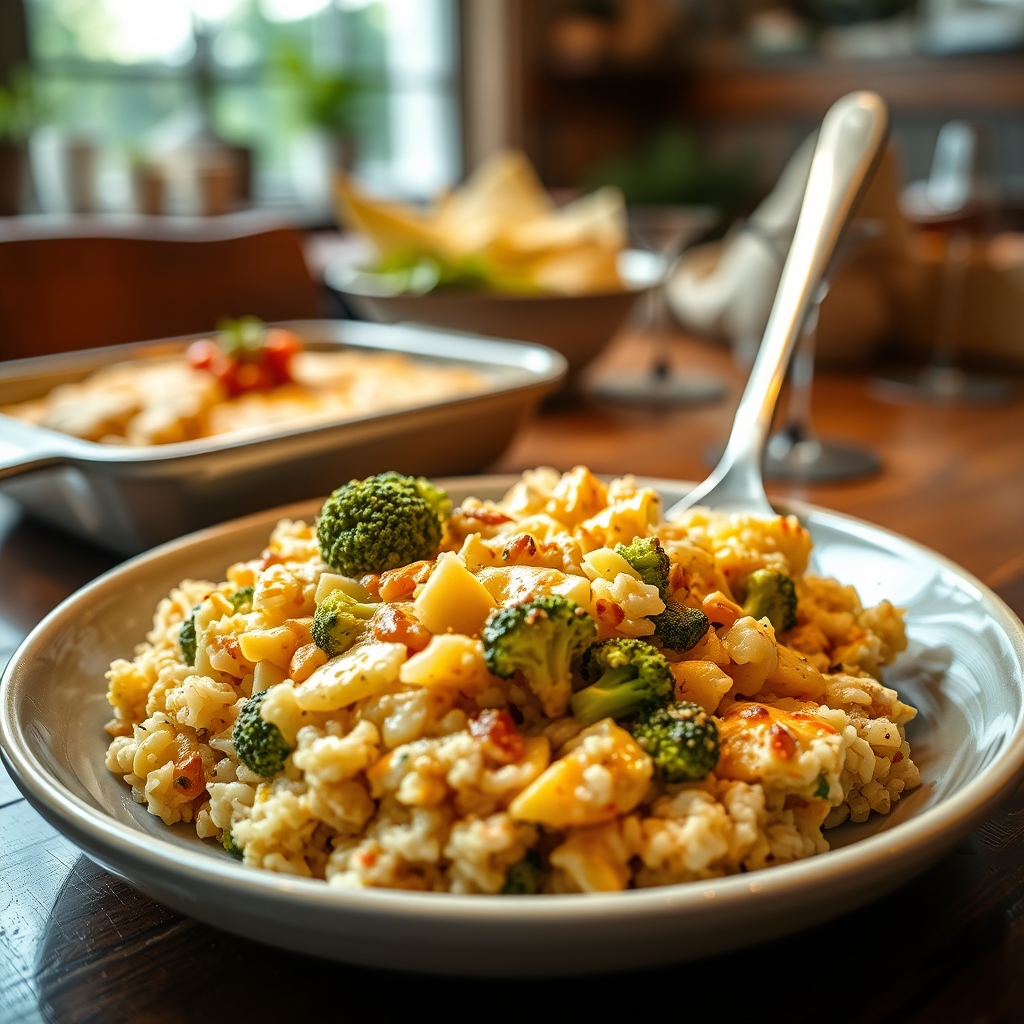
Cheesy Broccoli Chicken Rice Casserole
There’s something undeniably comforting about a warm, cheesy casserole fresh from the oven. This Cheesy Broccoli Chicken Rice Casserole is the kind of dish that brings everyone to the table—creamy, hearty, and packed with flavor. Whether you’re feeding a hungry family, meal prepping for the week, or bringing a dish to a potluck, this recipe is a guaranteed winner. Let’s dive into why this casserole deserves a spot in your regular rotation.
Why You’ll Love This Recipe
1. Comfort Food at Its Best: This casserole combines tender chicken, crisp broccoli, and fluffy rice in a rich, cheesy sauce that’s pure comfort in every bite.
2. Easy to Make Ahead: Perfect for busy weeknights, you can assemble it in advance and bake it when ready, making dinner stress-free.
3. Family-Friendly: Even picky eaters won’t resist the cheesy goodness and familiar flavors.
4. Versatile and Customizable: Swap ingredients based on what you have on hand or dietary preferences—more on that later.
5. Leftovers Taste Amazing: The flavors meld even more overnight, making leftovers a delicious next-day lunch.
Ingredients Breakdown
Every great casserole starts with quality ingredients. Here’s what you’ll need and why each one matters:
Chicken Breast: Lean and protein-packed, chicken breast adds heartiness. You can use rotisserie chicken for extra convenience.
Broccoli Florets: Fresh or frozen broccoli brings a pop of color, texture, and nutrients. It balances the richness of the cheese.
Long-Grain White Rice: The base of the casserole, rice soaks up the creamy sauce while staying fluffy. Brown rice works too, but adjust cooking time.
Cheddar Cheese: Sharp cheddar melts beautifully and adds a tangy depth. For extra creaminess, mix in Monterey Jack or Gruyère.
Cream of Chicken Soup: This pantry staple binds everything together, creating a velvety sauce. Substitute cream of mushroom for a different flavor profile.
Milk: Thins the sauce slightly for the perfect consistency. Whole milk adds richness, but 2% works fine.
Seasonings: Garlic powder, onion powder, salt, and pepper enhance the savory notes. A pinch of paprika adds subtle warmth.
How to Make Cheesy Broccoli Chicken Rice Casserole
Follow these steps for a foolproof, delicious casserole every time:
Step 1: Preheat and Prep: Preheat your oven to 375°F and lightly grease a 9×13-inch baking dish.
Step 2: Cook the Rice: Rinse 1 ½ cups of rice under cold water, then cook according to package instructions. Fluff with a fork and set aside.
Step 3: Prepare the Chicken: Season 2 boneless, skinless chicken breasts with salt and pepper. Cook in a skillet over medium heat until no longer pink (about 6–7 minutes per side). Shred or cube the chicken.
Step 4: Blanch the Broccoli: If using fresh broccoli, blanch it in boiling water for 2 minutes, then plunge into ice water to retain its vibrant color. Frozen broccoli can be thawed and drained.
Step 5: Make the Sauce: In a large bowl, whisk together 1 can of cream of chicken soup, 1 cup of milk, ½ teaspoon garlic powder, ½ teaspoon onion powder, and a pinch of paprika.
Step 6: Combine Everything: Fold in the cooked rice, chicken, and broccoli. Stir in 1 ½ cups of shredded cheddar cheese, reserving ½ cup for topping.
Step 7: Bake to Perfection: Transfer the mixture to the baking dish, sprinkle with remaining cheese, and bake for 25–30 minutes until bubbly and golden.
Step 8: Rest and Serve: Let the casserole sit for 5 minutes before serving to allow the sauce to thicken slightly.
Pro Tips for the Best Results
Use Freshly Shredded Cheese: Pre-shredded cheese contains anti-caking agents that can make the sauce grainy. Block cheese melts smoother.
Don’t Overcook the Broccoli: It will soften further in the oven, so blanching keeps it perfectly tender-crisp.
Add a Crunchy Topping: For extra texture, mix breadcrumbs with melted butter and sprinkle over the cheese before baking.
Let It Rest: Allowing the casserole to cool slightly helps the layers set for cleaner slices.
Variations and Substitutions
Vegetarian Option: Skip the chicken and add mushrooms or extra veggies like cauliflower and carrots.
Gluten-Free: Use a gluten-free cream soup substitute or make a homemade roux with gluten-free flour.
Spicy Twist: Stir in diced jalapeños or a dash of hot sauce for a kick.
Different Proteins: Swap chicken for turkey, ham, or even canned tuna for a budget-friendly version.
What to Serve With It
This casserole is a complete meal on its own, but these sides complement it beautifully:
Green Salad: A crisp salad with a tangy vinaigrette cuts through the richness.
Garlic Bread: Perfect for soaking up any extra cheesy sauce.
Roasted Carrots: Their natural sweetness pairs well with the savory casserole.
White Wine or Iced Tea: A chilled drink balances the hearty flavors.
How to Store and Reheat
Refrigeration: Store leftovers in an airtight container for up to 4 days.
Freezing: Assemble the casserole (unbaked) and freeze for up to 3 months. Thaw overnight before baking, adding 10–15 extra minutes.
Reheating: Warm individual portions in the microwave or reheat the whole dish at 350°F for 15–20 minutes, covered with foil to prevent drying.
Frequently Asked Questions (FAQs)
Can I use instant rice instead of regular rice? Yes, but reduce the liquid slightly since instant rice absorbs less moisture.
Can I make this casserole dairy-free? Substitute the cheese with dairy-free alternatives and use a plant-based cream soup and milk.
How do I prevent the casserole from drying out? Cover with foil during the first 20 minutes of baking, then uncover to brown the cheese.
Can I add other vegetables? Absolutely! Bell peppers, peas, or spinach work well—just adjust cooking times as needed.
Is this recipe freezer-friendly? Yes, it freezes beautifully before or after baking. Thaw and reheat with a splash of milk if needed.
Final Thoughts
This Cheesy Broccoli Chicken Rice Casserole is more than just a meal—it’s a warm hug on a plate. Whether you’re cooking for a crowd or simply craving something cozy, this dish delivers every time. Don’t be afraid to make it your own with different add-ins or spices. After all, the best recipes are the ones that bring joy to your kitchen and your table. Happy cooking!
Print
Cheesy Broccoli Chicken Rice Casserole
Description
A creamy, cheesy casserole loaded with tender chicken, fresh broccoli, and fluffy rice—perfect for weeknight dinners or potlucks. This one-dish wonder is both comforting and easy to make!
Ingredients
For the Crust:
- For the casserole:
- 2 cups cooked chicken, shredded or diced
- 2 cups fresh broccoli florets, chopped
- 1 1/2 cups uncooked long-grain white rice
- 3 cups chicken broth
- 1 cup shredded cheddar cheese
- 1 cup shredded mozzarella cheese
- For the sauce:
- 1 (10.5 oz) can cream of chicken soup
- 1/2 cup sour cream
- 1/4 cup milk
- 1 tsp garlic powder
- 1/2 tsp onion powder
- 1/2 tsp black pepper
- For topping:
- 1/2 cup panko breadcrumbs
- 2 tbsp melted butter
- 1/4 tsp paprika
Instructions
1. Prepare the Crust:
- Preheat oven to 375°F (190°C) and grease a 9×13-inch baking dish.
- In a large bowl, mix cream of chicken soup, sour cream, milk, garlic powder, onion powder, and black pepper until smooth.
- Stir in cooked chicken, broccoli, uncooked rice, and 1/2 cup of each cheese until well combined.
- Pour mixture into the prepared baking dish and spread evenly.
- Pour chicken broth over the top (do not stir). Cover tightly with foil and bake for 45 minutes.
- Remove foil, sprinkle remaining cheeses, then top with panko mixed with melted butter and paprika.
- Bake uncovered for 15-20 minutes or until bubbly and golden. Let rest 5 minutes before serving.
Notes
Substitute cream of mushroom soup for a vegetarian version. Leftovers reheat well in the microwave with a splash of broth. For crispier topping, broil the last 2-3 minutes.