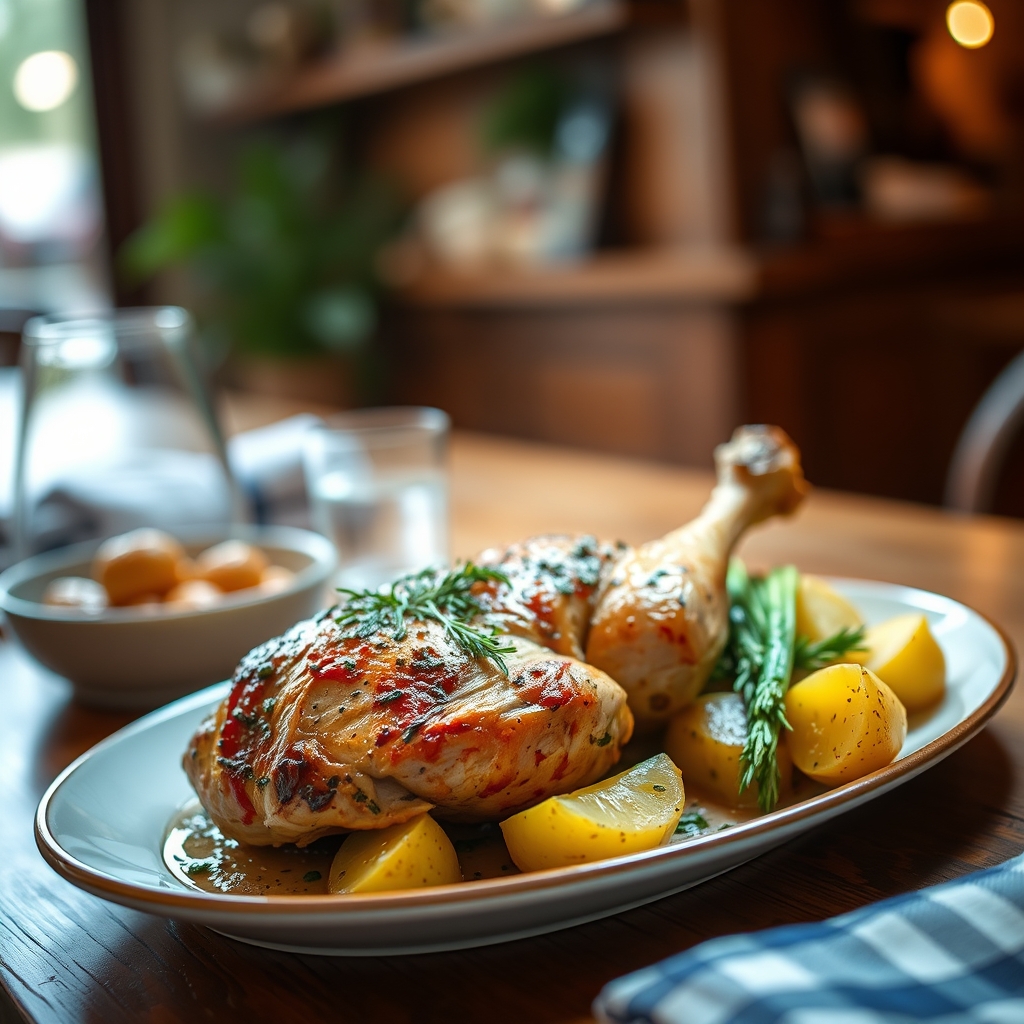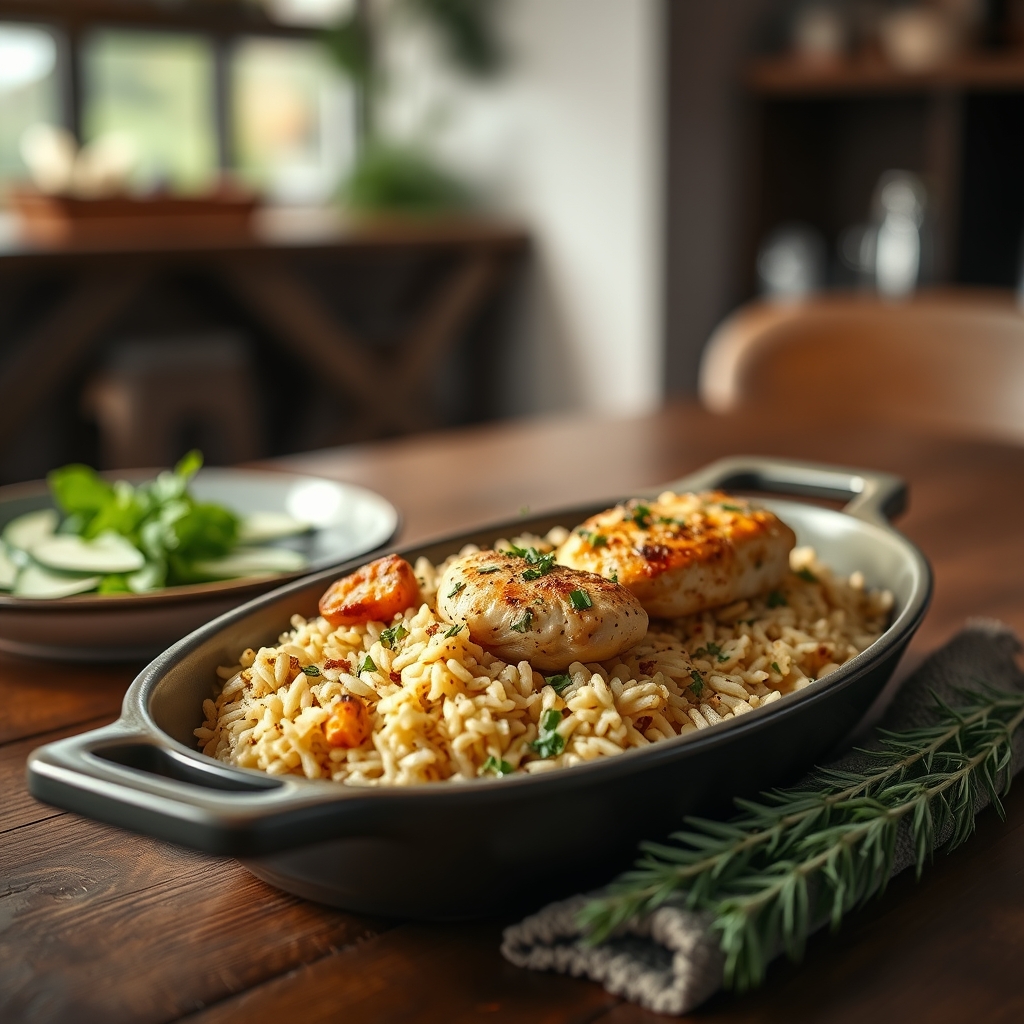
Chicken & Rice Bake with Fresh Herbs
There’s something undeniably comforting about a dish that brings together tender chicken, fluffy rice, and the bright aroma of fresh herbs. This Chicken & Rice Bake with Fresh Herbs is a one-pan wonder that delivers both simplicity and depth of flavor. Whether you’re cooking for a busy weeknight dinner or a cozy weekend gathering, this recipe is a reliable crowd-pleaser that never fails to satisfy. The best part? It’s as easy to prepare as it is delicious.
Why You’ll Love This Recipe
If you’re looking for a dish that checks all the boxes—flavor, ease, and versatility—this Chicken & Rice Bake is the answer. Here’s why it’s a must-try:
- Effortless One-Pan Meal – Everything cooks together in a single baking dish, meaning fewer dishes and more time to enjoy your meal.
- Bursting with Fresh Herb Flavor – The combination of parsley, thyme, and rosemary infuses every bite with a garden-fresh aroma.
- Perfectly Balanced Texture – The rice absorbs the savory chicken juices while staying fluffy, and the chicken turns out tender and juicy.
- Family-Friendly – Mild yet flavorful, this dish appeals to both kids and adults, making it a great option for family dinners.
- Meal Prep Friendly – Leftovers taste just as good the next day, making it ideal for busy schedules.
Ingredients Breakdown
Every ingredient in this Chicken & Rice Bake plays a crucial role in building layers of flavor and texture. Here’s what you’ll need and why:
- Chicken Thighs – Bone-in, skin-on thighs stay juicy during baking and add richness to the rice.
- Long-Grain White Rice – Absorbs liquid beautifully without turning mushy, creating the perfect texture.
- Chicken Broth – Forms the base of the cooking liquid, infusing the rice with savory depth.
- Fresh Herbs (Parsley, Thyme, Rosemary) – These herbs bring brightness and complexity, elevating the dish beyond basic baked chicken and rice.
- Garlic and Onion – Aromatic foundations that build a flavorful base.
- Butter and Olive Oil – Butter adds richness, while olive oil ensures the chicken skin crisps up beautifully.
- Lemon Zest – A hint of citrus brightens the dish and balances the savory notes.
How to Make Chicken & Rice Bake with Fresh Herbs
Follow these steps for a foolproof, flavorful bake every time:
- Preheat and Prep – Start by preheating your oven to 375°F. Lightly grease a 9×13-inch baking dish with olive oil or butter.
- Season the Chicken – Pat the chicken thighs dry with paper towels, then season generously with salt, pepper, and a touch of garlic powder.
- Sear for Flavor – Heat olive oil in a skillet over medium-high heat. Sear the chicken thighs skin-side down until golden brown (about 4-5 minutes). Flip and sear for another 2 minutes, then set aside.
- Sauté the Aromatics – In the same skillet, melt butter and sauté diced onion until translucent. Add minced garlic and cook for another 30 seconds until fragrant.
- Combine Rice and Liquid – Spread the rinsed rice evenly in the baking dish. Pour in the chicken broth, then stir in the sautéed onion and garlic mixture, half of the fresh herbs, and lemon zest.
- Arrange the Chicken – Nestle the seared chicken thighs on top of the rice, skin-side up. The rice will cook in the flavorful broth while the chicken juices drip down.
- Bake to Perfection – Cover the dish tightly with foil and bake for 30 minutes. Remove the foil, then bake for another 15-20 minutes until the rice is tender and the chicken skin is crispy.
- Garnish and Serve – Sprinkle the remaining fresh herbs over the top before serving for a vibrant finish.
Pro Tips for the Best Results
- Don’t Skip the Sear – Browning the chicken first adds depth of flavor and ensures crispy skin.
- Rinse the Rice – Washing the rice removes excess starch, preventing a gummy texture.
- Use Fresh Herbs – Dried herbs can work in a pinch, but fresh herbs make a noticeable difference in brightness.
- Check for Doneness – If the rice isn’t fully tender after baking, add a splash of broth and cover for an extra 5-10 minutes.
- Let It Rest – Allow the dish to sit for 5 minutes after baking so the rice absorbs any remaining liquid.
Variations and Substitutions
This recipe is wonderfully adaptable. Here are some ways to customize it:
- Protein Swap – Try boneless, skinless chicken breasts (reduce baking time) or even bone-in drumsticks.
- Vegetable Add-Ins – Stir in diced carrots, peas, or bell peppers with the rice for extra nutrition.
- Herb Variations – Swap in tarragon, sage, or dill for a different flavor profile.
- Dairy-Free – Replace butter with extra olive oil or a plant-based alternative.
- Gluten-Free – Ensure your chicken broth is gluten-free if needed.
What to Serve With It
This dish is hearty enough to stand alone, but here are some perfect pairings:
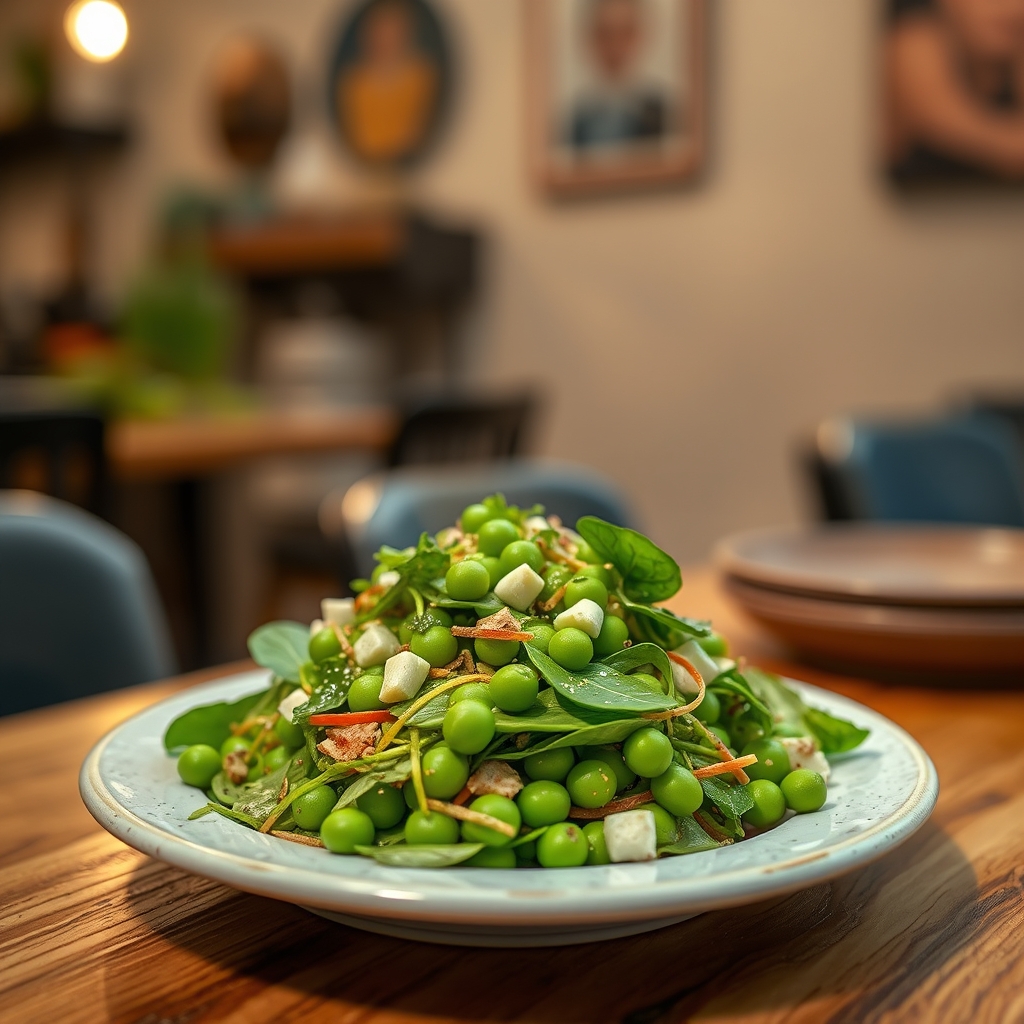
- Simple Green Salad – A crisp salad with a lemony vinaigrette balances the richness.
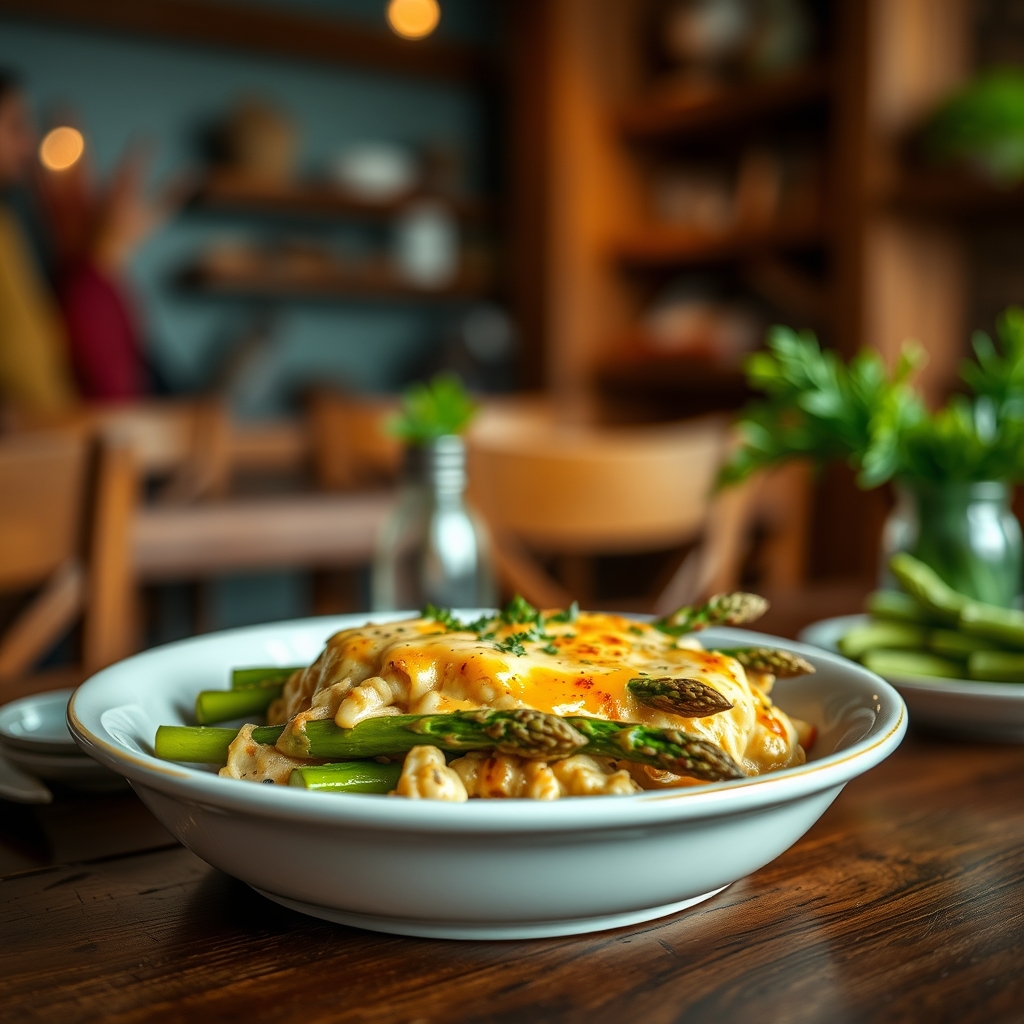
- Roasted Vegetables – Try asparagus, Brussels sprouts, or zucchini for a seasonal touch.
- Crusty Bread – Ideal for soaking up any remaining juices.
- White Wine – A chilled Sauvignon Blanc or Pinot Grigio complements the herbal notes.
How to Store and Reheat
Leftovers keep well, making this a great meal prep option:
- Refrigeration – Store in an airtight container for up to 3 days.
- Freezing – Freeze individual portions for up to 2 months. Thaw overnight in the fridge before reheating.
- Reheating – Warm in the microwave with a splash of broth to revive moisture, or reheat in a 350°F oven covered with foil until heated through.
Frequently Asked Questions (FAQs)
Can I use brown rice instead of white rice?
Yes, but you’ll need to adjust the liquid and cooking time. Use 1.5 times the broth and extend baking time by 15-20 minutes, checking for doneness.
What if I don’t have fresh herbs?
Dried herbs can substitute—use 1/3 the amount of fresh. For example, 1 tablespoon fresh thyme equals 1 teaspoon dried.
Can I make this dish ahead of time?
Absolutely! Assemble the dish up to the baking step, cover, and refrigerate for up to 24 hours. Add 5-10 minutes to the baking time if starting cold.
Why is my rice still crunchy?
This usually means the dish needed more liquid or time. Next time, check that your baking dish is tightly covered with foil to trap steam.
Can I add cheese to this recipe?
For a richer twist, sprinkle grated Parmesan or Gruyère over the rice during the last 10 minutes of baking.
Final Thoughts
This Chicken & Rice Bake with Fresh Herbs is more than just a meal—it’s a comforting, aromatic experience that brings warmth to any table. Whether you’re cooking for a weeknight family dinner or prepping meals for the week, this dish delivers on flavor, simplicity, and satisfaction. The fresh herbs make it feel special, while the one-pan method keeps it approachable. Give it a try, and I’m confident it’ll become a regular in your recipe rotation. Happy cooking!
Print
Chicken & Rice Bake with Fresh Herbs
Description
A comforting one-pan dish featuring tender chicken thighs, fluffy rice, and aromatic fresh herbs. Perfect for weeknight dinners or meal prep.
Ingredients
For the Crust:
- For the chicken:
- 4 bone-in, skin-on chicken thighs
- 1 tsp salt
- 1/2 tsp black pepper
- 1 tsp paprika
- 2 tbsp olive oil
- For the rice:
- 1 cup long-grain white rice
- 2 cups chicken broth
- 1 small onion, diced
- 2 garlic cloves, minced
- For the herbs:
- 1/4 cup fresh parsley, chopped
- 2 tbsp fresh thyme leaves
- 1 tbsp fresh rosemary, chopped
- 1 lemon, zested and juiced
Instructions
1. Prepare the Crust:
- Preheat oven to 375°F (190°C).
- Season chicken thighs with salt, pepper, and paprika.
- Heat olive oil in large oven-safe skillet over medium-high heat. Brown chicken skin-side down for 5-6 minutes until golden. Flip and cook 2 more minutes. Remove and set aside.
- In same skillet, sauté onion for 3 minutes until soft. Add garlic and cook 30 seconds until fragrant.
- Stir in rice, coating with oil. Pour in chicken broth and scrape up any browned bits.
- Nestle chicken thighs back into skillet, skin-side up. Bring to a simmer.
- Cover tightly with foil or lid and bake for 35 minutes.
- Remove from oven, let rest 5 minutes. Fluff rice with fork and stir in fresh herbs, lemon zest, and juice before serving.
Notes
For crispier skin, broil for 2-3 minutes after baking. Substitute dried herbs if needed (use 1/3 amount). Leftovers keep well refrigerated for 3 days.