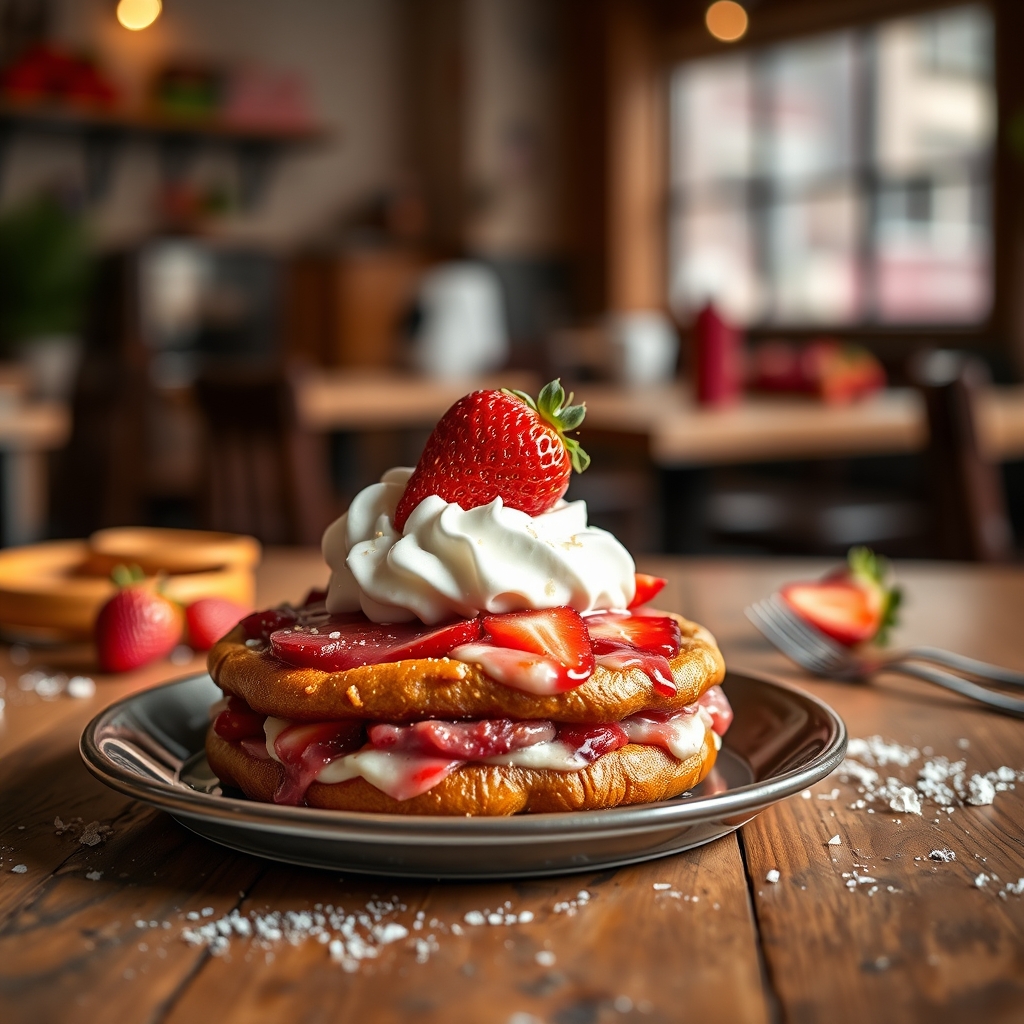
Strawberry Pretzel Dessert
There’s something undeniably nostalgic about a Strawberry Pretzel Dessert. This beloved layered treat combines the perfect balance of sweet and salty, creamy and crunchy, making it a showstopper at potlucks, family gatherings, or even a quiet weeknight indulgence. Whether you grew up with this classic or are discovering it for the first time, this recipe is bound to become a favorite. Let’s dive into why this dessert is so special and how you can make it effortlessly at home.
Why You’ll Love This Recipe
First, let’s talk about why Strawberry Pretzel Dessert is such a crowd-pleaser. Here are a few reasons you’ll fall in love with it:
- Perfect Texture Contrast: The salty pretzel crust, velvety cream cheese layer, and juicy strawberry topping create a symphony of textures in every bite.
- Make-Ahead Friendly: This dessert actually tastes better after chilling, making it ideal for preparing ahead of time for parties or busy days.
- Nostalgic Yet Refreshing: It’s a vintage recipe that never goes out of style, yet the bright strawberry flavor keeps it feeling fresh and modern.
- Versatile for Any Occasion: Whether it’s a summer BBQ, holiday potluck, or a simple family dinner, this dessert fits right in.
- Easy to Customize: You can tweak the flavors, swap ingredients, or adjust sweetness levels to suit your taste.
Ingredients Breakdown
Understanding the role of each ingredient helps you appreciate why this dessert works so well. Here’s what you’ll need:
- Pretzels: The base of the dessert, crushed pretzels provide a salty, crunchy contrast to the sweet layers. Stick with traditional salted pretzels for the best flavor.
- Butter: Melted butter binds the pretzel crust together, ensuring it holds its shape when sliced.
- Cream Cheese: The middle layer is rich and creamy, balancing the saltiness of the crust. Full-fat cream cheese yields the best texture.
- Whipped Topping: Lightens the cream cheese layer, making it fluffy and airy. You can use store-bought or homemade whipped cream.
- Strawberry Gelatin: Forms the vibrant top layer, infusing the dessert with fruity sweetness. Fresh strawberries can also be added for extra texture.
- Sugar: A touch of sugar sweetens the cream cheese layer and enhances the natural sweetness of the strawberries.
How to Make Strawberry Pretzel Dessert
Now, let’s walk through the step-by-step process to create this delightful dessert.
Step 1: Prepare the Pretzel Crust
Start by preheating your oven to 350°F. Crush 2 cups of pretzels into fine crumbs using a food processor or rolling pin. Mix the crumbs with ¾ cup melted butter and 3 tablespoons of sugar. Press this mixture firmly into the bottom of a 9×13-inch baking dish. Bake for 10 minutes, then let it cool completely.
Step 2: Make the Cream Cheese Layer
In a large bowl, beat 8 ounces of softened cream cheese with 1 cup of sugar until smooth. Fold in 8 ounces of whipped topping until fully combined. Spread this mixture evenly over the cooled pretzel crust, making sure to seal the edges to prevent the gelatin from seeping through. Chill for at least 30 minutes.
Step 3: Prepare the Strawberry Layer
Dissolve a 6-ounce package of strawberry gelatin in 2 cups of boiling water. Stir in 2 cups of cold water and let it cool slightly. If desired, add 1-2 cups of sliced fresh strawberries for extra freshness. Carefully pour the gelatin mixture over the cream cheese layer. Refrigerate for at least 4 hours, or until fully set.
Step 4: Serve and Enjoy
Once set, slice into squares and serve chilled. For an extra touch, garnish with additional whipped topping or fresh strawberries.
Pro Tips for the Best Results
To ensure your Strawberry Pretzel Dessert turns out perfect every time, keep these expert tips in mind:
- Press the Crust Firmly: A tightly packed crust prevents crumbling when slicing.
- Cool Each Layer Completely: Rushing the cooling process can cause layers to mix or not set properly.
- Use Fresh Strawberries: While gelatin alone works, adding fresh berries enhances flavor and texture.
- Chill Overnight: For the cleanest slices, let the dessert set overnight.
- Adjust Sweetness: If you prefer less sweetness, reduce the sugar in the cream cheese layer by a quarter cup.
Variations and Substitutions
This recipe is wonderfully adaptable. Here are some creative twists to try:
- Different Fruits: Swap strawberry gelatin for raspberry, cherry, or blueberry for a new flavor profile.
- Gluten-Free Option: Use gluten-free pretzels to make this dessert gluten-free.
- Lighter Version: Substitute low-fat cream cheese and sugar-free gelatin for a lighter treat.
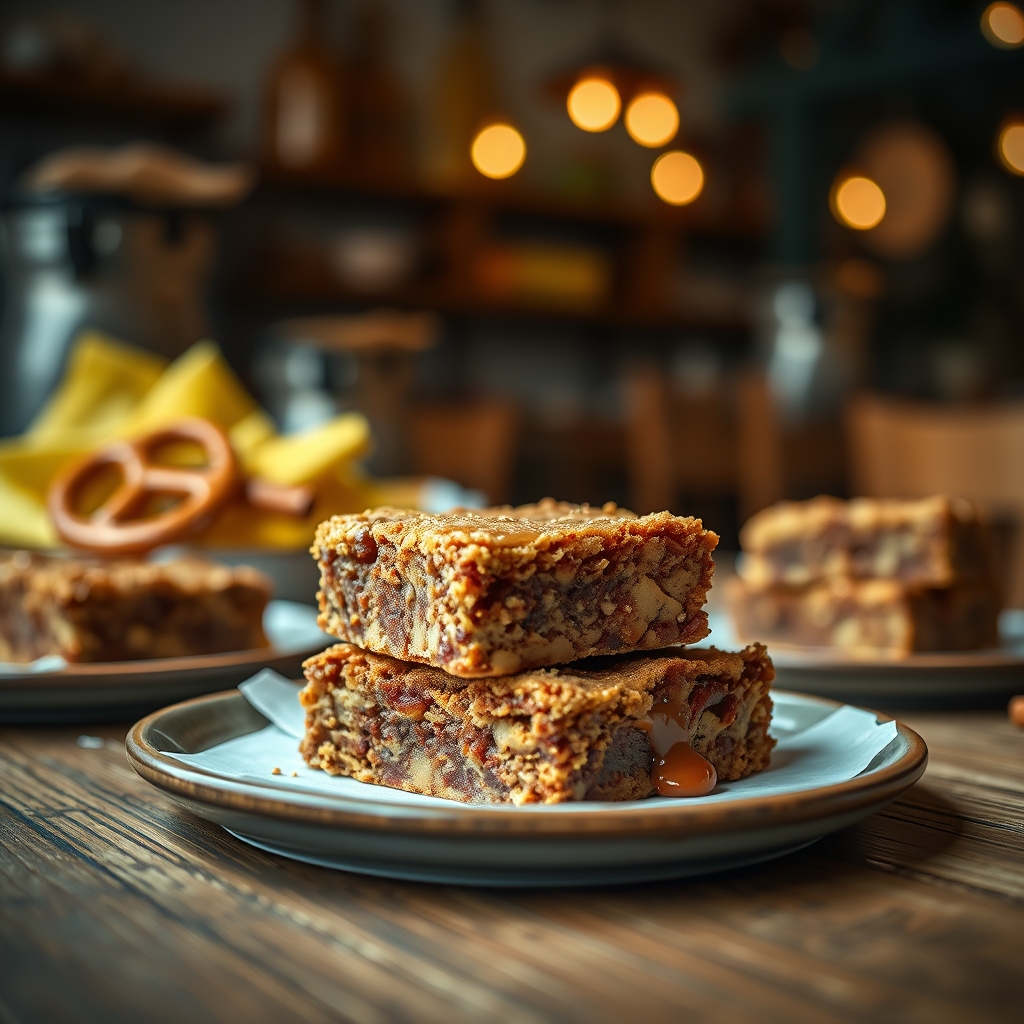
- Nutty Crust: Add finely chopped pecans or almonds to the pretzel crust for extra crunch.
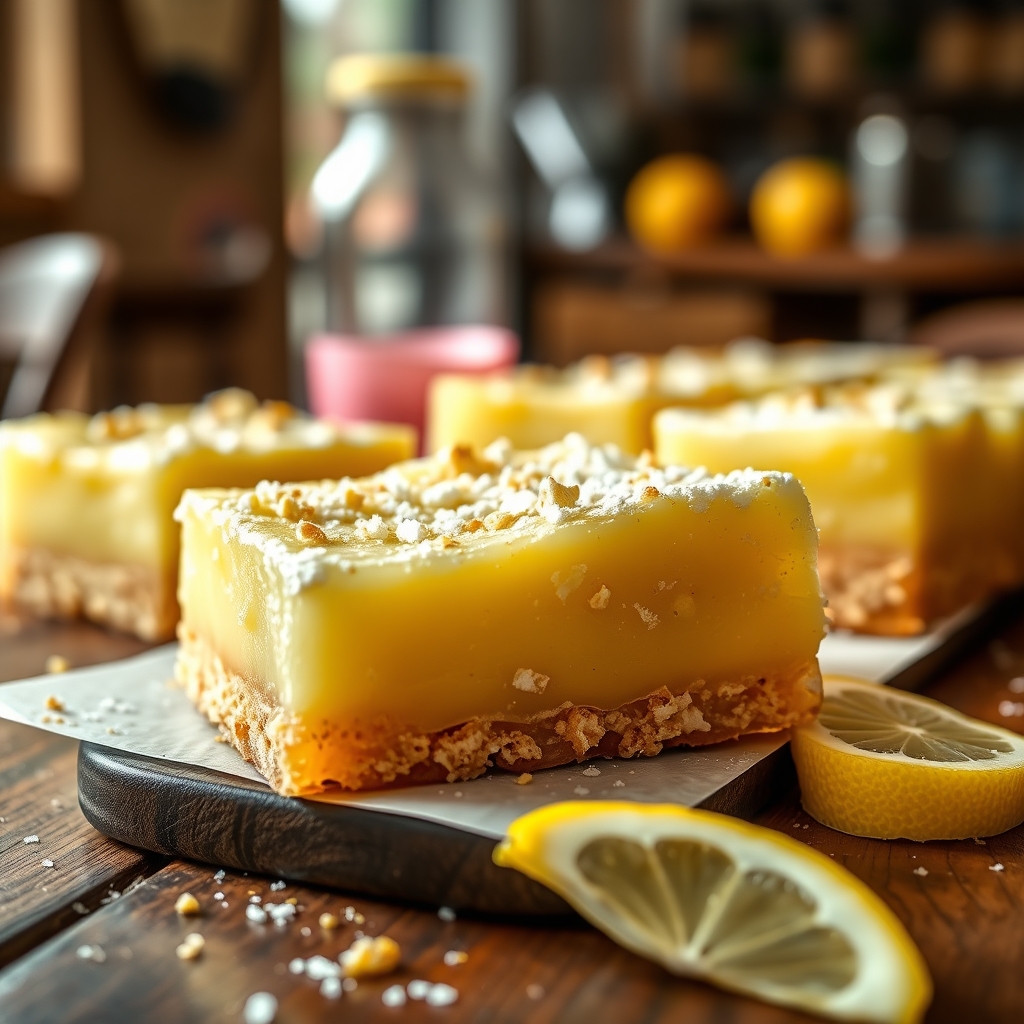
- Lemon Twist: Add a layer of lemon curd between the cream cheese and gelatin for a citrusy kick.
What to Serve With It
Strawberry Pretzel Dessert is fantastic on its own, but pairing it with complementary dishes can elevate your spread:
- Fresh Berries: Serve with a side of mixed berries for added freshness.
- Vanilla Ice Cream: A scoop of vanilla ice cream turns this dessert into an indulgent sundae.
- Sparkling Drinks: Pair with lemonade, iced tea, or a crisp prosecco for a refreshing contrast.
- Light Salads If serving as part of a meal, balance with a simple green salad or grilled chicken.
How to Store and Reheat
Proper storage keeps your dessert tasting fresh:
- Refrigeration: Store covered in the fridge for up to 5 days.
- Freezing: While possible, freezing may alter the texture of the gelatin layer. If freezing, wrap tightly and consume within a month.
- Serving Leftovers: No reheating needed—simply enjoy chilled straight from the fridge.
Frequently Asked Questions (FAQs)
Can I use fresh strawberries instead of gelatin?
While fresh strawberries add great texture, gelatin is necessary to create the firm top layer. For a less processed option, look for natural gelatin or agar-agar substitutes.
Why is my crust soggy?
A soggy crust usually means the butter wasn’t fully mixed or the crust wasn’t cooled before adding the cream cheese layer. Ensure proper cooling between steps.
Can I make this dessert in individual servings?
Absolutely! Use mason jars or small dessert cups to layer the ingredients for a portable, party-friendly option.
How far in advance can I make this?
This dessert keeps well for up to 2 days in advance, making it perfect for entertaining.
Can I use frozen strawberries?
Yes, but thaw and drain them first to prevent excess moisture from affecting the layers.
Final Thoughts
Strawberry Pretzel Dessert is more than just a recipe—it’s a celebration of contrasts and comfort. Whether you’re making it for a special occasion or just because, its layers of flavor and texture are sure to delight. Don’t be afraid to make it your own with creative twists or keep it classic for that nostalgic taste. Either way, one bite will have you hooked. Happy baking!
Print
Strawberry Pretzel Dessert
Description
A nostalgic layered dessert with a salty-sweet pretzel crust, creamy cheesecake filling, and fresh strawberry topping. Perfect for potlucks and summer gatherings.
Ingredients
For the Crust:
- For the crust:
- 2 cups finely crushed pretzels
- 3/4 cup unsalted butter, melted
- 3 tablespoons granulated sugar
- For the filling:
- 8 oz cream cheese, softened
- 1 cup granulated sugar
- 8 oz whipped topping (like Cool Whip), thawed
- For the topping:
- 6 oz strawberry gelatin (Jell-O)
- 2 cups boiling water
- 16 oz frozen strawberries, partially thawed
- 1 cup fresh strawberries, sliced (for garnish)
Instructions
1. Prepare the Crust:
- 1. Preheat oven to 350°F (175°C).
- 2. Make crust: Mix pretzel crumbs, melted butter, and sugar. Press firmly into a 9×13-inch baking dish. Bake for 10 minutes, then cool completely.
- 3. Make filling: Beat cream cheese and sugar until smooth. Fold in whipped topping. Spread over cooled crust. Chill 1 hour.
- 4. Make topping: Dissolve gelatin in boiling water. Stir in frozen strawberries. Refrigerate 20 minutes until slightly thickened.
- 5. Pour gelatin mixture over cream cheese layer. Chill 4+ hours or overnight.
- 6. Garnish with fresh strawberries before serving.
Notes
For a firmer set, use 1.5x the gelatin. Substitute raspberries or mixed berries for variation. Store covered in refrigerator for up to 3 days.