There’s something undeniably magical about the onset of spring. The days grow longer, the air feels lighter, and the world around us seems to burst into color. For me, it’s that first glimpse of fresh strawberries at the local farmer’s market that truly signals the change of seasons. Their bright red hue and sweet aroma take me straight back to childhood memories of picking strawberries with my grandmother, our fingers stained red and our hearts light with laughter. Inspired by those cherished moments, I’ve crafted a delightful recipe that captures the essence of spring in every bite: Low Carb Strawberry Shortcake Chia Pudding Cups.
Ingredients You’ll Need
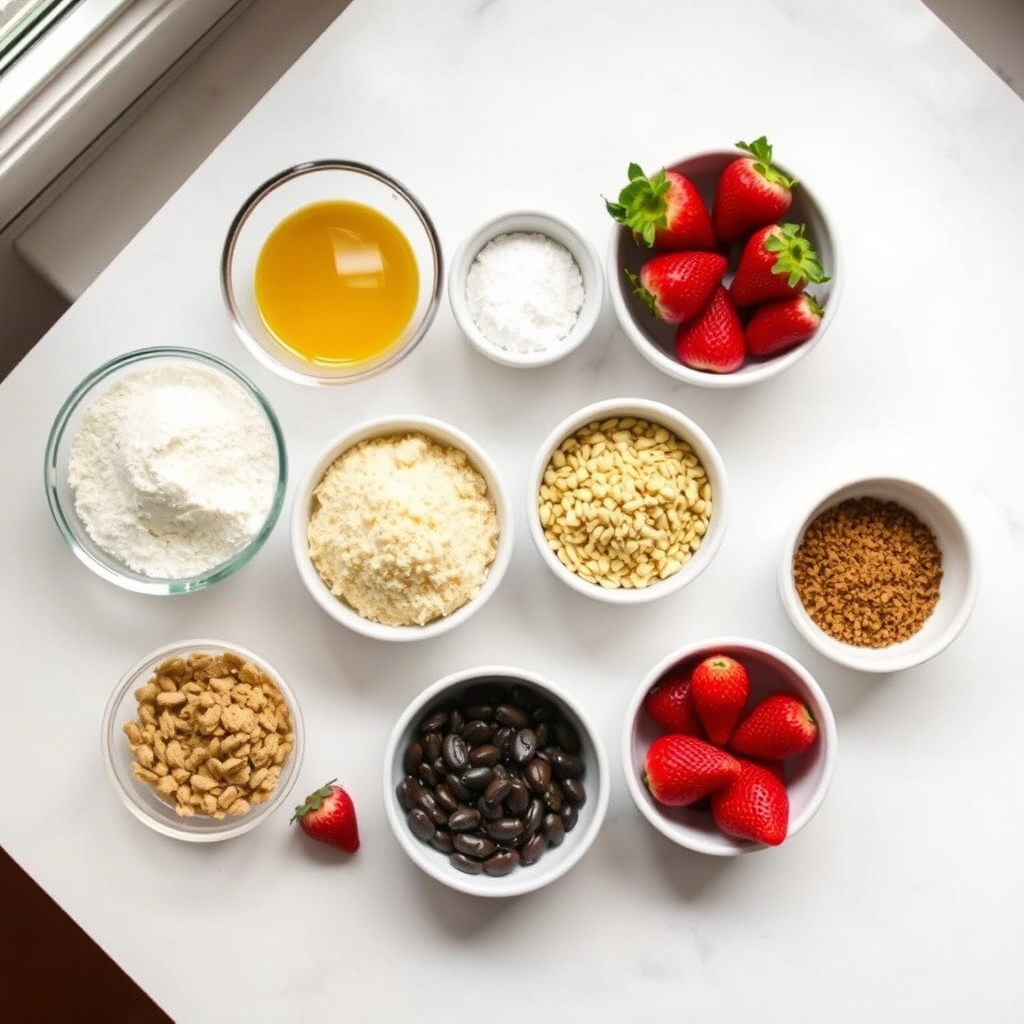
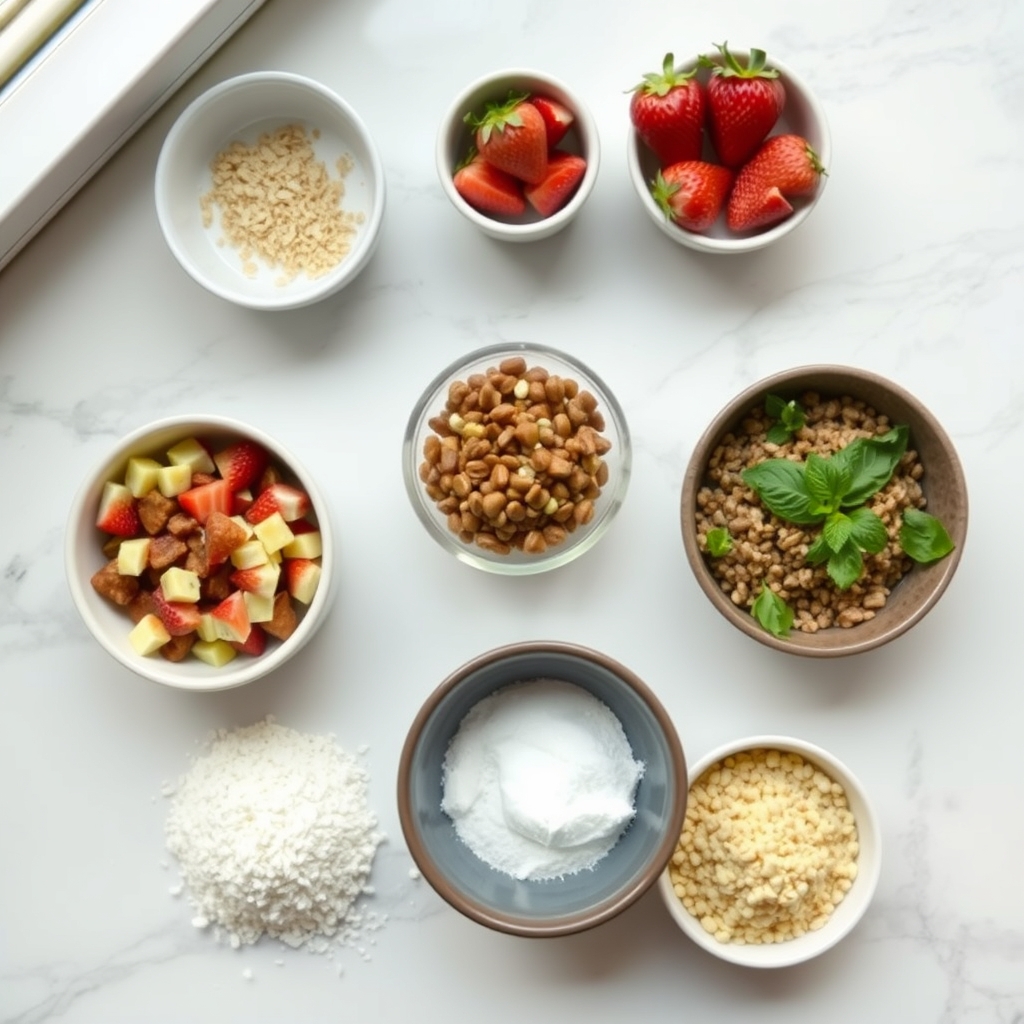
Before we dive into the recipe, let’s take a closer look at the ingredients that will bring this delightful dessert to life. Each component is carefully chosen to create a harmonious blend of flavors and textures, while keeping our health goals in mind.
- Chia Seeds: These tiny powerhouses serve as the base for our pudding. Known for their ability to absorb liquid and expand, chia seeds create a thick, creamy texture that’s perfect for a pudding cup. Plus, they’re packed with fiber and omega-3 fatty acids, making them a nutritious choice.
- Almond Milk: A lovely non-dairy alternative that keeps our dish low in carbs while adding a subtle nutty flavor. Feel free to use unsweetened almond milk to keep the sugar content in check.
- Fresh Strawberries: The star of our show! Choose ripe, juicy strawberries for the best flavor. They’ll add natural sweetness and a touch of color that makes this dessert so visually appealing.
- Vanilla Extract: Just a hint of vanilla brings warmth and depth to our pudding, complementing the strawberries beautifully.
- Sugar-Free Sweetener: To satisfy our sweet tooth without the extra carbs, opt for a natural sugar-free sweetener like stevia or erythritol. Adjust the amount to your taste preference.
- Whipped Cream (Optional): For an extra touch of indulgence, a dollop of homemade whipped cream can be added on top. Make sure to use a low-carb recipe to keep things in line with our goals.
Step-by-Step Guide to Making Your Chia Pudding Cups
Now that we have our ingredients ready, let’s get to the fun part: bringing our Low Carb Strawberry Shortcake Chia Pudding Cups to life! This recipe is not only simple but also a delightful way to spend a cozy afternoon in the kitchen.
- Mix the Chia Pudding: In a medium-sized bowl, combine the chia seeds, almond milk, vanilla extract, and your choice of sugar-free sweetener. Stir well to ensure the seeds are evenly distributed. Here’s a cozy tip: let the mixture sit for about 5 minutes, then give it another stir. This helps prevent clumping and ensures a smooth pudding.
- Let it Set: Cover the bowl and place it in the refrigerator for at least 2 hours, or overnight if possible. This is the perfect time to catch up on your favorite book or take a leisurely walk in the garden. The chia seeds will work their magic, transforming the mixture into a luscious pudding.
- Prepare the Strawberries: While waiting for the pudding to set, hull and slice the fresh strawberries. I love arranging them in a small bowl, ready to add a burst of color and flavor to our dish.
Stay tuned for the next part where we assemble these delightful chia pudding cups and add those final, irresistible touches!
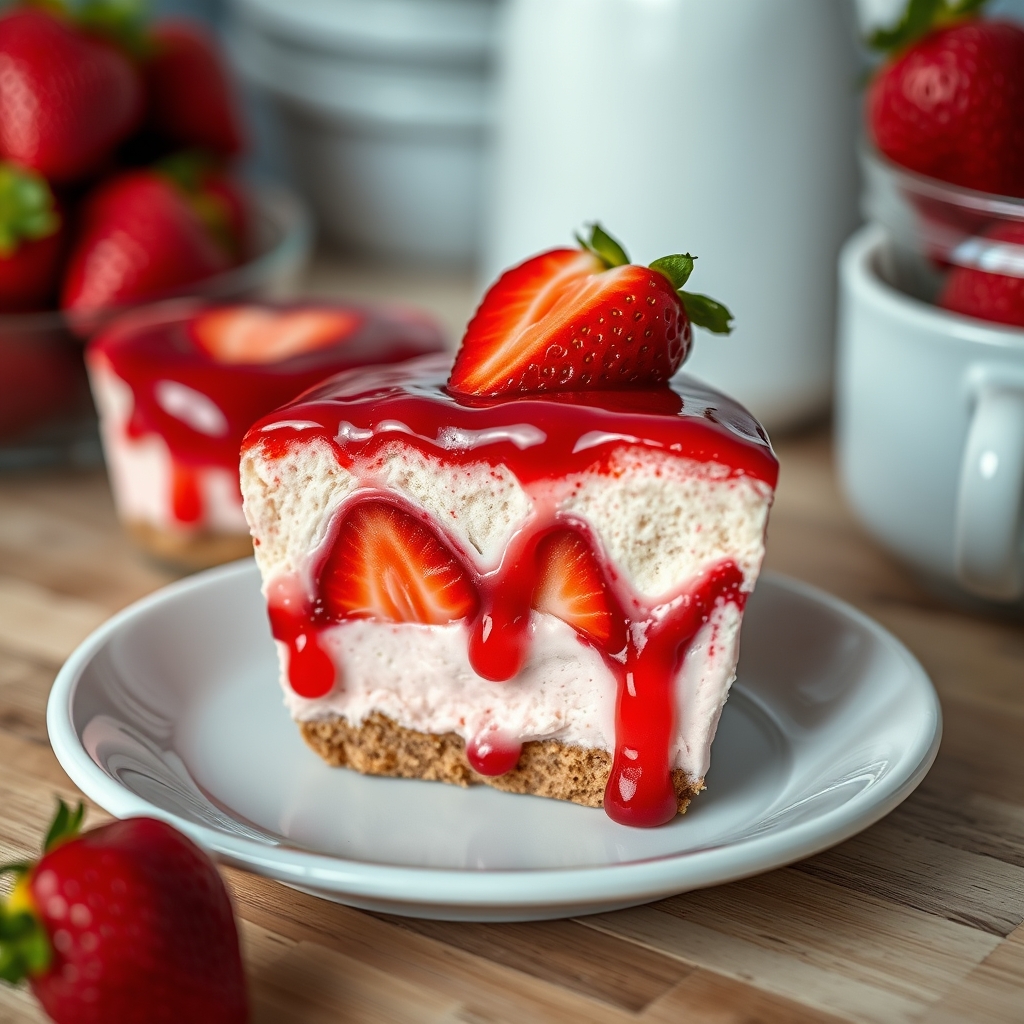
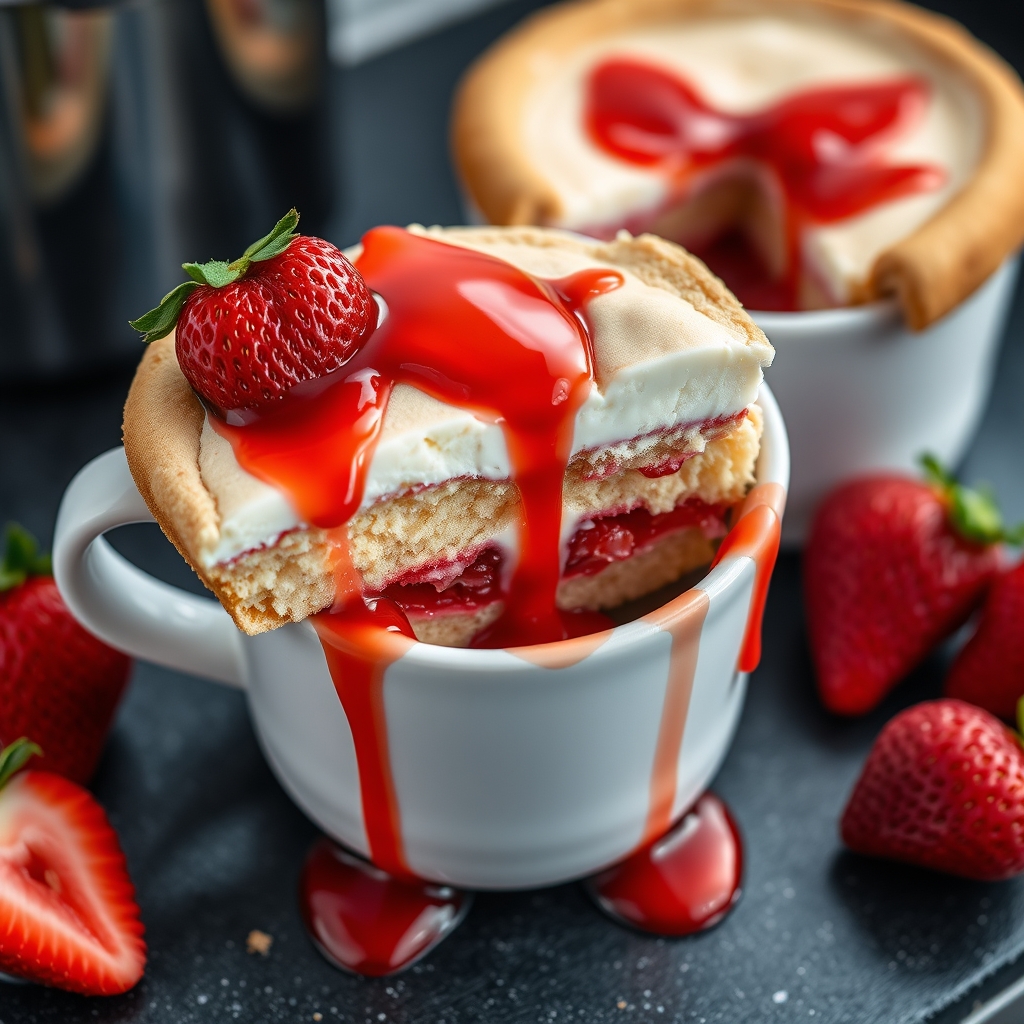
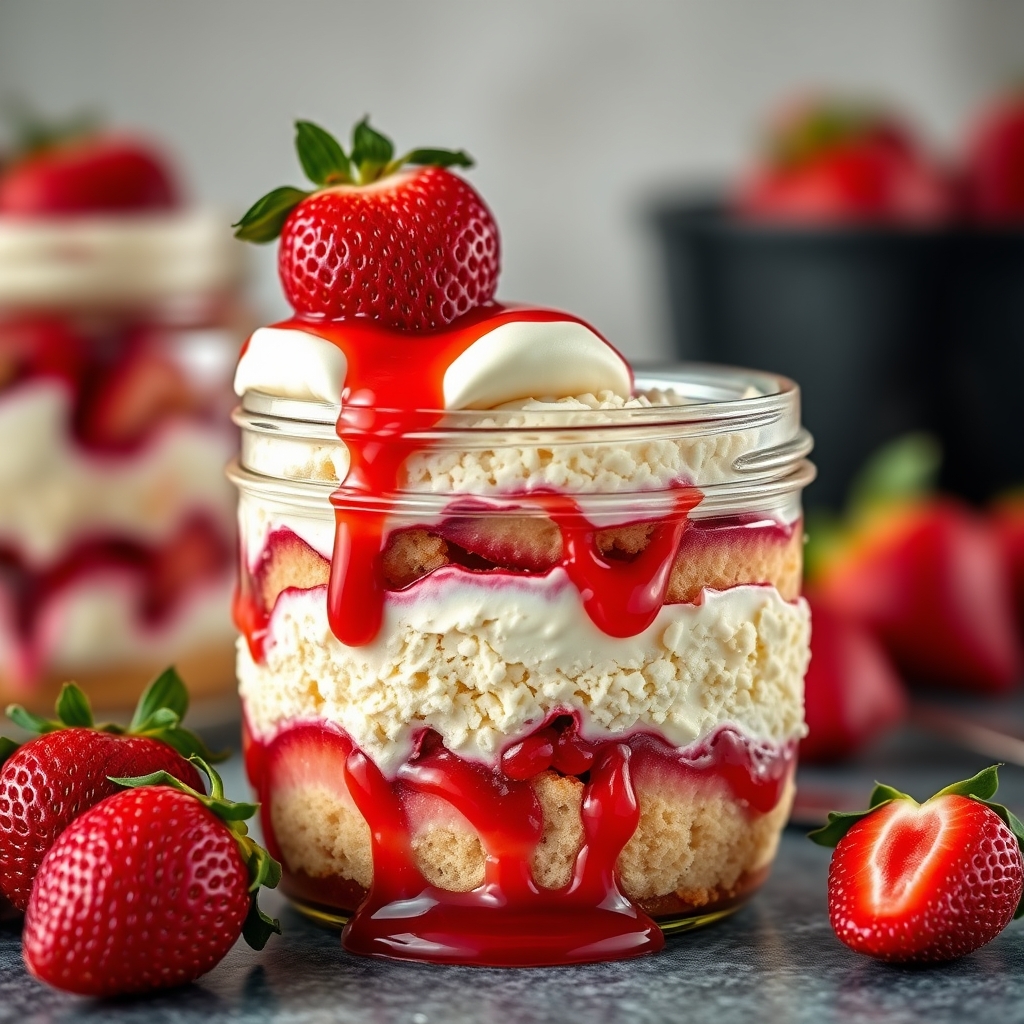
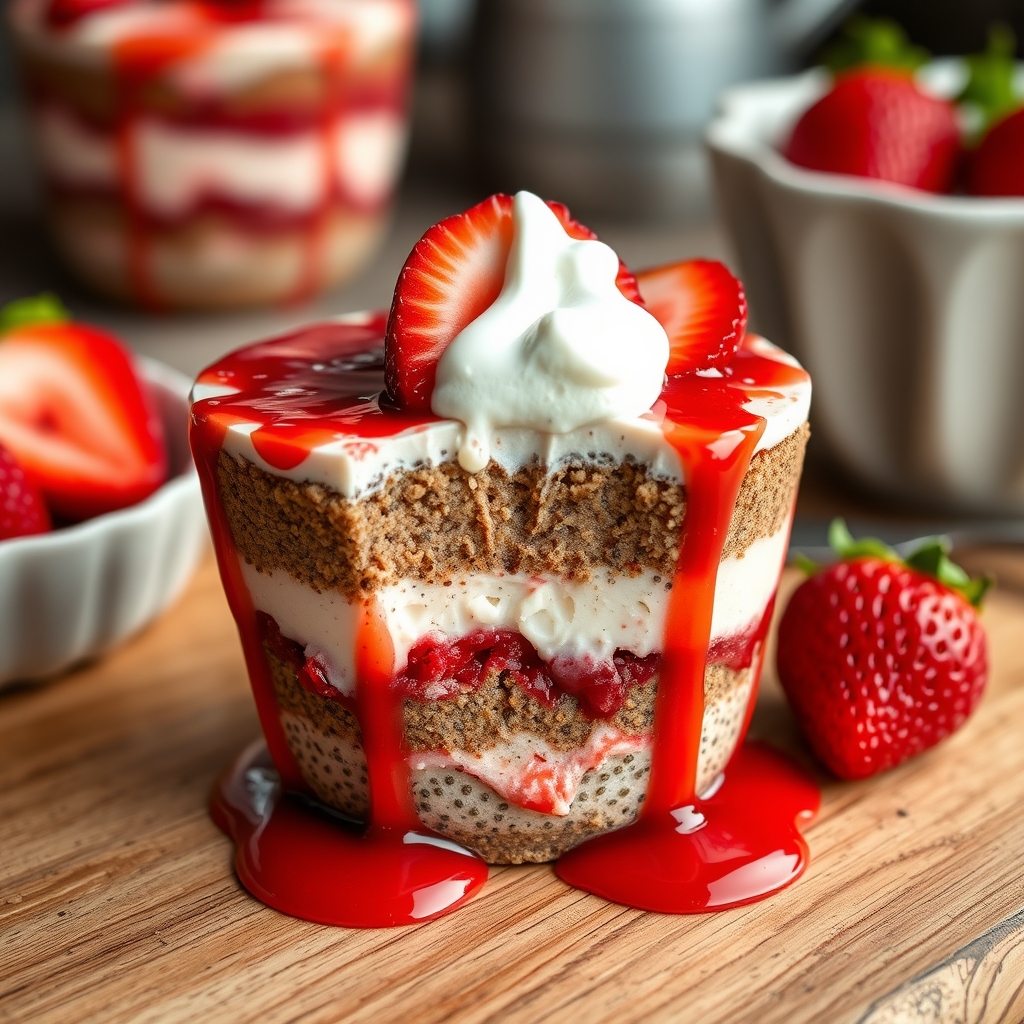
Low Carb Strawberry Shortcake Chia Pudding Cups
Oh, the delightful taste of strawberries and cream, reminiscent of summer picnics and sunlit afternoons. If you’re anything like me, you cherish those moments when a dessert not only satisfies your sweet tooth but also nourishes your body. These Low Carb Strawberry Shortcake Chia Pudding Cups are just that – a beautiful blend of indulgence and health, perfect for any occasion.
Pro Tips for the Perfect Pudding
Creating the perfect chia pudding is both an art and a science. Here are some tips to make sure your pudding is nothing short of perfect:
- Use Fresh Strawberries: Although frozen strawberries can work, fresh strawberries provide a burst of flavor and a lovely texture that elevates this dessert to another level.
- Balance the Sweetness: If the strawberries are particularly tart, add a touch more sweetener to the pudding. Taste as you go to find your perfect balance.
- Time is Your Friend: Allow the chia pudding to set overnight. This gives the chia seeds ample time to absorb the liquid and develop a creamy texture.
Variations and Substitutions
The beauty of this recipe lies in its versatility. Here are some ideas to make it your own:
- Dairy-Free Option: Use almond or coconut milk instead of regular milk for a dairy-free version.
- Flavor Twist: Add a teaspoon of vanilla extract to the pudding for a deeper, more complex flavor profile.
- Nuts and Seeds: Sprinkle chopped almonds or sunflower seeds on top for a delightful crunch.
What to Serve it With
These pudding cups pair beautifully with a warm cup of herbal tea or a freshly brewed coffee. For a more elaborate spread, serve them alongside a platter of mixed berries and a selection of cheeses. They also make a lovely finish to a light lunch or brunch.
Storage and Reheating Guidance
Chia pudding is wonderfully forgiving when it comes to storage. Keep your pudding cups in an airtight container in the refrigerator for up to five days. If you’re planning to serve them at a gathering, prepare them the night before for the best flavor and texture. There’s no reheating required – simply grab a spoon and enjoy!
Frequently Asked Questions
Can I use other fruits instead of strawberries?
Absolutely! Raspberries, blueberries, or even peaches would be delightful substitutes. Feel free to experiment with your favorite seasonal fruits.
How can I make this recipe vegan?
This recipe can easily be made vegan by using a plant-based milk like almond or coconut milk and ensuring your sweetener is vegan-friendly.
What if my pudding is too runny?
If your pudding hasn’t set properly, try adding an additional tablespoon of chia seeds and let it sit for another hour. Chia seeds need time to absorb liquid, so patience is key!
A Warm, Encouraging Final Note
I hope these Low Carb Strawberry Shortcake Chia Pudding Cups bring as much joy to your table as they do to mine. Remember, cooking is a journey, and each recipe is an opportunity to infuse a little love and creativity into your day. Enjoy each spoonful, knowing that you’re nourishing your body and soul. Until next time, happy cooking and even happier eating!

Low Carb Strawberry Shortcake Chia Pudding Cups
Description
Delight in the perfect blend of creamy chia pudding and fresh strawberries with these Low Carb Strawberry Shortcake Chia Pudding Cups. They’re not only delicious but also a healthy, nutrient-packed treat that’s perfect for breakfast or dessert.
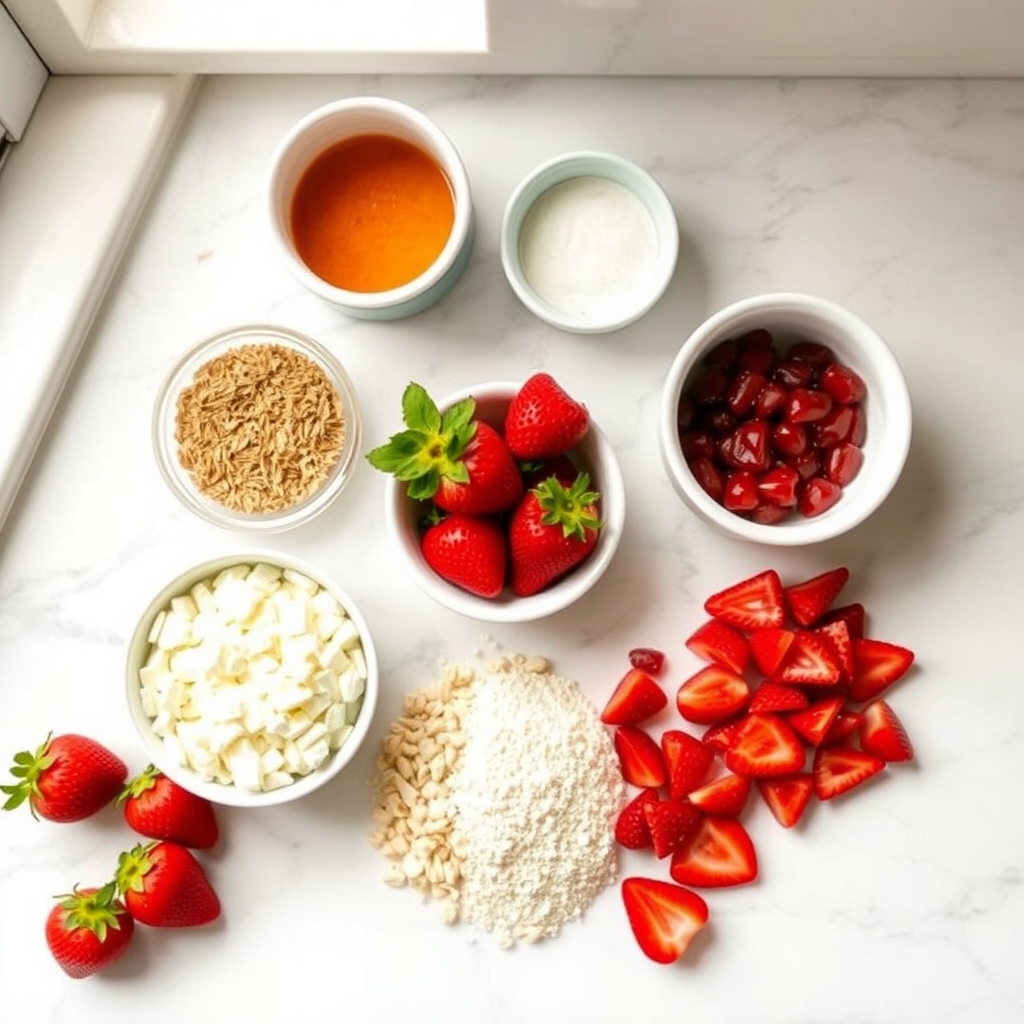
Ingredients
For the Crust:
- Chia Pudding:
- 2 cups unsweetened almond milk
- 1/2 cup chia seeds
- 1/4 cup low-carb sweetener (such as erythritol or monk fruit)
- 1 teaspoon vanilla extract
- Strawberry Layer:
- 2 cups fresh strawberries, hulled and sliced
- 1 tablespoon lemon juice
- 1 tablespoon low-carb sweetener
- Whipped Cream Topping:
- 1 cup heavy whipping cream
- 1 tablespoon low-carb sweetener
- 1/2 teaspoon vanilla extract
- Garnish:
- Additional sliced strawberries
- Fresh mint leaves
Instructions
1. Prepare the Crust:
- In a medium-sized bowl, combine the almond milk, chia seeds, 1/4 cup sweetener, and 1 teaspoon vanilla extract. Mix well until the chia seeds are evenly distributed.
- Cover the bowl and refrigerate for at least 4 hours or overnight, stirring once or twice to prevent clumping.
- In a small saucepan over medium heat, combine the sliced strawberries, lemon juice, and 1 tablespoon sweetener. Cook until the strawberries are softened and start to form a sauce, about 5-7 minutes. Allow to cool.
- Whip the heavy cream with 1 tablespoon sweetener and 1/2 teaspoon vanilla extract until stiff peaks form. Set aside.
- To assemble, layer the chia pudding and strawberry sauce in serving cups, alternating until the cups are nearly full.
- Top each cup with a dollop of whipped cream.
- Garnish with additional sliced strawberries and fresh mint leaves before serving.
Notes
For best results, let the chia pudding cups sit for about 10 minutes after assembling to allow the flavors to meld. If you prefer a smoother texture, blend the strawberry layer into a puree.