Raspberry Peach Smoothie
There’s something undeniably refreshing about blending summer’s ripest fruits into a creamy, dreamy smoothie. This Raspberry Peach Smoothie is a celebration of vibrant flavors and effortless nourishment. Whether you’re starting your day with a nutrient-packed breakfast or cooling off with a midday treat, this recipe delivers a burst of sweetness and tang in every sip. Let’s dive into why this smoothie deserves a permanent spot in your recipe rotation.
Why You’ll Love This Recipe
First, let’s talk about what makes this Raspberry Peach Smoothie so irresistible. Here are just a few reasons why you’ll find yourself making it again and again:
- Bursting with Fresh Flavors: The combination of juicy peaches and tart raspberries creates a perfectly balanced taste that’s both sweet and slightly tangy.
- Nutrient-Packed: Loaded with vitamins, antioxidants, and fiber, this smoothie is as wholesome as it is delicious.
- Quick and Easy: Ready in under 5 minutes, it’s the ultimate busy-morning solution or post-workout refresher.
- Customizable: Easily adaptable for different dietary needs—whether you prefer dairy-free, vegan, or protein-boosted versions.
- Kid-Friendly: The natural sweetness of the fruit makes it a hit with little ones, offering a sneaky way to get more nutrients into their diet.
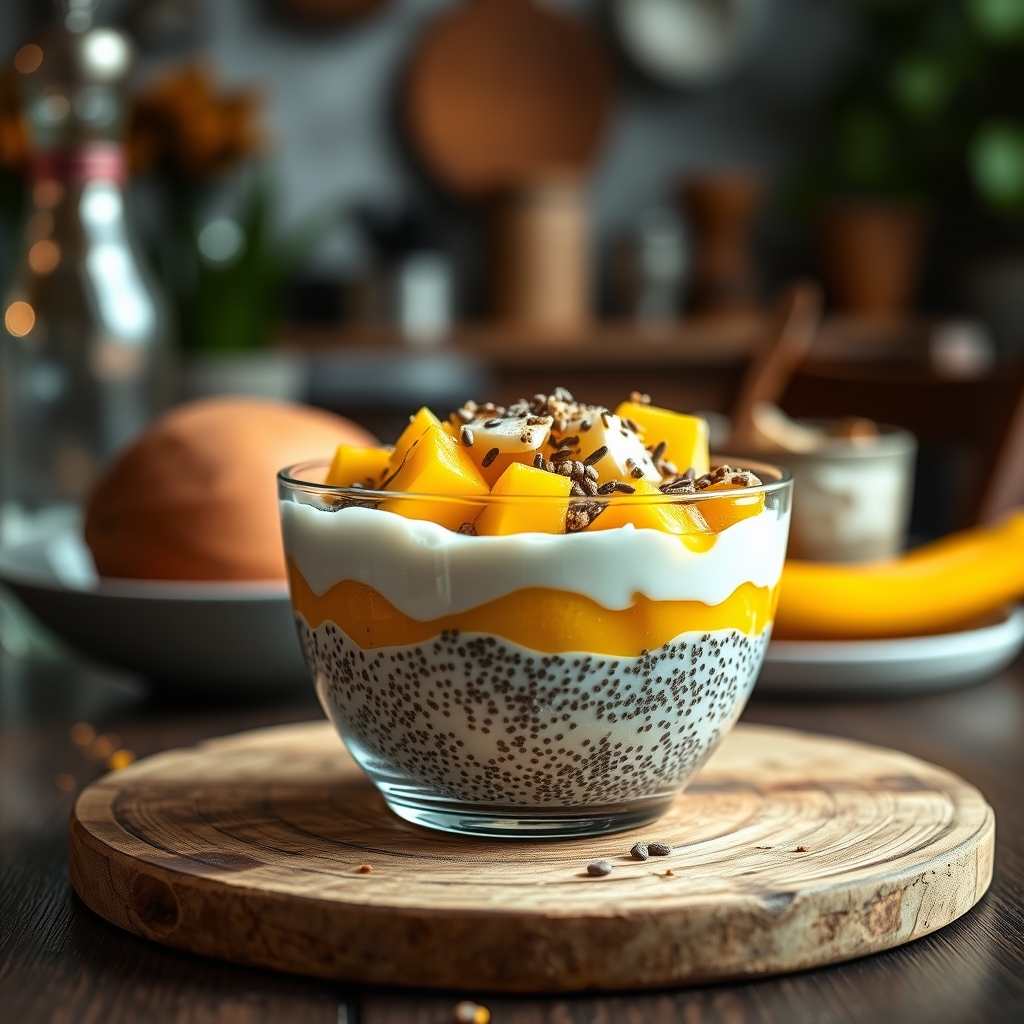
Ingredients Breakdown
Every great smoothie starts with high-quality ingredients. Here’s what you’ll need and why each component matters:
- Fresh Peaches: Sweet, juicy, and packed with vitamins A and C, peaches add a luscious texture and natural sweetness. If fresh peaches aren’t in season, frozen peaches work just as well.
- Raspberries: These little gems bring a delightful tartness and a vibrant pink hue. They’re also rich in antioxidants and fiber.
- Greek Yogurt: Adds creaminess and a protein boost, making the smoothie more satisfying. For a dairy-free option, coconut yogurt or almond yogurt are excellent substitutes.
- Almond Milk: Keeps the smoothie light while adding a subtle nutty flavor. You can use any milk you prefer—oat, soy, or cow’s milk all work well.
- Honey or Maple Syrup: A touch of natural sweetness to enhance the fruit flavors. Adjust to taste or omit if the fruit is sweet enough on its own.
- Chia Seeds (Optional): For an extra dose of omega-3s and fiber, chia seeds blend seamlessly into the mix.
How to Make Raspberry Peach Smoothie
Now, let’s walk through the simple steps to create this refreshing drink:
- Prep the Fruit: If using fresh peaches, peel and chop them into chunks. If using frozen fruit, there’s no need to thaw—just add it straight to the blender.
- Layer the Ingredients: Add the peaches, raspberries, Greek yogurt, almond milk, and sweetener to your blender. If you’re using chia seeds, toss them in now.
- Blend Until Smooth: Start on low speed to break down the fruit, then gradually increase to high until the mixture is completely smooth and creamy. If the smoothie is too thick, add a splash more almond milk.
- Taste and Adjust: Give it a quick taste. If you prefer it sweeter, add a bit more honey or maple syrup. For extra tang, a squeeze of lemon juice works wonders.
- Serve Immediately: Pour into glasses and enjoy right away for the best texture and flavor.
Pro Tips for the Best Results
Want to take your Raspberry Peach Smoothie to the next level? Here are some insider tricks:
- Freeze Your Fruit: For an ultra-creamy, frosty texture, freeze the peaches and raspberries beforehand. This also eliminates the need for ice, which can water down the flavor.
- Use Full-Fat Yogurt: It creates a richer, more indulgent consistency. If you’re watching calories, low-fat yogurt works too, but the texture will be slightly thinner.
- Add a Handful of Spinach: You won’t taste it, but it’s an easy way to sneak in extra greens. The vibrant color hides it perfectly.
- Blend in Stages: If your blender struggles with frozen fruit, pulse a few times first to break it down before blending continuously.
Variations and Substitutions
This recipe is wonderfully flexible. Here are some delicious ways to mix it up:
- Protein Boost: Add a scoop of vanilla or unflavored protein powder for a post-workout refresher.
- Tropical Twist: Swap the peaches for mango and add a splash of coconut water for a vacation-worthy sip.
- Berry Medley: Use mixed berries instead of just raspberries for a deeper, more complex berry flavor.
- Vegan Version: Skip the honey and use maple syrup, and replace Greek yogurt with a plant-based alternative.
- Green Smoothie Style: Blend in a handful of kale or spinach for an extra nutrient kick.
What to Serve With It
While this smoothie is fantastic on its own, pairing it with the right accompaniments can turn it into a full meal or snack:
- Granola or Oatmeal: Serve alongside a bowl of hearty granola or oatmeal for a balanced breakfast.
- Toast with Nut Butter: A slice of whole-grain toast with almond butter adds crunch and staying power.
- Fresh Fruit Salad: A side of seasonal fruit complements the smoothie’s flavors beautifully.
- Energy Balls: Homemade date and nut energy balls make a great grab-and-go pairing.
How to Store and Reheat
Smoothies are best enjoyed fresh, but if you have leftovers or want to prep ahead, here’s how to handle them:
- Refrigeration: Store in an airtight container in the fridge for up to 24 hours. Give it a good shake or stir before drinking, as separation is natural.
- Freezing: Pour into ice cube trays or freezer-safe jars and freeze for up to 1 month. Thaw in the fridge overnight or blend again with a splash of milk to revive the creamy texture.
- Reheating: Smoothies are meant to be cold, but if you prefer a slightly less icy version, let it sit at room temperature for 10 minutes before drinking.
Frequently Asked Questions (FAQs)
Here are answers to some common questions about this Raspberry Peach Smoothie:
Can I use canned peaches instead of fresh?
Yes, but opt for peaches packed in water or their own juice to avoid added sugars. Drain them well before blending.
Is this smoothie good for weight loss?
It can be! Using low-fat yogurt and skipping the sweetener makes it lower in calories while still being filling and nutritious.
Can I make this smoothie without a blender?
A blender is ideal for achieving a smooth texture, but a food processor or immersion blender can work in a pinch. The result may be slightly chunkier.
How can I make it thicker?
Add more frozen fruit or a handful of ice cubes. You can also include a banana for extra creaminess.
Can I use other types of milk?
Absolutely. Cow’s milk, oat milk, soy milk, or coconut milk all work well depending on your dietary preferences.
Final Thoughts
This Raspberry Peach Smoothie is more than just a drink—it’s a little jar of sunshine that brightens any day. Whether you’re sipping it poolside, fueling up before a busy morning, or treating yourself to a wholesome dessert, it’s a recipe that never disappoints. The best part? It’s endlessly adaptable, so you can tweak it to suit your cravings or whatever ingredients you have on hand. Give it a try, and I have a feeling it’ll become a staple in your kitchen just like it is in mine.
Print
Raspberry Peach Smoothie
Description
A refreshing and nutritious smoothie combining the sweetness of peaches with the tartness of raspberries, perfect for a quick breakfast or a healthy snack.
Ingredients
For the Crust:
- For the smoothie:
- 1 cup frozen raspberries
- 1 large peach, peeled and sliced
- 1 banana, frozen
- 1/2 cup Greek yogurt
- 1/2 cup almond milk
- 1 tablespoon honey
- For garnish (optional):
- Fresh raspberries
- Peach slices
- Mint leaves
Instructions
1. Prepare the Crust:
- 1. Add the frozen raspberries, sliced peach, frozen banana, Greek yogurt, almond milk, and honey to a blender.
- 2. Blend on high speed until smooth and creamy, about 1-2 minutes. If the mixture is too thick, add a little more almond milk.
- 3. Pour the smoothie into a glass and garnish with fresh raspberries, peach slices, and mint leaves if desired.
- 4. Serve immediately and enjoy!
Notes
For a vegan version, substitute the Greek yogurt with coconut yogurt and the honey with maple syrup. You can also add a handful of spinach for extra nutrients without altering the taste significantly.