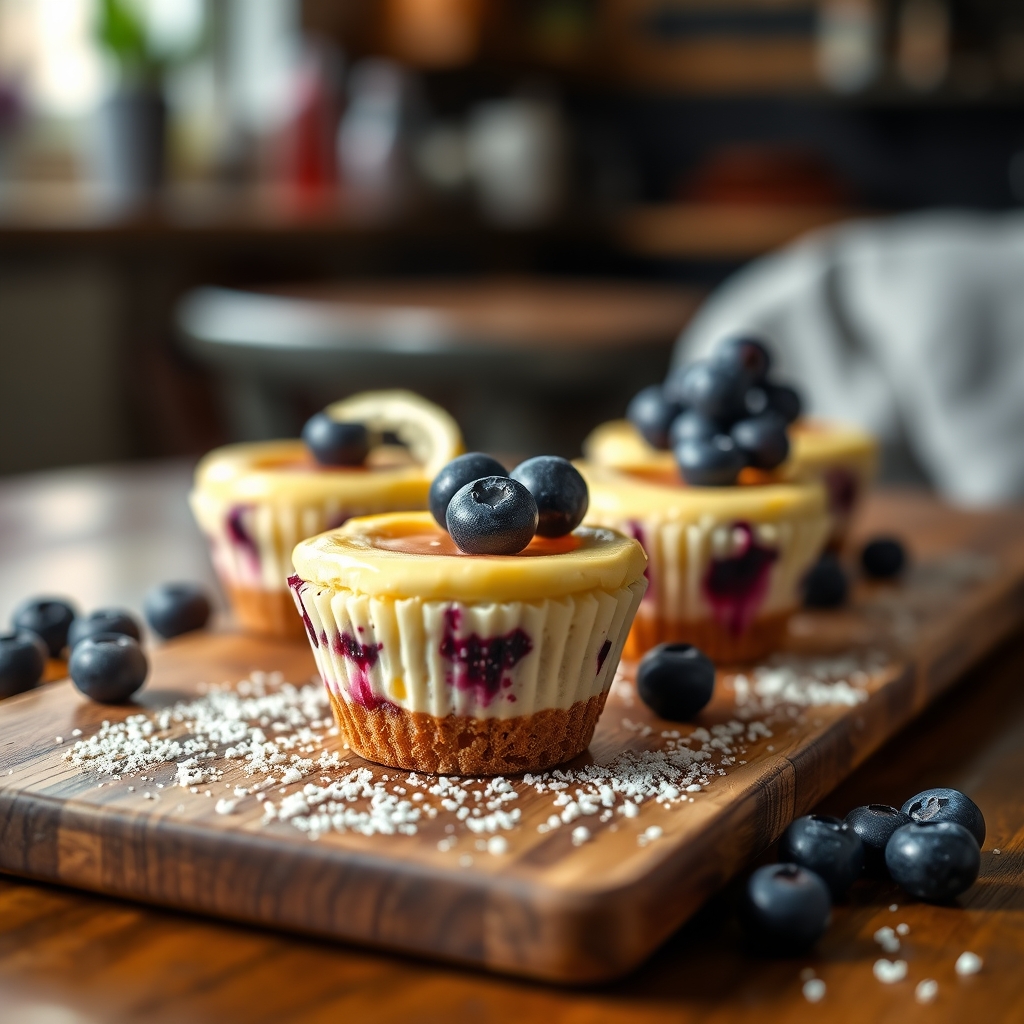
Mini Key Lime Pie Jars
There’s something undeniably charming about desserts served in individual jars. Not only do they look adorable, but they also make portion control effortless—though you might find yourself reaching for seconds with these Mini Key Lime Pie Jars. This recipe captures the bright, tangy essence of classic key lime pie while offering a fun, portable twist. Whether you’re hosting a summer gathering or simply craving a zesty treat, these little jars are sure to delight.
Why You’ll Love This Recipe
First, let’s talk about why this recipe deserves a spot in your dessert rotation. Here are just a few reasons it’s a winner:
- Perfect Portion Control: Each jar is just the right size for a satisfying dessert without overindulging—unless you decide to have two, which is totally acceptable.
- No Baking Required: If you love desserts but dread turning on the oven, this no-bake recipe is a dream come true. The filling sets beautifully in the fridge.
- Bright and Refreshing Flavor: The combination of tart key lime juice and sweetened condensed milk creates a perfectly balanced filling that’s both creamy and refreshing.
- Great for Entertaining: These jars are easy to make ahead of time and look stunning when served at parties or potlucks.
- Kid-Friendly Fun: Kids love the novelty of eating dessert from a jar, and the tangy-sweet flavor is a crowd-pleaser for all ages.
Ingredients Breakdown
Understanding the role of each ingredient helps ensure success, so let’s break it down:
- Graham Cracker Crumbs: These form the crust, providing a buttery, slightly sweet base that contrasts beautifully with the tangy filling.
- Unsalted Butter: Melted butter binds the graham cracker crumbs together, creating a firm yet crumbly crust.
- Sweetened Condensed Milk: The backbone of the filling, it adds richness and sweetness while helping the mixture set without baking.
- Key Lime Juice: Freshly squeezed is best for the brightest flavor, though bottled key lime juice works in a pinch.
- Lime Zest: A little zest intensifies the citrus aroma and adds tiny bursts of flavor.
- Heavy Whipping Cream: Whipped to stiff peaks, it lightens the filling and gives it a fluffy, mousse-like texture.
How to Make Mini Key Lime Pie Jars
Ready to dive in? Follow these steps for foolproof Mini Key Lime Pie Jars:
- Prepare the Crust: In a bowl, mix graham cracker crumbs with melted butter until the crumbs are evenly coated. Press about two tablespoons of the mixture into the bottom of each jar, using the back of a spoon to compact it firmly.
- Make the Filling: In a large bowl, whisk together sweetened condensed milk, key lime juice, and lime zest until smooth. The mixture will thicken slightly as you whisk.
- Whip the Cream: In a separate bowl, beat the heavy whipping cream until stiff peaks form. Gently fold the whipped cream into the lime mixture until fully incorporated, being careful not to deflate the airiness.
- Layer the Jars: Spoon or pipe the filling over the crust in each jar, leaving a little room at the top for garnish. Smooth the tops with a spatula.
- Chill: Refrigerate the jars for at least 4 hours, or preferably overnight, to allow the filling to set properly.
- Garnish and Serve: Before serving, top with a dollop of whipped cream and a sprinkle of lime zest or a thin lime slice for a fresh finish.
Pro Tips for the Best Results
Want to take your Mini Key Lime Pie Jars to the next level? Try these expert tips:
- Use Fresh Lime Juice: While bottled juice is convenient, freshly squeezed key lime juice delivers a brighter, more vibrant flavor.
- Chill Your Bowl and Whisk: For the fluffiest whipped cream, place your mixing bowl and whisk in the freezer for 10 minutes before whipping.
- Pipe the Filling: For a neater presentation, transfer the filling to a piping bag and pipe it into the jars instead of spooning it in.
- Toast the Graham Crumbs: For extra depth of flavor, toast the graham cracker crumbs in a dry skillet for a few minutes before mixing with butter.
- Add a Salted Rim: For a gourmet touch, lightly dip the jar rims in lime juice and then in a mix of sugar and coarse salt before filling.
Variations and Substitutions
This recipe is wonderfully adaptable. Here are some ways to mix it up:
- Crust Alternatives: Swap graham crackers for crushed vanilla wafers, shortbread cookies, or even gluten-free crackers if needed.
- Dairy-Free Version: Use coconut cream instead of heavy whipping cream and a dairy-free condensed milk alternative.
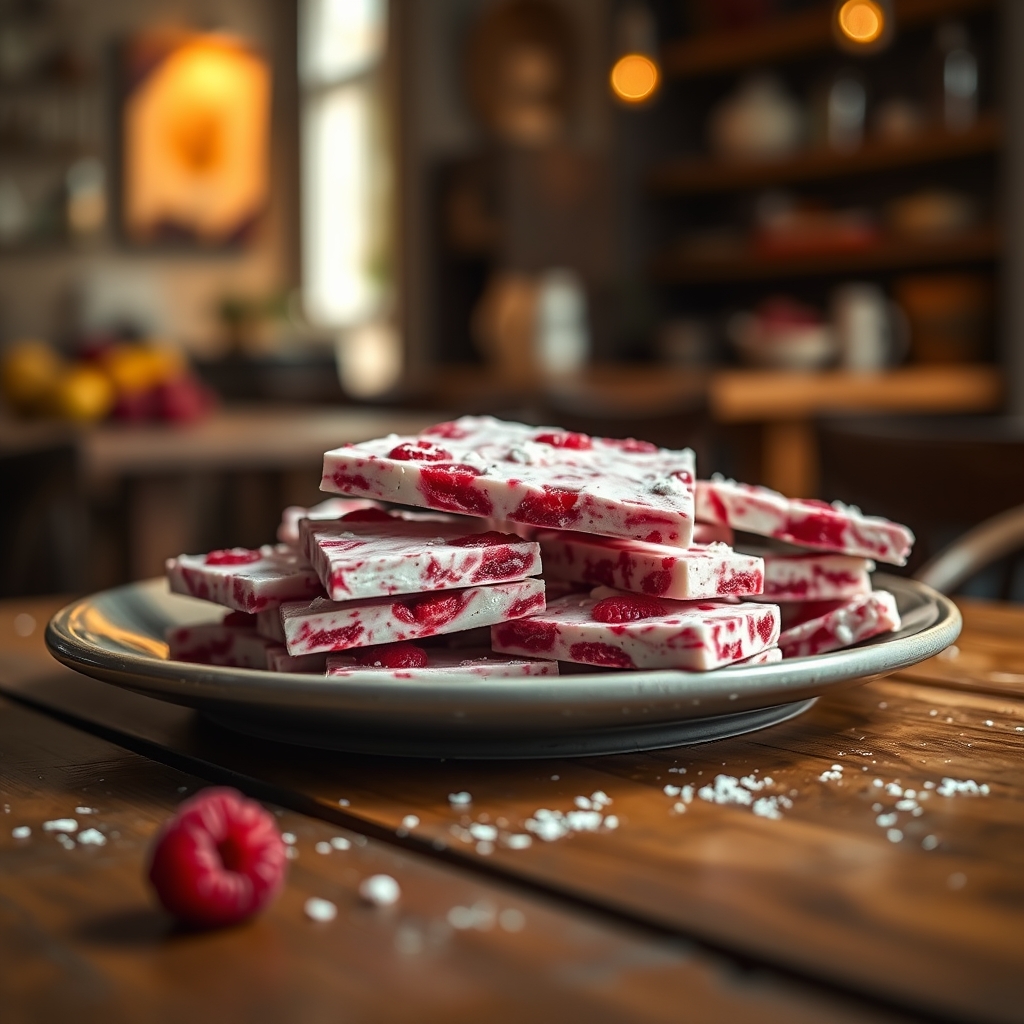
- Berry Swirl: Add a layer of raspberry or strawberry puree between the crust and filling for a fruity twist.
- Mango Lime: Fold finely diced mango into the filling for a tropical flair.
- Mini Chocolate Chips: Sprinkle a few mini chocolate chips into the crust for a subtle chocolatey contrast.
What to Serve With It
While these Mini Key Lime Pie Jars are delightful on their own, they pair beautifully with:
- A cup of hot tea or coffee to balance the tartness.
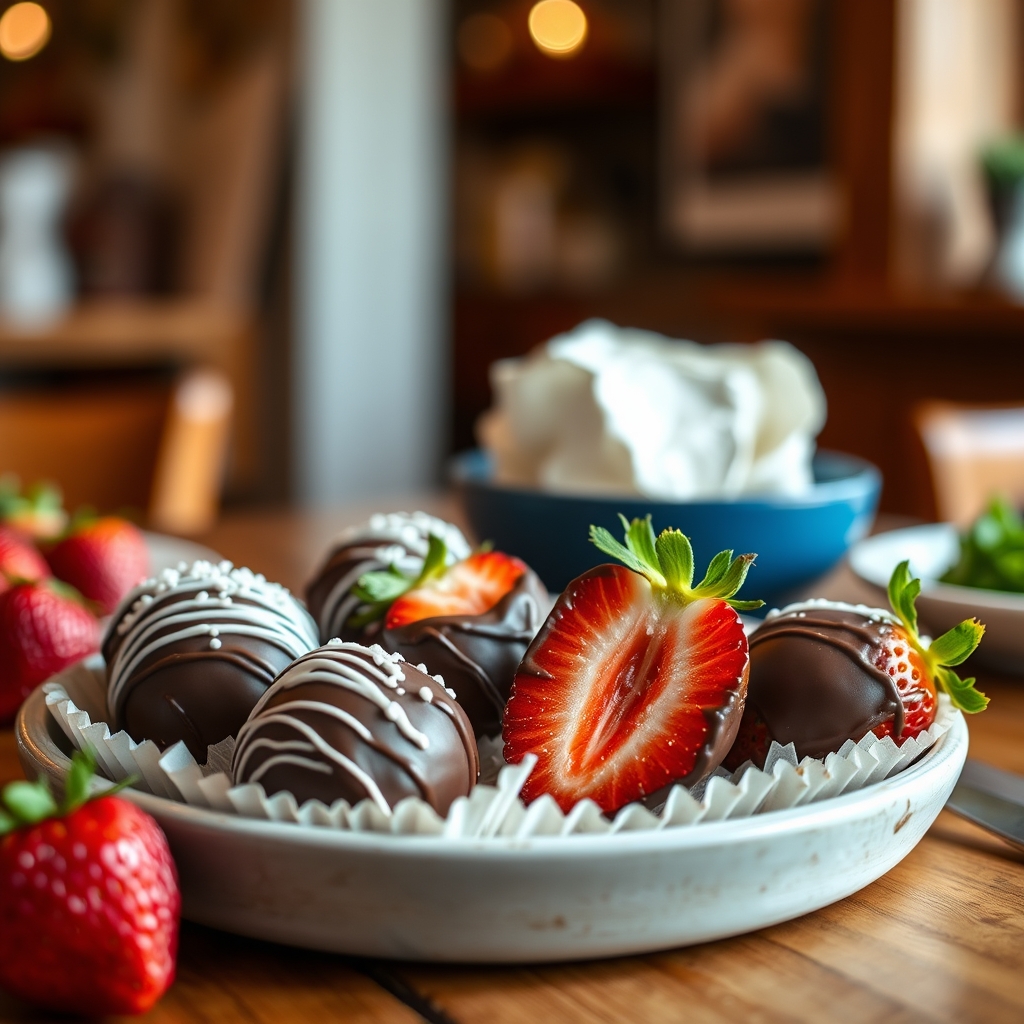
- Fresh berries or a fruit salad for a light, refreshing side.
- A crisp, chilled glass of Prosecco or Moscato for a celebratory touch.
- A scoop of vanilla bean ice cream for an indulgent dessert duo.
How to Store and Reheat
These jars are best enjoyed fresh but can be stored for later:
- Refrigeration: Keep covered in the fridge for up to 4 days. The crust may soften slightly over time.
- Freezing: For longer storage, freeze the jars (without whipped cream garnish) for up to 2 months. Thaw in the refrigerator overnight before serving.
- Reheating: Not necessary—these are meant to be served cold. If the filling separates slightly after freezing, give it a quick stir before garnishing.
Frequently Asked Questions (FAQs)
Here are answers to some common questions:
- Can I use regular limes instead of key limes? Yes, but key limes have a distinct tartness. If using regular limes, you may want to reduce the juice slightly to avoid overpowering the sweetness.
- Can I make these in advance? Absolutely! These jars actually taste better after chilling overnight, making them perfect for prepping ahead.
- What size jars work best? 4-ounce mason jars are ideal, but any small glass or even ramekins will work.
- Why is my filling too runny? This usually happens if the whipped cream wasn’t stiff enough or if the jars weren’t chilled long enough. Ensure you whip the cream to stiff peaks and refrigerate for the full time.
- Can I skip the whipped cream? Yes, though it adds lightness. For a denser filling, simply omit it and increase the condensed milk slightly.
Final Thoughts
Mini Key Lime Pie Jars are more than just a dessert—they’re a little burst of sunshine in a jar. Whether you’re making them for a special occasion or just to satisfy a craving, their vibrant flavor and adorable presentation never fail to impress. I love how versatile they are, allowing for endless creativity with garnishes and variations. Next time you need a dessert that’s equal parts easy and impressive, give these jars a try. Trust me, your taste buds (and your guests) will thank you.
Print
Mini Key Lime Pie Jars
Description
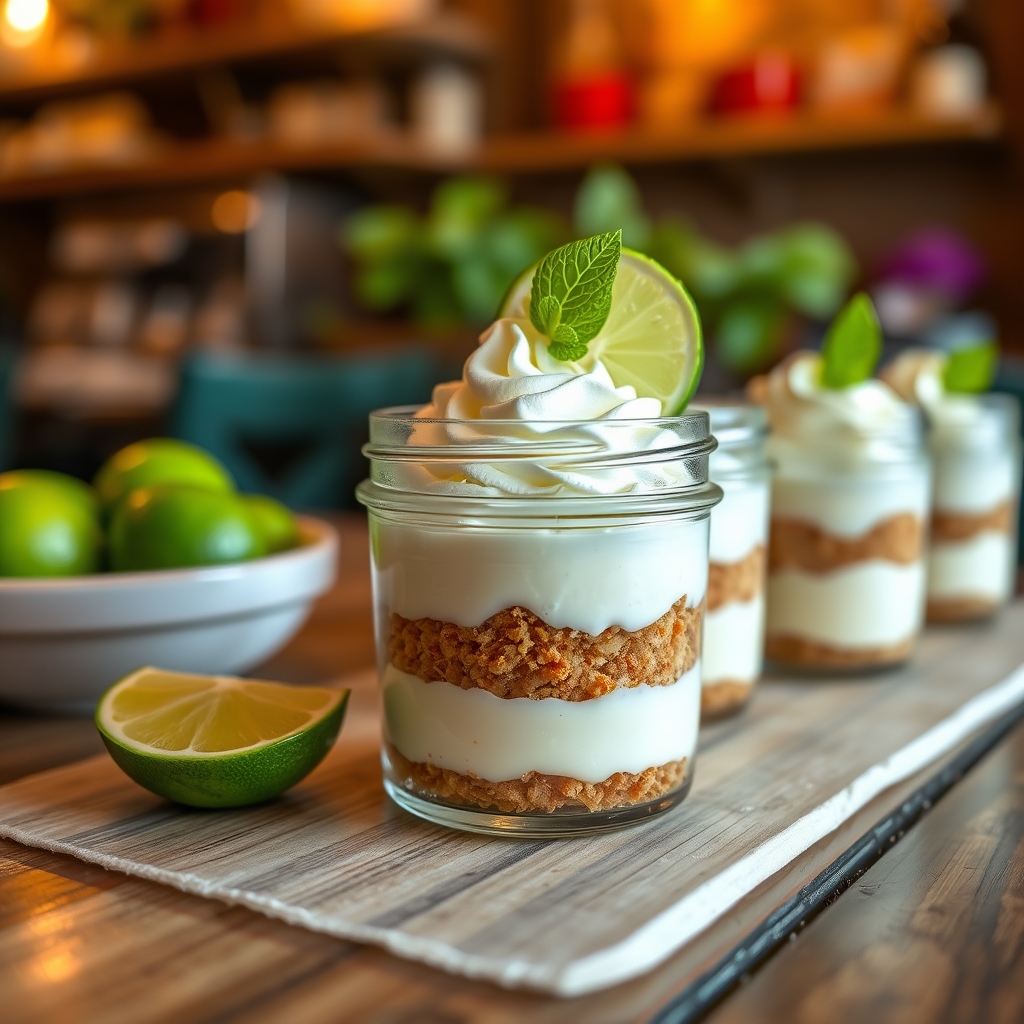
These adorable Mini Key Lime Pie Jars are the perfect individual-sized dessert, featuring a tangy key lime filling layered over a buttery graham cracker crust. They’re easy to make, portable, and guaranteed to impress!
Ingredients
For the Crust:
- For the crust:
- 1 1/2 cups graham cracker crumbs
- 1/4 cup granulated sugar
- 6 tablespoons unsalted butter, melted
- For the filling:
- 1 (14 oz) can sweetened condensed milk
- 1/2 cup key lime juice (fresh or bottled)
- 2 teaspoons key lime zest
- 2 large egg yolks
- For the topping:
- 1 cup heavy whipping cream
- 2 tablespoons powdered sugar
- 1/2 teaspoon vanilla extract
- Additional lime slices or zest for garnish
Instructions
1. Prepare the Crust:
- 1. Preheat oven to 350°F (175°C). Place 8 (4 oz) mason jars on a baking sheet.
- 2. Make the crust: In a bowl, mix graham cracker crumbs, sugar, and melted butter until combined. Press about 2 tablespoons into the bottom of each jar, packing firmly.
- 3. Bake crusts for 5 minutes, then remove from oven and let cool slightly.
- 4. Make the filling: Whisk together sweetened condensed milk, key lime juice, zest, and egg yolks until smooth. Divide evenly among jars (about 3 tablespoons each).
- 5. Bake for 12-15 minutes until filling is set. Cool completely, then refrigerate for at least 2 hours.
- 6. Before serving, make the topping: Whip cream, powdered sugar, and vanilla to stiff peaks. Pipe or spoon onto pies and garnish with lime.
Notes
For a stronger lime flavor, add an extra teaspoon of zest. Jars can be made 1 day ahead (store covered in fridge). Use regular limes if key limes are unavailable.