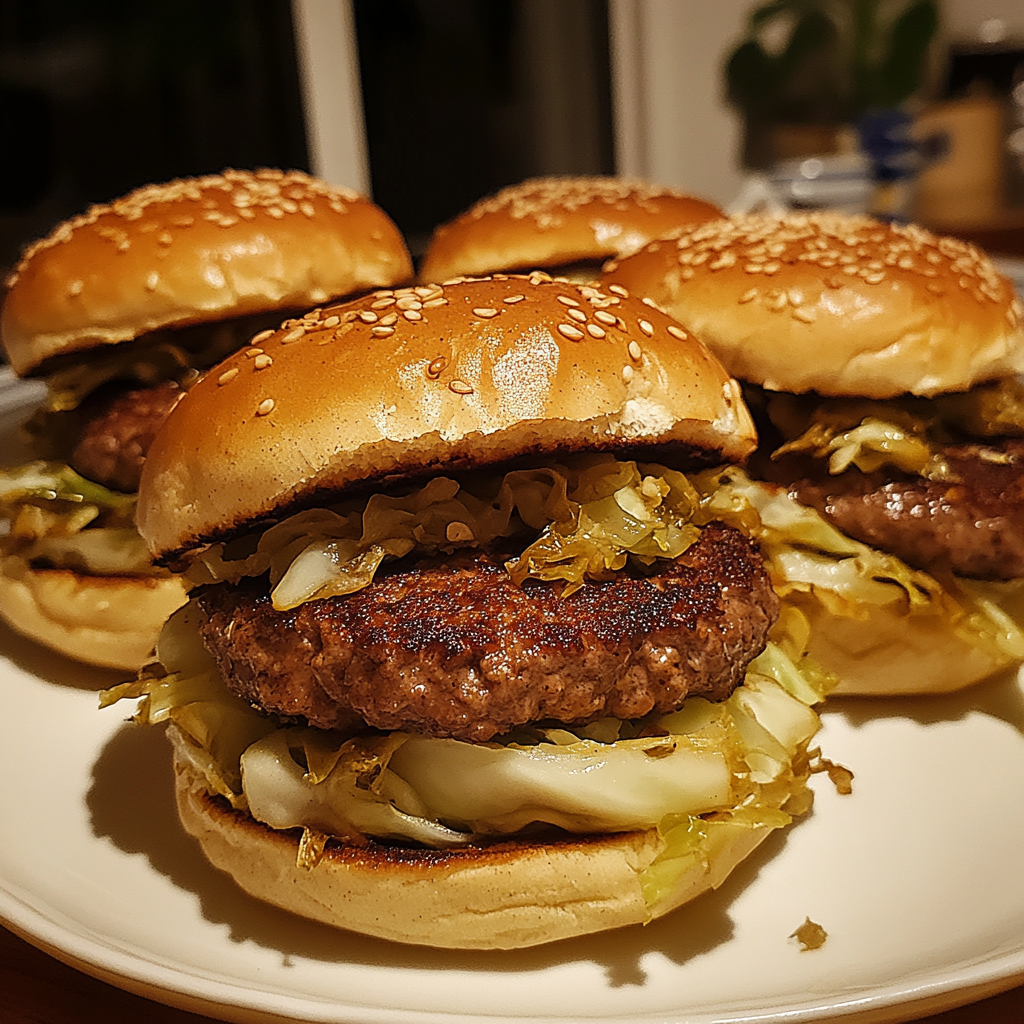
Grandma’s Cabbage Burgers: A Hearty Family Favorite
Grandma’s cabbage burgers are a classic comfort food with deep roots in family traditions, especially popular in Nebraska and surrounding areas. These savory, meat-filled buns with cabbage and onions wrapped in soft, homemade dough are a nostalgic dish often passed down through generations. While cabbage burgers share similarities with other baked buns like Runzas, they stand out due to their simplicity and comforting flavors.
If you’re interested in another take on a similar dish, check out the Homemade Runza Recipe from AllRecipes, a popular Nebraska dish that’s often compared to cabbage burgers.
Why Grandma’s Cabbage Burgers are Special
There’s something comforting about biting into a warm cabbage burger and enjoying the hearty filling of ground beef, cabbage, and onions surrounded by a soft, homemade dough. Grandma’s recipe often includes her unique blend of seasonings and special care that makes these buns irresistible. The secret lies in the slow-cooked filling, which allows the cabbage to absorb the rich flavors of the beef and onions, making every bite satisfying and flavorful.
For those looking for more cabbage-based comfort food recipes, check out Simply Recipes’ Savory Cabbage and Beef Pie, which offers a unique twist on cabbage and beef combinations.
Ingredients for Grandma’s Cabbage Burgers
To make these classic cabbage burgers, you’ll need a few key ingredients:
- Dough: You can either make homemade yeast dough or use store-bought bread dough. Homemade dough is fluffier, but store-bought is a time-saver.
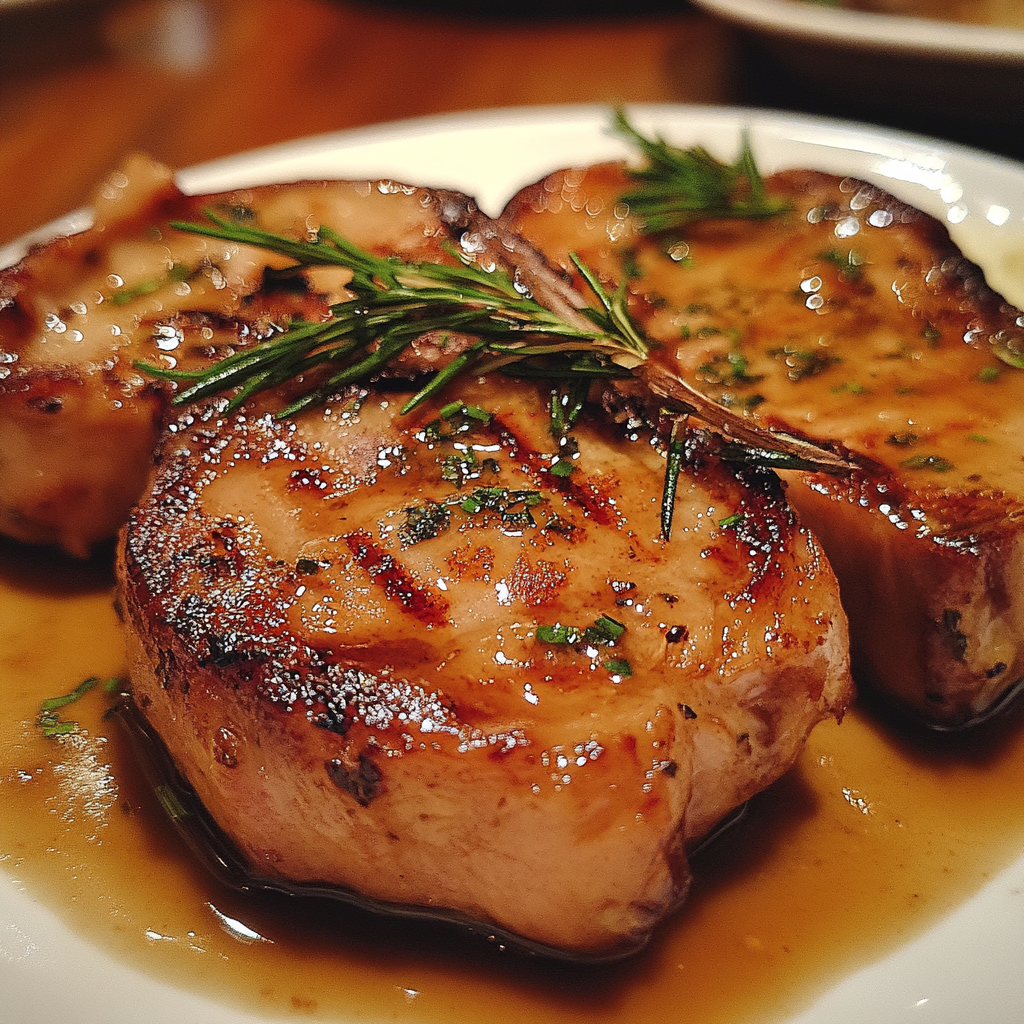
- Ground Beef: The filling typically includes ground beef, but you can also use other meats like ground turkey or ground pork.
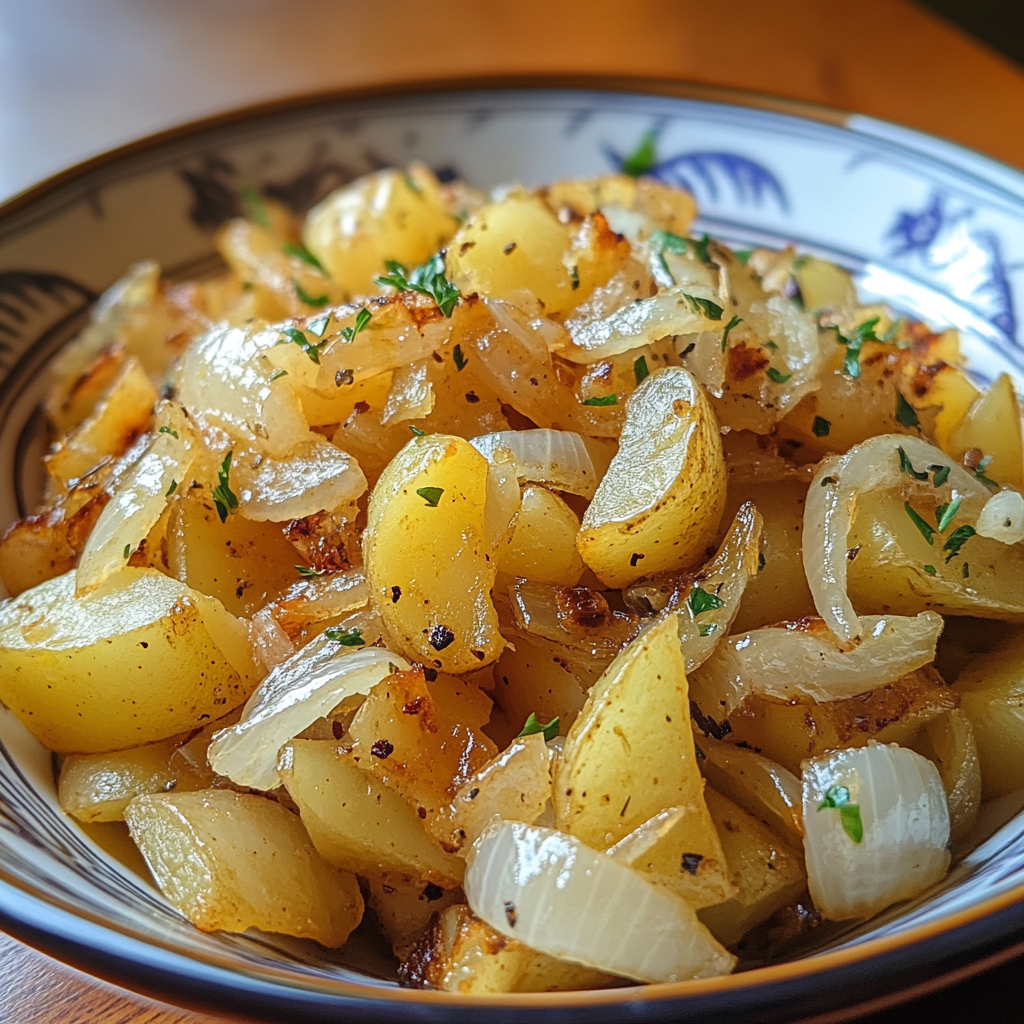
- Cabbage: The star of the dish, chopped and cooked down until tender.
- Onions: Essential for adding flavor to the meat and cabbage mixture.
- Garlic: Adds depth to the flavor of the filling.
- Butter: Helps to keep the filling moist and enhances the richness of the dough.
- Spices: Common seasonings include salt, pepper, and garlic salt, though some variations might include paprika, cumin, or red pepper flakes for a spicy kick.
Step-by-Step Guide to Making Grandma’s Cabbage Burgers
Step 1: Prepare the Dough
Start by preparing the dough. If you’re making homemade yeast dough, combine warm water, yeast, sugar, flour, and butter in a large bowl. Knead the dough until it’s smooth and elastic, then let it rise until doubled in size. For convenience, you can also use store-bought bread dough, which will save you time.
Step 2: Make the Filling
While the dough is rising, prepare the filling. Begin by browning the ground beef in a skillet with onions and garlic. Once the beef is browned, add the chopped cabbage and cook until the cabbage is tender. Season the mixture with salt, pepper, and any additional spices you like. Let the filling cool slightly before using it to fill the dough.
Step 3: Roll Out the Dough
On a lightly floured surface, roll out the dough and cut it into squares large enough to wrap around the filling. Each square should be about 5×5 inches, depending on how big you want your cabbage burgers to be.
Step 4: Fill and Seal the Dough
Place a heaping spoonful of the cabbage-beef mixture in the center of each dough square. Fold up the corners of the dough, pinching the edges to seal them completely. Make sure the filling is completely enclosed to prevent leaks during baking.
Step 5: Bake
Preheat the oven to 350°F (175°C). Place the filled cabbage burgers seam-side down on a baking sheet lined with parchment paper. Bake for 30-35 minutes, or until the dough is golden brown and cooked through. Brush the tops with melted butter for a golden, shiny finish.
Recipe Variations for Cabbage Burgers
1. Meat Variations
If you’re looking for a change, try using ground turkey, ground pork, or even ground lamb instead of beef. These alternative meats offer slightly different flavors while maintaining the hearty, comforting essence of cabbage burgers.
2. Vegetarian Cabbage Burgers
For a vegetarian version, replace the meat with mushrooms or lentils. Mushrooms provide a meaty texture, while lentils offer a protein-packed option that complements the cabbage.
3. Adding Cheese
For a richer flavor, add shredded cheddar or mozzarella cheese to the cabbage-beef mixture before sealing the dough. The cheese melts into the filling, creating a gooey, delicious center.
4. Spicy Cabbage Burgers
If you prefer a spicier option, add jalapeños or red pepper flakes to the filling. You can also incorporate a splash of hot sauce for an extra kick.
Tips for Perfect Cabbage Burgers
1. Don’t Overfill
Be careful not to overstuff the dough. Overfilling can cause the burgers to burst open while baking, leading to a messy result. Stick to a moderate amount of filling to avoid leaks.
2. Let the Dough Rise Properly
If you’re making homemade dough, give it enough time to rise properly. This ensures the dough will be light and fluffy once baked.
3. Cook the Cabbage Thoroughly
Make sure the cabbage is fully cooked before filling the dough. The cabbage should be tender and well-seasoned to enhance the overall flavor of the burger.
Serving Suggestions for Cabbage Burgers
1. With Mustard or Ketchup
Serve these hearty cabbage burgers with mustard or ketchup on the side. Both condiments complement the savory filling and add a bit of tanginess to each bite.
2. With Pickles and Chips
Pair the cabbage burgers with dill pickles and a side of potato chips for a classic, simple meal that’s perfect for lunch or dinner.
3. With a Side Salad
For a lighter meal, serve the cabbage burgers alongside a fresh green salad or a tangy coleslaw. The crispness of the salad contrasts nicely with the warm, soft buns.
Frequently Asked Questions (FAQs)
1. What Type of Dough Should I Use for Cabbage Burgers?
A soft yeast dough is best for cabbage burgers because it rises well and becomes fluffy in the oven. You can make it from scratch, or for convenience, use store-bought bread dough.
2. Can I Freeze Cabbage Burgers?
Yes, cabbage burgers freeze well. Let them cool completely before wrapping them tightly in plastic wrap or aluminum foil. To reheat, thaw in the refrigerator and warm in a 350°F oven until heated through.
3. How Do I Prevent the Filling from Leaking Out?
To prevent the filling from leaking, make sure the dough is sealed tightly around the filling. Pinch the edges together firmly and place the burgers seam-side down on the baking sheet.
4. Can I Make a Healthier Version of Cabbage Burgers?
Yes, you can make a healthier version by using whole wheat dough, lean ground turkey, and reducing the amount of butter in the filling.
5. What Can I Serve with Cabbage Burgers?
Cabbage burgers are often served with simple sides like pickles, chips, or salad. You can also serve them with a light coleslaw or roasted vegetables for a more substantial meal.
Conclusion
Grandma’s cabbage burgers are a comforting, hearty meal that brings family traditions to the table. Whether you’re following a classic recipe or adding your own twist with cheese, different meats, or spices, these buns are sure to become a favorite in your household. Pair them with your favorite sides, and enjoy a nostalgic dish that’s as satisfying today as it was in Grandma’s kitchen.
For more savory cabbage-based recipes, don’t miss out on The Kitchn’s Traditional Cabbage Rolls Recipe for another comforting dish inspired by old-world flavors.