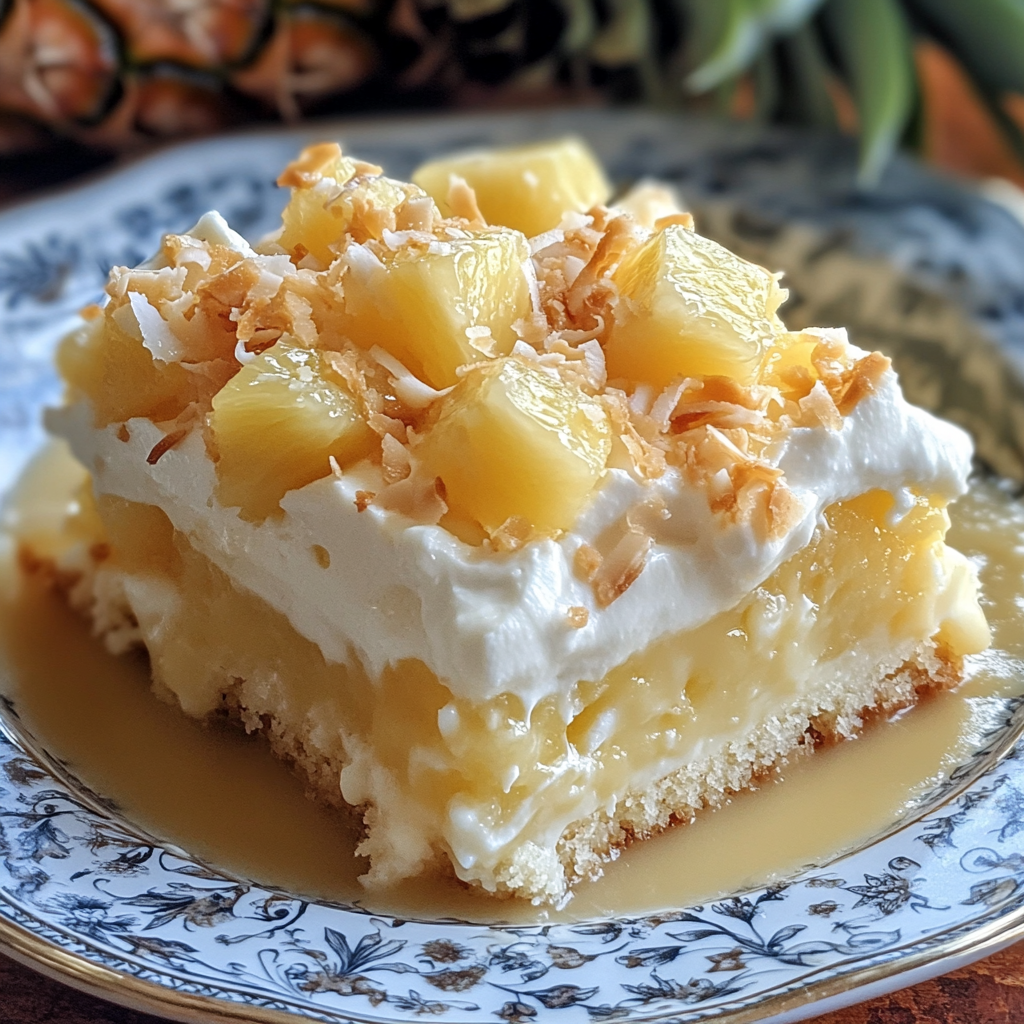
Pineapple Coconut Surprise Cake: A Tropical Delight
If you’re dreaming of tropical flavors in a cake, look no further than the Pineapple Coconut Surprise Cake. This delicious treat is perfect for summer parties, family gatherings, or just a casual dessert that brings a burst of tropical flavors to your table. With a moist, tender cake base, packed with pineapple and coconut, this dessert also hides a delightful surprise—a creamy filling that elevates the flavor to another level.
For those looking for more tropical cake inspiration, check out this Pineapple Coconut Cake Recipe, which highlights different takes on combining these tropical ingredients in various forms.
Why You’ll Love Pineapple Coconut Surprise Cake
This cake is not only easy to make but also impresses with its moist texture and rich flavors. The tropical combination of pineapple and coconut creates a delicious contrast between sweet and tangy, making it ideal for warm-weather gatherings. The “surprise” hidden in the middle of the cake—whether it’s a cream cheese layer or a fruit-filled custard—adds an element of excitement and texture to every bite.
If you’re looking for a fun twist on a classic dessert, Boxed Cake Mix Recipes offers some ideas for transforming simple cake mixes into gourmet delights, similar to this recipe.
Ingredients for Pineapple Coconut Surprise Cake
To make this Pineapple Coconut Surprise Cake, you’ll need a few essential ingredients, most of which you probably already have on hand. Here’s the full list:
- Cake Batter: Whether using a box mix or homemade, this forms the base of the cake.
- Crushed Pineapple: Adds moisture, tanginess, and tropical sweetness.
- Shredded Coconut: Enhances the tropical flavor and provides texture.
- Cream Cheese: Essential for the “surprise” filling, creating a creamy contrast to the cake.
- Vanilla Extract: Enhances the flavor of the cake and frosting.
- Whipped Cream: Optional, but adds lightness and balance when used as a topping.
- Butter: For making the frosting or greasing the pans.
- Eggs: Helps to bind the cake and create structure.
- Optional: Toasted Coconut and Pineapple Rings for decoration.
Step-by-Step Guide to Making Pineapple Coconut Surprise Cake
Step 1: Prepare the Cake Batter
- Begin by preparing your cake batter. If you’re using a box mix, follow the package instructions. If you prefer a homemade cake, whisk together flour, sugar, butter, and eggs to form the base.
- Stir in the crushed pineapple to add moisture and tropical flavor.
Step 2: Bake the Cake
- Preheat the oven to 350°F. Pour the prepared batter into a greased 9-inch cake pan.
- Bake for 25-30 minutes, or until a toothpick inserted into the center comes out clean. Let the cake cool completely before proceeding.
Step 3: Prepare the Surprise Filling
- While the cake is baking, prepare the filling. Beat together cream cheese, butter, and vanilla extract to form a smooth, creamy filling. You can also add a layer of whipped cream or even custard for an extra surprise.
Step 4: Assemble the Cake
- Once the cake has cooled, carefully slice it in half horizontally to create two layers.
- Spread the cream cheese filling on the bottom layer of the cake, ensuring even coverage.
- Place the second layer of cake on top, pressing down gently.
Step 5: Frost and Decorate
- Use a frosting of your choice—either cream cheese frosting or whipped cream—to cover the entire cake.
- For an extra touch of flavor and beauty, toast some shredded coconut and sprinkle it on top, along with fresh pineapple rings for decoration.
Recipe Variations for Pineapple Coconut Surprise Cake
1. Poke Cake Version
- For an extra-moist cake, poke holes into the baked cake with a fork or skewer, and pour a pineapple juice and sugar mixture over the top. The liquid seeps into the cake, creating an ultra-moist texture.
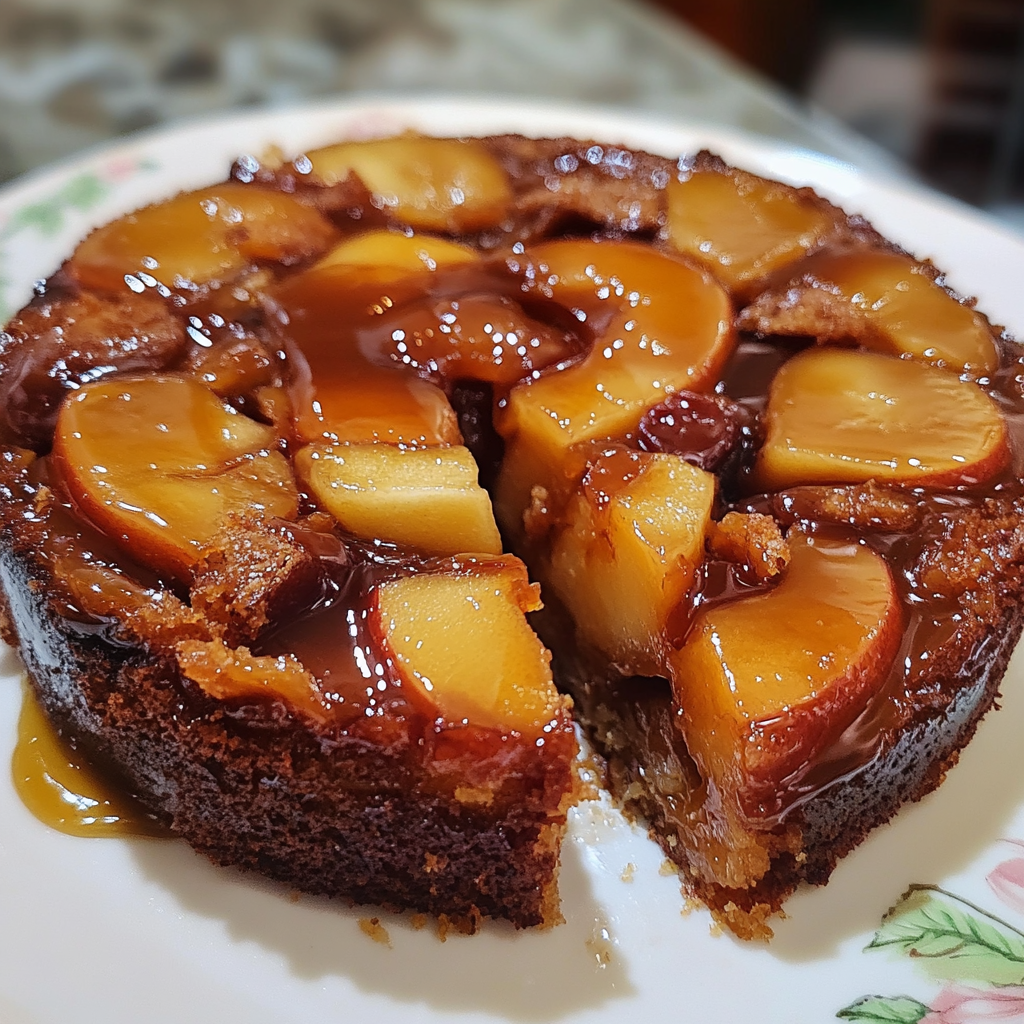
2. Pineapple Coconut Upside-Down Cake
- Flip the cake concept by placing pineapple rings, cherries, and brown sugar at the bottom of the pan before adding the batter. After baking, invert the cake to reveal a caramelized, fruit-topped masterpiece.
3. Vegan Pineapple Coconut Cake
- Swap out the eggs for flaxseed meal and water (1 tablespoon of flaxseed meal mixed with 3 tablespoons of water per egg) and use coconut cream for the filling and frosting to make a plant-based version of the cake.
4. Gluten-Free Pineapple Coconut Cake
- Substitute regular flour with gluten-free flour to make this cake accessible to those with gluten intolerance. The rest of the ingredients can remain the same.
Tips for Making the Best Pineapple Coconut Surprise Cake
1. Use Fresh Pineapple When Possible
- Fresh pineapple has a juicier, more vibrant flavor than canned pineapple. If you can, chop fresh pineapple for the filling and garnish.
2. Toast the Coconut
- Toasting the shredded coconut in a dry skillet before adding it to the cake enhances its flavor and adds a crunchy texture.
3. Cool the Cake Completely
- It’s crucial to let the cake cool completely before adding the filling and frosting. If the cake is too warm, the frosting will melt and create a mess.
Serving Suggestions for Pineapple Coconut Surprise Cake
1. With a Dollop of Whipped Cream
- Serve each slice with a generous spoonful of whipped cream for a light and airy contrast to the rich cake.
2. Paired with Ice Cream
- Pineapple and coconut pair beautifully with vanilla ice cream or even coconut ice cream. Serve a slice of cake alongside a scoop for a refreshing summer treat.
3. Decorated with Fresh Fruit
- Garnish the cake with slices of fresh kiwi, pineapple, or even strawberries for a colorful, refreshing finish.
Frequently Asked Questions (FAQs) about Pineapple Coconut Surprise Cake
1. Can I make Pineapple Coconut Surprise Cake ahead of time?
Yes! You can bake the cake a day ahead of time, then assemble it with the filling and frosting on the day you plan to serve it. Store the cake in the refrigerator to keep it fresh.
2. How should I store leftovers?
Store any leftovers in an airtight container in the refrigerator. The cake will stay fresh for up to 3 days.
3. Can I freeze Pineapple Coconut Surprise Cake?
Yes, you can freeze the unfrosted cake for up to a month. When ready to serve, let it thaw in the fridge overnight and then add the filling and frosting.
4. Can I use other fruits in this cake?
Certainly! Feel free to experiment by adding mango, passion fruit, or even bananas to the batter or as part of the filling.
5. Is there a way to make this cake gluten-free?
Yes, simply substitute the flour in the batter for a gluten-free flour blend. The other ingredients are naturally gluten-free.
Conclusion
Pineapple Coconut Surprise Cake is a fantastic dessert that brings the tropics straight to your table. The moist pineapple cake combined with the creamy coconut surprise filling makes every bite an adventure. Whether you’re serving it at a summer gathering or indulging on a weeknight, this cake is sure to become a favorite.
For more inspiration, explore the Pineapple Coconut Cake Recipe by Organized Chaos to discover new ways to experiment with this tropical combination.