The Ultimate Guide to Oven Baked Ribs
There’s nothing quite like a rack of oven baked ribs—tender, juicy, and full of flavor. Baking ribs in the oven provides a simple and convenient way to achieve fall-off-the-bone perfection without the need for a grill or smoker. With the right techniques, seasonings, and patience, you can create ribs that rival those from a top-notch BBQ joint.
This article will walk you through every step of making oven baked ribs, from choosing the right ribs to applying the perfect dry rub, and finally, mastering the cooking process. We’ll also answer common questions and offer some flavorful variations to try.
Why Oven Baked Ribs?
While many people associate ribs with grilling or smoking, baking them in the oven is a fantastic alternative, especially for those who don’t have outdoor cooking equipment or prefer a hassle-free approach. The oven allows for consistent, even cooking, which results in juicy, tender meat that can easily be flavored to your liking.
If you want to learn more about how to cook ribs perfectly without a grill, take a look at How to cook ribs in the oven. Baking ribs is also perfect for cooking year-round, no matter the weather.
Ingredients for Oven Baked Ribs
Here’s a list of ingredients you’ll need for basic oven baked ribs:
For the Ribs:
- 1 rack of pork ribs (baby back ribs or spareribs)
- 2 tablespoons olive oil
For the Dry Rub:
- ¼ cup brown sugar
- 1 tablespoon smoked paprika
- 1 teaspoon garlic powder
- 1 teaspoon onion powder
- 1 teaspoon ground black pepper
- 1 teaspoon salt
- ½ teaspoon cayenne pepper (optional for heat)
For the Barbecue Sauce:
- 1 cup barbecue sauce (store-bought or homemade)
Step-by-Step Guide to Preparing Oven Baked Ribs
1. Choosing the Right Ribs
The first step in making great oven baked ribs is choosing the right type of ribs. There are a few popular options:
- Baby Back Ribs: These are smaller and more tender than other cuts, making them a great choice for quicker cooking. They have less fat, but their tenderness is unmatched.
- Spareribs: These are meatier and fattier, which gives them a richer flavor. They take longer to cook, but the result is incredibly flavorful ribs.
- St. Louis-Style Ribs: A cut of spareribs that has been trimmed for a more uniform shape, ideal for even cooking.
When selecting ribs, make sure they are fresh, meaty, and well-marbled for the best flavor and texture.
2. Preparing the Ribs
Before baking, the ribs need to be properly prepped.
Step-by-Step Preparation:
- Remove the Membrane: The membrane is a thin, tough layer found on the bone side of the ribs. Removing it allows the seasoning to penetrate the meat and ensures a tender texture. Use a knife to lift a corner of the membrane, then grab it with a paper towel and peel it off.
- Rinse and Dry the Ribs: Rinse the ribs under cold water, then pat them dry with paper towels. Drying the ribs is essential to ensure that the dry rub sticks well.
For a more in-depth explanation of selecting ribs, check out How to choose the best pork ribs for baking.
3. Creating a Flavorful Dry Rub
A good dry rub is essential for oven baked ribs as it adds layers of flavor to the meat. A balance of sweet, savory, and spicy is ideal.
Basic Dry Rub Recipe:
- Mix the Ingredients: In a bowl, combine brown sugar, smoked paprika, garlic powder, onion powder, black pepper, salt, and cayenne pepper. Adjust the spices to your taste preference.
- Rub the Ribs: Coat the ribs with olive oil, then generously rub the seasoning mix onto both sides of the ribs. Let the ribs sit with the dry rub for at least 30 minutes, or refrigerate them overnight for maximum flavor.
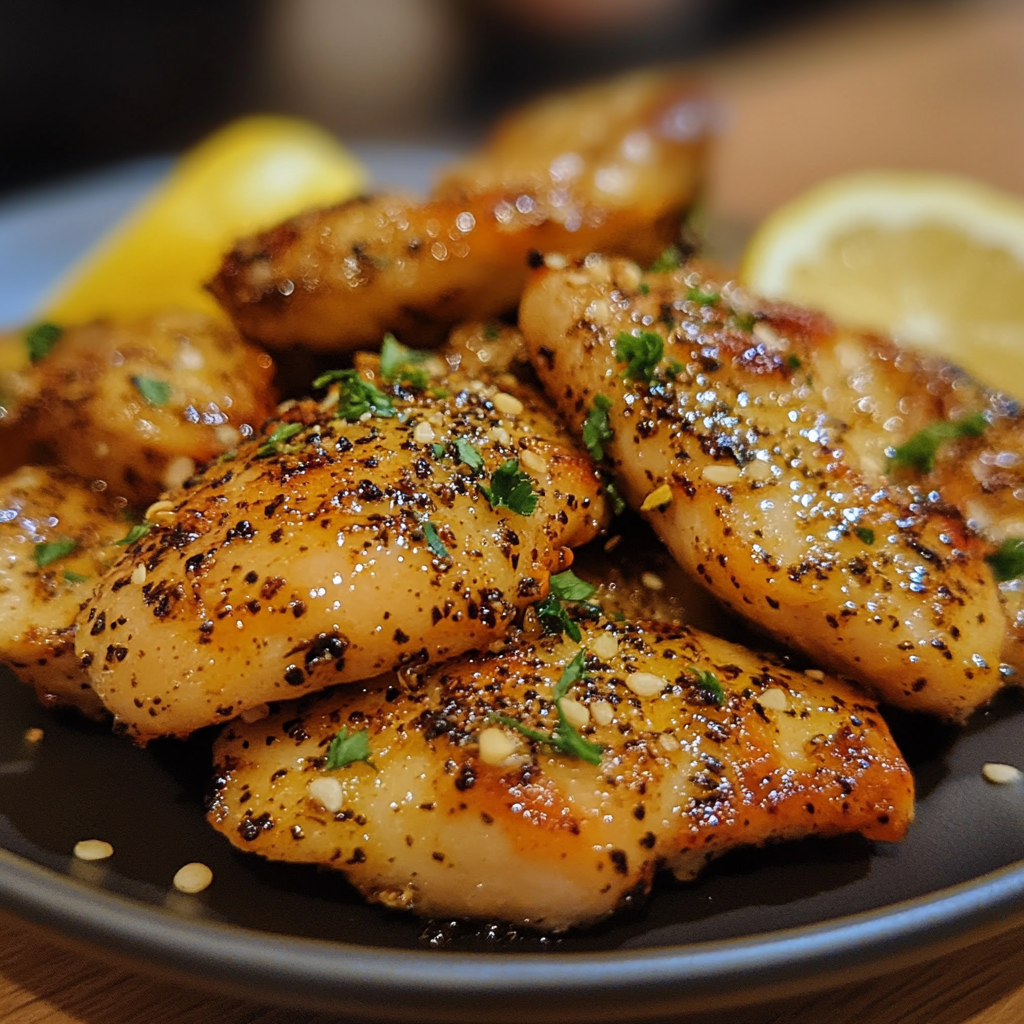
4. Baking the Ribs
The secret to perfect oven baked ribs is low and slow cooking. This ensures the ribs become tender and flavorful.
Instructions for Baking:
- Preheat the Oven: Set the oven to 275°F (135°C). Low temperatures help break down the collagen in the ribs, making them melt-in-your-mouth tender.
- Wrap the Ribs in Foil: Wrap the ribs tightly in aluminum foil to seal in moisture. This method, often referred to as the “Texas crutch,” ensures the ribs remain juicy and tender throughout the cooking process.
- Bake the Ribs: Place the foil-wrapped ribs on a baking sheet and bake for 2.5 to 3 hours. The ribs are done when the meat pulls away from the bone easily.
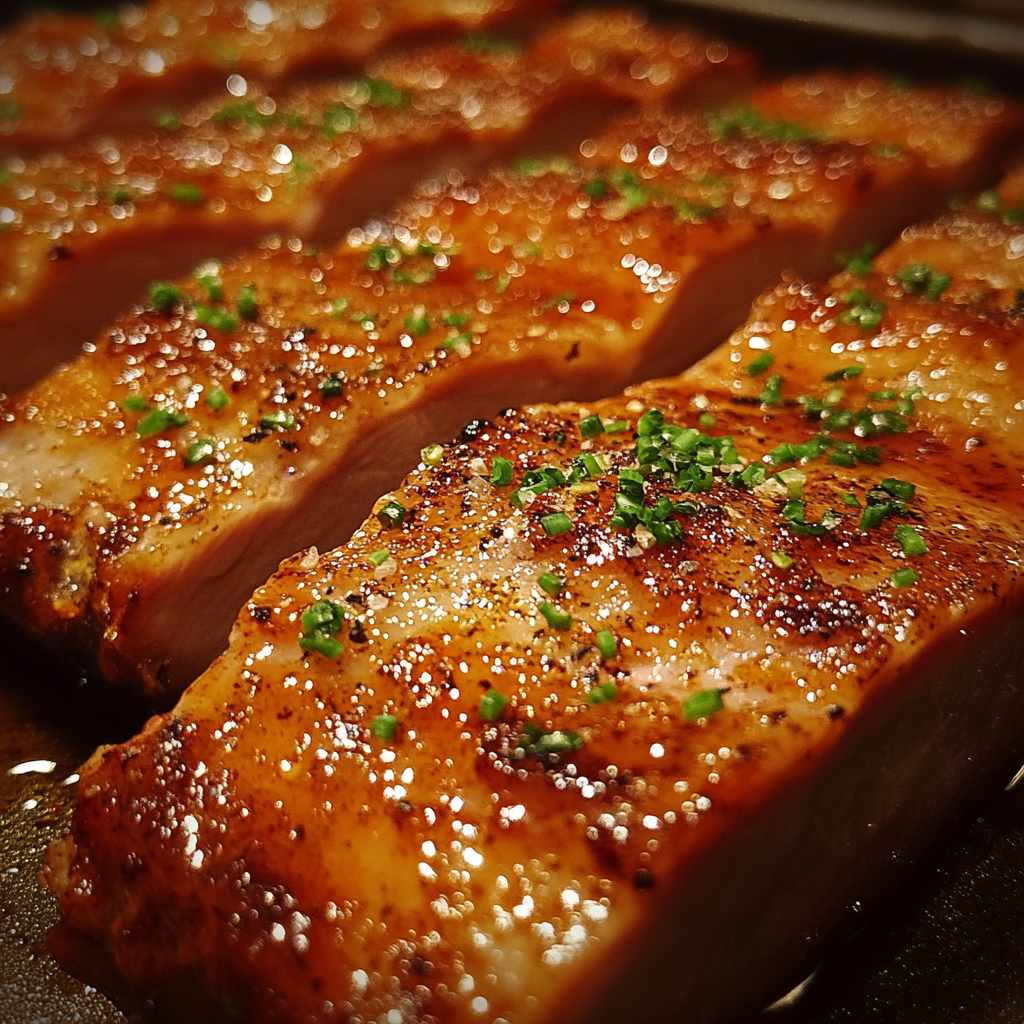
5. Adding Barbecue Sauce
Barbecue sauce adds a finishing touch to oven baked ribs, caramelizing and enhancing the smoky flavor of the dry rub.
Instructions for Adding Sauce:
- Increase the Oven Temperature: After the ribs are done baking, remove them from the oven and increase the temperature to 400°F (200°C).
- Unwrap and Sauce the Ribs: Carefully unwrap the foil and discard any excess liquid. Brush a generous amount of barbecue sauce onto the ribs.
- Bake Again: Place the ribs back in the oven, uncovered, for 15 minutes. This helps the sauce caramelize and creates a slightly sticky, flavorful glaze.
Variations of Oven Baked Ribs
Once you’ve mastered the basic recipe, here are a few fun variations to try:
1. Spicy BBQ Ribs
For a spicy kick, add cayenne pepper and crushed red pepper flakes to the dry rub. You can also mix some hot sauce into the barbecue sauce before applying it to the ribs.
2. Honey Garlic Ribs
If you prefer a sweeter flavor, try making honey garlic ribs. Mix ¼ cup honey with minced garlic and add this mixture to your barbecue sauce for a rich, sweet glaze.
3. Dry Rub Only
For those who prefer ribs without sauce, you can simply skip the barbecue sauce and let the dry rub work its magic. These dry-rub-only ribs are perfect for those who love a more savory, crusty exterior.
Serving Suggestions
Oven baked ribs pair well with a variety of sides. Here are a few options to complete your meal:
- Coleslaw: The crunch and tanginess of coleslaw balance the richness of the ribs.
- Baked Beans: A smoky, sweet side that complements the flavor of the ribs.
- Cornbread: A warm, buttery side that adds a comforting touch to any BBQ meal.
- Roasted Vegetables: Serve with roasted potatoes, carrots, or Brussels sprouts for a hearty side.
- Mashed Potatoes: Creamy mashed potatoes provide the perfect comfort food pairing.
For more serving ideas, see Best homemade BBQ sauce recipe for creative ways to use barbecue sauce beyond ribs.
FAQs About Oven Baked Ribs
1. What is the best temperature to bake ribs?
The best temperature for baking ribs is 275°F (135°C). This low-and-slow method ensures tender, juicy ribs.
2. Should I wrap ribs in foil when baking?
Yes, wrapping the ribs in foil traps moisture and prevents them from drying out. This method is known as the “Texas crutch” and is essential for achieving tender ribs.
3. How long should I bake ribs for?
Bake the ribs for 2.5 to 3 hours at 275°F, then finish by applying barbecue sauce and baking uncovered for an additional 15 minutes at 400°F.
4. How do I know when the ribs are done?
The ribs are done when the meat easily pulls away from the bone. You can also check the internal temperature with a meat thermometer (165°F is ideal).
5. Can I store and reheat leftover ribs?
Yes! Store leftover ribs in an airtight container in the refrigerator for up to 3 days. To reheat, place them in the oven at 300°F until warmed through.
Conclusion: Enjoy Your Perfect Oven Baked Ribs
With the right preparation and techniques, oven baked ribs can rival those from your favorite BBQ restaurant. By choosing the right ribs, applying a flavorful dry rub, and cooking them low and slow, you can achieve tender, fall-off-the-bone ribs every time. Whether you prefer them saucy, spicy, or dry-rubbed, oven baked ribs are sure to become a household favorite.
Don’t forget to pair your ribs with classic sides like coleslaw, baked beans, and cornbread for the ultimate BBQ experience!