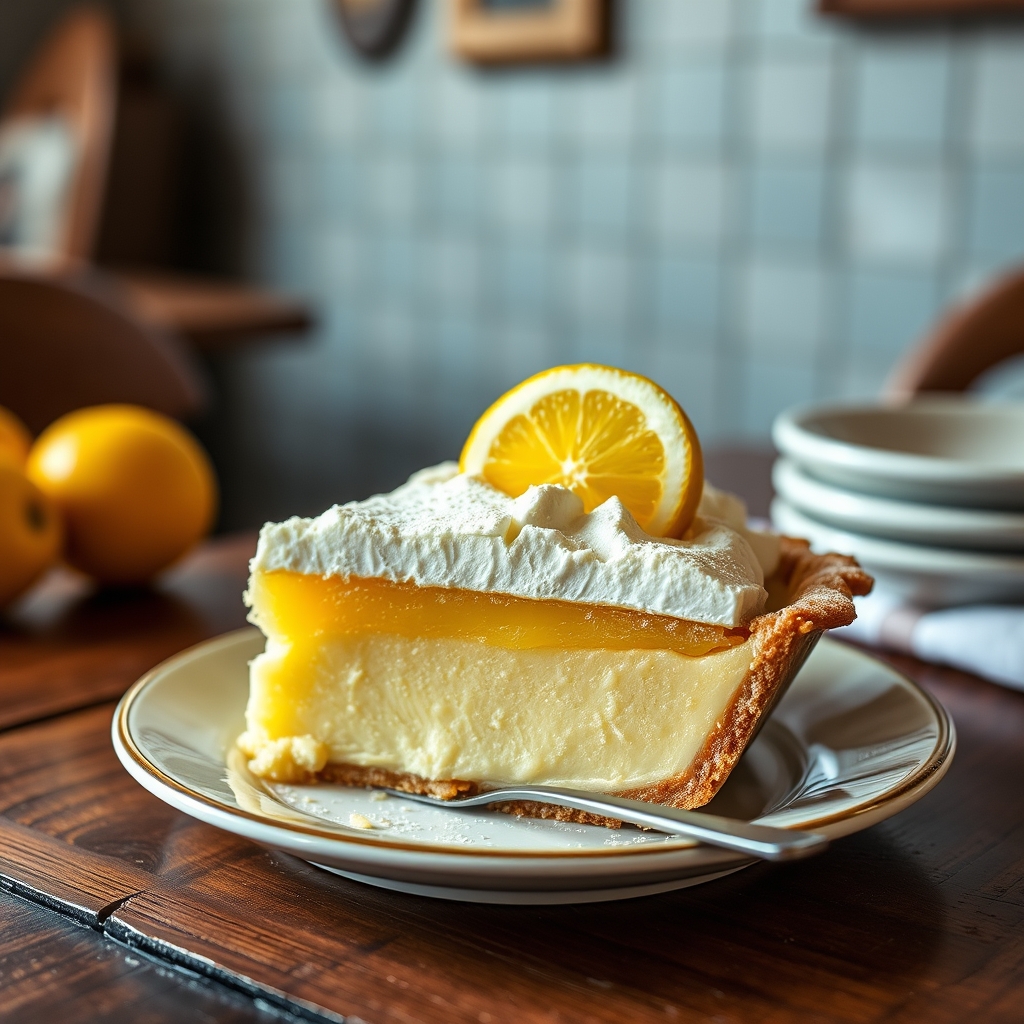
Old-Timey Lemon Icebox Pie
There’s something undeniably nostalgic about a classic lemon icebox pie. This no-bake dessert, with its tangy lemon filling and buttery graham cracker crust, has been a staple in Southern kitchens for generations. It’s the kind of recipe that brings back memories of warm summer evenings, family gatherings, and the simple joy of a perfectly chilled slice of pie. Whether you’re a seasoned baker or a beginner, this old-timey lemon icebox pie is a foolproof way to impress your guests or treat yourself to a refreshing dessert.
Why You’ll Love This Recipe
This lemon icebox pie is more than just a dessert—it’s a little slice of history with a bright, zesty flavor that’s impossible to resist. Here’s why you’ll adore it:
- No-Bake Simplicity: No oven required! This pie comes together effortlessly, making it perfect for hot summer days when you don’t want to turn on the stove.
- Perfect Balance of Sweet and Tart: The creamy lemon filling strikes the ideal harmony between tangy citrus and smooth sweetness, satisfying every craving.
- Crowd-Pleasing Classic: Whether served at a potluck, family dinner, or holiday gathering, this pie always disappears fast.
- Make-Ahead Friendly: Since it needs time to chill, you can prepare it hours—or even a day—in advance, freeing up your time for other tasks.
- Versatile Base: While delicious as-is, this recipe also serves as a fantastic canvas for creative variations, from adding berries to swapping the crust.
Ingredients Breakdown
Every ingredient in this old-fashioned lemon icebox pie plays a crucial role in creating its signature texture and flavor. Here’s what you’ll need:
- Graham Cracker Crumbs: The foundation of the crust, providing a sweet, slightly nutty crunch that contrasts beautifully with the creamy filling.
- Butter: Melted butter binds the crumbs together, ensuring a firm, sliceable crust.
- Sweetened Condensed Milk: This thick, rich milk adds sweetness and helps the filling set without baking.
- Fresh Lemon Juice: The star of the show! Freshly squeezed juice delivers the brightest, most vibrant citrus flavor.
- Lemon Zest: A little zest intensifies the lemon aroma and adds tiny bursts of flavor.
- Egg Yolks: They enrich the filling, giving it a luscious, custard-like consistency.
- Heavy Whipping Cream: Whipped to stiff peaks, it lightens the filling and adds a cloud-like texture.
How to Make Old-Timey Lemon Icebox Pie
Follow these simple steps to create a pie that’s as delightful to make as it is to eat:
- Prepare the Crust: Combine graham cracker crumbs with melted butter and a pinch of sugar. Press the mixture firmly into a pie dish, making sure to cover the bottom and sides evenly. Chill for at least 30 minutes to set.
- Make the Filling: In a large bowl, whisk together sweetened condensed milk, fresh lemon juice, lemon zest, and egg yolks until smooth and well combined.
- Whip the Cream: In a separate bowl, beat the heavy whipping cream until stiff peaks form. Gently fold the whipped cream into the lemon mixture to keep the filling light and airy.
- Assemble the Pie: Pour the filling into the chilled crust, smoothing the top with a spatula. Cover with plastic wrap and refrigerate for at least 4 hours, or preferably overnight, to allow the pie to set completely.
- Serve and Enjoy: Before serving, garnish with additional whipped cream, lemon slices, or a sprinkle of zest for a beautiful finish.
Pro Tips for the Best Results
- Use Fresh Lemons: Bottled lemon juice won’t deliver the same bright, fresh flavor as squeezing your own.
- Chill the Bowl for Whipping Cream: A cold bowl helps the cream whip faster and hold its shape better.
- Press the Crust Firmly: This prevents crumbling when slicing. Use the bottom of a glass to press it evenly.
- Let It Set Properly: Patience is key—don’t rush the chilling time, or the filling may be too soft.
- Add a Meringue Topping: For a vintage twist, top the pie with toasted meringue instead of whipped cream.
Variations and Substitutions
This recipe is wonderfully adaptable. Here are some delicious ways to make it your own:
- Gluten-Free: Swap graham crackers for gluten-free cookies or almond flour in the crust.
- Lime or Orange: Replace lemon juice with lime or orange juice for a different citrus twist.
- Berry Swirl: Fold in a few tablespoons of raspberry or blueberry puree for a fruity ripple effect.
- Coconut Crust: Use crushed coconut cookies or add shredded coconut to the graham cracker base for a tropical flair.
- Dairy-Free: Substitute coconut cream for heavy whipping cream and use a plant-based butter alternative.
What to Serve With It
This pie pairs beautifully with a variety of accompaniments:
- Fresh Berries: A handful of raspberries, blueberries, or strawberries adds color and freshness.
- Whipped Cream: A dollop of lightly sweetened whipped cream enhances the creamy texture.
- Mint Sprigs: A touch of mint provides a refreshing contrast.
- Iced Tea or Coffee: A glass of sweet tea or a cup of coffee makes a classic Southern pairing.
- Vanilla Ice Cream: For an indulgent treat, serve a scoop alongside a slice of pie.
How to Store and Reheat
This pie is best enjoyed cold, but here’s how to keep it fresh:
- Refrigeration: Store covered in the fridge for up to 4 days.
- Freezing: Wrap tightly in plastic wrap and freeze for up to 2 months. Thaw in the refrigerator before serving.
- Reheating: Not necessary—serve chilled straight from the fridge.
Frequently Asked Questions (FAQs)
Can I use bottled lemon juice instead of fresh?
While bottled juice works in a pinch, fresh lemon juice provides a brighter, more vibrant flavor that’s worth the extra effort.
Why is my pie filling too soft?
This usually happens if the pie hasn’t chilled long enough. Let it set for at least 4 hours, preferably overnight.
Can I make this pie ahead of time?
Absolutely! In fact, it tastes even better the next day as the flavors meld together.
Is it safe to eat raw egg yolks?
If you’re concerned, use pasteurized eggs or heat the yolks gently with a bit of the condensed milk to 160°F before mixing.
Can I use a different crust?
Yes! Shortbread, vanilla wafer, or even a pretzel crust would work wonderfully.
Final Thoughts
Old-timey lemon icebox pie is more than just a dessert—it’s a celebration of simplicity and tradition. With its creamy, tangy filling and crisp crust, it’s a recipe that stands the test of time. Whether you’re making it for a special occasion or just because, this pie is sure to bring smiles to the table. So grab your lemons, whip up a batch, and savor a taste of nostalgia with every bite.
Print
Old-Timey Lemon Icebox Pie
Description
A classic Southern dessert with a tangy lemon filling and buttery graham cracker crust, perfect for hot summer days when you don’t want to turn on the oven. This no-bake pie gets its name from being chilled in the icebox (refrigerator).
Ingredients
For the Crust:
- For the crust:
- 1 1/2 cups graham cracker crumbs
- 1/3 cup granulated sugar
- 6 tablespoons melted butter
- For the filling:
- 1 (14 oz) can sweetened condensed milk
- 3 large egg yolks
- 1/2 cup freshly squeezed lemon juice (about 3 lemons)
- 1 tablespoon lemon zest
- For the topping:
- 1 cup heavy whipping cream
- 2 tablespoons powdered sugar
- 1/2 teaspoon vanilla extract
- Lemon slices for garnish (optional)
Instructions
1. Prepare the Crust:
- 1. Make the crust: In a medium bowl, mix graham cracker crumbs, sugar, and melted butter until combined.
- 2. Press the mixture firmly into a 9-inch pie plate, covering the bottom and sides evenly. Chill for 30 minutes.
- 3. Prepare the filling: In another bowl, whisk together sweetened condensed milk and egg yolks until smooth.
- 4. Gradually stir in lemon juice and zest until fully incorporated (mixture will thicken slightly).
- 5. Pour filling into the chilled crust and smooth the top. Refrigerate for at least 4 hours, preferably overnight.
- 6. Before serving, make the topping: Whip cream, powdered sugar, and vanilla until stiff peaks form.
- 7. Spread or pipe whipped cream over the pie. Garnish with lemon slices if desired.
- 8. Keep refrigerated until ready to serve. Pie lasts 3-4 days covered in refrigerator.
Notes
For extra lemon flavor, add 1/2 teaspoon lemon extract to the filling. If you prefer a sturdier crust, bake at 350°F for 8 minutes before adding filling (though this makes it not truly ‘icebox’). The pie firms up best when chilled overnight.