Vintage Orange Poke Cake

Vintage Orange Poke Cake

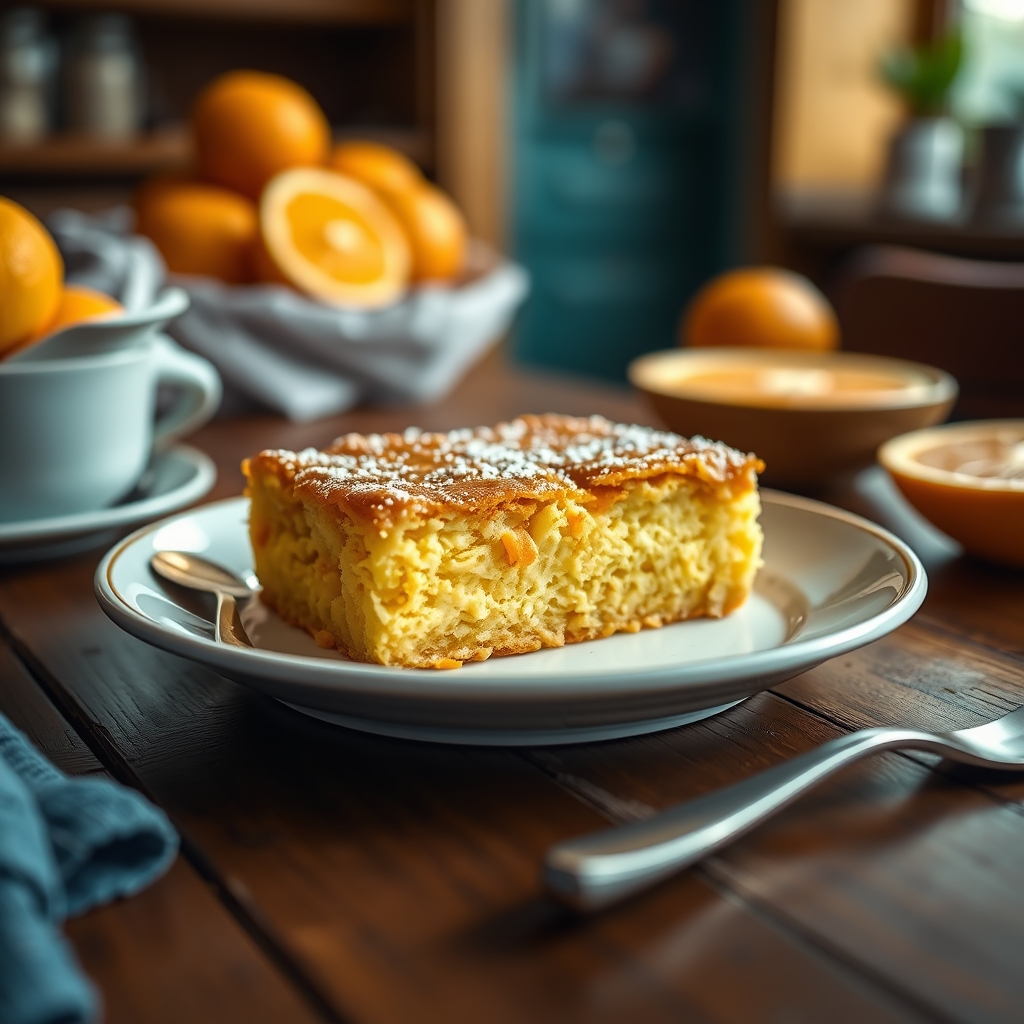
There’s something undeniably nostalgic about a poke cake. The way it soaks up every drop of citrusy goodness, the tender crumb, the burst of bright orange flavor—it’s a dessert that feels like a warm hug from the past. This Vintage Orange Poke Cake is a delightful throwback to simpler times, yet it’s effortlessly elegant enough to grace any modern table. Whether you’re hosting a brunch, celebrating a birthday, or simply craving a sweet treat, this cake is a guaranteed crowd-pleaser.

Why You’ll Love This Recipe

If you’re on the fence about trying this Vintage Orange Poke Cake, let me give you a few reasons why it deserves a spot in your baking repertoire.

  • Unbeatable Moisture: The poke method ensures every bite is infused with orange syrup, making the cake incredibly moist and flavorful.
  • Easy to Make: With simple ingredients and straightforward steps, this cake is perfect for bakers of all skill levels.
  • Versatile: Serve it as-is for a casual dessert, or dress it up with whipped cream and orange zest for a more elegant presentation.
  • Crowd-Pleasing Flavor: The bright, citrusy taste is refreshing and universally loved, making it a hit at potlucks and family gatherings.
  • Nostalgic Appeal: If you grew up with poke cakes, this recipe will transport you right back to those cherished childhood memories.

Ingredients Breakdown

Understanding the role of each ingredient will help you appreciate why this Vintage Orange Poke Cake turns out so perfectly every time.

  • Boxed Yellow Cake Mix: The base of the cake, providing a light and fluffy texture. Using a mix keeps things simple, but you can substitute with homemade cake batter if preferred.
  • Orange Jell-O: The star of the show, this gives the cake its signature orange flavor and vibrant color. It’s dissolved in hot water and poured over the baked cake, seeping into the holes for maximum flavor.
  • Fresh Orange Juice: Adds a natural citrus brightness that complements the Jell-O, enhancing the overall orange flavor.
  • Whipped Topping: A light and airy finish that balances the sweetness of the cake. You can use homemade whipped cream or a store-bought alternative.
  • Orange Zest: A garnish that not only looks beautiful but also adds a pop of fresh citrus aroma.

How to Make Vintage Orange Poke Cake

Follow these step-by-step instructions to create a cake that’s as beautiful as it is delicious.

  1. Prepare the Cake: Bake the yellow cake mix according to the package instructions in a 9×13-inch pan. Let it cool for about 10 minutes after baking.
  2. Poke the Holes: Using the handle of a wooden spoon or a skewer, poke holes all over the cake, spacing them about an inch apart. This allows the Jell-O mixture to penetrate deeply.
  3. Make the Jell-O Syrup: Dissolve the orange Jell-O in boiling water, then stir in cold water and fresh orange juice. Slowly pour this mixture over the cake, ensuring it seeps into the holes.
  4. Chill: Refrigerate the cake for at least 4 hours, or overnight, to let the flavors meld and the Jell-O set.
  5. Top and Serve: Spread whipped topping over the chilled cake and garnish with orange zest. Slice and enjoy!

Pro Tips for the Best Results

Want to take your Vintage Orange Poke Cake to the next level? Try these expert tips.

  • For extra moisture, brush the cake with a simple syrup made of equal parts sugar and orange juice before adding the Jell-O mixture.
  • If you prefer a stronger orange flavor, add a teaspoon of orange extract to the cake batter.
  • Chilling the cake overnight yields the best texture, as it gives the Jell-O ample time to set properly.
  • Use freshly squeezed orange juice instead of bottled for a brighter, more natural citrus taste.

Variations and Substitutions

This recipe is wonderfully adaptable to different tastes and dietary needs.

  • Gluten-Free: Swap the yellow cake mix for a gluten-free version.
  • Dairy-Free: Use coconut whipped topping instead of traditional whipped cream.
  • Flavor Twists: Try using lemon Jell-O and lemon juice for a zesty lemon poke cake, or lime for a tropical twist.
  • Boozy Version: Add a splash of Grand Marnier or triple sec to the Jell-O mixture for an adult-friendly dessert.

What to Serve With It

While this cake is fantastic on its own, pairing it with the right accompaniments can make it even more special.

  • A scoop of vanilla ice cream adds a creamy contrast to the citrusy cake.
  • Fresh berries like strawberries or raspberries provide a tart balance to the sweetness.
  • A cup of hot tea or coffee makes for a delightful afternoon treat.
  • For a brunch spread, serve alongside other citrus-based desserts like lemon bars or grapefruit salad.

How to Store and Reheat

Proper storage ensures your Vintage Orange Poke Cake stays fresh and delicious.

  • Refrigeration: Cover the cake with plastic wrap or store in an airtight container for up to 5 days.
  • Freezing: Freeze individual slices wrapped in plastic and foil for up to 2 months. Thaw in the fridge before serving.
  • Reheating: This cake is best served cold, but if you prefer it slightly warmed, microwave individual slices for 10-15 seconds.

Frequently Asked Questions (FAQs)

Here are answers to some common questions about this Vintage Orange Poke Cake.

  • Can I use a homemade cake instead of a mix? Absolutely! A homemade vanilla or yellow cake works just as well.
  • Why is my cake soggy? This can happen if the cake isn’t fully cooled before adding the Jell-O mixture. Ensure it’s only slightly warm.
  • Can I make this cake ahead of time? Yes, in fact, it tastes even better after chilling overnight.
  • What if I don’t have orange Jell-O? You can substitute with any citrus-flavored gelatin, like lemon or tangerine.
  • Can I use Cool Whip instead of whipped cream? Yes, Cool Whip is a convenient alternative.

Final Thoughts

There’s a reason poke cakes have stood the test of time—they’re easy, delicious, and endlessly customizable. This Vintage Orange Poke Cake is a celebration of citrus in every bite, perfect for brightening up any occasion. Whether you’re making it for a family gathering or just to satisfy a sweet craving, I hope this recipe brings as much joy to your kitchen as it has to mine. Happy baking!

Print
clock clock iconcutlery cutlery iconflag flag iconfolder folder iconinstagram instagram iconpinterest pinterest iconfacebook facebook iconprint print iconsquares squares iconheart heart iconheart solid heart solid icon

Vintage Orange Poke Cake

  • Author: Classic Desserts Co.

Description

A nostalgic orange-flavored poke cake soaked in citrus syrup and topped with fluffy whipped cream. This retro dessert is light, refreshing, and bursting with bright orange flavor.


Ingredients

Scale

For the Crust:

  • For the cake:
  • 1 box (15.25 oz) orange-flavored cake mix
  • 3 large eggs
  • 1 cup water
  • 1/3 cup vegetable oil
  • For the syrup:
  • 1 cup fresh orange juice
  • 1/2 cup granulated sugar
  • 1 tablespoon orange zest
  • For the topping:
  • 2 cups heavy whipping cream
  • 1/4 cup powdered sugar
  • 1 teaspoon vanilla extract
  • Orange slices for garnish (optional)

Instructions

1. Prepare the Crust:

  1. Preheat oven to 350°F (175°C). Grease a 9×13-inch baking pan.
  2. Prepare cake batter by mixing cake mix, eggs, water, and oil until smooth. Pour into prepared pan.
  3. Bake for 25-30 minutes or until a toothpick inserted in center comes out clean.
  4. While cake bakes, make syrup: Combine orange juice, sugar, and zest in saucepan. Simmer for 5 minutes until slightly thickened.
  5. Use the handle of a wooden spoon to poke holes all over the warm cake (about 1-inch apart).
  6. Slowly pour syrup over cake, letting it soak into holes. Cool completely.
  7. Whip cream with powdered sugar and vanilla until stiff peaks form. Spread over cooled cake.
  8. Chill for at least 2 hours before serving. Garnish with orange slices if desired.

Notes

For best results, use freshly squeezed orange juice. Cake keeps well refrigerated for 3 days. Substitute with lemon for a citrus variation.
Old-Fashioned Cream Cheese Mints

Old-Fashioned Cream Cheese Mints

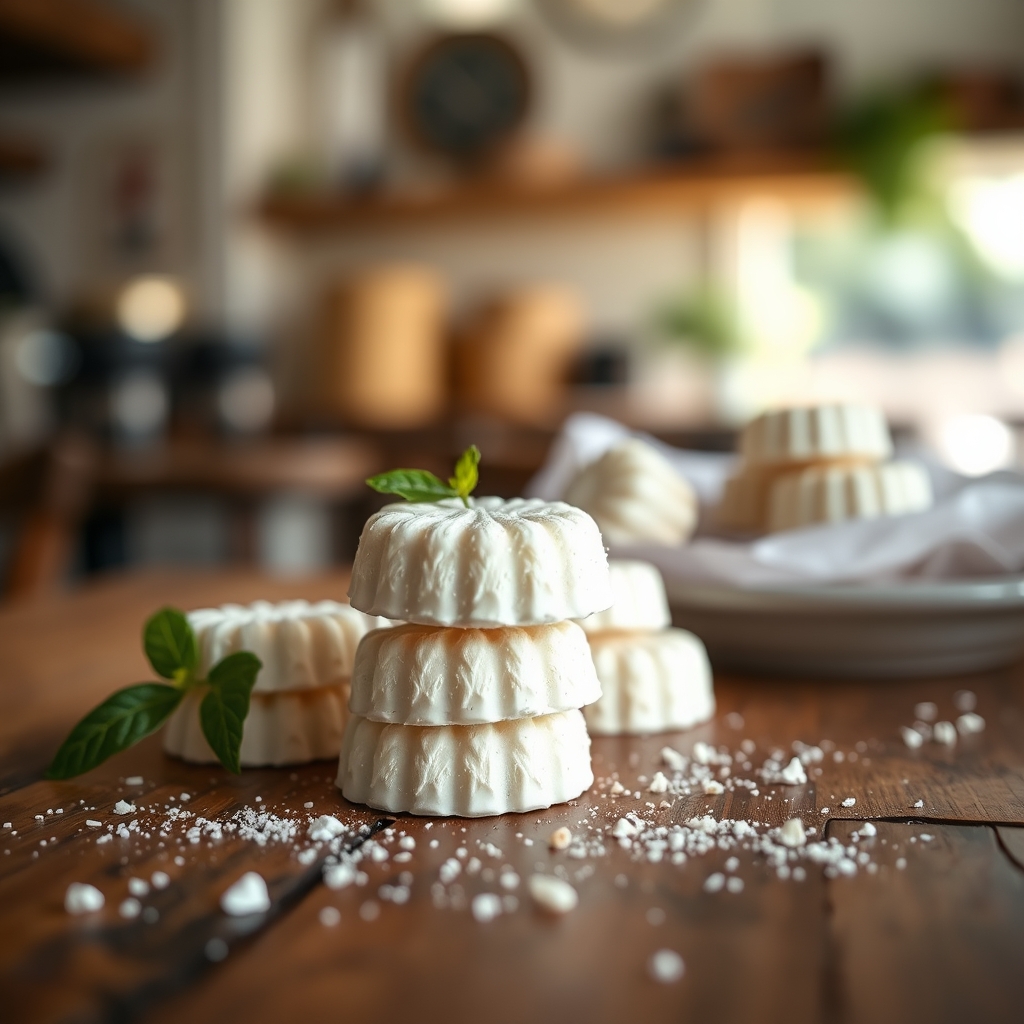
There’s something undeniably nostalgic about old-fashioned cream cheese mints. These delicate, melt-in-your-mouth confections have graced wedding receptions, baby showers, and holiday tables for generations. With their creamy texture and refreshing peppermint flavor, they’re a timeless treat that never goes out of style. Today, we’re diving into the art of making these beloved mints from scratch—because sometimes, the simplest recipes are the most cherished.

Why You’ll Love This Recipe

If you’ve never tried making homemade cream cheese mints, you’re in for a delightful surprise. Here’s why this recipe deserves a spot in your dessert repertoire:

  • Effortless Elegance: These mints look like they came from a fancy bakery, but they’re surprisingly simple to make with just a handful of ingredients.
  • Crowd-Pleasing Flavor: The combination of cream cheese and peppermint is light, refreshing, and universally loved—perfect for any occasion.
  • Customizable Colors and Shapes: Whether you’re matching a party theme or celebrating a holiday, you can tint the mints and mold them into any shape you like.
  • Make-Ahead Friendly: These mints can be prepared days in advance, freeing up your time for other party preparations.
  • A Touch of Nostalgia: For many, these mints evoke warm memories of family gatherings and special celebrations.

Ingredients Breakdown

Let’s take a closer look at the key ingredients that make these cream cheese mints so irresistible:

  • Cream Cheese: The star of the show, cream cheese provides a rich, tangy base that balances the sweetness of the sugar. Be sure to use full-fat cream cheese for the best texture.
  • Powdered Sugar: This fine sugar dissolves effortlessly into the cream cheese, creating a smooth, velvety consistency without graininess.
  • Peppermint Extract: A high-quality extract delivers that classic, refreshing mint flavor. Adjust the amount to suit your taste preferences.
  • Food Coloring (Optional): A few drops of gel food coloring can transform these mints into vibrant party favors or seasonal treats.

How to Make Old-Fashioned Cream Cheese Mints

Follow these step-by-step instructions for perfect cream cheese mints every time:

  1. Prepare the Cream Cheese: Start by softening 4 ounces of cream cheese at room temperature for about 30 minutes. This ensures easy mixing and a smooth consistency.
  2. Mix the Base: In a large bowl, beat the cream cheese with 1 teaspoon of peppermint extract until fully combined. Gradually add 4 cups of powdered sugar, mixing well after each addition. The dough should be firm but pliable.
  3. Add Color (Optional): If using food coloring, add a few drops and knead the dough until the color is evenly distributed. Gel coloring works best for vibrant hues without altering the texture.
  4. Shape the Mints: Pinch off small pieces of dough and roll them into 1-inch balls. Press each ball lightly with a fork or a decorative mold to create a patterned surface. Alternatively, use candy molds for intricate designs.
  5. Let Them Set: Place the shaped mints on a parchment-lined tray and let them dry at room temperature for at least 2 hours. This allows the exterior to develop a slight crust while keeping the interior soft.

Pro Tips for the Best Results

  • For a smoother texture, sift the powdered sugar before adding it to the cream cheese.
  • If the dough feels too sticky, add a bit more powdered sugar. If it’s too dry, a tiny splash of milk can help.
  • Work quickly when shaping the mints, as the dough can dry out. Cover unused portions with a damp cloth.
  • For a festive touch, dust the mints with edible glitter or sprinkles before they set.

Variations and Substitutions

Customize your cream cheese mints with these creative twists:

  • Flavor Variations: Swap peppermint extract for almond, vanilla, or even citrus extracts for a different flavor profile.
  • Vegan Option: Use dairy-free cream cheese and vegan powdered sugar to accommodate dietary restrictions.
  • Chocolate-Dipped Mints: For an extra indulgence, dip half of each mint in melted chocolate and let it harden.
  • Holiday Themes: Use red and green coloring for Christmas, pastels for Easter, or gold and silver for New Year’s Eve.

What to Serve With It

Old-fashioned cream cheese mints are versatile enough to pair with a variety of treats and beverages:

  • After-Dinner Coffee: Serve these mints alongside espresso or a creamy latte for a refreshing finish to a meal.
  • Tea Party Spread: Arrange them on a tiered tray with scones, finger sandwiches, and shortbread cookies.
  • Dessert Buffet: Combine them with chocolate truffles, macarons, and petit fours for an elegant display.
  • Holiday Gift Boxes: Package them in decorative tins with other homemade candies for a thoughtful edible gift.

How to Store and Reheat

Proper storage ensures your cream cheese mints stay fresh and delicious:

  • Room Temperature: Store in an airtight container at room temperature for up to 3 days.
  • Refrigeration: For longer storage, keep them refrigerated for up to 2 weeks. Let them come to room temperature before serving for the best texture.
  • Freezing: These mints freeze well for up to 3 months. Layer them between parchment paper in a sealed container to prevent sticking.
  • Reheating: Not necessary, but if chilled, allow them to sit at room temperature for 15 minutes before serving.

Frequently Asked Questions (FAQs)

Can I use fresh mint instead of extract?
While fresh mint adds a lovely aroma, it won’t provide the same concentrated flavor as extract. Stick to peppermint extract for the best results.

Why are my mints too soft?
This usually happens if the dough has too much moisture. Add a bit more powdered sugar to firm it up, and let the mints dry longer before serving.

Can I make these mints without a mold?
Absolutely! A fork works just fine for creating a simple, classic pattern. You can also roll them into smooth balls or flatten them into discs.

How far in advance can I make these?
These mints are perfect for making ahead—prepare them up to a week in advance and store them in the refrigerator until needed.

Are cream cheese mints gluten-free?
Yes, as long as you use gluten-free powdered sugar, this recipe is naturally gluten-free.

Final Thoughts

Old-fashioned cream cheese mints are more than just a sweet treat—they’re a little bite of tradition. Whether you’re crafting them for a special occasion or simply indulging in a nostalgic dessert, their creamy texture and refreshing flavor are sure to delight. So gather your ingredients, invite a helper (or two—kids love shaping these!), and enjoy the process of creating something truly timeless. Happy mint-making!

Print
clock clock iconcutlery cutlery iconflag flag iconfolder folder iconinstagram instagram iconpinterest pinterest iconfacebook facebook iconprint print iconsquares squares iconheart heart iconheart solid heart solid icon

Old-Fashioned Cream Cheese Mints

  • Author: Classic Recipe Collection

Description

These melt-in-your-mouth cream cheese mints are a vintage favorite, perfect for weddings, baby showers, or holiday gatherings. Their smooth texture and refreshing peppermint flavor make them irresistible.


Ingredients

Scale

For the Crust:

  • For the mints:
  • 8 oz cream cheese, softened
  • 1/2 tsp peppermint extract
  • 4 cups powdered sugar
  • Food coloring (optional)
  • For coating:
  • 1/2 cup granulated sugar
  • 1/4 cup powdered sugar

Instructions

1. Prepare the Crust:

  1. 1. In a large bowl, beat cream cheese and peppermint extract until smooth.
  2. 2. Gradually add powdered sugar, 1 cup at a time, mixing well after each addition.
  3. 3. If using food coloring, add a few drops and knead until evenly distributed.
  4. 4. Roll mixture into 1-inch balls and place on parchment paper.
  5. 5. Flatten each ball with a fork or decorative press to create patterns.
  6. 6. Let mints dry uncovered at room temperature for 2 hours.
  7. 7. Combine granulated and powdered sugar for coating in a shallow bowl.
  8. 8. Gently roll each mint in sugar mixture to coat completely.
  9. 9. Store in airtight container in refrigerator for up to 2 weeks.

Notes

For firmer mints, reduce cream cheese to 6 oz. These can be made ahead and frozen (uncoated) for up to 3 months. Thaw before sugar coating.

Homestyle Apple Butter Bars

Homestyle Apple Butter Bars

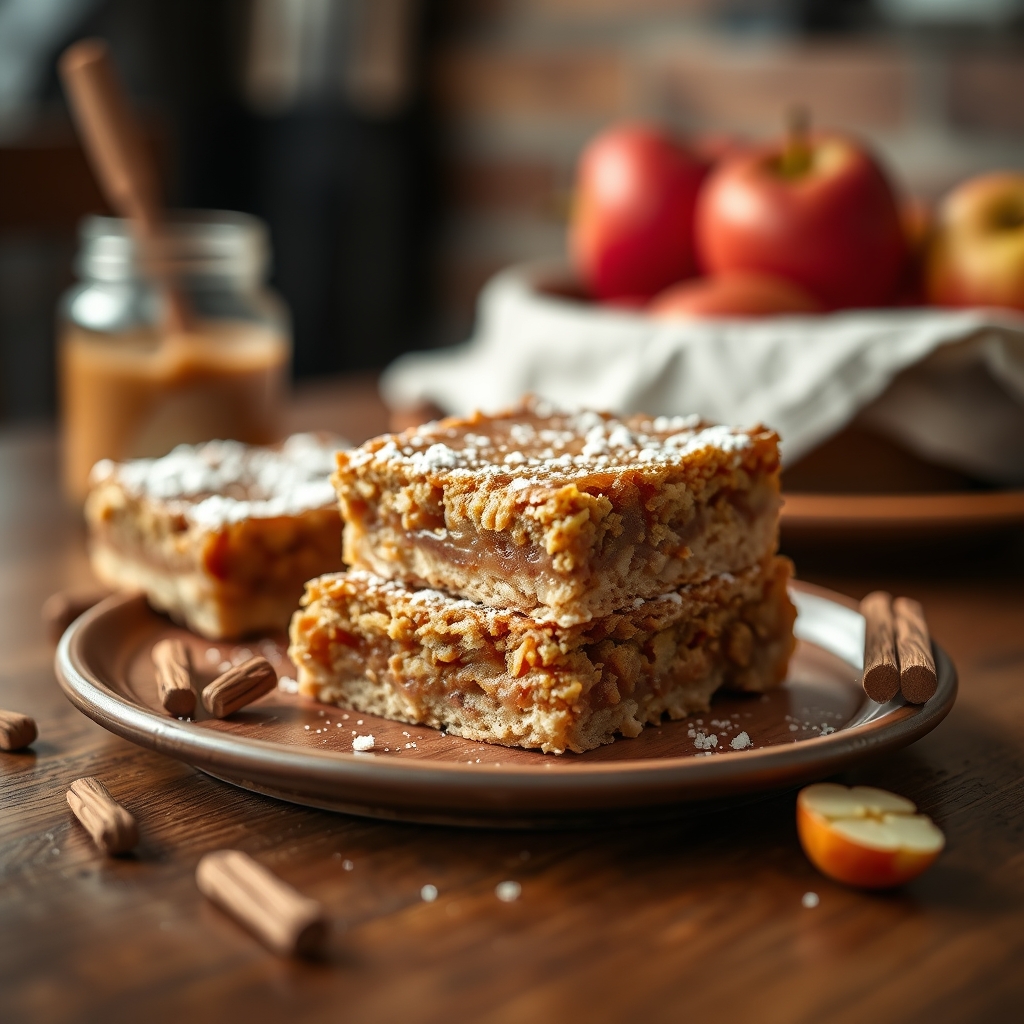
There’s something undeniably comforting about the aroma of warm spices and slow-cooked apples wafting through the kitchen. These Homestyle Apple Butter Bars capture that cozy essence in every bite—think buttery shortbread crust, a luscious layer of spiced apple butter, and a crumbly streusel topping that ties it all together. Whether you’re looking for a dessert to impress at a fall gathering or a sweet treat to enjoy with your afternoon tea, this recipe is a guaranteed winner. Let’s dive into why these bars are a must-make and how you can recreate them in your own kitchen.

Why You’ll Love This Recipe

Homestyle Apple Butter Bars are more than just a dessert—they’re a celebration of seasonal flavors and nostalgic baking. Here’s why you’ll adore this recipe:

  • Perfect balance of textures: The crisp shortbread base, velvety apple butter filling, and crunchy streusel topping create a harmonious bite every time.
  • Effortless elegance: These bars look like they came from a bakery but are surprisingly simple to make, even for beginner bakers.
  • Versatile for any occasion: Serve them as a dessert, pack them for a picnic, or enjoy them as an indulgent snack with coffee.
  • Make-ahead friendly: The bars keep well, so you can prepare them in advance for stress-free entertaining.
  • Celebrates seasonal produce: Using homemade or store-bought apple butter, this recipe highlights the best of autumn’s harvest.

Ingredients Breakdown

Understanding the role of each ingredient ensures your Homestyle Apple Butter Bars turn out perfectly every time. Here’s what you’ll need:

  • All-purpose flour: The foundation of both the crust and streusel, providing structure and a tender crumb.
  • Unsalted butter: Cold butter is key for a flaky shortbread crust, while melted butter binds the streusel topping.
  • Granulated sugar: Sweetens the crust and balances the tartness of the apple butter.
  • Apple butter: The star of the show, lending deep caramelized apple flavor and a smooth, spreadable consistency. Homemade or high-quality store-bought both work beautifully.
  • Brown sugar: Adds moisture and a subtle molasses note to the streusel.
  • Cinnamon and nutmeg: Warm spices that enhance the apple butter’s natural sweetness.
  • Salt: Elevates all the flavors and prevents the bars from tasting overly sweet.

How to Make Homestyle Apple Butter Bars

Follow these step-by-step instructions for foolproof Homestyle Apple Butter Bars:

  1. Preheat and prepare: Start by preheating your oven to 350°F (175°C). Line an 8×8-inch baking pan with parchment paper, leaving an overhang for easy removal later.
  2. Make the shortbread crust: In a mixing bowl, combine 1 ½ cups flour, ¼ cup granulated sugar, and a pinch of salt. Cut in ½ cup cold, cubed butter using a pastry cutter or your fingers until the mixture resembles coarse crumbs. Press firmly into the prepared pan and bake for 15 minutes until lightly golden.
  3. Spread the apple butter: Once the crust is slightly cooled, spread 1 cup of apple butter evenly over the surface. For extra flavor, sprinkle a light dusting of cinnamon over the layer.
  4. Prepare the streusel: In another bowl, mix ½ cup flour, ¼ cup brown sugar, ½ teaspoon cinnamon, and a pinch of nutmeg. Drizzle in ¼ cup melted butter and stir until clumps form. Scatter this mixture over the apple butter layer.
  5. Bake to perfection: Return the pan to the oven and bake for another 25–30 minutes, or until the streusel is golden and crisp. Let the bars cool completely in the pan before slicing to ensure clean cuts.

Pro Tips for the Best Results

Elevate your Homestyle Apple Butter Bars with these expert techniques:

  • Chill the crust: For an extra-flaky base, refrigerate the pressed crust for 15 minutes before baking.
  • Layer thickness matters: Spread the apple butter in a thin, even layer to prevent soggy bars.
  • Customize the spice: Add a pinch of cardamom or allspice to the streusel for a more complex flavor profile.
  • Toast the streusel: If the topping isn’t crisp enough after baking, broil for 1–2 minutes (watch closely to avoid burning).
  • Use a sharp knife: For clean slices, wipe your knife between cuts and press straight down rather than sawing.

Variations and Substitutions

Adapt this recipe to suit your preferences or dietary needs with these creative twists:

  • Gluten-free option: Replace all-purpose flour with a 1:1 gluten-free baking blend for both the crust and streusel.
  • Dairy-free version: Use plant-based butter and ensure your apple butter is vegan-friendly.
  • Nutty crunch: Add ¼ cup chopped pecans or walnuts to the streusel for extra texture.
  • Pear butter swap: Substitute apple butter with homemade pear butter for a delicate flavor variation.
  • Cheesecake layer: Spread a thin layer of sweetened cream cheese between the crust and apple butter for a decadent twist.

What to Serve With It

These bars shine on their own but pair wonderfully with:

  • A scoop of vanilla bean ice cream for an à la mode dessert
  • Hot spiced cider or a caramel latte for a cozy beverage pairing
  • Whipped cream and a drizzle of salted caramel sauce for special occasions
  • A cheese board featuring sharp cheddar or brie for a sweet-savory contrast

How to Store and Reheat

Keep your Homestyle Apple Butter Bars fresh with these storage tips:

  • Room temperature: Store in an airtight container for up to 3 days (place parchment between layers if stacking).
  • Refrigerator: Extend freshness to 1 week by refrigerating in a sealed container.
  • Freezing: Wrap individual bars in plastic wrap and freeze for up to 3 months. Thaw overnight in the refrigerator.
  • Reheating: Refresh the texture by warming bars in a 300°F oven for 5–8 minutes or microwave briefly for a softer consistency.

Frequently Asked Questions (FAQs)

Can I use apple sauce instead of apple butter?
While apple sauce adds moisture, it lacks the concentrated flavor and thickness of apple butter. For best results, stick with apple butter or reduce apple sauce on the stovetop until thickened.

Why did my streusel sink into the apple butter?
This happens if the apple butter layer is too thick or the streusel is too finely crumbled. Aim for pea-sized streusel clumps and spread the apple butter thinly.

Can I double this recipe?
Absolutely! Use a 9×13-inch pan and increase baking time by 5–10 minutes, watching for doneness.

How do I know when the bars are fully baked?
The streusel should be golden brown, and the edges of the crust will pull slightly away from the pan. A toothpick inserted near the edge (not through apple butter) should come out clean.

Can I make these bars with other fruit butters?
Yes! Pumpkin butter, peach butter, or even plum butter would work beautifully with the same method.

Final Thoughts

Homestyle Apple Butter Bars are the kind of treat that makes people ask for the recipe—and lucky for you, now you have it. Whether you’re baking them for a holiday potluck or as a sweet weekend project, these bars embody the warmth and comfort of homemade desserts. The beauty lies in their simplicity and the way they transform humble ingredients into something extraordinary. So preheat that oven, roll up your sleeves, and get ready to fill your kitchen with the irresistible scent of cinnamon, butter, and apples. Trust me, one bite will transport you straight to autumn bliss.

Print
clock clock iconcutlery cutlery iconflag flag iconfolder folder iconinstagram instagram iconpinterest pinterest iconfacebook facebook iconprint print iconsquares squares iconheart heart iconheart solid heart solid icon

Homestyle Apple Butter Bars

  • Author: Grandma's Kitchen

Description

These apple butter bars are a nostalgic treat with a buttery crust, spiced apple butter filling, and a crumbly streusel topping. Perfect for fall gatherings or cozy dessert nights.


Ingredients

Scale

For the Crust:

  • For the crust:
  • 2 cups all-purpose flour
  • 1/2 cup granulated sugar
  • 1/2 teaspoon salt
  • 1 cup unsalted butter, cold and cubed
  • For the filling:
  • 1 1/2 cups homemade apple butter
  • 1 teaspoon cinnamon
  • 1/4 teaspoon nutmeg
  • For the streusel topping:
  • 1/2 cup old-fashioned oats
  • 1/3 cup brown sugar
  • 1/4 cup all-purpose flour
  • 1/4 cup chopped pecans
  • 3 tablespoons cold butter

Instructions

1. Prepare the Crust:

  1. Preheat oven to 350°F (175°C). Line a 9×13-inch baking pan with parchment paper.
  2. Make the crust: In a food processor, pulse flour, sugar, and salt. Add cold butter and pulse until mixture resembles coarse crumbs.
  3. Press crust mixture firmly into the prepared pan. Bake for 15 minutes until lightly golden.
  4. While crust bakes, stir cinnamon and nutmeg into apple butter. Spread evenly over warm crust.
  5. Make streusel: Combine oats, brown sugar, flour, and pecans. Cut in butter until crumbly. Sprinkle over apple butter layer.
  6. Bake 25-30 minutes until topping is golden and filling bubbles at edges. Cool completely before cutting into bars.

Notes

For best results, use thick homemade apple butter. Store bars in an airtight container for up to 5 days. Freezes well for up to 3 months.

Vintage Coca-Cola Sheet Cake

Vintage Coca-Cola Sheet Cake

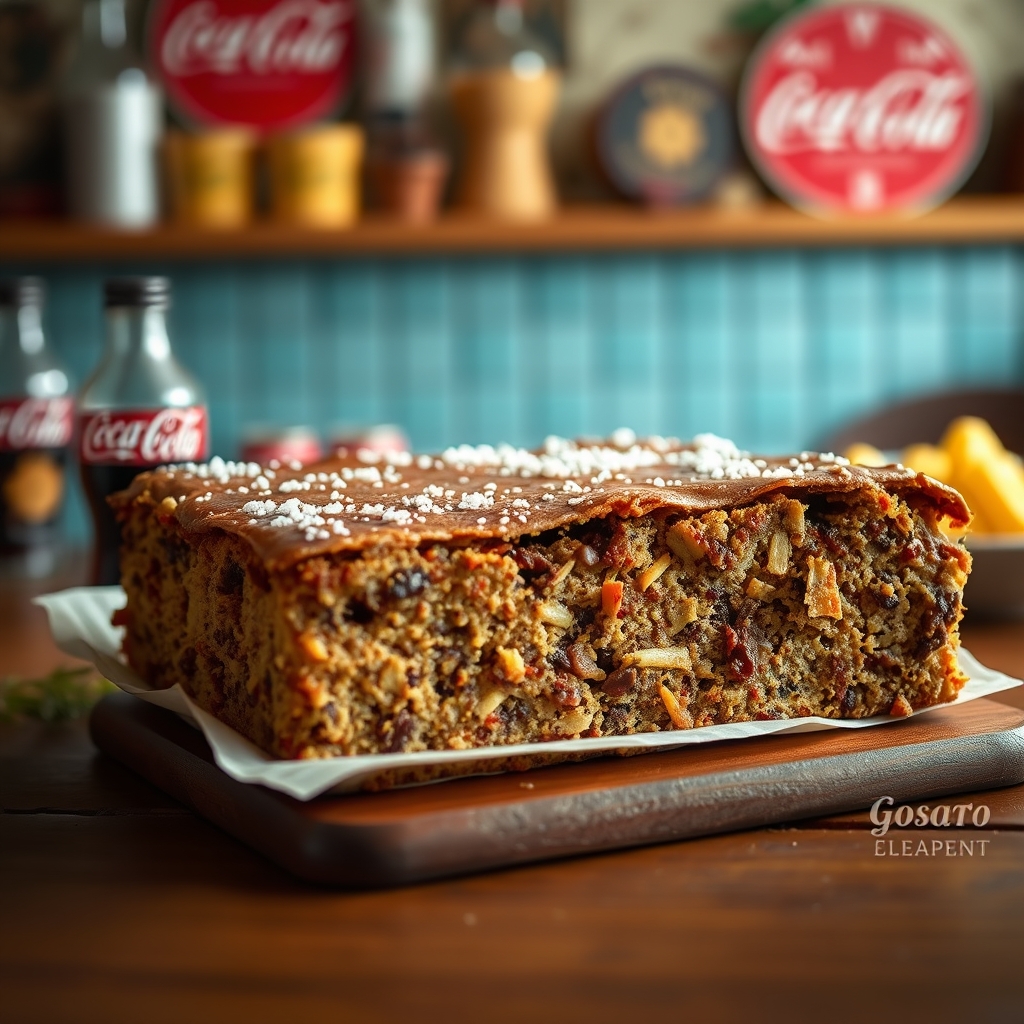
There’s something undeniably nostalgic about a Vintage Coca-Cola Sheet Cake. This Southern classic has been a staple at potlucks, family gatherings, and holiday celebrations for generations. With its moist, tender crumb and rich, caramel-like frosting, it’s a dessert that brings people together. Whether you grew up with this cake or are discovering it for the first time, one bite will transport you to a simpler time—where recipes were passed down with love and every slice told a story.

Why You’ll Love This Recipe

If you’re looking for a dessert that’s both comforting and impressive, this Vintage Coca-Cola Sheet Cake is a must-try. Here’s why it’s a standout:

  • Unbeatable Moisture – The Coca-Cola in the batter keeps the cake incredibly soft, while adding a subtle depth of flavor.
  • Effortless to Make – Unlike layer cakes that require precision, this sheet cake is forgiving and comes together in one bowl.
  • Crowd-Pleasing Size – Baked in a standard sheet pan, it easily serves a large group without the need for slicing multiple layers.
  • Unique Flavor Profile – The combination of cocoa, buttermilk, and Coke creates a complex sweetness that’s unlike any other chocolate cake.
  • Perfect for Any Occasion – Whether it’s a birthday, picnic, or just a weeknight treat, this cake fits every setting.

Ingredients Breakdown

Every ingredient in this Vintage Coca-Cola Sheet Cake plays a crucial role in achieving its signature taste and texture. Here’s what makes them special:

  • All-Purpose Flour – The backbone of the cake, providing structure without making it dense.
  • Granulated Sugar – Sweetens the cake while helping create a tender crumb.
  • Unsweetened Cocoa Powder – Delivers deep chocolate flavor without overwhelming the Coke’s caramel notes.
  • Baking Soda – Reacts with the buttermilk and Coke to ensure a light, airy texture.
  • Buttermilk – Adds tanginess and moisture, balancing the sweetness.
  • Coca-Cola – The star ingredient, contributing a hint of spice and keeping the cake ultra-moist.
  • Butter – Provides richness and helps bind the ingredients.
  • Eggs – Give structure and stability to the batter.
  • Vanilla Extract – Enhances the overall flavor profile.

How to Make Vintage Coca-Cola Sheet Cake

Follow these steps for a foolproof cake that will have everyone asking for seconds:

  1. Preheat and Prepare – Preheat your oven to 350°F and grease a 9×13-inch baking pan.
  2. Mix Dry Ingredients – In a large bowl, whisk together flour, sugar, cocoa powder, baking soda, and a pinch of salt.
  3. Combine Wet Ingredients – In a saucepan, melt butter with Coca-Cola over medium heat. Once melted, pour it into the dry ingredients and stir until just combined.
  4. Add Buttermilk and Eggs – Whisk in buttermilk, eggs, and vanilla until the batter is smooth and free of lumps.
  5. Bake – Pour the batter into the prepared pan and bake for 30-35 minutes, or until a toothpick inserted in the center comes out clean.
  6. Make the Frosting – While the cake bakes, prepare the frosting by melting butter, Coke, and cocoa powder in a saucepan. Stir in powdered sugar and vanilla until smooth.
  7. Frost the Cake – As soon as the cake comes out of the oven, pour the warm frosting over the top, spreading it evenly with a spatula.
  8. Cool and Serve – Let the cake cool for at least 30 minutes before slicing to allow the frosting to set.

Pro Tips for the Best Results

  • Use Room Temperature Ingredients – Cold eggs or buttermilk can cause the batter to seize. Let them sit out for 30 minutes before baking.
  • Don’t Overmix – Stir the batter just until combined to avoid a tough cake.
  • Frost While Warm – Pouring the frosting over the hot cake helps it soak in slightly, creating an irresistible glaze-like texture.
  • Try a Darker Cocoa – For a more intense chocolate flavor, swap regular cocoa powder for Dutch-processed cocoa.
  • Add a Pinch of Espresso Powder – Enhances the chocolate flavor without making the cake taste like coffee.

Variations and Substitutions

This recipe is versatile enough to accommodate different tastes and dietary needs:

  • Dietary Adjustments – Use gluten-free flour for a gluten-free version, or replace eggs with flax eggs for a vegan alternative.
  • Flavor Twists – Add a handful of chopped pecans or walnuts to the batter for crunch, or stir in mini marshmallows for a rocky road effect.
  • Different Sodas – Experiment with Dr. Pepper or root beer for a unique twist on the classic.
  • Spiced Version – Add a teaspoon of cinnamon or a pinch of cayenne for a warm, spicy kick.

What to Serve With It

While this cake is delicious on its own, pairing it with the right accompaniments can take it to the next level:

  • Vanilla Ice Cream – A scoop of creamy vanilla ice cream melts beautifully over a warm slice.
  • Whipped Cream – Light and fluffy, it balances the cake’s richness.
  • Fresh Berries – Strawberries or raspberries add a tart contrast.
  • Coffee or Milk – A hot cup of coffee or a cold glass of milk complements the flavors perfectly.

How to Store and Reheat

To keep your Vintage Coca-Cola Sheet Cake fresh:

  • Room Temperature – Store covered at room temperature for up to 3 days.
  • Refrigerate – For longer storage, refrigerate in an airtight container for up to a week.
  • Freeze – Wrap individual slices in plastic wrap and freeze for up to 3 months. Thaw at room temperature before serving.
  • Reheat – Warm slices in the microwave for 10-15 seconds to revive the soft texture.

Frequently Asked Questions (FAQs)

Can I use diet Coke instead of regular Coca-Cola?
While you can use diet Coke, the texture and flavor may differ slightly due to the lack of sugar. Regular Coke is recommended for the best results.

Why does the frosting go on while the cake is hot?
Pouring the frosting over the warm cake allows it to seep into the top layer slightly, creating a fudgy, glaze-like consistency.

Can I make this cake ahead of time?
Yes! Bake the cake a day in advance and store it covered at room temperature. Add the frosting just before serving for the best texture.

What if I don’t have buttermilk?
Make a quick substitute by adding 1 tablespoon of lemon juice or vinegar to 1 cup of milk. Let it sit for 5 minutes before using.

Can I bake this in a different pan?
A 9×13-inch pan is ideal, but you can use two 9-inch round pans for a layer cake. Adjust baking time to 25-30 minutes.

Final Thoughts

There’s a reason this Vintage Coca-Cola Sheet Cake has stood the test of time—it’s simple, nostalgic, and utterly delicious. Whether you’re baking it for a special occasion or just because, this cake is sure to bring smiles to the table. So gather your ingredients, preheat your oven, and get ready to create a dessert that’s as memorable as it is tasty. Happy baking!

Print
clock clock iconcutlery cutlery iconflag flag iconfolder folder iconinstagram instagram iconpinterest pinterest iconfacebook facebook iconprint print iconsquares squares iconheart heart iconheart solid heart solid icon

Vintage Coca-Cola Sheet Cake

  • Author: Classic Recipes Collection

Description

A nostalgic Southern sheet cake made with Coca-Cola for a unique, fizzy sweetness. This moist and tender cake is topped with a rich, buttery frosting that soaks into the cake for maximum flavor.


Ingredients

Scale

For the Crust:

  • For the cake:
  • 2 cups all-purpose flour
  • 2 cups granulated sugar
  • 1 teaspoon baking soda
  • 1/2 teaspoon salt
  • 1 cup unsalted butter
  • 3 tablespoons cocoa powder
  • 1 cup Coca-Cola
  • 1/2 cup buttermilk
  • 2 large eggs
  • 1 teaspoon vanilla extract
  • For the frosting:
  • 1/2 cup unsalted butter
  • 3 tablespoons cocoa powder
  • 6 tablespoons Coca-Cola
  • 1 teaspoon vanilla extract
  • 3 1/2 cups powdered sugar
  • 1 cup chopped pecans (optional)

Instructions

1. Prepare the Crust:

  1. Preheat oven to 350°F (175°C). Grease a 9×13-inch baking pan.
  2. In a large bowl, whisk together flour, sugar, baking soda, and salt.
  3. In a saucepan over medium heat, combine 1 cup butter, 3 tbsp cocoa, and 1 cup Coca-Cola. Bring to a boil, then remove from heat.
  4. Pour hot mixture over dry ingredients and stir until combined.
  5. Add buttermilk, eggs, and 1 tsp vanilla. Mix well.
  6. Pour batter into prepared pan and bake for 30-35 minutes until a toothpick comes out clean.
  7. While cake bakes, make frosting: Melt 1/2 cup butter with 3 tbsp cocoa and 6 tbsp Coca-Cola in a saucepan. Bring to a boil, then remove from heat.
  8. Whisk in powdered sugar and 1 tsp vanilla until smooth. Stir in pecans if using.
  9. Pour warm frosting over hot cake immediately after removing from oven. Spread evenly.
  10. Let cool completely before serving.

Notes

For best results, use regular Coca-Cola (not diet). The cake tastes even better the next day as the flavors meld. Store covered at room temperature for up to 3 days.

1950s Jell-O Fruit Mold

1950s Jell-O Fruit Mold

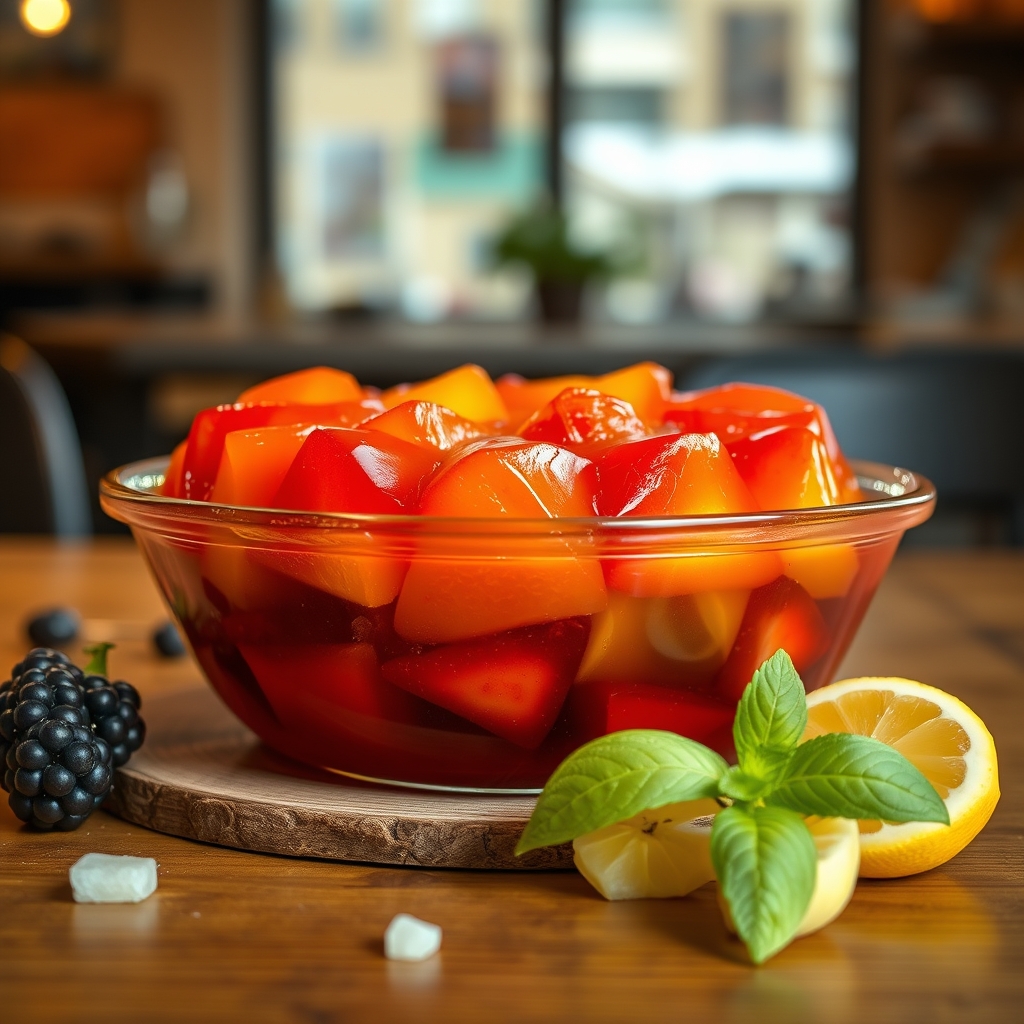
There’s something undeniably charming about the retro appeal of a 1950s Jell-O fruit mold. This classic dessert, once a staple at mid-century dinner parties, is making a comeback—and for good reason. With its vibrant colors, refreshing texture, and playful presentation, it’s a nostalgic treat that still delights today. Whether you’re hosting a vintage-themed gathering or simply craving a light, fruity dessert, this Jell-O fruit mold recipe is a must-try. Let’s dive into the world of wobbly, jiggly goodness!

Why You’ll Love This Recipe

If you’re on the fence about making a Jell-O fruit mold, here are a few reasons why this recipe deserves a spot in your dessert rotation:

  • Nostalgic and fun: This dessert is a conversation starter, evoking memories of simpler times and classic Americana.
  • Versatile: You can customize it with your favorite fruits, juices, or even a splash of cream for a layered effect.
  • Light and refreshing: Perfect for warm weather, potlucks, or as a palate cleanser after a rich meal.
  • Easy to make: With just a few ingredients and minimal effort, you’ll have a stunning centerpiece for your table.
  • Kid-friendly: Children love the bright colors and sweet, jiggly texture—making it a hit at family gatherings.

Ingredients Breakdown

Understanding the ingredients is key to mastering this vintage dessert. Here’s what you’ll need and why each component matters:

  • Jell-O (flavor of choice): The star of the show, providing the signature gelatinous texture and fruity flavor. Classic options like strawberry, lime, or raspberry work beautifully.
  • Boiling water: Dissolves the gelatin powder completely, ensuring a smooth, lump-free consistency.
  • Cold water or fruit juice: Cools the mixture and helps it set properly. Using fruit juice instead of water adds extra flavor.
  • Canned or fresh fruit: Adds texture and natural sweetness. Pineapple, mandarin oranges, and berries are popular choices. Note: Avoid fresh pineapple or kiwi unless cooked, as they contain enzymes that prevent gelatin from setting.
  • Optional additions: Mini marshmallows, shredded coconut, or a dollop of whipped cream can add extra flair.

How to Make 1950s Jell-O Fruit Mold

Follow these simple steps to create a picture-perfect Jell-O fruit mold that would make any 1950s hostess proud:

  1. Prepare the mold: Lightly grease a decorative Bundt pan, Jell-O mold, or a simple bowl with cooking spray. This ensures easy release once set.
  2. Dissolve the gelatin: In a large bowl, combine the Jell-O powder with boiling water. Stir for at least 2 minutes until fully dissolved.
  3. Add cold liquid: Pour in cold water or fruit juice and stir well. For a creamier texture, replace half the cold liquid with evaporated milk.
  4. Chill until slightly thickened: Refrigerate the mixture for about 20–30 minutes until it reaches a syrupy consistency. This prevents the fruit from sinking to the bottom.
  5. Fold in the fruit: Gently stir in your chosen fruits, distributing them evenly.
  6. Pour into the mold: Transfer the mixture to the prepared mold and refrigerate for at least 4 hours, or overnight for best results.
  7. Unmold with care: To release, dip the mold briefly in warm water (avoiding the top edges), then place a serving plate on top and invert with a confident flip.

Pro Tips for the Best Results

Want to take your Jell-O fruit mold to the next level? Try these expert-approved tricks:

  • Layer flavors: Create a stunning ombre effect by preparing two different Jell-O flavors, letting the first layer set before adding the second.
  • Use high-quality fruit: Fresh or well-drained canned fruit works best. Excess liquid can weaken the gelatin structure.
  • Speed up setting time: Place the mold in the freezer for 15–20 minutes before transferring to the fridge, but don’t let it freeze.
  • Add a surprise inside: For a fun twist, suspend gummy candies or small berries in the center of the mold.
  • Garnish creatively: Top with whipped cream, mint leaves, or a sprinkle of citrus zest for a polished finish.

Variations and Substitutions

This recipe is incredibly adaptable. Here are some delicious ways to mix it up:

  • Dietary swaps: Use sugar-free Jell-O or agar-agar for a vegan-friendly version.
  • Tropical twist: Combine mango Jell-O with diced mango, coconut flakes, and a splash of coconut milk.
  • Berry medley: Mix strawberry Jell-O with fresh strawberries, blueberries, and raspberries for a patriotic look.
  • Creamy dream: Layer lemon Jell-O with a mixture of cream cheese and whipped topping for a cheesecake-inspired treat.
  • Spiked version: Replace some of the cold liquid with champagne or rosé for an adults-only variation.

What to Serve With It

A Jell-O fruit mold pairs wonderfully with a variety of dishes, making it a versatile addition to any menu:

  • Classic pairings: Serve alongside a slice of pound cake or angel food cake for a delightful contrast in textures.
  • Brunch companion: Offer it as a refreshing side to quiche, ham, or scrambled eggs.
  • BBQ buddy: Its lightness balances the richness of grilled meats and heavy salads.
  • Holiday spread: Include it as part of a festive buffet with turkey, stuffing, and cranberry sauce.
  • Standalone star: Simply garnish with a dollop of whipped cream and serve as a light dessert.

How to Store and Reheat

While Jell-O is best enjoyed fresh, here’s how to handle leftovers:

  • Refrigeration: Keep covered in the fridge for up to 3–4 days. The texture may soften slightly over time.
  • Freezing: Not recommended, as gelatin becomes grainy when frozen and thawed.
  • Reheating: Jell-O can’t be reheated, but if it starts to melt, simply return it to the fridge to reset.
  • Travel tip: Transport in a cooler if taking to a potluck or picnic to prevent melting.

Frequently Asked Questions (FAQs)

Here are answers to some common questions about making a Jell-O fruit mold:

Can I use fresh pineapple in my Jell-O mold?
Fresh pineapple contains bromelain, an enzyme that prevents gelatin from setting. If you want to use pineapple, opt for canned (which is heat-processed) or briefly cook the fresh pineapple to deactivate the enzyme.

Why didn’t my Jell-O set properly?
This can happen if you added too much liquid, didn’t dissolve the gelatin completely, or used fresh fruit with enzymes that interfere with setting. Always measure carefully and follow the recipe instructions.

Can I make this recipe ahead of time?
Absolutely! In fact, Jell-O molds benefit from being made a day in advance, allowing ample time to set and develop flavor.

What’s the best way to unmold Jell-O without breaking it?
Dip the mold in warm water for 10–15 seconds, then gently shake to loosen. Place a plate on top, flip quickly, and lift the mold away with confidence.

Can I use a different type of mold?
Yes! While traditional molds are fun, you can use any glass bowl, Bundt pan, or even individual ramekins for single servings.

Final Thoughts

The 1950s Jell-O fruit mold is more than just a dessert—it’s a celebration of retro charm and simple pleasures. Whether you’re reliving childhood memories or introducing this whimsical treat to a new generation, it’s sure to bring smiles to the table. Don’t be afraid to experiment with flavors, colors, and presentations to make it your own. After all, half the fun is in the jiggle! So grab your favorite mold, whip up a batch, and enjoy a slice of mid-century magic.

Print
clock clock iconcutlery cutlery iconflag flag iconfolder folder iconinstagram instagram iconpinterest pinterest iconfacebook facebook iconprint print iconsquares squares iconheart heart iconheart solid heart solid icon

1950s Jell-O Fruit Mold

  • Author: Vintage Recipe Revival

Description

A nostalgic gelatin dessert filled with colorful fruit, perfect for retro-themed parties or family gatherings. This classic Jell-O mold was a staple of 1950s dinner parties.


Ingredients

Scale

For the Crust:

  • For the Jell-O base:
  • 2 packages (3 oz each) flavored gelatin (such as strawberry, lime, or lemon)
  • 2 cups boiling water
  • 1 cup cold water
  • For the fruit filling:
  • 1 cup canned fruit cocktail, drained
  • 1/2 cup seedless grapes, halved
  • 1/2 cup mandarin orange segments, drained
  • 1/4 cup maraschino cherries, halved
  • Optional garnish:
  • Whipped cream or mayonnaise (for serving)

Instructions

1. Prepare the Crust:

  1. 1. Dissolve gelatin in boiling water in a large bowl, stirring until completely dissolved (about 2 minutes).
  2. 2. Stir in cold water and refrigerate for about 45 minutes, or until slightly thickened (consistency of egg whites).
  3. 3. While gelatin chills, prepare a 6-cup mold by lightly greasing with vegetable oil or spraying with non-stick spray.
  4. 4. Fold all prepared fruits gently into the partially set gelatin.
  5. 5. Pour mixture into prepared mold and refrigerate for at least 4 hours, preferably overnight.
  6. 6. To unmold: Dip mold briefly in warm water (do not submerge), then place serving plate on top and invert with confidence.
  7. 7. Serve with dollops of whipped cream or mayonnaise for authentic 1950s presentation.

Notes

For clearer layers, you can alternate fruit types between gelatin layers. Mid-century cooks often used canned fruits exclusively. For modern tastes, fresh pineapple (not canned) and berries work well too. The mayonnaise topping was considered elegant in the 1950s!