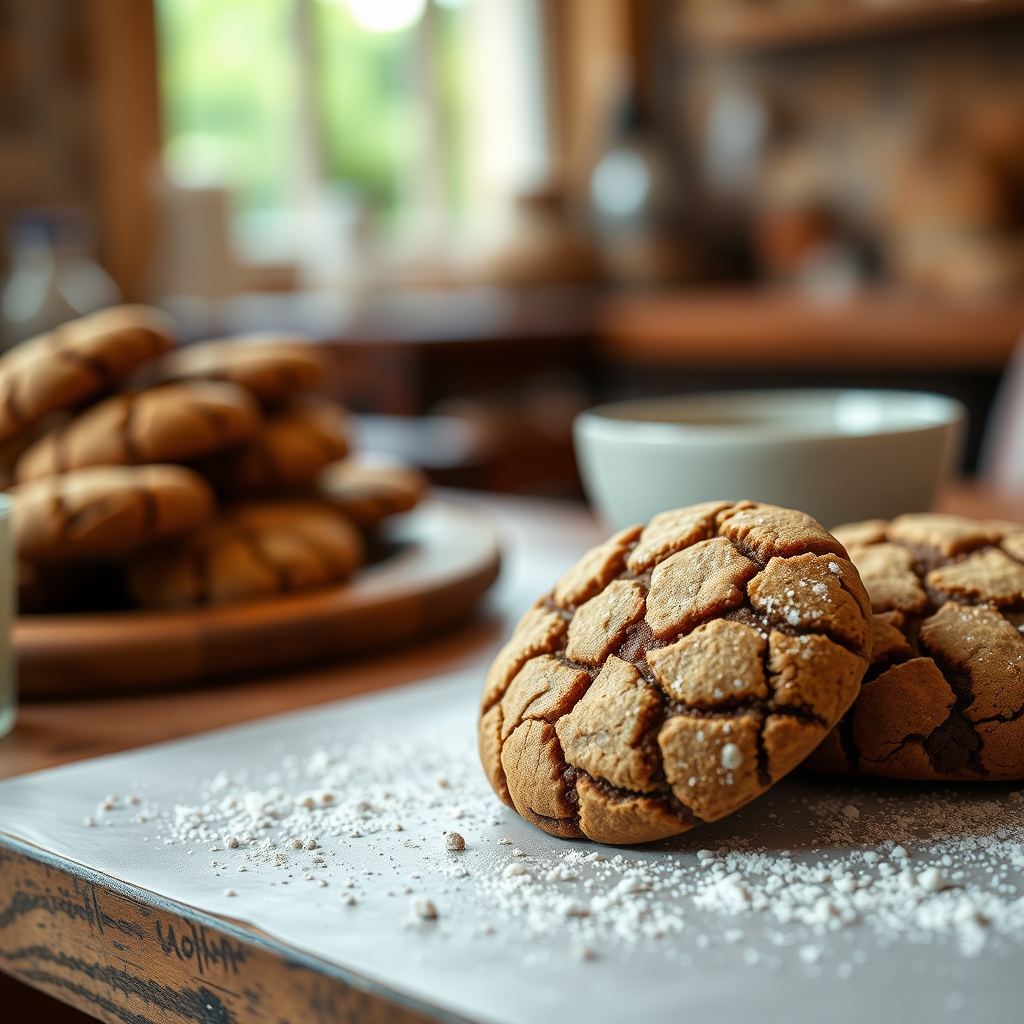
Old-Fashioned Molasses Crinkle Cookies
There’s something undeniably nostalgic about biting into a perfectly spiced molasses crinkle cookie. The crackly sugar crust gives way to a soft, chewy center infused with warm ginger and cinnamon, making these cookies a beloved classic. Whether you grew up baking them with your grandmother or are discovering them for the first time, this old-fashioned molasses crinkle cookie recipe is sure to become a staple in your kitchen.
Why You’ll Love This Recipe
If you’re looking for a cookie that’s equal parts comforting and impressive, these molasses crinkle cookies check all the boxes. Here’s why they’re a must-try:
- Perfect Texture: The contrast between the crisp, sugary exterior and the tender, chewy interior makes every bite irresistible.
- Warm Spiced Flavor: Molasses brings deep, caramel-like sweetness, while ginger, cinnamon, and cloves add cozy, aromatic warmth.
- Easy to Make: No fancy equipment or complicated techniques—just simple ingredients and straightforward steps.
- Holiday Favorite: These cookies are a classic for Christmas cookie trays, but they’re delicious year-round.
- Crowd-Pleasing: Whether for bake sales, potlucks, or family gatherings, these molasses crinkles disappear fast.
Ingredients Breakdown
Understanding the role of each ingredient helps ensure your molasses crinkle cookies turn out perfectly every time.
- Molasses: The star of the show, molasses lends rich, robust sweetness and moisture. Use unsulphured molasses for the best flavor.
- Butter: Adds richness and helps create a tender crumb. For best results, use softened but not melted butter.
- Brown Sugar: Enhances chewiness and deepens the caramel notes in the cookies.
- Egg: Binds the dough and contributes to the soft texture.
- Flour: All-purpose flour provides structure. Measure it correctly by spooning into the cup and leveling off.
- Spices: A blend of ginger, cinnamon, and cloves gives these cookies their signature warmth.
- Baking Soda: Helps the cookies rise and crackle beautifully.
- Granulated Sugar (for rolling): Creates that iconic crinkled, sparkly crust.
How to Make Old-Fashioned Molasses Crinkle Cookies
Follow these steps for molasses crinkle cookies that are soft, chewy, and full of spiced goodness.
- Cream Butter and Sugars: In a large bowl, beat softened butter, brown sugar, and molasses until light and fluffy, about 2-3 minutes.
- Add Egg and Vanilla: Mix in the egg and vanilla extract until fully incorporated.
- Combine Dry Ingredients: In a separate bowl, whisk together flour, baking soda, salt, ginger, cinnamon, and cloves.
- Mix Wet and Dry: Gradually add the dry ingredients to the wet mixture, mixing just until combined. Avoid overmixing.
- Chill the Dough: Cover the dough and refrigerate for at least 1 hour (or up to overnight). This prevents spreading and enhances flavor.
- Preheat and Prep: Preheat oven to 350°F and line baking sheets with parchment paper.
- Shape and Roll: Scoop dough into 1-inch balls, roll in granulated sugar, and place 2 inches apart on baking sheets.
- Bake: Bake for 10-12 minutes, until the edges are set but centers are still soft. Let cool on the sheet for 5 minutes before transferring to a wire rack.
Pro Tips for the Best Results
Take your molasses crinkle cookies to the next level with these expert tricks.
- Chill Thoroughly: Cold dough holds its shape better, ensuring thick, chewy cookies instead of flat ones.
- Use Fresh Spices: Ground spices lose potency over time. For the brightest flavor, check that yours are no older than a year.
- Don’t Overbake: The cookies will firm up as they cool. Pull them out when the edges are set but centers look slightly underdone.
- Roll Generously: Coat the dough balls well in sugar for maximum crinkle effect.
- Space Evenly: Leaving enough room between cookies prevents them from merging into one giant cookie.
Variations and Substitutions
Customize your molasses crinkle cookies with these easy twists.
- Gluten-Free: Swap all-purpose flour for a 1:1 gluten-free blend.
- Vegan: Use plant-based butter and a flax egg (1 tbsp ground flax + 3 tbsp water).
- Extra Spice: Add a pinch of black pepper or cardamom for a more complex flavor.
- Citrus Zest: Stir in orange or lemon zest for a bright contrast to the molasses.
- Chocolate Dip: Melt dark chocolate and dip half of each cooled cookie for a decadent touch.
What to Serve With It
These molasses crinkle cookies pair beautifully with a variety of beverages and treats.
- Hot Drinks: Enjoy with spiced chai tea, hot cocoa, or black coffee for a cozy treat.
- Ice Cream: Sandwich a scoop of vanilla or cinnamon ice cream between two cookies.
- Cheese Board: Serve alongside sharp cheddar for a sweet-and-savory combo.
- Fruit Compote: A dollop of apple or pear compote adds a fresh contrast.
How to Store and Reheat
Keep your molasses crinkle cookies fresh with these storage tips.
- Room Temperature: Store in an airtight container for up to 1 week.
- Freezing: Freeze baked cookies in a single layer, then transfer to a freezer bag for up to 3 months. Thaw at room temperature.
- Dough Storage: Refrigerate unbaked dough for up to 3 days or freeze for 2 months. Let thaw slightly before baking.
- Reheating: Warm cookies in a 300°F oven for 3-5 minutes to revive their softness.
Frequently Asked Questions (FAQs)
Here are answers to common questions about making molasses crinkle cookies.
Can I use blackstrap molasses?
Blackstrap molasses has a bitter, intense flavor that can overpower the cookies. Stick with unsulphured molasses for a balanced sweetness.
Why did my cookies spread too much?
This usually happens if the dough wasn’t chilled long enough or the butter was too soft. Ensure proper chilling and measure flour correctly.
Can I make these cookies without refined sugar?
Yes, swap granulated sugar with coconut sugar for rolling, though the crinkle effect may be less pronounced.
How do I get more pronounced cracks?
Roll the dough balls in coarse sugar for extra texture, and avoid overmixing the dough.
Can I double the recipe?
Absolutely! This recipe scales well—just ensure your mixer bowl is large enough to accommodate the extra dough.
Final Thoughts
Old-fashioned molasses crinkle cookies are more than just a treat—they’re a bite of history, a reminder of simpler times when baking was a labor of love. Whether you’re making them for a holiday gathering, a rainy afternoon, or just because, these cookies are sure to bring warmth and joy to any occasion. So preheat that oven, roll up your sleeves, and get ready to fill your kitchen with the irresistible aroma of spiced molasses. Happy baking!
Print
Old-Fashioned Molasses Crinkle Cookies
Description
These soft, chewy molasses cookies with their signature crinkled tops are a nostalgic holiday favorite. The rich flavor of molasses pairs perfectly with warm spices for a cookie that’s both comforting and festive.
Ingredients
For the Crust:
- For the cookies:
- 3/4 cup unsalted butter, softened
- 1 cup packed brown sugar
- 1 large egg
- 1/4 cup molasses
- 2 1/4 cups all-purpose flour
- 2 teaspoons baking soda
- 1 teaspoon ground cinnamon
- 1 teaspoon ground ginger
- 1/2 teaspoon ground cloves
- 1/2 teaspoon salt
- For rolling:
- 1/2 cup granulated sugar
Instructions
1. Prepare the Crust:
- 1. Preheat oven to 375°F (190°C). Line baking sheets with parchment paper.
- 2. In a large bowl, cream together butter and brown sugar until light and fluffy.
- 3. Beat in egg and molasses until well combined.
- 4. In a separate bowl, whisk together flour, baking soda, cinnamon, ginger, cloves, and salt.
- 5. Gradually add dry ingredients to wet ingredients, mixing until just combined.
- 6. Place granulated sugar in a small bowl. Roll dough into 1-inch balls, then roll in sugar to coat.
- 7. Place balls 2 inches apart on prepared baking sheets. Bake for 8-10 minutes until cookies are puffed and cracked.
- 8. Let cool on baking sheets for 2 minutes before transferring to wire racks to cool completely.
Notes
For extra sparkle, roll cookies in coarse sugar instead of granulated sugar. Store in an airtight container at room temperature for up to 1 week. Dough can be refrigerated for up to 3 days before baking.