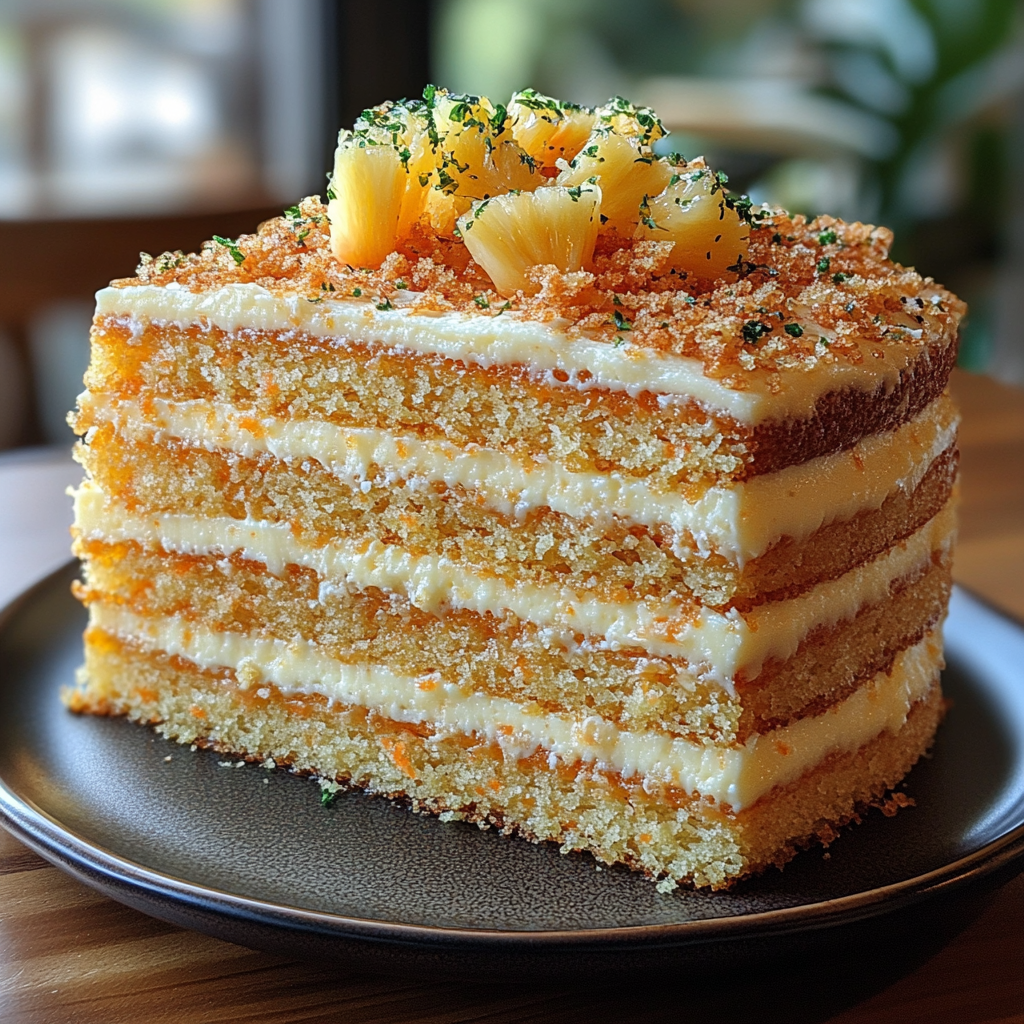
Mango Crumb Bars: A Sweet Tropical Dessert

Mango dessert bars, tropical fruit bars, mango crumb recipe, mango-filled bars, mango pastry bars

Mango Crumb Bars: A Tropical Dessert You’ll Love

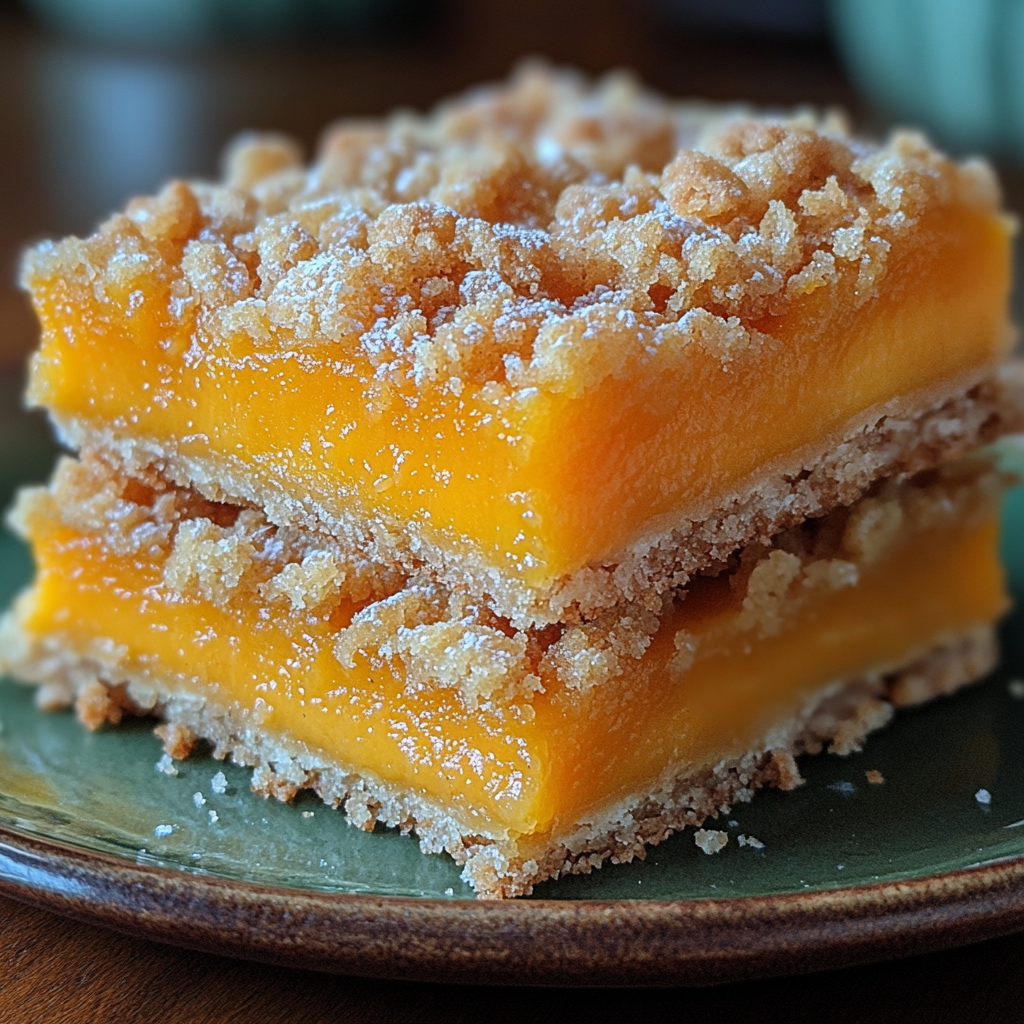
Mango Crumb Bars are a perfect blend of buttery crumble and juicy mango filling. This tropical-inspired dessert is versatile, delicious, and surprisingly easy to prepare. Whether you’re hosting a summer brunch or craving something fruity, these bars are a guaranteed hit.

For inspiration on tropical desserts, explore Summer Bliss: Fresh Mango Strawberry Swirled Slushies.


What Are Mango Crumb Bars?

These bars feature a layered structure with a buttery crust, a sweet and tangy mango filling, and a crumbly topping. They’re an ideal dessert for showcasing ripe mangoes.


Ingredients and Recipe

Ingredients for Mango Crumb Bars

  • For the Crust and Topping:
    • 2 cups all-purpose flour
    • ¾ cup unsalted butter, cold and cubed
    • ⅔ cup brown sugar
    • 1 tsp vanilla extract
  • For the Mango Filling:
    • 2 cups ripe mango chunks
    • 2 tbsp cornstarch
    • ¼ cup granulated sugar
    • 1 tsp lemon juice

Step-by-Step Instructions

  1. Prepare the Mango Filling:
    • In a bowl, mix mango chunks, cornstarch, sugar, and lemon juice. Set aside.
  2. Make the Crust and Topping:
    • Combine flour, brown sugar, and vanilla. Add butter and blend until crumbly.
  3. Assemble the Bars:
    • Press ⅔ of the crumb mixture into a greased baking dish.
    • Spread mango filling evenly, then sprinkle the remaining crumb mixture on top.
  4. Bake:
    • Bake at 350°F for 35–40 minutes until the top is golden.
    • Cool completely before slicing.

For a tangy twist, try Raspberry Lemon Bars with Shortbread Crust.


Tips and Tricks

  • Choose the Best Mangoes:
    • Use ripe and naturally sweet mangoes for the best flavor.
    • Avoid overly fibrous varieties.
  • Perfect the Crumb:
    • Use cold butter to achieve the ideal crumbly texture.
    • Mix until the butter forms pea-sized crumbs.
  • Adjust the Sweetness:
    • Taste your mango filling before baking and adjust sugar based on mango ripeness.

Creative Variations

  • Add Tropical Flavors:
    • Sprinkle shredded coconut into the crumb topping.
    • Use lime zest in the mango filling for extra tanginess.
  • Switch Up the Fruits:
    • Substitute mango with peaches, pineapple, or mixed tropical fruits.

Pair these bars with a refreshing Pickle Slushy for Summer Fun.


Serving and Storage

  • Serving Tips:
    • Serve chilled with whipped cream or a scoop of vanilla ice cream.
    • Decorate with a sprig of mint for a festive touch.
  • Storage Guidelines:
    • Store in an airtight container at room temperature for 2 days.
    • Refrigerate for up to a week or freeze for longer storage.

FAQs

1. Can I Use Frozen Mangoes?

Yes, thaw and drain frozen mangoes before use to prevent excess liquid.

2. What’s the Best Way to Cut Mango Bars?

Let the bars cool completely before slicing with a sharp knife for clean edges.

3. Can These Bars Be Made Gluten-Free?

Yes, substitute the all-purpose flour with a gluten-free baking mix.

4. Can I Make Them Ahead of Time?

Absolutely! Prepare the bars a day in advance and refrigerate them for freshness.


Internal Linking Opportunities

Polish Kolaczki Cookies: A Festive Delight

Kolaczki cookies, Polish pastries, cream cheese cookies, fruit-filled Kolaczki, traditional Polish desserts

Polish Kolaczki Cookies: A Timeless European Classic

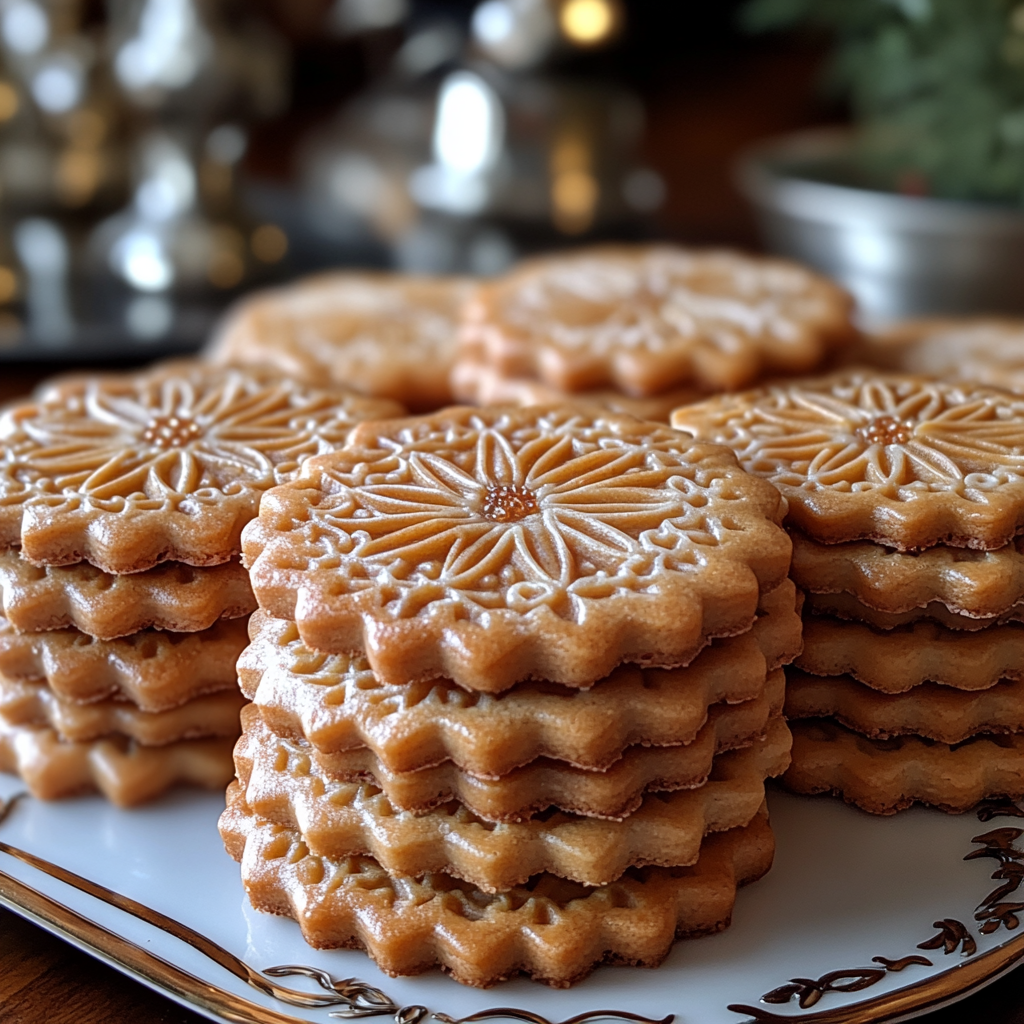
If you’re looking for a dessert that combines tradition with versatility, Polish Kolaczki Cookies are an excellent choice. These delicate pastries, with their tender cream cheese-based dough and sweet fillings, are staples in Polish cuisine. Popular during holidays like Christmas and Easter, they are cherished for their delicious simplicity.

For a similar festive treat, explore Delightful Mini Pineapple Upside-Down Cakes.


What Are Kolaczki Cookies?

Kolaczki Cookies originate from Eastern Europe and are beloved across Poland for their flaky texture and rich fillings. These pastries are shaped into squares, pinwheels, or crescents and can be filled with various ingredients such as fruit preserves, poppy seeds, or nut pastes.


Ingredients and Recipe

Core Ingredients

  • Dough:
    • 8 oz cream cheese, softened
    • 1 ½ cups unsalted butter, softened
    • 3 cups all-purpose flour
    • ½ teaspoon salt
  • Filling Options:
    • Apricot preserves
    • Raspberry jam
    • Walnut or almond paste

For another cream cheese-based dessert, try Cinnamon Roll Cookies with Cream Cheese Drizzle.


Step-by-Step Instructions

  1. Prepare the Dough:
    • Cream butter and cream cheese together until fluffy.
    • Gradually add flour and salt, mixing until dough forms.
    • Wrap in plastic wrap and chill for 1 hour.
  2. Shape the Cookies:
    • Preheat oven to 350°F (175°C).
    • Roll the dough to about 1/8-inch thickness on a floured surface.
    • Cut into squares, place filling in the center, and fold opposite corners.
  3. Bake and Finish:
    • Bake for 15 minutes or until edges are golden brown.
    • Cool completely and dust with powdered sugar before serving.

Tips for Perfect Kolaczki

1. Handling the Dough

  • Always chill the dough before rolling to make it easier to work with.
  • Roll on a lightly floured surface to prevent sticking.

2. Sealing the Edges

  • Use a dab of water or egg wash to seal the corners securely.
  • Chilling the shaped cookies before baking helps maintain their structure.

3. Filling Choices

  • Opt for thick preserves to prevent spillage during baking.
  • Experiment with less common fillings like Nutella or cream cheese for variety.

Creative Variations

  • Nutty Kolaczki: Add chopped nuts or a nut butter filling for extra crunch.
  • Chocolate Drizzle: Finish with a zigzag of melted chocolate for a modern touch.
  • Savory Kolaczki: Replace fruit filling with cheese or herbed cream cheese for an appetizer version.

Pair these cookies with Salted Caramel Rice Krispie Treats for a stunning dessert spread.


Serving Suggestions

  • Presentation Tips: Serve Kolaczki on a tiered platter dusted with powdered sugar for festive flair.
  • Pairing Ideas: These cookies pair beautifully with tea, coffee, or even mulled wine during winter gatherings.

FAQs

1. Can I Freeze Kolaczki Dough?

Yes, wrap it tightly in plastic wrap and store it in the freezer for up to 3 months.

2. How Do I Store Baked Kolaczki?

Store in an airtight container at room temperature for up to 3 days or refrigerate for up to a week.

3. Can I Make These Gluten-Free?

Yes, replace all-purpose flour with a gluten-free baking mix.

4. Why Did My Kolaczki Unfold During Baking?

Ensure the corners are sealed properly and chill cookies before baking to help maintain their shape.


Internal Linking Opportunities

Butterfinger Caramel Crunch Cookies: A Sweet and Crunchy Delight

Butterfinger cookies, caramel crunch cookies, candy bar cookies, Butterfinger caramel cookies, chewy caramel cookies

Butterfinger Caramel Crunch Cookies: Sweet, Crunchy, and Irresistible

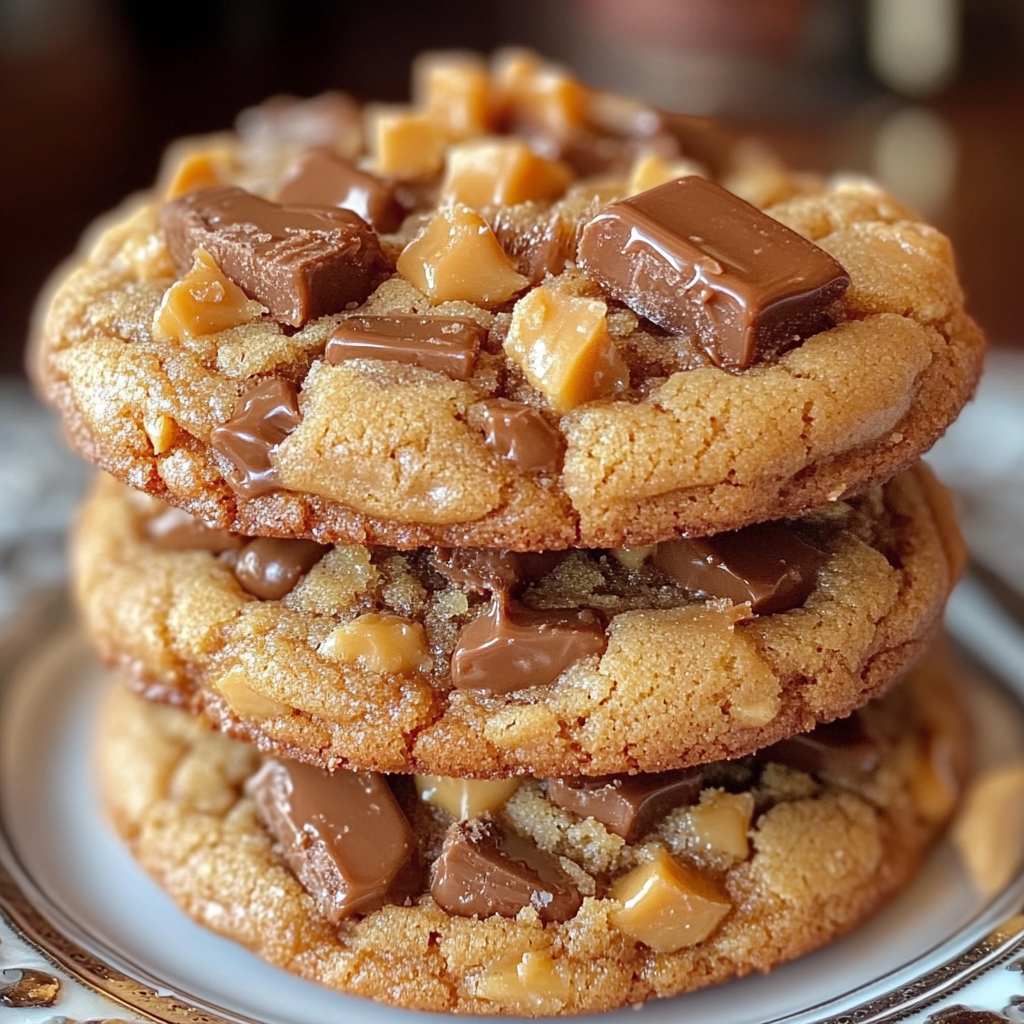
If you’re a fan of Butterfinger candy bars and gooey caramel, then Butterfinger Caramel Crunch Cookies will undoubtedly become your new favorite treat. These cookies combine the best of sweet, crunchy, and chewy textures, making them perfect for holidays, bake sales, or everyday indulgence.


What Makes These Cookies Special?

  • Flavor Explosion: A harmonious blend of chocolate, caramel, and peanut butter.
  • Texture Variety: Crunch from Butterfinger pieces and gooey softness from caramel.
  • Visual Appeal: Golden cookies with specks of caramel and chocolate chunks.

Explore another cookie recipe: Reese’s Pieces Chocolate Chip Bars.


Ingredients for Butterfinger Caramel Crunch Cookies

Core Ingredients

  • Wet Ingredients:
    • 1 cup unsalted butter, softened
    • 1 cup granulated sugar
    • 1 cup brown sugar, packed
    • 2 large eggs
    • 2 teaspoons vanilla extract
  • Dry Ingredients:
    • 2 ½ cups all-purpose flour
    • 1 teaspoon baking soda
    • ½ teaspoon baking powder
    • ½ teaspoon salt
  • Add-Ins:
    • 1 cup chopped Butterfinger candy bars
    • 1 cup caramel bits
    • ½ cup chocolate chips (optional)

Step-by-Step Recipe

1. Prepare the Dough

  • Cream butter and sugars until fluffy. Add eggs one at a time, mixing well, then stir in vanilla extract.
  • In a separate bowl, combine flour, baking soda, baking powder, and salt. Gradually add to the wet mixture.
  • Fold in Butterfinger pieces, caramel bits, and chocolate chips.

2. Bake the Cookies

  • Preheat oven to 350°F (175°C).
  • Scoop tablespoon-sized balls of dough onto a baking sheet lined with parchment paper.
  • Bake for 10–12 minutes or until edges are golden. Cool on a wire rack.

For more caramel-inspired recipes, check out Decadent Caramel Chocolate Cupcakes.


Tips for Success

  • Freeze Caramel Bits: Prevents them from melting too quickly during baking.
  • Chill the Dough: Helps cookies hold their shape.
  • Even Cookie Sizes: Use a cookie scoop for consistent portions and baking times.

Creative Variations

1. Chocolate Drizzle

  • Drizzle melted chocolate over cooled cookies for added indulgence.

2. Nutty Butterfinger Cookies

  • Add ½ cup of chopped pecans or walnuts for extra crunch.

3. Salted Caramel Topping

  • Sprinkle a pinch of sea salt over the cookies before baking to enhance the caramel flavor.

Try these cookies alongside Salted Caramel Rice Krispie Treats for a dessert spread.


FAQs

1. Can I Make These Cookies Gluten-Free?

Yes, substitute all-purpose flour with a gluten-free baking blend.

2. How Should I Store the Cookies?

Store in an airtight container at room temperature for up to 5 days.

3. Can I Substitute the Butterfinger Candy Bars?

Absolutely, try using Twix or Snickers for a different flavor profile.

4. How Do I Prevent Cookies from Spreading?

Chill the dough for at least 30 minutes before baking.


Serving Suggestions

  • Beverage Pairing: Serve with a glass of cold milk or a warm latte.
  • Gift Idea: Package in decorative tins for holiday gifts.

Internal Linking Opportunities

Maraschino Cherry Chocolate Chip Cookies: A Festive Treat for Every Occasion

cherry chocolate cookies, festive cherry cookies, chocolate chip cherry cookies, holiday cherry chip cookies, maraschino chocolate cookies

Maraschino Cherry Chocolate Chip Cookies: A Festive Treat

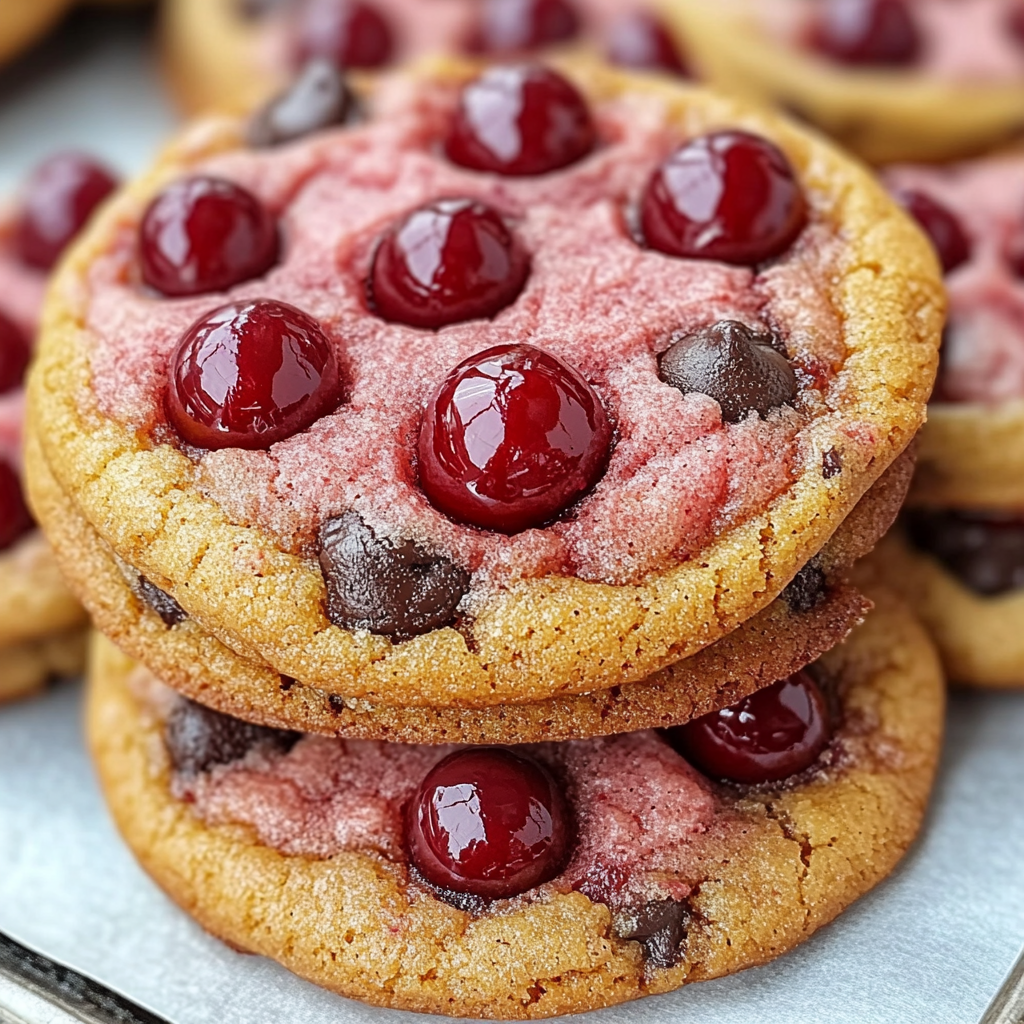
Combining the sweet tang of maraschino cherries with the rich indulgence of chocolate chips, these cookies are a celebration in every bite. Perfect for holidays, gatherings, or an everyday treat, this recipe is as delightful to make as it is to eat.


What Makes These Cookies Special?

  • A beautiful blend of sweet cherries, rich chocolate, and a buttery cookie base.
  • The vibrant red of the cherries makes them ideal for festive occasions.
  • They are versatile—customizable with nuts, coconut, or white chocolate chips.

For more unique recipes, explore Creative Cookie Ideas.


Ingredients for Maraschino Cherry Chocolate Chip Cookies

Core Ingredients

  • Wet Ingredients:
    • 1 cup unsalted butter, softened
    • ½ cup granulated sugar
    • ½ cup brown sugar
    • 2 large eggs
    • 1 teaspoon vanilla extract
  • Dry Ingredients:
    • 2 ½ cups all-purpose flour
    • 1 teaspoon baking soda
    • ½ teaspoon salt
  • Add-Ins:
    • 1 cup chopped maraschino cherries (drained and dried)
    • 1 cup semisweet chocolate chips
    • ½ cup shredded coconut (optional)

Optional Additions

  • ½ cup chopped pecans or walnuts for crunch.
  • Substitute semisweet chocolate chips with white or dark chocolate.

Step-by-Step Instructions

1. Prepare the Dough

  • Cream butter and sugars together until light and fluffy.
  • Add eggs one at a time, mixing well after each addition. Stir in vanilla.
  • In a separate bowl, mix flour, baking soda, and salt. Gradually incorporate into the wet ingredients.
  • Fold in cherries, chocolate chips, and optional add-ins.

2. Bake to Perfection

  • Preheat oven to 350°F (175°C).
  • Drop rounded tablespoons of dough onto a lined baking sheet.
  • Bake for 10–12 minutes or until edges are golden. Cool completely on a wire rack.

For variation, try Raspberry Cheesecake Brownie Bites for a fruity twist.


Tips for Perfect Cookies

  • Drain Cherries Well: Prevents the dough from becoming too wet.
  • Chill the Dough: Ensures cookies hold their shape while baking.
  • Use a Cookie Scoop: For uniform sizes and even baking.

Creative Variations

1. Chocolate-Covered Cherry Cookies

  • Dip cookies halfway in melted dark chocolate and sprinkle with sea salt.

2. Tropical Cherry Cookies

  • Add dried pineapple chunks and shredded coconut for a tropical flavor.

3. Cherry Cookie Bars

  • Press the dough into a baking dish and bake for cookie bars.

Check out more festive ideas like Mini Pineapple Coconut Milk Cheesecakes.


FAQs

1. Can I Use Fresh Cherries Instead of Maraschino?

No, fresh cherries have too much moisture and can alter the texture.

2. Can I Freeze the Dough?

Yes, freeze scooped dough balls on a tray, then transfer to a freezer bag. Bake directly from frozen, adding 1–2 minutes to the bake time.

3. Are These Gluten-Free?

Not as written, but you can substitute the all-purpose flour with a gluten-free blend.

4. How Do I Store Leftovers?

Store in an airtight container at room temperature for up to 5 days.


Serving Suggestions

  • With Beverages: Pair with a glass of cold milk, hot cocoa, or a holiday-themed cocktail.
  • As Gifts: Package in decorative tins for a thoughtful homemade gift.

Internal Linking Opportunities

Hawaiian Carrot Pineapple Cake: A Tropical Dessert Favorite

carrot pineapple cake, tropical carrot cake, pineapple carrot cake recipe, spiced carrot pineapple dessert, moist Hawaiian carrot cake

Hawaiian Carrot Pineapple Cake: A Tropical Twist on a Classic

The Hawaiian Carrot Pineapple Cake is a moist, spiced dessert infused with tropical flavors like pineapple and warm spices. This rich cake topped with cream cheese frosting is perfect for any occasion, from birthdays to casual family dinners.


What is Hawaiian Carrot Pineapple Cake?

  • A unique spin on traditional carrot cake with added pineapple for tropical flair.
  • Popular for its moist texture and balance of sweetness with a hint of spice.
  • Perfect for summer gatherings or holiday feasts.

Explore another delightful treat: Pineapple Coconut Surprise Cake.


Ingredients for Hawaiian Carrot Pineapple Cake

Core Ingredients

  • Dry Ingredients:
    • 2 cups all-purpose flour
    • 1 teaspoon baking powder
    • 1 teaspoon baking soda
    • 1 teaspoon cinnamon
    • ½ teaspoon nutmeg
    • ¼ teaspoon salt
  • Wet Ingredients:
    • 4 large eggs
    • 1½ cups granulated sugar
    • 1 cup vegetable oil
    • 1 teaspoon vanilla extract
  • Filling Add-Ins:
    • 2 cups grated carrots
    • 1 cup crushed pineapple, well-drained
    • ½ cup shredded coconut (optional)
    • ½ cup chopped walnuts or pecans (optional)

Step-by-Step Recipe

1. Prepare the Cake Batter

  • Mix all dry ingredients in a bowl.
  • Whisk together eggs, sugar, oil, and vanilla in a separate bowl.
  • Gradually combine wet and dry ingredients until smooth. Fold in carrots, pineapple, and optional add-ins.

2. Bake the Cake

  • Preheat oven to 350°F (175°C).
  • Divide batter evenly between two greased 9-inch round pans.
  • Bake for 30–35 minutes. Let cool completely.

Cream Cheese Frosting: The Perfect Topping

Ingredients

  • 8 oz cream cheese, softened
  • ½ cup unsalted butter, softened
  • 3 cups powdered sugar
  • 1 teaspoon vanilla extract

Preparation

  • Beat cream cheese and butter until fluffy.
  • Gradually add powdered sugar and vanilla, mixing until smooth.

Tips for the Perfect Hawaiian Carrot Pineapple Cake

  • Ensure Pineapple is Drained: Prevent excess moisture that could make the cake soggy.
  • Room-Temperature Ingredients: Mixes better for a consistent texture.
  • Chill Frosting: Makes it easier to spread and prevents melting.

For more baking tips, see Perfect Cake Baking Techniques.


Creative Variations

1. Vegan Hawaiian Carrot Pineapple Cake

  • Substitute eggs with flaxseed meal and use coconut oil instead of vegetable oil.

2. Gluten-Free Option

  • Use a gluten-free flour blend to accommodate dietary restrictions.

3. Layered Celebration Cake

  • Double the recipe for a four-layered cake masterpiece with frosting between layers.

FAQs

1. Can I Use Fresh Pineapple?

Yes, but ensure it’s finely chopped and drained to avoid excess moisture.

2. How Do I Store the Cake?

Store in the refrigerator for up to 5 days in an airtight container.

3. Can I Make This Ahead of Time?

Absolutely! Bake and frost the day before serving for optimal flavor.

4. Can I Add Raisins?

Yes, ½ cup of raisins adds an extra chewy texture and sweetness.


Serving Suggestions

  • Pairing Ideas:
    • Serve with a dollop of whipped cream or a scoop of vanilla ice cream.
    • Garnish with toasted coconut flakes or a drizzle of caramel.
  • Occasions:
    • Ideal for Easter, Mother’s Day, or tropical-themed parties.

Internal Linking Opportunities